Love this? Save it for later!
Share the inspiration with your friends
I was halfway through a stack of overdue library books—sprawled on my couch with a cup of tea that had gone cold—when the plumber, a guy named Leo with a laugh like gravel, started talking about meringue. Not pipes. Not the leak under my sink. Meringue.
He was crouched under the cabinet, wrench in hand, and he just said, “You ever make those ghost cookies for Halloween? My kids go nuts for ’em.” Honestly, I wasn’t even sure he knew I was a food blogger. But there I was, in sweatpants, listening to a plumber explain the exact ratio of sugar to egg whites for a perfect, pillowy meringue. He told me his secret was a pinch of cream of tartar and patience—lots of it. I scribbled his instructions on the back of a receipt, and let me tell you, I was skeptical.
But the next weekend, I tried it. And those Light & Airy Ghost Meringue Cookies? They were downright magical. They came out of the oven looking like little puffs of Halloween cloud—crisp on the outside, melt-in-your-mouth soft inside. I mean, who knew a plumbing emergency could lead to such a killer recipe? Maybe you’ve been there—finding inspiration in the most random places. That’s why this recipe stuck with me. It’s not just a cookie; it’s a story worth repeating.
Why You’ll Love This Recipe
These ghost meringue cookies are the perfect spooky treat for Halloween without all the sugar crash of a typical candy bar. They’re light, airy, and surprisingly simple to pull off—even for a beginner baker. Here’s why they’ve become my go-to for October gatherings:
- Quick & Easy: Comes together in under 30 minutes of active time, then the oven does the rest. Perfect for a last-minute Halloween party.
- Simple Ingredients: You only need egg whites, sugar, cream of tartar, and vanilla. No fancy grocery trips—you probably have everything in your kitchen right now.
- Perfect for Halloween: These little ghosts are adorable on a dessert table, great for school parties, or just for a cozy night in with a scary movie.
- Crowd-Pleaser: Kids and adults alike go crazy for them. They’re gluten-free and low-fat, so everyone can enjoy a guilt-free treat.
- Unbelievably Delicious: The texture is what gets me—crispy shell, soft marshmallow center. It’s next-level comfort food without the heaviness.
What makes these different from other meringue recipes? It’s the technique. I blend the sugar slowly into the egg whites while they whip, creating a stable, glossy meringue that holds its shape perfectly. No weeping, no cracking—just pure, ghostly perfection. Honestly, this recipe isn’t just good; it’s the kind that makes you close your eyes after the first bite. It’s Halloween comfort food reimagined—healthier, faster, but with the same soul-soothing satisfaction.
What Ingredients You Will Need
This recipe uses simple, wholesome ingredients to deliver bold flavor and satisfying texture without the fuss. Most are pantry staples, so you can whip these up anytime a spooky craving hits.
- Egg whites: 4 large egg whites, room temperature (adds structure and volume; fresh eggs work best)
- Granulated sugar: 1 cup (200g) (provides sweetness and stability; I recommend Domino for consistent results)
- Cream of tartar: 1/2 teaspoon (stabilizes the meringue and prevents graininess)
- Vanilla extract: 1 teaspoon (adds warmth and depth; use pure vanilla for best flavor)
- Salt: A pinch (enhances sweetness and balances flavor)
- Black gel food coloring: For decorating the ghost faces (optional; use a toothpick for precision)
Ingredient selection tips: Look for eggs that are at least a week old—they whip up better than super fresh ones. For the sugar, avoid superfine or powdered sugar; granulated dissolves best. If you’re dairy-free or vegan, you can try aquafaba (chickpea liquid) as a substitute, but the texture will be slightly different. I’ve tested it, and while it works, the classic egg white version is unbeatable for that light, airy ghost shape.
Equipment Needed
You don’t need a fancy kitchen to make these ghost cookies. Here’s what you’ll need:
- Electric mixer: A stand mixer or hand mixer works great. I’ve used both, and a stand mixer is easier for the long whipping time, but a hand mixer gets the job done too.
- Large mixing bowl: Make sure it’s spotless and grease-free—any fat can ruin your meringue. Stainless steel or glass is best.
- Baking sheet: Line it with parchment paper or a silicone baking mat. Avoid greasing the pan; meringues need a non-stick surface without oil.
- Piping bag: A disposable plastic bag with a round tip (like Wilton #12) works perfectly. No piping bag? Use a zip-top bag with the corner snipped off.
- Toothpicks: For painting on the ghost faces with gel food coloring.
- Cooling rack: Essential for letting the cookies cool completely without trapping moisture.
Budget-friendly options: If you don’t have a piping bag, a sturdy plastic sandwich bag works in a pinch. Just don’t skimp on the parchment paper—wax paper will stick and ruin your ghosts!
Preparation Method
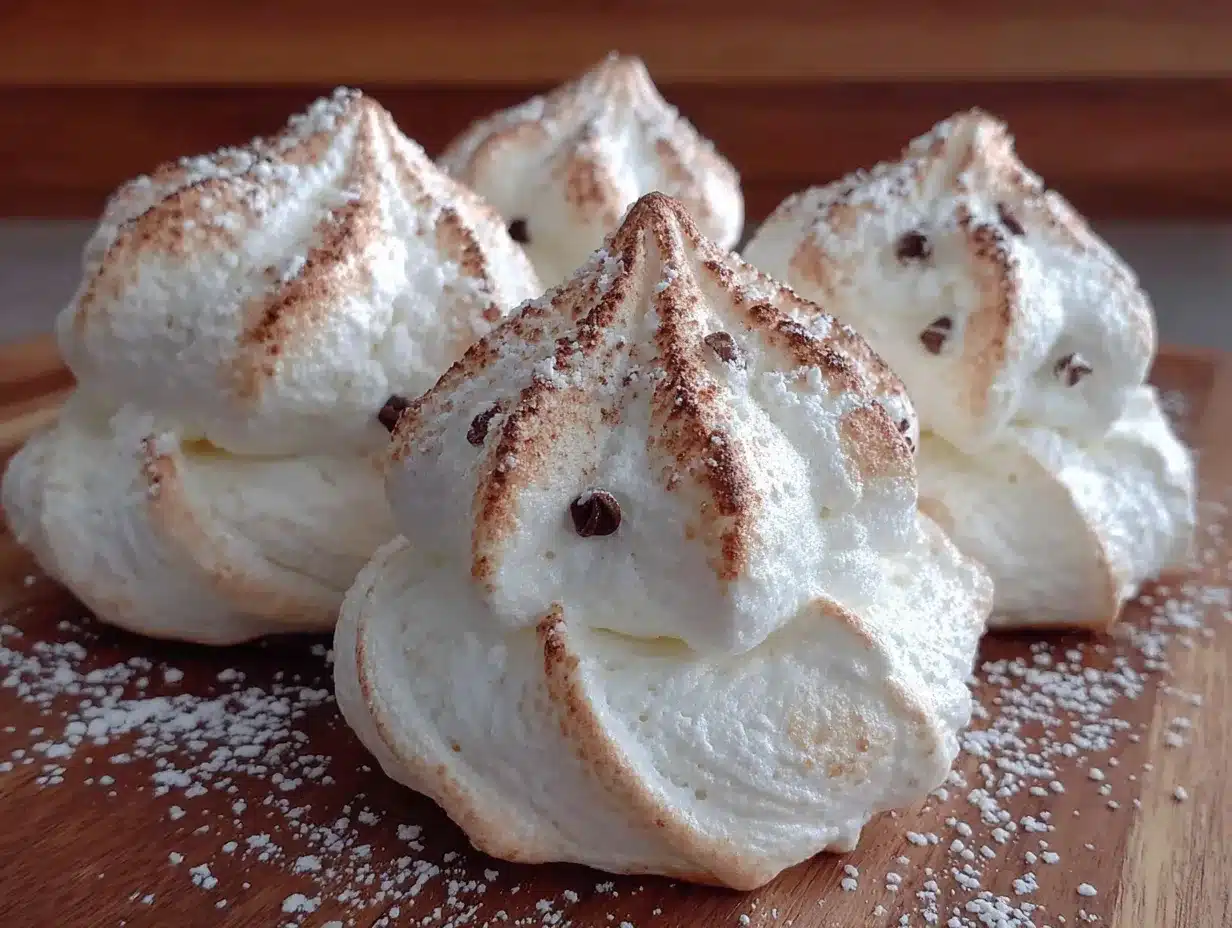
- Preheat your oven to 200°F (93°C). Line a large baking sheet with parchment paper. This low temperature is key—it dries the meringues without browning them.
- Separate your eggs carefully. You want zero yolk in the whites—any fat will prevent them from whipping up. I crack each egg into a small bowl first, then transfer the white to the mixing bowl. It’s a small step that saves a whole batch.
- Start whipping the egg whites on medium speed with the cream of tartar and salt. Whip until they become frothy and start to hold soft peaks—about 2-3 minutes. You’ll see bubbles get smaller and the mixture turn white.
- Add the sugar slowly—one tablespoon at a time—while the mixer runs on medium-high speed. This should take about 5 minutes. Don’t rush it; adding sugar too fast can deflate the meringue. The mixture will become thick, glossy, and form stiff peaks when you lift the beater.
- Add the vanilla and whip for another 30 seconds until combined. The meringue should be so stiff that it doesn’t slide around in the bowl when you tilt it.
- Transfer the meringue to a piping bag fitted with a round tip. If you don’t have a tip, just snip the end of the bag to about 1/2-inch wide.
- Pipe ghost shapes onto the prepared baking sheet. Hold the bag straight up, squeeze a round base, then lift while squeezing to create a tall peak. Release pressure and pull away quickly. Leave about 1 inch between each ghost—they don’t spread much, but they need air circulation.
- Decorate the faces using a toothpick dipped in black gel food coloring. Make two tiny dots for eyes and a small O for the mouth. Don’t worry about perfection—each ghost should look a little different!
- Bake for 60 minutes at 200°F (93°C). Do not open the oven door during baking—the steam will ruin them. After 60 minutes, turn off the oven and leave the ghosts inside for another 30 minutes to dry out completely.
- Cool completely on the baking sheet before transferring to a cooling rack. They should lift off the parchment easily. If they stick, bake for 10 more minutes.
Sensory cue: You’ll know they’re done when they’re dry to the touch and sound hollow when tapped. The kitchen will smell faintly of vanilla and sugar—like a clean, sweet cloud.
Cooking Tips & Techniques
I’ve made these ghost cookies about a dozen times, and I’ve learned a few things the hard way. Here are my top tips for success:
- Room temperature eggs are non-negotiable. Cold eggs won’t whip up as high. Leave them on the counter for 30 minutes before starting. In a rush? Place them in a bowl of warm water for 5 minutes.
- Don’t over-whip. Stop when the meringue forms stiff, glossy peaks. If it starts to look curdled or grainy, you’ve gone too far—unfortunately, there’s no saving it at that point.
- Humidity is the enemy. Meringues are basically sugar sponges. Don’t make them on a rainy or humid day—they’ll turn sticky and flat. I learned this after a disastrous batch during a thunderstorm.
- Bake low and slow. I know it’s tempting to crank up the heat, but 200°F is perfect. Higher temps will brown the ghosts and cause cracks. Patience is your best friend here.
- Test for doneness. After the oven is off and the 30-minute rest is up, gently lift one ghost. If it sticks to the parchment, pop the sheet back in for 10-15 minutes at 200°F.
Timing strategy: I usually prep the meringue while the oven preheats, then pipe and bake immediately. The meringue can sit for a few minutes, but don’t let it sit for more than 15—it will start to deflate.
Variations & Adaptations
These ghost meringues are wonderfully versatile. Here are a few ways to switch them up:
- Chocolate ghosts: Swap 2 tablespoons of sugar for unsweetened cocoa powder. Sift it in with the sugar for a rich, chocolatey ghost. My kids go crazy for these.
- Peppermint ghosts: Add 1/2 teaspoon of peppermint extract instead of vanilla. Crush a candy cane and sprinkle it on top before baking for a festive winter ghost.
- Vegan version: Use aquafaba (liquid from a can of chickpeas) instead of egg whites. Whip it with cream of tartar and sugar just like the regular recipe. The texture is slightly less crisp, but still delicious.
- Colorful ghosts: Add a drop of gel food coloring to the meringue before piping. Try purple or green for a fun twist on Halloween.
I’ve tried the chocolate version myself, and honestly, it’s my new favorite. The cocoa adds a depth that makes them feel even more indulgent without losing that light, airy texture.
Serving & Storage Suggestions
Serve these ghost meringues at room temperature. They’re perfect on a Halloween dessert table alongside other treats like pumpkin pie or caramel apples. For a spooky presentation, arrange them on a black platter or scatter them around a “graveyard” cake.
Storage: Keep them in an airtight container at room temperature for up to 2 weeks. Do not refrigerate—moisture will make them sticky. For longer storage, freeze them in a single layer in a freezer-safe bag for up to 3 months. Thaw at room temperature for 10 minutes before serving.
Reheating: These don’t need reheating, but if they’ve softened slightly, pop them in a 200°F oven for 5 minutes to crisp up again.
Flavor development: Meringues actually taste best the day after baking—the flavors meld together and the texture becomes perfectly crisp. So feel free to make them a day ahead!
Nutritional Information & Benefits
Per serving (1 ghost cookie): Approximately 35 calories, 0g fat, 8g carbohydrates, 8g sugar, 1g protein. These are naturally gluten-free and low-fat, making them a lighter Halloween treat.
Health benefits of key ingredients: Egg whites are a great source of protein without the cholesterol of the yolk. Vanilla extract has antioxidants that can help reduce inflammation. Plus, these cookies are free from artificial colors and preservatives—just pure, simple ingredients.
Dietary considerations: This recipe is gluten-free, nut-free, and can be made vegan with aquafaba. Always check your cream of tartar for any additives—most brands are pure and safe.
From a wellness perspective, I love that these cookies satisfy a sweet craving without the heavy feeling of traditional baked goods. They’re proof that you can enjoy Halloween treats without sacrificing your health goals.
Conclusion
These Light & Airy Ghost Meringue Cookies are more than just a Halloween novelty—they’re a testament to finding magic in unexpected places. From a plumber’s offhand advice to my own kitchen, this recipe has become a staple in my fall baking rotation. They’re easy to make, fun to decorate, and surprisingly wholesome for a treat that looks this spooky.
I encourage you to make them your own—try the chocolate version, add a dash of cinnamon, or just stick with the classic ghost shape. However you make them, I promise they’ll disappear faster than you can say “boo.”
If you give these a try, I’d love to hear how they turned out! Drop a comment below with your favorite variation or tag me in your photos on social media. Happy Halloween baking, friends!
Frequently Asked Questions
Can I use liquid egg whites from a carton?
Yes, but they don’t whip up as well as fresh egg whites. If you use carton egg whites, make sure they’re at room temperature and add an extra 1/4 teaspoon of cream of tartar for stability.
Why did my meringues crack?
Cracking usually happens from temperature changes. Avoid opening the oven door during baking, and let them cool slowly inside the oven after turning it off. Also, make sure your oven isn’t too hot—stick to 200°F.
Can I make these without a piping bag?
Absolutely! Use a sturdy zip-top bag with a corner snipped off. Or, for a rustic look, drop spoonfuls of meringue onto the baking sheet and shape them into ghost forms with a spatula.
How do I get the ghost faces perfect?
Use a toothpick dipped in black gel food coloring. Start with tiny dots for eyes—you can always make them bigger. For the mouth, a small curved line or an “O” shape works best. Practice on a piece of parchment first if you’re nervous!
Can I double the recipe?
Yes, but bake them in batches. Meringues need space for air to circulate, so don’t crowd the baking sheet. If you double the batch, use two sheets and rotate them halfway through baking.
Pin This Recipe!
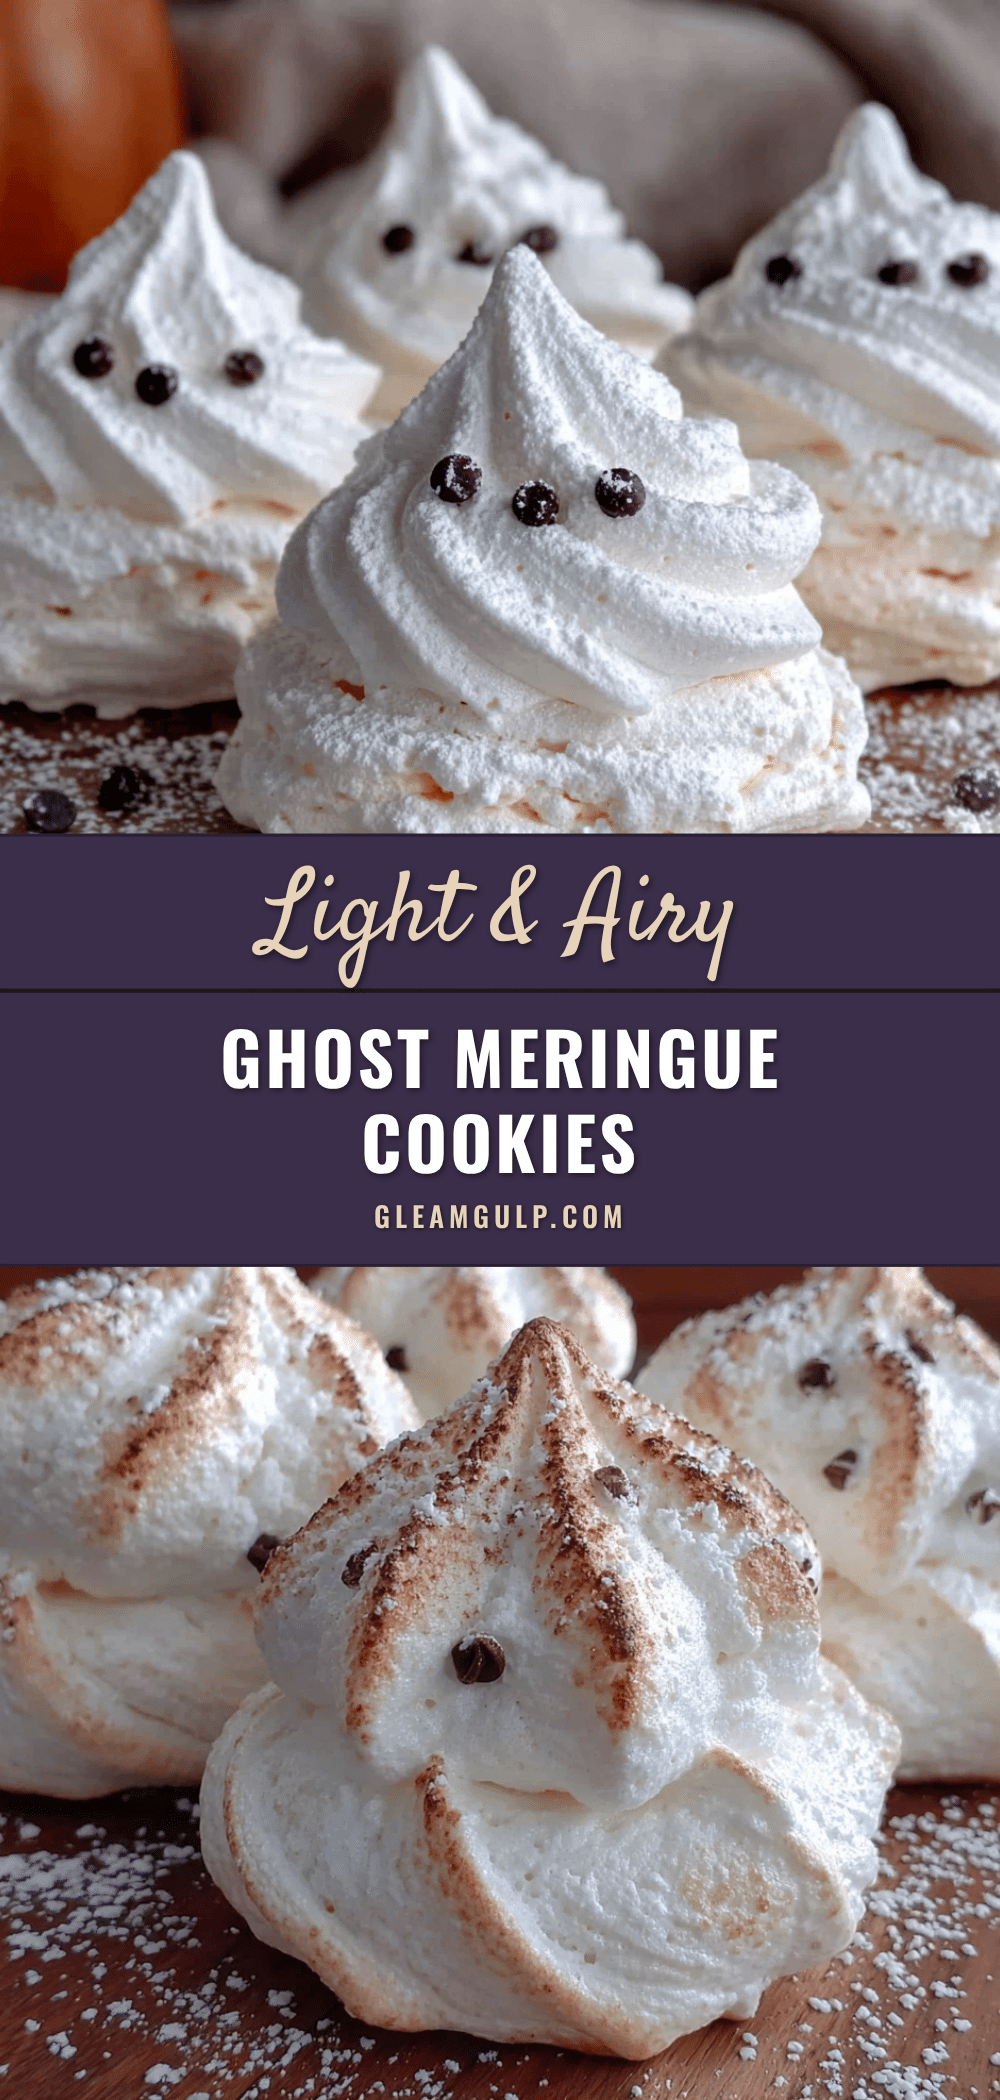
Light & Airy Ghost Meringue Cookies: Easy Spooky Treat
These ghost meringue cookies are light, airy, and surprisingly simple to make. Perfect for Halloween, they are gluten-free and low-fat, with a crispy shell and soft marshmallow center.
- Prep Time: 15 minutes
- Cook Time: 60 minutes
- Total Time: 1 hour 45 minutes
- Yield: 24 servings 1x
- Category: Dessert
- Cuisine: American
Ingredients
- 4 large egg whites, room temperature
- 1 cup (200g) granulated sugar
- 1/2 teaspoon cream of tartar
- 1 teaspoon vanilla extract
- A pinch of salt
- Black gel food coloring (for decorating)
Instructions
- Preheat your oven to 200°F (93°C). Line a large baking sheet with parchment paper.
- Separate your eggs carefully, ensuring no yolk gets into the whites.
- Whip the egg whites on medium speed with cream of tartar and salt until frothy and soft peaks form, about 2-3 minutes.
- Add the sugar slowly, one tablespoon at a time, while the mixer runs on medium-high speed. This should take about 5 minutes. Continue until stiff, glossy peaks form.
- Add the vanilla and whip for another 30 seconds until combined.
- Transfer the meringue to a piping bag fitted with a round tip.
- Pipe ghost shapes onto the prepared baking sheet: squeeze a round base, then lift while squeezing to create a tall peak. Leave about 1 inch between each ghost.
- Decorate the faces using a toothpick dipped in black gel food coloring. Make two tiny dots for eyes and a small O for the mouth.
- Bake for 60 minutes at 200°F (93°C). Do not open the oven door during baking.
- After 60 minutes, turn off the oven and leave the ghosts inside for another 30 minutes to dry out completely.
- Cool completely on the baking sheet before transferring to a cooling rack.
Notes
Room temperature eggs are essential. Avoid making meringues on humid days. Do not open the oven door during baking. For best results, let the meringues cool slowly in the oven after turning it off.
Nutrition
- Serving Size: 1 ghost cookie
- Calories: 35
- Sugar: 8
- Sodium: 10
- Carbohydrates: 8
- Protein: 1
Keywords: ghost cookies, meringue cookies, Halloween cookies, gluten-free cookies, low-fat cookies, spooky treats


