Love this? Save it for later!
Share the inspiration with your friends
I wasn’t trying to invent anything new that Tuesday afternoon. My nephew Leo had come over after school, and I was staring into the pantry like it held the answers to the universe. The usual post-school chaos was in full swing—backpack on the floor, shoes kicked off somewhere, and a very specific request for “something fun” to eat. Honestly, I was this close to just handing him an apple and calling it a day.
Then I saw the bananas on the counter, the jar of peanut butter, and a pack of tortillas I’d bought for tacos that never happened. And something clicked. Not a recipe from a book or something I saw online—just a desperate, hungry-kid-fueled moment of clarity. I rolled peanut butter and a banana into that tortilla, sliced it into little rounds, and watched Leo’s face go from skeptical to delighted in about two seconds flat.
He called them “banana sushi” before I could even think of a name. And honestly? That’s exactly what they are. Little pinwheels of creamy peanut butter and sweet banana wrapped in a soft tortilla. No cooking, no mess, no fuss. Just pure, kid-approved magic that takes maybe five minutes to throw together. Maybe you’ve been there—standing in your kitchen, tired, hungry kids circling like sharks, and you need something that feels special but requires zero effort. These peanut butter banana sushi roll-ups are that answer. I’ve been making them ever since, and they never get old.
Why You’ll Love This Recipe
Let me tell you why these little roll-ups have become a staple in my kitchen and probably will in yours too.
- Quick & Easy: We’re talking five minutes, maybe less. No oven, no stove, no complicated steps. Perfect for those after-school crazies or a lazy Saturday morning when everyone wants something fun but you’re not trying to cook.
- Simple Ingredients: You probably have everything already. Tortillas, peanut butter, bananas. That’s it. No fancy trips to the store, no obscure ingredients you’ll use once and forget about.
- Perfect for Kids: This is the kind of snack kids can actually help make. My niece can spread the peanut butter herself (with supervision, of course), and they love watching the banana roll up inside. It’s a little cooking lesson disguised as fun.
- Crowd-Pleaser: I’ve brought these to playdates and watched kids inhale them. Parents always ask for the recipe. They’re just universally loved—sweet, creamy, satisfying, and not a single complaint.
- Unbelievably Delicious: Don’t let the simplicity fool you. The combination of creamy peanut butter and sweet banana wrapped in a soft tortilla is somehow more than the sum of its parts. It’s comfort food at its most basic and brilliant.
What makes these different from other snacks is the texture. The soft tortilla, the creamy spread, the sweet banana—it all comes together in these perfect little bite-sized rounds. It’s not just another peanut butter sandwich. It’s an experience. And honestly, it’s the kind of snack that makes you feel like a good parent or aunt or uncle without actually doing much work. That’s a win in my book.
What Ingredients You Will Need
This recipe uses the simplest ingredients to create something genuinely special. Here’s what you’ll need and a few notes on each.
- Flour tortillas (8-inch size): Look for soft, pliable tortillas. I prefer the medium-sized ones—not too big, not too small. Mission brand works great, but any brand you like is fine. For a whole grain option, try whole wheat tortillas. They add a nice nutty flavor that pairs well with the peanut butter.
- Creamy peanut butter: This is the glue that holds everything together. I recommend Skippy or Jif for that classic creamy texture. Natural peanut butter works too, but you might need to stir it well first. The oil separation can make it a bit runny, so just give it a good mix. If you have a nut allergy in the house, sunflower seed butter or WowButter are excellent substitutes.
- Ripe bananas: You want bananas that are yellow with a few brown spots—not green, not completely mushy. They should be sweet and easy to mash just a little as you roll. The riper they are, the sweeter your roll-ups will be. If they’re too green, they won’t have that soft, creamy texture. Too brown, and they might get messy.
- Optional add-ins: This is where you can get creative. A sprinkle of cinnamon adds warmth. A drizzle of honey makes it extra sweet. Mini chocolate chips turn it into a dessert. Crushed granola adds crunch. I’ve even added a thin layer of Nutella for special occasions. But honestly, the basic version is perfect on its own.
A quick note on substitutions: If you’re gluten-free, use gluten-free tortillas. Corn tortillas are too small and stiff for this, so stick with the larger gluten-free flour tortillas. For a lower-carb option, try low-carb tortillas or lettuce wraps. Just know that lettuce wraps won’t hold together as well, so eat them immediately.
Equipment Needed
The beauty of this recipe is that you barely need anything. Here’s what you’ll need:
- A butter knife or offset spatula: For spreading the peanut butter. A regular butter knife works fine, but an offset spatula makes it even easier to get an even layer.
- A sharp knife: For slicing the roll-ups into rounds. A serrated knife works best because it cuts through the tortilla without squishing the banana. I learned this the hard way after a few squashed roll-ups.
- A cutting board: Any cutting board will do. Just make sure it’s clean and dry before you start.
- A plate or serving platter: For arranging your beautiful little roll-ups. A colorful plate makes them extra fun for kids.
That’s it. Seriously. No special equipment, no fancy gadgets. If you have a knife and a cutting board, you’re good to go. This is the kind of recipe that proves you don’t need expensive tools to make something wonderful.
Preparation Method
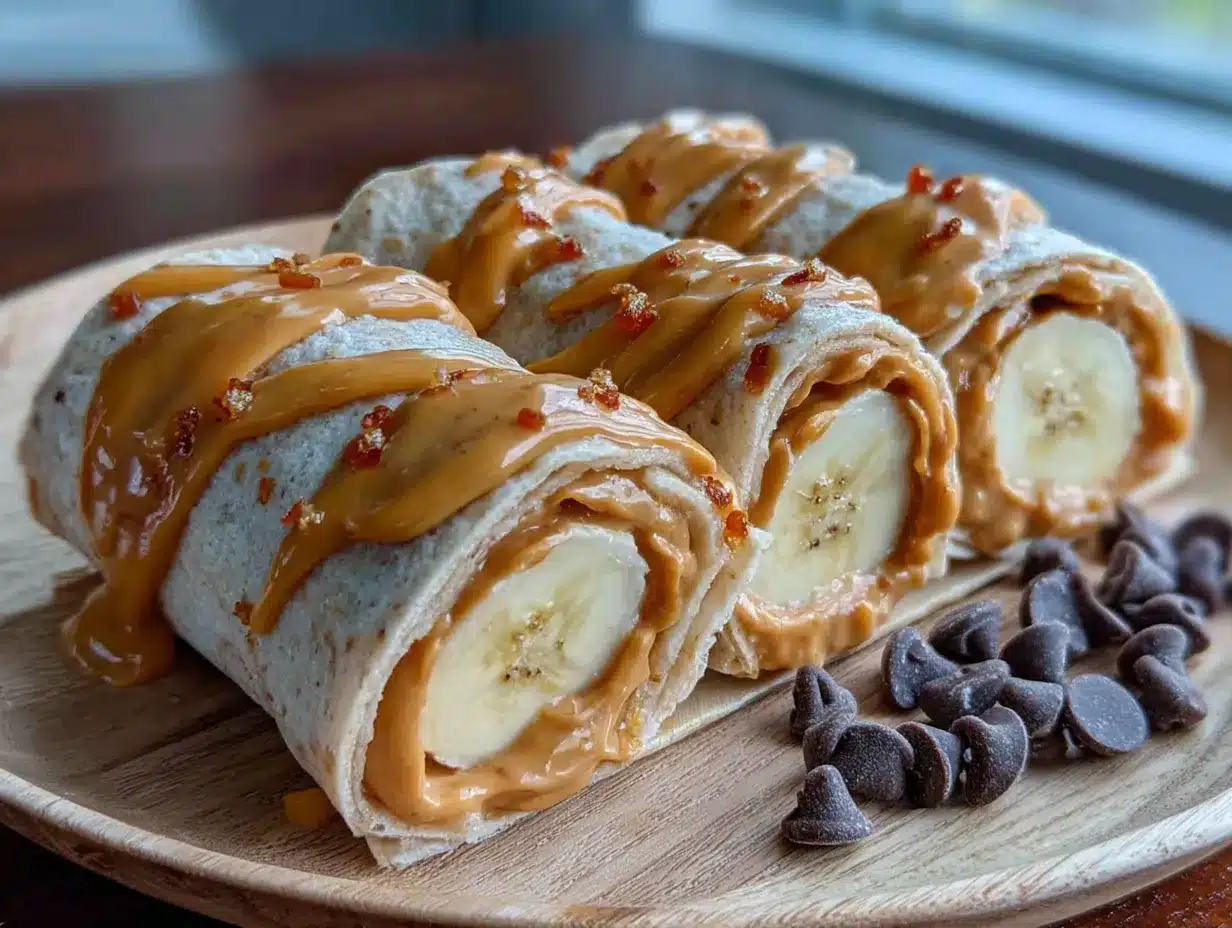
Making these peanut butter banana sushi roll-ups is almost too easy. But let me walk you through it step by step, with all the little tips I’ve picked up along the way.
- Lay out your tortilla on a clean, flat surface. Make sure it’s at room temperature. Cold tortillas can crack when you roll them. If yours have been in the fridge, let them sit on the counter for 10 minutes or warm them in the microwave for about 10 seconds.
- Spread a thin, even layer of peanut butter over the entire tortilla. Leave about a half-inch border around the edges. This helps everything stay inside when you roll it. I use about 2 tablespoons per tortilla, but you can use more or less depending on your preference. The key is even coverage—no bare spots, no giant clumps.
- Place a whole banana at one edge of the tortilla. I like to put it about an inch from the edge closest to me. If the banana is too long for the tortilla (which happens sometimes), just trim off the ends. You want the banana to fit comfortably inside without sticking out the sides.
- Add any optional toppings now. If you’re using cinnamon, honey, chocolate chips, or anything else, sprinkle or drizzle it over the banana before you roll. This way, everything gets distributed evenly inside the roll.
- Roll the tortilla tightly around the banana. Start at the edge closest to you and roll away from your body. Keep it snug but not so tight that the banana squishes out the sides. Use your fingers to tuck the tortilla as you go. The peanut butter will help hold everything in place.
- Press gently to seal the seam. Once it’s rolled, place it seam-side down and press lightly. This helps the roll stay closed when you cut it.
- Slice the roll into rounds. Using a sharp serrated knife, cut the roll into 1-inch thick pieces. I usually get about 6-8 slices per tortilla. Use a gentle sawing motion rather than pressing straight down. This prevents the banana from getting squished. Trust me on this—I’ve ruined many a roll-up by being too aggressive with the knife.
- Arrange the slices on a plate. Stand them up like little sushi rolls or lay them flat. Either way, they look adorable. If they’re for a party or a special treat, you can arrange them in a fun pattern.
A few extra notes: If the peanut butter is too thick to spread easily, warm it in the microwave for 10-15 seconds. If the banana is too ripe and soft, it might get messy when you slice. That’s okay—it still tastes amazing. And if you’re making these ahead of time, wait to slice them until just before serving. The slices can dry out a bit if they sit too long.
Cooking Tips & Techniques
Over the years, I’ve learned a few things that make these roll-ups even better. Let me share them with you.
Use the right banana ripeness. This is probably the most important tip. A banana that’s too green won’t be sweet enough and will be hard to roll. A banana that’s too ripe will get mushy and make a mess. Aim for yellow with a few brown spots. That’s the sweet spot—literally.
Don’t overspread the peanut butter. A thin, even layer is all you need. Too much peanut butter makes the roll-up heavy and can cause the banana to slide around. Plus, it’s a lot of calories. A little goes a long way here.
Warm the tortilla slightly. If your tortilla is cold or stiff, it can crack when you roll it. A quick 10-second zap in the microwave makes it pliable and easy to work with. Just don’t overheat it, or it’ll get too soft and tear.
Use a serrated knife for cutting. This is a game-changer. A serrated knife cuts through the tortilla without squishing the banana. I learned this after a few disastrous attempts with a regular chef’s knife. The sawing motion is gentle and precise.
Keep the roll tight but not too tight. You want the tortilla wrapped snugly around the banana, but if you roll too tightly, the banana will squish out the ends. Find that happy medium where everything stays inside.
Make it a fun activity. Let kids help with the spreading and rolling. It’s a great way to get them involved in the kitchen and excited about eating something healthy. My nephew loves being the official “roller” and takes his job very seriously.
One mistake I made early on was trying to cut the roll while it was still warm. The tortilla was too soft and everything fell apart. Let it sit for a minute or two after rolling to set. The peanut butter firms up just a bit, making slicing much easier.
Variations & Adaptations
This recipe is endlessly adaptable. Here are some of my favorite variations.
Chocolate Peanut Butter Banana Sushi: Spread a thin layer of Nutella or chocolate hazelnut spread on the tortilla before adding the peanut butter. Or just use chocolate peanut butter if you can find it. It’s like a dessert in snack form.
Crunchy Granola Roll-Ups: After spreading the peanut butter, sprinkle a layer of granola or crushed cereal before adding the banana. It adds a fantastic crunch that contrasts with the soft banana. My kids love this version.
Berry Banana Sushi: Add a handful of fresh berries—sliced strawberries, blueberries, or raspberries—alongside the banana before rolling. The burst of tartness from the berries balances the sweetness perfectly.
Savory-Sweet Twist: Use almond butter or cashew butter instead of peanut butter, and add a drizzle of honey and a sprinkle of sea salt. The salt enhances the sweetness and makes it taste incredibly sophisticated. It’s my go-to for grown-up snack time.
Freezer-Friendly Option: You can freeze the rolled-up tortillas (unsliced) for later. Wrap them tightly in plastic wrap and store in a freezer bag. When you’re ready, thaw them in the fridge overnight and slice as usual. They’re perfect for busy mornings.
Allergy-Friendly Version: Use sunflower seed butter or soy nut butter for a nut-free option. Gluten-free tortillas work perfectly. And if you’re avoiding bananas, try using a thick slice of mango or a peeled apple wedge instead. It’s not the same, but it’s still delicious.
I once tried a version with cinnamon sugar sprinkled on the peanut butter. It was amazing. The warmth of the cinnamon paired with the sweet banana is a combination I keep coming back to. Sometimes the simplest additions make the biggest difference.
Serving & Storage Suggestions
These roll-ups are best served fresh, but they can be made ahead with a little planning.
Serving Temperature: Room temperature is perfect. If you’ve stored them in the fridge, let them sit out for 10-15 minutes before serving. Cold tortillas can be a bit stiff, and the banana flavor is less pronounced when it’s cold.
Presentation Ideas: Arrange the slices on a colorful plate or in a bento box for lunch. You can stand them up like sushi rolls for a fun visual. For parties, serve them on a platter with toothpicks for easy grabbing. A sprinkle of cinnamon on top makes them look extra special.
What to Serve With: These pair beautifully with a glass of milk, a smoothie, or some yogurt. For a more substantial snack, serve them alongside some cheese cubes or veggie sticks. They’re also great in lunchboxes—just pack them in a container with a tight lid.
Storage Instructions: Store leftover slices in an airtight container in the refrigerator for up to 2 days. The tortilla might get a bit soft, but they’ll still taste good. If you’re making them for a lunchbox, pack them in a container with a piece of paper towel to absorb any moisture.
Reheating: These are best eaten cold or at room temperature, so no reheating needed. If you want to warm them up, a quick 10-second zap in the microwave will take the chill off without making them soggy.
One thing I’ve noticed is that the flavors actually meld together a bit after a few hours in the fridge. The peanut butter soaks into the tortilla just slightly, and the banana flavor permeates everything. They’re still delicious the next day, just a little different in texture. If you’re packing them for lunch, I recommend adding a squeeze of lemon juice to the banana to prevent browning.
Nutritional Information & Benefits
These roll-ups are surprisingly nutritious for how indulgent they taste. Here’s a rough breakdown per serving (about 3-4 slices):
- Calories: Approximately 250-300
- Protein: 8-10 grams
- Carbohydrates: 35-40 grams
- Fiber: 4-5 grams
- Fat: 10-12 grams
- Sugar: 12-15 grams (mostly natural from the banana)
Health Benefits: Bananas are packed with potassium, which is great for heart health and muscle function. They also provide vitamin C and vitamin B6. Peanut butter offers healthy fats and protein, keeping kids full and satisfied. Tortillas provide carbohydrates for energy. Together, they make a balanced snack that fuels active bodies.
Dietary Considerations: This recipe is naturally dairy-free and can be made gluten-free with the right tortillas. For a nut-free version, use sunflower seed butter. It’s also vegetarian and can be made vegan by using a plant-based tortilla (most are).
Potential Allergens: Peanuts and gluten are the main allergens here. Always check your tortilla labels for gluten if that’s a concern. And if you’re serving to a crowd, make sure to ask about allergies before making a nut-based version.
I love that this snack feels like a treat but is actually good for you. It’s one of those rare recipes that checks all the boxes—delicious, fun, and nutritious. No guilt, just happy kids and happy parents.
Conclusion
These easy peanut butter banana sushi roll-ups have saved me more times than I can count. They’ve turned grumpy afternoons into happy ones, filled lunchboxes with smiles, and made me look like a superhero to my nephew with almost zero effort. That’s the kind of recipe you hold onto.
What I love most about them is how they prove that simple doesn’t mean boring. A tortilla, some peanut butter, and a banana—that’s all it takes to create something that feels special. It’s the little things, you know? The way the banana peeks out from the center, the creamy texture, the sweet and salty combo. It’s comfort food at its purest.
I’d love to hear how these turn out for you. Did your kids love them? Did you try a fun variation? Drop a comment below and let me know. And if you have your own twist on these roll-ups, please share it—I’m always looking for new ideas. Until then, happy rolling, and may your kitchen be filled with peanut butter smiles.
Frequently Asked Questions
Can I make these ahead of time for a party?
Absolutely! You can roll the tortillas with the peanut butter and banana up to a few hours ahead. Just wrap them tightly in plastic wrap and refrigerate. Slice them right before serving to keep them looking fresh and prevent drying.
What if my tortilla cracks when I roll it?
This usually happens if the tortilla is too cold or too dry. Warm it in the microwave for 10 seconds to make it pliable. If it’s still cracking, try a different brand of tortilla—some are more flexible than others.
Can I use crunchy peanut butter instead of creamy?
You can, but it might be harder to spread evenly. The crunchy bits can also make it tricky to roll smoothly. I’d stick with creamy for the best texture, but if crunchy is all you have, go for it. Just spread it carefully.
How do I keep the banana from turning brown?
Bananas naturally oxidize and turn brown when exposed to air. To slow this down, brush the banana with a little lemon juice or lime juice before rolling. It won’t affect the taste much and will keep them looking fresh longer.
Can I use a different fruit instead of banana?
Yes! Mango, strawberries, or even apple slices work well. Just make sure the fruit is cut into a shape that will roll up easily. Mango strips are great, and thinly sliced apples with the peel still on hold together nicely.
Pin This Recipe!
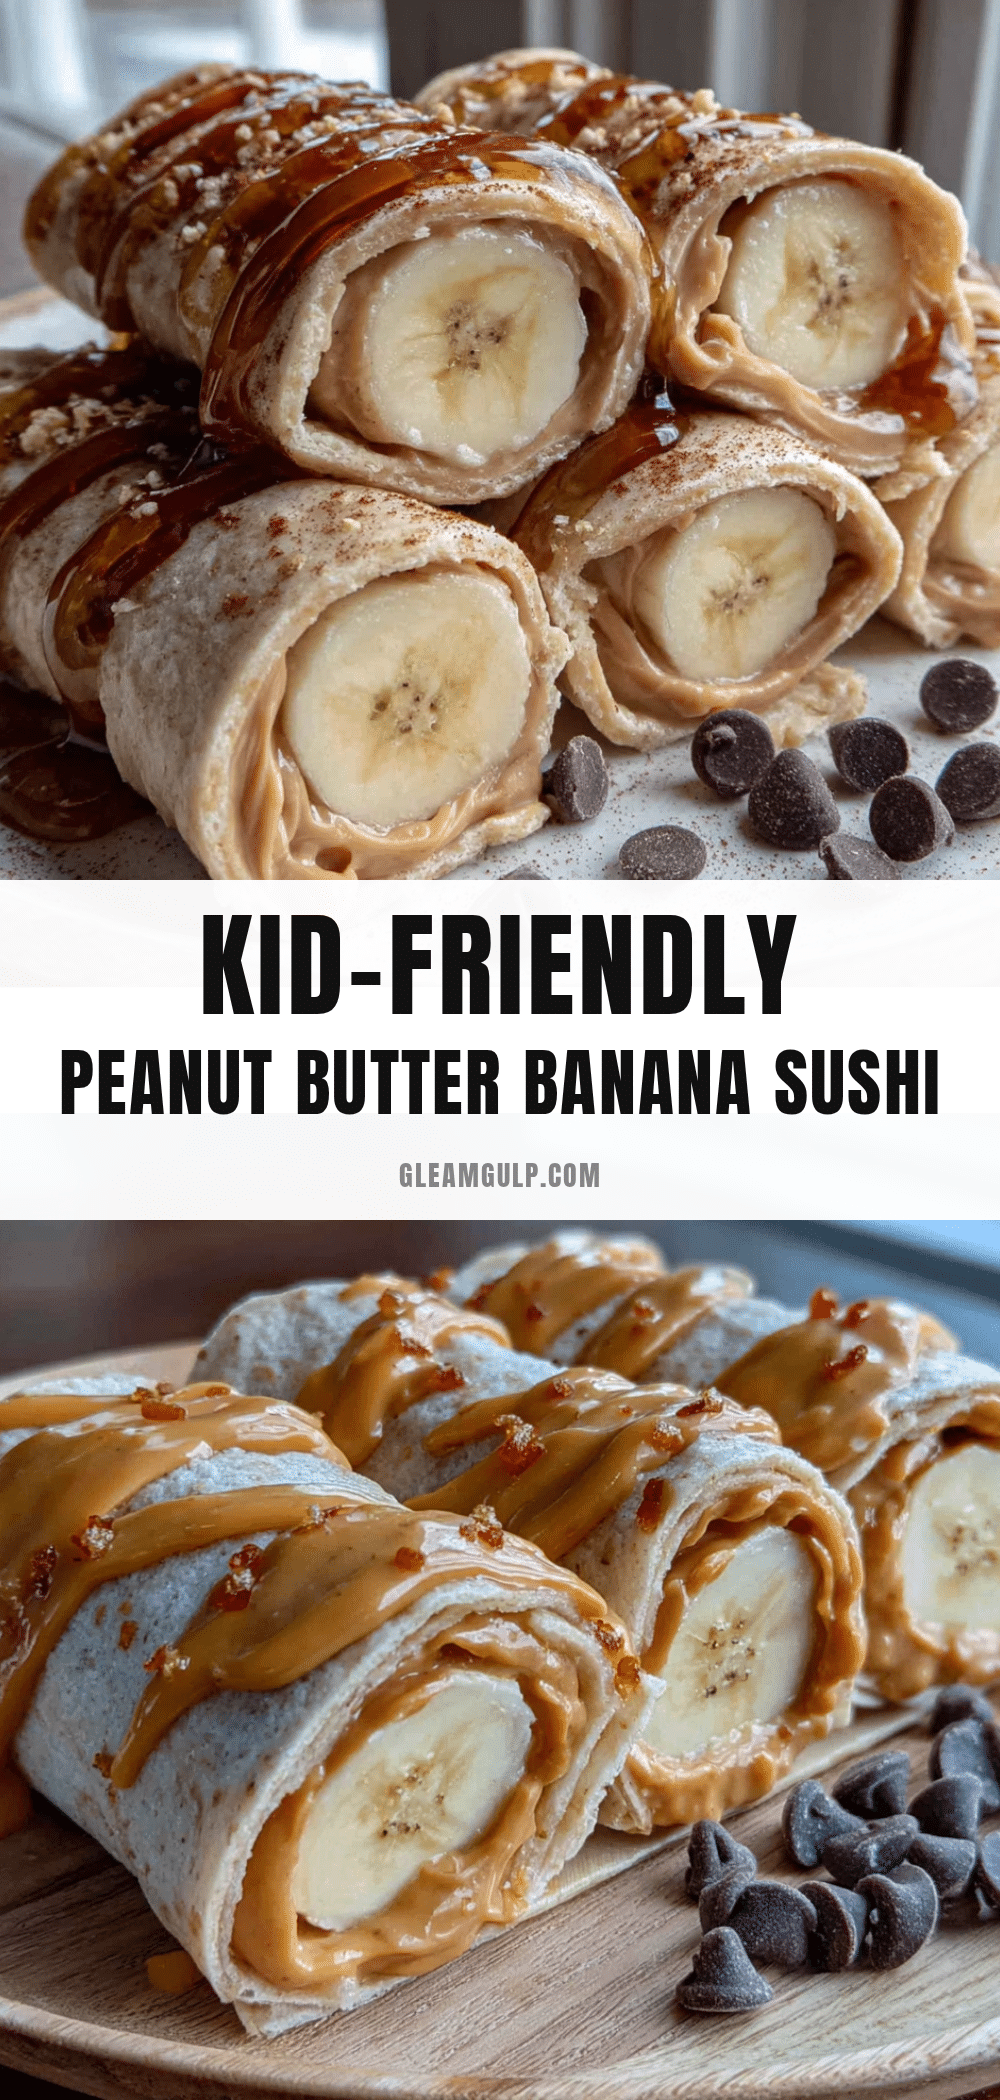
Easy Peanut Butter Banana Sushi Roll-Ups for Kids
Quick and easy no-cook snack made with tortillas, peanut butter, and bananas. Perfect for after-school or lunchboxes.
- Prep Time: 5 minutes
- Cook Time: 0 minutes
- Total Time: 5 minutes
- Yield: 4 servings 1x
- Category: Snack
- Cuisine: American
Ingredients
- 4 (8-inch) flour tortillas
- 1/2 cup creamy peanut butter (e.g., Skippy or Jif)
- 4 ripe bananas (yellow with a few brown spots)
- Optional: cinnamon, honey, mini chocolate chips, crushed granola, Nutella
Instructions
- Lay out a tortilla on a clean, flat surface. If cold, warm in microwave for 10 seconds.
- Spread a thin, even layer of peanut butter over the entire tortilla, leaving a 1/2-inch border.
- Place a whole banana at one edge of the tortilla, about 1 inch from the edge. Trim ends if too long.
- Add any optional toppings (cinnamon, honey, chocolate chips, etc.) over the banana.
- Roll the tortilla tightly around the banana, starting from the edge closest to you. Keep snug but not too tight.
- Press gently to seal the seam, then place seam-side down.
- Using a sharp serrated knife, slice the roll into 1-inch thick rounds (about 6-8 slices per tortilla).
- Arrange slices on a plate and serve immediately.
Notes
Use ripe bananas with a few brown spots for best sweetness. Warm tortillas if cold to prevent cracking. Slice with a serrated knife to avoid squishing the banana. Store leftovers in an airtight container in the fridge for up to 2 days. For lunchboxes, add a squeeze of lemon juice to prevent banana browning.
Nutrition
- Serving Size: 3-4 slices
- Calories: 250300
- Sugar: 1215
- Sodium: 150200
- Fat: 1012
- Saturated Fat: 23
- Carbohydrates: 3540
- Fiber: 45
- Protein: 810
Keywords: peanut butter banana sushi, banana roll-ups, kid-friendly snack, no-cook snack, easy snack


