Love this? Save it for later!
Share the inspiration with your friends
My neighbor, Mrs. Gable, wasn’t trying to impress anyone. I’d stopped by to borrow a cup of sugar—cliché, I know, but I was genuinely out—and the smell of warm butter and chocolate hit me before she even opened the screen door. It was the kind of scent that makes you stop mid-sentence and just breathe in. She waved me into her kitchen, where a baking sheet of lumpy, misshapen cookies sat cooling on the counter. They looked, honestly, a little ridiculous. Pockets of melted chocolate here, a suspicious orange blob there. I asked what she was making, and she just shrugged. “Oh, just trying to get rid of the candy the grandkids left behind.”
Let me tell you, I almost laughed. Leftover Halloween candy cookies? It sounded like something you’d throw together when you’re desperate, not something that would stop a person in their tracks from the doorway. But that first bite—warm, chewy, with a surprise pocket of melted nougat and a bit of crunch from a crushed-up butterfinger—changed everything. I mean, I stood there in her kitchen, leaning against her counter, eating three of them before I even said another word. She just smiled, pushed the plate closer, and said, “See? Nothing fancy.”
And that’s the thing, isn’t it? The best recipes are rarely the ones you plan. They’re the ones born from a half-empty bowl of leftover candy and a lazy Sunday afternoon. Maybe you’ve been there, staring at a mountain of mini chocolate bars and lollipops, wondering what on earth to do with them all. These cookies are the answer. They’re cozy, they’re forgiving, and they turn the chaos of Halloween into something warm and comforting. Honestly, I’ve made them three times since that day, and each batch tastes a little different—and I mean that in the best possible way.
Why You’ll Love This Recipe
These Cozy Leftover Halloween Candy Cookies are the definition of a happy accident turned into a staple. I’ve tested them with every kind of candy you can imagine—from peanut butter cups to Skittles (yes, really)—and they work. Here’s why they deserve a permanent spot in your recipe box:
- Seriously Easy: You only need three base ingredients. Three. If you can stir, you can make these. They come together in under 20 minutes, which is perfect for those evenings when you just want something sweet without the fuss.
- Uses Up the Leftovers: No more picking through that sad bowl of half-eaten candy weeks after Halloween. This recipe turns the mess into something you’ll actually look forward to eating.
- Completely Customizable: Every batch is a little adventure. Got a mix of Snickers and Twix? Perfect. Only have lollipops? Crush ’em up. The cookie dough is just a canvas.
- Crowd-Pleaser: I brought a batch to a casual get-together, and people literally argued over the last one. Kids love the surprise fillings, and adults love the nostalgic kick.
- Comfort in Every Bite: Let’s be real—there’s something deeply soothing about a warm cookie on a chilly evening. These cookies feel like a hug. They’re the kind you eat while curled up on the couch, wrapped in a blanket, with a cup of tea in hand.
What makes this recipe different from the hundreds of cookie recipes out there? It’s the technique. Instead of just chopping up the candy and mixing it in, we’re taking a slightly different approach. We press the candy pieces *into* the dough balls before baking, which means you get these gorgeous pockets of melted chocolate and caramel on top. It’s not just a cookie with stuff in it—it’s a cookie with a story. And honestly? It’s the kind of dessert that makes you close your eyes after the first bite. Pure, uncomplicated comfort.
What Ingredients You Will Need
This recipe uses simple, everyday ingredients to turn your leftover Halloween haul into something magical. You probably have most of these in your pantry right now. Here’s what you’ll need:
For the Cookie Base
- 1 box (15-16 oz) yellow or vanilla cake mix – This is the shortcut that makes everything so easy. I prefer Duncan Hines or Betty Crocker for consistent results. The cake mix gives the cookies a soft, tender crumb without needing to measure flour, sugar, and leavening agents separately.
- 1/2 cup (1 stick) unsalted butter, melted – Make sure it’s completely melted and slightly cooled. This helps the dough come together without overmixing. If you only have salted butter, just skip adding any extra salt.
- 2 large eggs – Room temperature eggs incorporate more evenly into the melted butter. If you’re in a hurry, place them in a bowl of warm water for 5 minutes.
For the Candy Mix-In
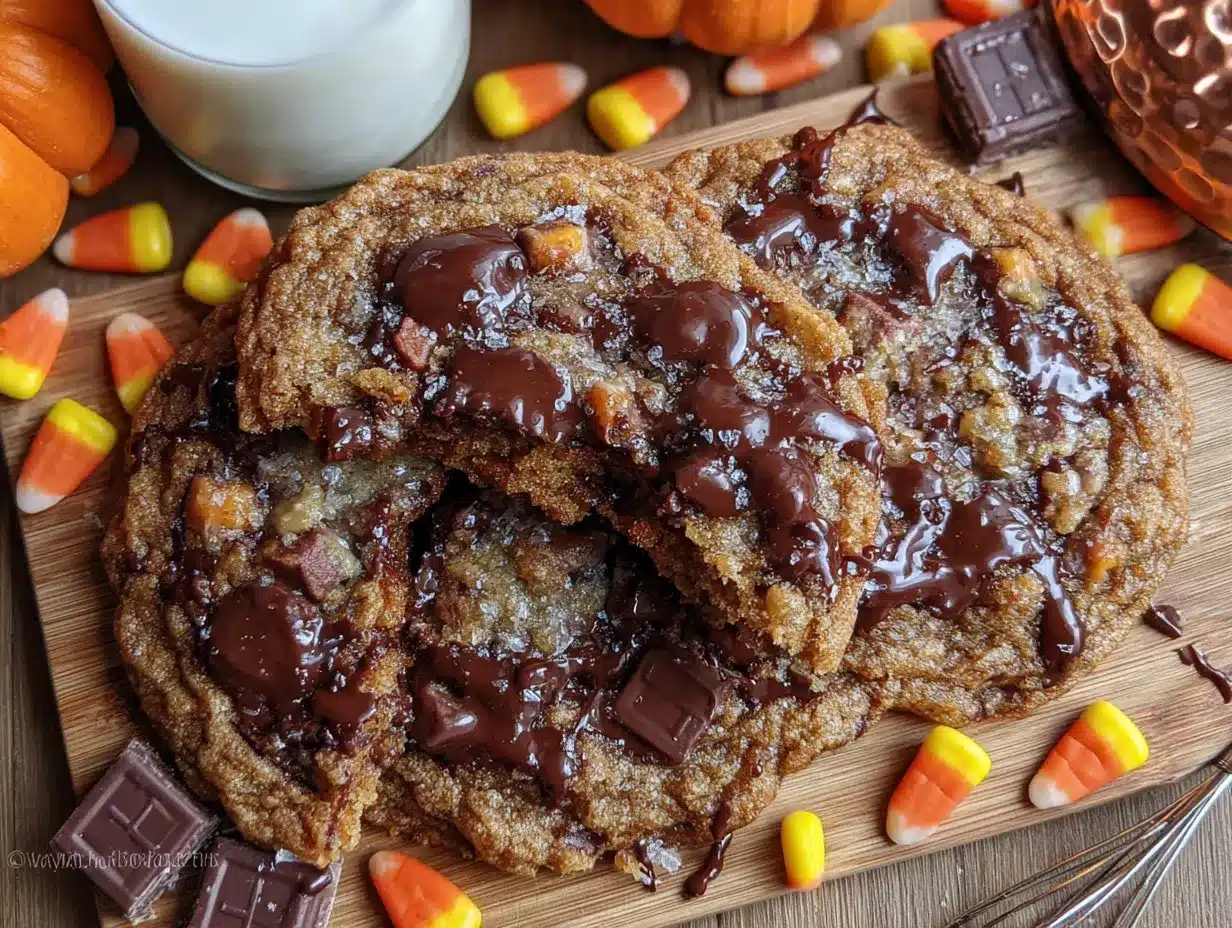
- 1 1/2 to 2 cups assorted leftover Halloween candy, roughly chopped – This is where the fun begins. Aim for a mix of textures: soft caramel candies, crunchy wafers, chocolate bars, and anything with peanut butter. Avoid hard candies like lollipops or jawbreakers (they don’t melt well and can be a choking hazard). Miniature candy bars are perfect because they’re already small. Just give them a rough chop so no piece is bigger than a pea.
Pro tip from my kitchen: I’ve found that a mix of chocolate-based candies (like Hershey’s bars or Kit Kats) with something chewy (like caramel-filled Milky Ways or Tootsie Rolls) creates the best texture. The chocolate melts into puddles, and the chewy bits stay soft. If you have peanut butter cups, definitely use them—they create these little pockets of salty-sweet goodness that are absolutely addictive.
Optional Add-Ins
- 1/4 cup chocolate chips – If your candy stash is low on chocolate, add a handful of chips to ensure every cookie has a melty bite.
- Flaky sea salt – A sprinkle on top before baking takes these from good to “I can’t stop eating them.” The salt cuts through the sweetness beautifully.
- 1 teaspoon vanilla extract – Not strictly necessary, but it adds a lovely warmth that complements the candy.
Equipment Needed
You don’t need a fancy kitchen to make these cookies. Here’s what I use every single time:
- Large mixing bowl – Any bowl will do, but a wide one makes it easier to stir everything together without spilling.
- Wooden spoon or rubber spatula – For mixing the dough. I prefer a sturdy spatula because it scrapes the sides well.
- Baking sheet – A standard half-sheet pan works perfectly. I like to line mine with parchment paper or a silicone baking mat for easy cleanup.
- Cookie scoop or tablespoon – For portioning the dough evenly. A 1.5-tablespoon scoop is my go-to for perfectly sized cookies.
- Sharp knife and cutting board – For chopping the candy. A serrated knife works best for sticky caramel candies.
- Cooling rack – Optional but helpful for letting the cookies cool evenly without getting soggy bottoms.
Budget-friendly tip: If you don’t have a cookie scoop, just use two spoons to drop the dough. They won’t be perfectly round, but they’ll taste just as good. I’ve definitely used a coffee mug to press down sticky candy pieces before—whatever works!
Preparation Method
Alright, let’s get to the good part. These cookies come together faster than you’d think, so preheat your oven first. Here’s the step-by-step:
- Preheat your oven to 350°F (175°C). Line a baking sheet with parchment paper or a silicone mat. This prevents sticking and makes cleanup a breeze.
- Prepare your candy. Take your assortment of leftover Halloween candy and roughly chop it into small pieces. Aim for pieces about the size of a pea—some smaller, some a bit larger. If you have mini candy bars, you can just cut them into quarters. Set aside about 1/4 cup of the chopped candy for topping later.
- Mix the wet ingredients. In your large mixing bowl, combine the melted butter and eggs. Whisk them together until they’re well combined and slightly frothy. This takes about 30 seconds. If you’re using vanilla extract, add it here.
- Add the cake mix. Pour the entire box of cake mix into the bowl. Stir with your wooden spoon or spatula until a soft, cohesive dough forms. Don’t overmix—just stir until you can’t see any dry flour pockets. The dough will be a little sticky, and that’s exactly right.
- Fold in the candy. Gently fold the chopped candy into the dough. Reserve that 1/4 cup you set aside. The dough might look a bit lumpy and uneven—that’s the beauty of it. Every cookie will be a surprise.
- Portion the dough. Using your cookie scoop or tablespoon, drop rounded balls of dough onto the prepared baking sheet. Space them about 2 inches apart—they will spread a little. I usually get about 18-20 cookies from this recipe.
- Press in the topping. Take those reserved candy pieces and gently press a few into the top of each dough ball. This creates those gorgeous, gooey pockets of melted candy on the surface. Don’t press too hard—just enough so they stick.
- Bake. Place the baking sheet in the preheated oven and bake for 10-12 minutes. The cookies should look set around the edges but still soft and slightly underdone in the center. They will continue to cook on the hot baking sheet after you take them out. If you like chewier cookies, lean toward 10 minutes. For slightly crisper edges, go for 12.
- Cool. Let the cookies rest on the baking sheet for 5 minutes. This is crucial—they’re very fragile when hot, and the candy pieces are molten lava. After 5 minutes, transfer them to a cooling rack to cool completely. Or, you know, eat one warm. I won’t tell anyone.
Visual cue: The cookies are done when the edges are a light golden brown and the tops look slightly crackled. If you see a little caramel bubbling up from a candy piece, that’s a good sign. The center should still look soft and puffy.
Cooking Tips & Techniques
I’ve made these cookies more times than I care to admit, and I’ve learned a few things the hard way. Here’s what I wish someone had told me:
- Don’t overbake. This is the number one mistake. Because the candy adds extra sugar, these cookies can go from perfectly soft to burnt very quickly. Pull them out when the edges are just set. The centers will look underdone—trust the process. They firm up as they cool.
- Chill the dough if it’s too sticky. Some cake mixes absorb liquid differently, and your dough might be stickier than expected. If you can’t roll it into balls without it sticking to your hands, pop the bowl in the fridge for 20 minutes. It makes a world of difference.
- Watch out for hard candies. I made the mistake of throwing in a handful of lollipops once. Bad idea. They didn’t melt properly and turned into little hard pebbles. Stick to chocolates, caramels, and soft chewy candies. If you have lollipops, crush them into a fine powder and use them as a topping instead.
- Use a light hand with the candy. It’s tempting to load up the dough with as much candy as possible, but too much can make the cookies fall apart. Stick to the 1 1/2 to 2 cup range. The dough needs enough structure to hold everything together.
- Make ahead tip. You can prepare the dough, scoop it into balls, and freeze them on a baking sheet. Once frozen solid, transfer the dough balls to a freezer bag. You can bake them straight from frozen—just add 2-3 minutes to the baking time. This is perfect for when a cookie craving strikes out of nowhere.
Variations & Adaptations
One of the best things about this recipe is how flexible it is. Here are some variations I’ve tried and loved:
- Gluten-Free Version: Use a gluten-free yellow cake mix. Most brands work well. Just make sure your candy is also gluten-free—some wafer bars and malted candies contain gluten. Check the labels.
- Vegan Adaptation: Substitute the butter with vegan butter (like Earth Balance) and use a flax egg (1 tablespoon ground flaxseed mixed with 3 tablespoons water, let sit for 5 minutes). Use a vegan-friendly cake mix. The texture will be slightly different—a bit more cake-like—but still delicious.
- Peanut Butter Twist: Add 1/4 cup creamy peanut butter to the wet ingredients before mixing. This pairs beautifully with chocolate candies and gives the cookies a richer flavor. I did this with a batch that had Reese’s cups, and it was next-level.
- Seasonal Swap: Not just for Halloween! Use this same base recipe with leftover holiday candy (peppermint bark, chocolate Santas) or Easter candy (chocolate bunnies, jelly beans—crush the jelly beans first). It works year-round.
- Low-Sugar Option: Use a sugar-free cake mix and choose sugar-free candies. The texture will be slightly less tender, but it’s a good option if you’re watching your sugar intake.
Serving & Storage Suggestions
These cookies are best enjoyed warm, when the candy is still soft and gooey. Here’s how I like to serve and store them:
- Serving Temperature: Serve them slightly warm or at room temperature. If they’ve cooled completely, pop them in the microwave for 10-15 seconds to revive that melty texture. Pair them with a glass of cold milk, a warm cup of coffee, or a mug of hot chocolate for the ultimate cozy treat.
- Presentation: Arrange them on a rustic wooden board or a simple white plate. A light dusting of powdered sugar or a sprinkle of flaky sea salt on top makes them look bakery-worthy.
- Storage: Store leftover cookies in an airtight container at room temperature for up to 5 days. Place a slice of bread in the container—it absorbs excess moisture and keeps the cookies soft. Replace the bread every other day if you’re storing them longer.
- Freezing: Baked cookies freeze beautifully. Place them in a single layer in a freezer-safe container, separating layers with parchment paper. They’ll keep for up to 3 months. Thaw at room temperature or warm in the microwave.
- Flavor Development: Honestly, these cookies taste even better the next day. The flavors meld together, and the candy pieces soften even more. If you can resist eating them all immediately, you’re in for a treat.
Nutritional Information & Benefits
Let’s be real—these are a treat, not a health food. But here’s the estimated breakdown for one cookie (based on 20 cookies using a standard cake mix and assorted candy):
- Calories: Approximately 180-220 per cookie
- Fat: 8-10g
- Carbohydrates: 26-30g
- Protein: 2-3g
- Sugar: 15-18g
Dietary Considerations: This recipe contains gluten, dairy, and eggs. It can be adapted for gluten-free or vegan diets (see variations). Be aware that many candies contain common allergens like peanuts, tree nuts, soy, and milk. Always check labels if you’re serving someone with allergies.
Healthier Perspective: While these aren’t low-calorie, they do offer a small silver lining. Using a cake mix means you’re not adding extra refined sugar beyond what’s already there. And honestly, sometimes you just need a cookie. A little indulgence is good for the soul. I like to think of these as a way to enjoy the holiday treats without letting them go to waste—everything in moderation, right?
Conclusion
These Cozy Leftover Halloween Candy Cookies are more than just a recipe—they’re a solution to a problem we all face every November. That sad bowl of half-eaten candy? It’s not a burden anymore. It’s an opportunity. I love how forgiving this recipe is. You don’t need to be a pastry chef to pull it off. You don’t need special ingredients. You just need a box of cake mix, some butter, eggs, and a handful of whatever candy is lurking in your pantry.
Every time I make these, I think of Mrs. Gable’s kitchen—the warmth, the casual shrug, the way she made something so simple feel so special. That’s the energy I want you to have when you make these. Don’t stress about perfection. Let the cookies be a little lumpy. Let the candy pieces poke out. That’s what makes them beautiful.
I’d love to hear what candy combinations you try! Did you use leftover Snickers? Did you throw in some crushed-up pretzels for saltiness? Drop a comment below and let me know how your batch turned out. And if you’re looking for another cozy treat to use up those pantry odds and ends, you might enjoy this easy chocolate chip cookie bars recipe—it’s just as forgiving and delicious. Happy baking, friends. You’ve got this.
Frequently Asked Questions
Can I use any cake mix flavor?
Absolutely! Yellow or vanilla cake mix is my go-to because it’s neutral and lets the candy shine. But chocolate, strawberry, or even spice cake mix would work beautifully. Just keep in mind that the flavor of the cake mix will influence the overall taste. A chocolate cake mix with peanut butter candy is a match made in heaven.
What if I don’t have leftover Halloween candy?
No problem at all! You can use any store-bought candy bars or even chocolate chips, toffee bits, or crushed cookies. The recipe is all about using what you have. A mix of chocolate chips, chopped nuts, and dried fruit also works great.
Why are my cookies spreading too much?
This usually happens if the butter is too warm or the dough isn’t chilled enough. If your dough feels very soft and greasy, pop it in the fridge for 20-30 minutes before scooping. Also, make sure your baking sheet isn’t too hot—let it cool between batches if you’re baking multiple trays.
Can I make these cookies smaller or larger?
Of course! For smaller cookies, use a teaspoon to scoop the dough and bake for 8-10 minutes. For giant cookies, use a 3-tablespoon scoop and bake for 14-16 minutes. Just keep an eye on them—baking times will vary based on size.
How do I prevent the candy from burning?
Some candies with high sugar content (like caramel or marshmallow) can burn if they’re exposed directly to the heat. That’s why I recommend pressing the candy into the dough rather than scattering it on top. The dough protects the candy as it bakes. If you’re worried, you can also bake the cookies for 8 minutes, then gently press a few candy pieces on top and bake for the remaining 2-4 minutes.
Pin This Recipe!
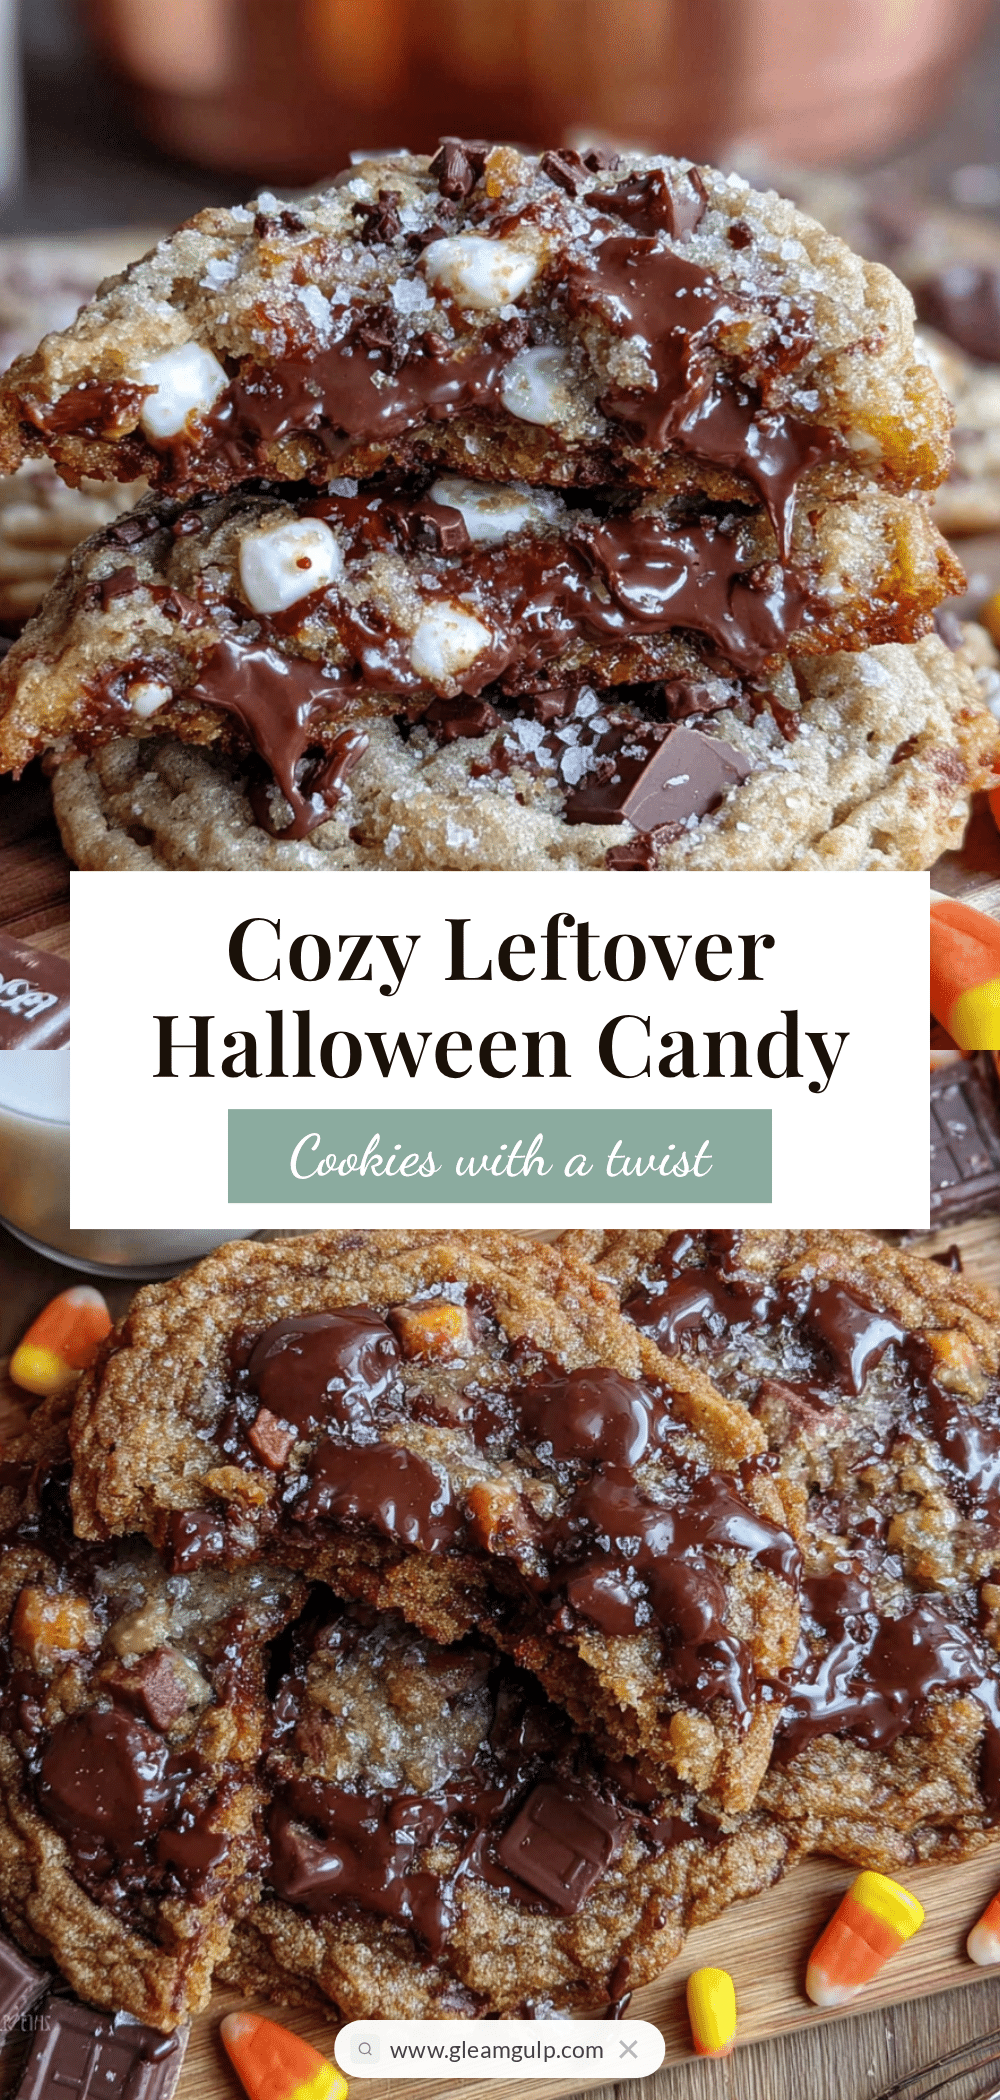
Cozy Leftover Halloween Candy Cookies: Easy 3-Ingredient Treat

These easy 3-ingredient cookies turn leftover Halloween candy into warm, chewy treats with pockets of melted chocolate and caramel. Perfect for using up your candy stash in under 20 minutes.
- Prep Time: 10 minutes
- Cook Time: 10-12 minutes
- Total Time: 20-22 minutes
- Yield: 18-20 cookies 1x
- Category: Dessert
- Cuisine: American
Ingredients
- 1 box (15-16 oz) yellow or vanilla cake mix
- 1/2 cup (1 stick) unsalted butter, melted
- 2 large eggs, room temperature
- 1 1/2 to 2 cups assorted leftover Halloween candy, roughly chopped
- 1/4 cup chocolate chips (optional)
- Flaky sea salt (optional)
- 1 teaspoon vanilla extract (optional)
Instructions
- Preheat your oven to 350°F (175°C). Line a baking sheet with parchment paper or a silicone mat.
- Prepare your candy: roughly chop leftover Halloween candy into pea-sized pieces. Set aside about 1/4 cup for topping.
- In a large mixing bowl, whisk together melted butter and eggs until well combined and slightly frothy (about 30 seconds). Add vanilla extract if using.
- Pour the entire box of cake mix into the bowl. Stir with a wooden spoon or rubber spatula until a soft, cohesive dough forms. Do not overmix.
- Gently fold the chopped candy into the dough, reserving the 1/4 cup for topping.
- Using a cookie scoop or tablespoon, drop rounded balls of dough onto the prepared baking sheet, spacing them about 2 inches apart.
- Press a few reserved candy pieces into the top of each dough ball.
- Bake for 10-12 minutes, until edges are light golden brown and centers are still soft and puffy.
- Let cookies rest on the baking sheet for 5 minutes, then transfer to a cooling rack to cool completely.
Notes
Don’t overbake; cookies continue to cook on the hot sheet. Chill dough if too sticky. Avoid hard candies like lollipops. For best texture, use a mix of chocolate-based and chewy candies. Cookies taste even better the next day.
Nutrition
- Serving Size: 1 cookie
- Calories: 180220
- Sugar: 1518
- Sodium: 200250
- Fat: 810
- Saturated Fat: 46
- Carbohydrates: 2630
- Fiber: 1
- Protein: 23
Keywords: leftover Halloween candy cookies, easy 3-ingredient cookies, cake mix cookies, Halloween treat, candy cookies, quick dessert


