Love this? Save it for later!
Share the inspiration with your friends
My friend Jenna asked why I couldn’t just stir crushed candy canes into my regular coffee and call it a day. I started to explain why that wouldn’t work — then stopped. I mean, honestly, I had no good reason. I’d been buying those little bottles of peppermint syrup for years, never once questioning what was actually in them. The power went out halfway through my third batch of testing this recipe, and I stood there in the dark, stirring sugar and water by candlelight, thinking about how ridiculous I must look. But when the lights came back and I finally took that first sip — the one that tasted exactly like the coffee shop version, only better — I knew the stubbornness was worth it.
This cozy copycat Starbucks peppermint mocha with homemade syrup started as a winter experiment and quickly turned into a full-blown obsession. Maybe you’ve been there, standing at the counter, wallet in hand, wondering why a simple peppermint mocha costs as much as a small lunch. I’d been making my own lattes at home for years, but the peppermint one always eluded me. The store-bought syrups tasted artificial, the ratios never felt right, and I’d pretty much given up on recreating that holiday magic in my own kitchen.
Then Jenna asked her simple question, and I had to admit I’d never actually tried the most obvious thing in the world. So I grabbed a bag of candy canes, some good dark chocolate, and a pot of water, and I started messing around. The first batch was too sweet. The second was too minty — like toothpaste in a cup. But the third? That was the one. The peppermint was bold but not overpowering, the chocolate was rich without being heavy, and the whole thing came together in about ten minutes. Now I make it every single weekend from November through February, and honestly, I might not stop when spring comes.
Why You’ll Love This Recipe
This cozy copycat Starbucks peppermint mocha with homemade syrup isn’t just another coffee recipe — it’s the one that finally made me stop buying coffee shop drinks altogether. I’ve tested this thing six different ways, tweaked the ratios, burned my tongue more times than I’d like to admit, and I can confidently say this version beats the original every single time.
- Quick & Easy: You’re looking at about 10 minutes from start to finish. That’s faster than waiting in line at the drive-through, and you don’t even have to put on real pants.
- Simple Ingredients: Sugar, water, peppermint extract, cocoa powder, and coffee. That’s it. No weird preservatives, no artificial colors, nothing you can’t pronounce.
- Perfect for Cozy Mornings: Cold weather, lazy weekends, or those days when you just need a warm hug in a mug — this drink delivers every time.
- Crowd-Pleaser: I’ve served this to peppermint skeptics and chocolate purists, and everyone ends up asking for the recipe. It’s that good.
- Unbelievably Delicious: The homemade syrup has this fresh, bright peppermint flavor that the bottled stuff just can’t touch. Paired with real cocoa and fresh espresso, it’s next-level comfort.
What makes this different from every other copycat recipe out there? It’s the balance. Most versions either drown you in sweetness or skimp on the peppermint until you can barely taste it. I spent a whole afternoon tweaking the syrup ratios — too much extract and it tastes like a candy cane exploded in your cup, too little and you might as well be drinking hot chocolate. This version hits that perfect middle ground where the peppermint and chocolate dance together without stepping on each other’s toes.
This recipe isn’t just good — it’s the kind that makes you close your eyes after the first sip. It’s comfort in a cup, reimagined for your own kitchen, cheaper and faster but with the same soul-soothing satisfaction.
What Ingredients You Will Need
This cozy copycat Starbucks peppermint mocha uses simple, wholesome ingredients to deliver that bold, festive flavor without any of the fuss. Most of these are probably already sitting in your pantry, which is exactly how I like my recipes to work.
For the Homemade Peppermint Syrup
- 1 cup granulated sugar (regular white sugar works best — no need for fancy stuff here)
- 1 cup water (filtered if you have it, tap is totally fine)
- 1 teaspoon peppermint extract (I recommend Nielsen-Massey for the cleanest, most authentic flavor — it’s worth the extra couple dollars)
For the Peppermint Mocha
- 2 tablespoons unsweetened cocoa powder (I use Ghirardelli — it’s rich without being bitter)
- 2 tablespoons homemade peppermint syrup (or more if you like it sweeter)
- 1 cup milk (whole milk gives the creamiest texture, but oat milk or almond milk work beautifully too)
- 1 shot espresso or ½ cup strong brewed coffee (I use a dark roast for that bold coffee shop taste)
- Whipped cream for topping (optional but highly recommended — let’s be real, it’s not a mocha without the cloud on top)
- Crushed candy canes for garnish (about 1 tablespoon per drink)
A few notes on ingredient selection: Look for pure peppermint extract, not peppermint flavoring or peppermint oil. The extract has a cleaner taste that blends beautifully with chocolate. For the cocoa powder, avoid the pre-sweetened hot chocolate mixes — they have added sugar and stabilizers that throw off the balance. Stick with plain unsweetened cocoa powder and let your homemade syrup handle the sweetness.
If you’re dairy-free, oat milk is my top recommendation for this recipe. It’s creamy enough to mimic whole milk and doesn’t separate when heated. Almond milk works too, but it’s thinner, so your mocha won’t be quite as luxurious. Coconut milk adds a slight coconut flavor that actually pairs surprisingly well with peppermint — worth trying if you’re feeling adventurous.
Equipment Needed
You don’t need a fancy espresso machine or any specialized gadgets for this cozy copycat Starbucks peppermint mocha. Here’s what you’ll actually use:
- Small saucepan (for making the syrup — I use a 1-quart size and it’s perfect)
- Whisk (a fork works in a pinch, but a whisk makes the syrup smooth in seconds)
- Glass jar or bottle (for storing the syrup — a mason jar works great, or repurpose an empty syrup bottle)
- Mug (the bigger the better — this is a generous drink)
- Measuring cups and spoons (accuracy matters for the syrup ratio)
- Espresso machine or coffee maker (I use a stovetop moka pot and it delivers that rich, concentrated coffee flavor)
- Small bowl (for crushing candy canes — I use a rolling pin and a ziplock bag, very fancy)
If you don’t have an espresso machine, don’t stress. A strong cup of dark roast coffee works just fine — just use about ½ cup of brewed coffee instead of the espresso shot. I’ve also used instant espresso powder in a pinch (about 2 teaspoons dissolved in 2 tablespoons hot water), and it’s surprisingly good. For the candy cane crushing, I’ve learned the hard way that a food processor turns them into powder in about two seconds flat. A rolling pin and a ziplock bag gives you more control and those nice chunky pieces that look so pretty on top.
Preparation Method
- Make the peppermint syrup (5 minutes): Combine 1 cup sugar and 1 cup water in your small saucepan. Bring to a gentle boil over medium heat, whisking occasionally until the sugar completely dissolves. This takes about 3-4 minutes — you’ll know it’s ready when the liquid goes from cloudy to crystal clear. Remove from heat and stir in 1 teaspoon peppermint extract. Let it cool for about 10 minutes, then pour into your glass jar. The syrup will keep in the fridge for up to 3 weeks, though honestly, mine never lasts that long.
- Crush the candy canes (2 minutes): Place 2-3 candy canes in a ziplock bag. Seal it up tight — trust me on this, I’ve had crushed candy cane all over my kitchen floor before. Use a rolling pin or the bottom of a heavy pan to gently crush them into small pieces. You want a mix of fine dust and tiny chunks for the best texture and visual appeal.
- Mix the chocolate base (2 minutes): In your mug, combine 2 tablespoons cocoa powder and 2 tablespoons of your homemade peppermint syrup. Stir until it forms a thick paste — this step is crucial because it prevents lumps later. If you skip this and just dump everything in at once, you’ll end up with floating pockets of dry cocoa powder. I learned that one the messy way.
- Heat the milk (3 minutes): Pour 1 cup of milk into a small saucepan and warm it over medium heat until it’s steaming but not boiling. You want it hot enough to dissolve the chocolate paste but not so hot that it scalds — about 150°F if you’re using a thermometer, or until small bubbles form around the edges if you’re going by feel. If you have a milk frother, now’s the time to use it for that extra-luxurious foam.
- Brew your coffee (2 minutes): While the milk is heating, brew 1 shot of espresso or ½ cup of strong coffee. I like to do this step right after starting the milk so everything finishes around the same time. The key here is strength — your coffee needs to be bold enough to stand up to the chocolate and peppermint without getting lost.
- Assemble the mocha (1 minute): Pour the hot milk into your mug with the chocolate-peppermint paste and stir until smooth and fully combined. Add the espresso or strong coffee and give it another good stir. Taste it here — if you want it sweeter, add another tablespoon of syrup. If you want more chocolate, sprinkle in a little extra cocoa powder.
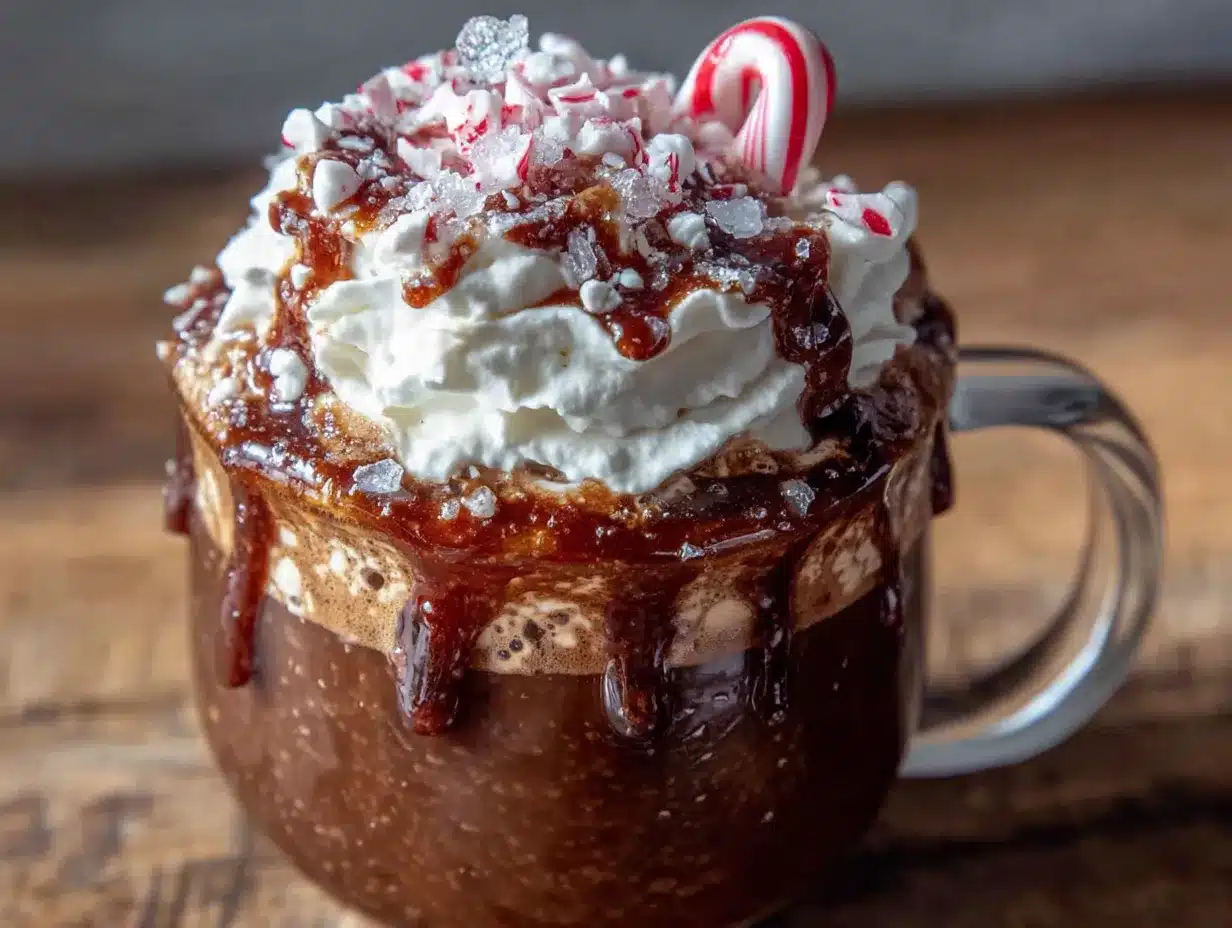
- Top and serve (1 minute): Add a generous dollop of whipped cream on top. Sprinkle with your crushed candy canes, letting some fall into the drink for that pretty marbled effect. Serve immediately while it’s hot and the whipped cream is still fluffy.
A few things I’ve learned the hard way: Don’t boil the syrup too long or it’ll turn into candy when it cools. If that happens, just add a splash of hot water and stir — it’ll loosen right back up. Also, warm your mug before pouring — just fill it with hot water while you’re prepping everything, then dump it out right before assembly. This keeps your mocha hot for way longer, which matters when you’re curled up on the couch with a good book.
Cooking Tips & Techniques
After making this cozy copycat Starbucks peppermint mocha roughly forty-seven times this winter (I may have a problem), I’ve picked up a few tricks that make a real difference.
The syrup is the star: Don’t rush it. Let the sugar fully dissolve before you add the peppermint extract — if you add it too early, the heat can dull the peppermint flavor. I once added the extract while the syrup was still boiling and ended up with a batch that tasted more like sweet water than peppermint. Let it cool slightly before adding, and you’ll get that bright, fresh minty kick every time.
Temperature matters: Your milk should be hot but not boiling. If it boils, the proteins break down and you get that weird skin on top — nobody wants that. I aim for the point right before bubbles form, when the milk starts steaming and you can see tiny wisps of vapor rising. That’s the sweet spot for a silky smooth mocha.
Double the syrup batch: Seriously. The recipe makes about 1 cup of syrup, which sounds like a lot until you’re making these every morning. I always double it now and keep a jar in the fridge. It’s also amazing drizzled over vanilla ice cream or stirred into hot chocolate — you’ll find yourself using it for everything.
Don’t skip the paste step: I know it seems fussy, but mixing the cocoa powder and syrup into a paste before adding liquid is the difference between a smooth, luxurious mocha and a lumpy, disappointing one. It takes thirty seconds and saves you from those chalky cocoa clumps that float to the top.
Make it iced: This recipe works beautifully as a cold drink too. Just skip the hot milk and use cold milk instead, pour over ice, and add your espresso and syrup. The homemade syrup dissolves instantly in cold liquid, unlike the store-bought stuff that sometimes gets gloopy.
Variations & Adaptations
This cozy copycat Starbucks peppermint mocha is wonderfully adaptable, and I’ve tried more variations than I care to count. Here are my favorites:
Dark Chocolate Peppermint Mocha: Swap the regular cocoa powder for dark cocoa powder (I use Hershey’s Special Dark). It gives the drink a deeper, almost bittersweet chocolate flavor that pairs beautifully with the bright peppermint. This is my go-to when I want something a little more sophisticated than the original.
White Chocolate Peppermint Mocha: Replace the cocoa powder with 2 tablespoons of white chocolate chips. Melt them into the hot milk along with the peppermint syrup, and you’ve got a creamy, dreamy white chocolate version that tastes like a melted candy cane. It’s sweeter than the original, so I usually cut back to 1½ tablespoons of syrup.
Dairy-Free Version: Use oat milk or coconut milk instead of whole milk, and skip the whipped cream or use a coconut-based whipped topping. I’ve tested this with oat milk and honestly, it’s almost indistinguishable from the dairy version. The oat milk adds a subtle creaminess that works perfectly with the chocolate and peppermint.
Extra Peppermint Kick: For the true peppermint fanatics out there, add ¼ teaspoon of peppermint extract directly to the finished drink along with the syrup. It gives you that intense, cooling sensation that makes your nose tingle with every sip. Fair warning — this is not for the faint of heart.
Mocha Affogato: This is my favorite summer variation. Skip the milk entirely and pour the hot espresso and syrup over a scoop of vanilla ice cream. The ice cream melts into the coffee, creating this incredible creamy, minty, chocolatey dessert that takes about two minutes to make. Top with crushed candy canes and you’ve got a party in a bowl.
Serving & Storage Suggestions
This cozy copycat Starbucks peppermint mocha is best served immediately, while it’s hot and the whipped cream is still fluffy. I like to pour it into a big ceramic mug — the kind you can wrap both hands around — and settle into my favorite spot on the couch. It’s the perfect companion for a snowy afternoon, a rainy morning, or really any moment that calls for a little extra warmth.
For presentation, I like to go all out with the toppings. A generous swirl of whipped cream, a cascade of crushed candy canes, and maybe even a mini candy cane hooked over the rim of the mug. It looks like something from a coffee shop display case, but it took me less than a minute to put together.
Storage: The peppermint syrup keeps in an airtight jar in the refrigerator for up to 3 weeks. I’ve kept it longer and it’s been fine, but the flavor is brightest in the first two weeks. The crushed candy canes can be stored in a ziplock bag at room temperature for weeks — just make sure they’re completely dry before sealing.
Reheating: If you make a big batch of the mocha base (without the whipped cream), you can store it in the fridge for 2-3 days. Reheat gently on the stovetop or in the microwave, stirring frequently. I don’t recommend freezing the finished drink — the texture gets weird when it thaws. But the syrup freezes beautifully if you want to make a huge batch for the holidays.
The flavors actually develop and meld together over time, so day-old mocha base often tastes even better than fresh. The peppermint mellows out and the chocolate gets deeper and more complex. It’s one of those rare recipes that improves with a little patience.
Nutritional Information & Benefits
Here’s the honest truth — this cozy copycat Starbucks peppermint mocha is a treat, not a health drink. But there are a few bright spots in the nutritional picture:
- Calories: Approximately 280-320 per serving (with whole milk and whipped cream)
- Protein: 8-10 grams (thanks to the milk)
- Calcium: 30% of your daily needs from the milk
- Iron: 15% from the cocoa powder
- Antioxidants: Cocoa powder is rich in flavonoids, which support heart health
If you’re watching your sugar intake, you can reduce the syrup to 1 tablespoon per serving and still get plenty of peppermint flavor. Using unsweetened almond milk and skipping the whipped cream brings the calories down to about 180 per serving. The peppermint itself has some digestive benefits — it’s known to help with bloating and indigestion, which makes this a nice after-dinner drink option.
For those with dietary restrictions: This recipe is naturally gluten-free and vegetarian. For a vegan version, use plant-based milk and skip the whipped cream or use a coconut-based alternative. The cocoa powder is dairy-free as long as you check the label (most are, but some specialty blends add milk powder).
Conclusion
This cozy copycat Starbucks peppermint mocha with homemade syrup has genuinely changed my winter mornings. It’s warm, it’s indulgent, and it costs about a dollar to make at home instead of six bucks at the drive-through. But more than that, it’s become a little ritual — the act of making the syrup, crushing the candy canes, watching the steam rise from the mug. It’s comfort in its purest form, and I think everyone deserves that.
I’d love to hear how yours turns out. Did you try the dark chocolate version? Did you double the peppermint? Did your kitchen look like a candy cane explosion, like mine always does? Drop a comment below and let me know — I read every single one, and I’m always looking for new variations to try. And if you’re craving more cozy coffee shop recipes, check out my homemade cinnamon dolce latte or my copycat vanilla bean latte — both are just as easy and just as delicious.
Now go make yourself a mug. You’ve earned it.
Frequently Asked Questions
Can I use store-bought peppermint syrup instead of making my own?
Absolutely, but the homemade version really does taste better. Store-bought syrups often have preservatives and artificial flavors that give them a slightly chemical aftertaste. The homemade syrup takes 5 minutes and tastes bright and clean — once you try it, you probably won’t go back.
How long does the homemade peppermint syrup last?
Stored in an airtight jar in the refrigerator, it stays fresh for up to 3 weeks. I’ve kept it for a month and it was still fine, but the peppermint flavor starts to fade after the third week. The syrup might crystallize slightly in the fridge — just microwave it for 10-15 seconds and stir, and it’ll be smooth again.
Can I make this without an espresso machine?
Yes, absolutely. Use ½ cup of strong brewed coffee instead of the espresso shot. I recommend a dark roast for the richest flavor. You can also use instant espresso powder — dissolve 2 teaspoons in 2 tablespoons of hot water and add it to the drink. It’s not exactly the same, but it’s close enough that you won’t miss the espresso machine.
Is this recipe gluten-free?
Yes, all the ingredients in this recipe are naturally gluten-free. Just double-check your cocoa powder and peppermint extract labels to make sure they haven’t been processed in a facility that handles wheat — most brands are fine, but it’s always worth verifying if you have celiac disease or a serious gluten sensitivity.
Can I make a large batch for a party or holiday gathering?
Definitely. Multiply the syrup recipe as needed and keep it in a pitcher. For the mocha itself, mix the cocoa powder and syrup paste in a large pot, add the milk and coffee, and warm everything together on the stovetop. Keep it warm in a slow cooker on the low setting, and let guests serve themselves with whipped cream and crushed candy canes on the side. It’s always a hit at holiday parties.
Pin This Recipe!
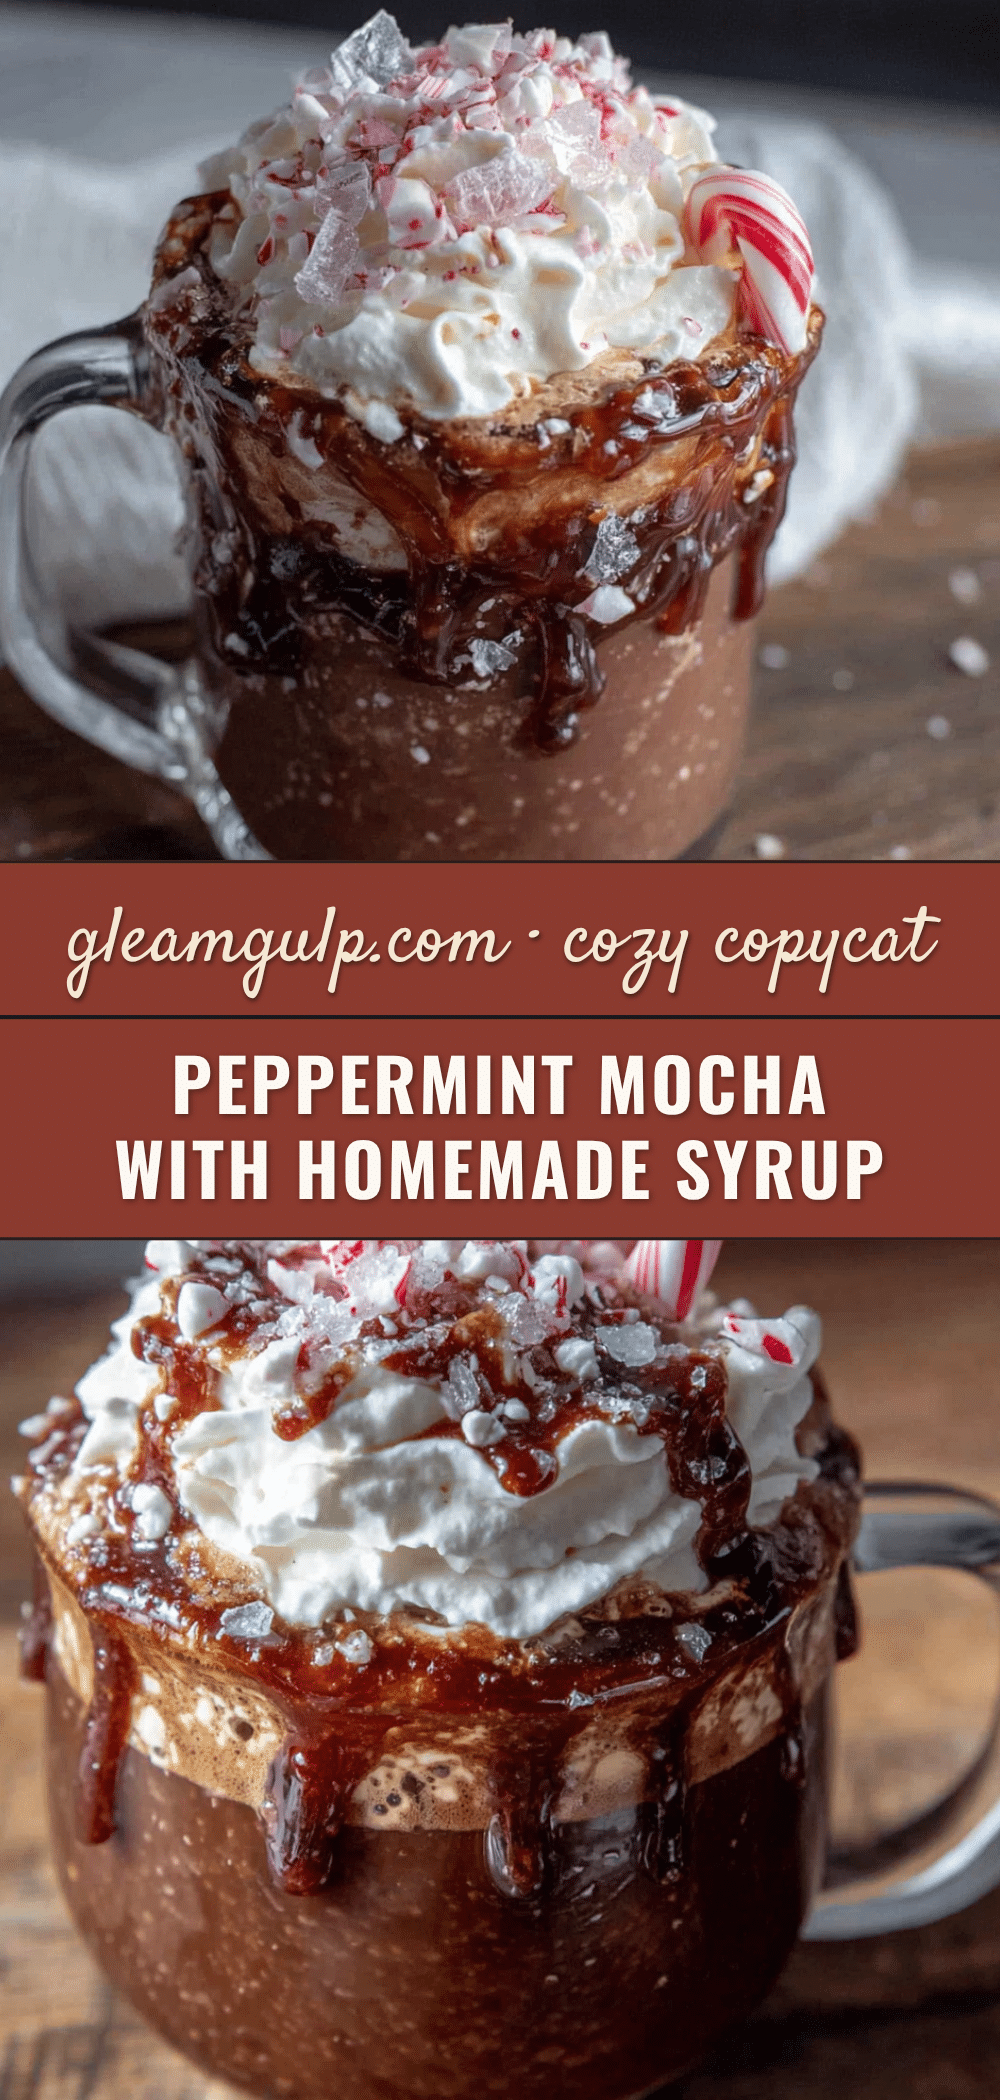
Cozy Copycat Starbucks Peppermint Mocha with Homemade Syrup
A cozy copycat Starbucks peppermint mocha with homemade syrup that tastes better than the original. Quick, easy, and made with simple ingredients for a festive holiday drink.
- Prep Time: 10 minutes
- Cook Time: 5 minutes
- Total Time: 15 minutes
- Yield: 1 serving 1x
- Category: Beverage
- Cuisine: American
Ingredients
- 1 cup granulated sugar
- 1 cup water
- 1 teaspoon peppermint extract
- 2 tablespoons unsweetened cocoa powder
- 2 tablespoons homemade peppermint syrup
- 1 cup milk
- 1 shot espresso or ½ cup strong brewed coffee
- Whipped cream for topping
- Crushed candy canes for garnish
Instructions
- Make the peppermint syrup: Combine 1 cup sugar and 1 cup water in a small saucepan. Bring to a gentle boil over medium heat, whisking occasionally until the sugar completely dissolves (about 3-4 minutes). Remove from heat and stir in 1 teaspoon peppermint extract. Let cool for about 10 minutes, then pour into a glass jar.
- Crush the candy canes: Place 2-3 candy canes in a ziplock bag. Use a rolling pin or the bottom of a heavy pan to gently crush them into small pieces.
- Mix the chocolate base: In your mug, combine 2 tablespoons cocoa powder and 2 tablespoons homemade peppermint syrup. Stir until it forms a thick paste.
- Heat the milk: Pour 1 cup of milk into a small saucepan and warm it over medium heat until steaming but not boiling (about 150°F or until small bubbles form around the edges).
- Brew your coffee: Brew 1 shot of espresso or ½ cup of strong coffee.
- Assemble the mocha: Pour the hot milk into your mug with the chocolate-peppermint paste and stir until smooth. Add the espresso or strong coffee and stir again. Taste and adjust sweetness if desired.
- Top and serve: Add a generous dollop of whipped cream on top. Sprinkle with crushed candy canes. Serve immediately.
Notes
Don’t boil the syrup too long or it’ll turn into candy when it cools. Warm your mug before pouring to keep the mocha hot longer. The syrup keeps in the fridge for up to 3 weeks. For dairy-free, use oat milk or almond milk.
Nutrition
- Serving Size: 1 mug (about 12 oz)
- Calories: 300
- Sugar: 35
- Sodium: 120
- Fat: 12
- Saturated Fat: 7
- Carbohydrates: 42
- Fiber: 3
- Protein: 9
Keywords: peppermint mocha, copycat Starbucks, homemade syrup, holiday coffee, peppermint coffee, mocha recipe


