Love this? Save it for later!
Share the inspiration with your friends
There used to be a tiny, dimly lit bar in the French Quarter of New Orleans called Le Masque. It wasn’t on any tourist map. You found it by accident, usually after getting hopelessly lost in the maze of cobblestone streets. Every year, on Halloween night, the owner—a woman named Colette who never smiled but always winked—would serve a single, perfect appetizer. Her Spooky Halloween Deviled Eggs. They weren’t just food; they were edible theater. The filling was smoky, the whites were dyed an eerie shade of charcoal grey, and a single sliver of black olive sat on top like a tiny, perfect spider. When Le Masque closed its doors three years ago, I felt a genuine pang of loss. I mean, where else was I supposed to get my fix of haunted hors d’oeuvres? After seven tries—honestly, the first batch looked like something a swamp monster rejected—I finally cracked the code. I got it. This recipe is my love letter to Colette, to that lost little bar, and to the best Halloween party snack you’ll ever make. You know that feeling when you bite into something and it instantly transports you to a specific time and place? That’s what these eggs do for me. And trust me, once you taste that smoky, creamy filling against the slightly savory egg white, you’ll understand why I spent an embarrassing amount of time perfecting the shade of “ghostly grey.”
Why You’ll Love This Recipe
Let’s be real for a second. Halloween food can be a total letdown. You either get something that looks amazing but tastes like cardboard, or something delicious that looks like a sad pile of orange frosting. These Spooky Halloween Deviled Eggs break that curse. They are, without question, the most fun I’ve ever had with a dozen eggs.
- Show-Stopping Visuals: The naturally dyed grey egg whites are genuinely creepy and incredibly elegant. Your guests will do a double-take.
- Simple Ingredients: You probably have everything in your kitchen right now. No weird food coloring or specialty items. The “spooky” color comes from a secret pantry staple.
- Perfect for a Haunted Feast: Whether it’s for a Halloween party, a spooky movie night, or just a Tuesday that needs a little gothic flair, these eggs fit the bill.
- Crowd-Pleaser: I’ve served these to kids and adults who “don’t like deviled eggs.” They disappear. The smoky paprika filling is next-level comfort food.
- Make-Ahead Magic: You can prep these a day in advance. The flavors actually get better as they sit in the fridge. One less thing to stress about on party day.
What makes this recipe different? It’s not about gimmicky decorations. It’s about a classic, perfectly seasoned deviled egg that happens to look like it came straight from a haunted mansion. The technique for the color is foolproof, and the flavor balance—smoky, tangy, creamy—is something I tested and retested until it was just right. It’s the kind of appetizer that makes you close your eyes after the first bite, even if you’re wearing a vampire cape.
What Ingredients You Will Need
This recipe uses simple, wholesome ingredients to deliver bold flavor and satisfying texture without the fuss. The magic lies in a few key pantry staples that transform a classic appetizer into a spooky spectacle.
For the “Spooky” Egg Whites
- 12 large eggs: The fresher, the better for easier peeling. I’ve found that older eggs actually peel more cleanly, so if you have a carton that’s been sitting for a week, this is the perfect use for them.
- 1 can of black olives: The brine from these is our secret weapon. It’s a natural, savory dye that turns the egg whites a beautiful, eerie grey. I recommend California Ripe Olives for the deepest color.
- Water: Just enough to cover the eggs in the pot.
For the Smoky Filling
- 1/2 cup mayonnaise: Use a good quality one like Hellmann’s or Duke’s. It makes a difference in the creaminess. (Use vegan mayo if needed)
- 2 tablespoons Dijon mustard: Adds a sharp tang that cuts through the richness. Grey Poupon is my go-to.
- 1 tablespoon apple cider vinegar: For a little extra zing and to help balance the flavors.
- 1 teaspoon smoked paprika: This is non-negotiable. The smoky flavor is what makes these eggs taste so complex. Sweet smoked paprika is ideal.
- 1/2 teaspoon garlic powder: Adds a subtle savory depth.
- 1/4 teaspoon salt: Or to taste.
- 1/4 teaspoon black pepper: Freshly ground is best.
For the “Spider” Garnish
- 12 pitted black olives: You’ll slice these into thin rounds to create the spider bodies. Use the leftover brine from the can for the dye.
- Optional: Chives or green onion tops: Cut into tiny strips to create “spider legs” for an extra creepy touch.
Equipment Needed
You don’t need any fancy gadgets for this one. A few basic kitchen tools will get the job done perfectly. I’ve made these in a tiny apartment kitchen and a big, fancy one—they turn out the same.
- A medium saucepan: For boiling the eggs. A heavy-bottomed one helps prevent the eggs from cracking.
- A large bowl: For the ice bath. This stops the cooking process and makes peeling a breeze.
- A sharp knife and cutting board: For halving the eggs and slicing the olives.
- A small bowl or jar: For mixing the black olive brine and water.
- A fork or potato masher: For mashing the yolks. A potato masher is surprisingly satisfying for this.
- A piping bag or zip-top bag: For filling the egg whites neatly. A zip-top bag with the corner snipped off works like a charm.
- A toothpick: For placing the olive spiders perfectly.
Preparation Method
Alright, let’s get spooky. This process is simple, but the timing on the egg dyeing is key. Trust the process, and don’t panic when your eggs turn grey—that’s the goal!
- Hard-Boil the Eggs (15 minutes): Place your 12 eggs in a single layer in your saucepan. Cover them with cold water by about an inch. Bring the water to a rolling boil over high heat. Once it’s boiling hard, turn off the heat, cover the pot, and let it sit for exactly 10 minutes. This is the foolproof method for perfectly cooked yolks—no green ring around the outside!
- Ice Bath (5 minutes): While the eggs are cooking, prepare a large bowl of ice water. When the 10 minutes are up, use a slotted spoon to transfer the eggs immediately into the ice bath. Let them chill for at least 5 minutes. This stops the cooking and makes peeling a thousand times easier. I learned this the hard way after years of peeling eggs that looked like the moon’s surface.
- Prepare the “Spooky” Dye (While the eggs cool): Open your can of black olives and pour the brine into a small bowl or jar. You’ll need about 1/2 cup of brine. Add 1/2 cup of cold water to the brine. Set this aside. Don’t eat all the olives yet—you’ll need them for the garnish!
- Peel and Halve the Eggs (5 minutes): Gently tap each egg on the counter to crack the shell all over. Peel under a thin stream of cold running water—it helps the shell slip right off. Once peeled, carefully slice each egg in half lengthwise. Gently pop the yolks out into a medium bowl. Place the 24 white halves on a plate or in a shallow dish.
- The Spooky Soak (30 minutes): This is the fun part. Pour the olive brine and water mixture over the egg white halves. Make sure they are completely submerged. Gently swirl the dish a few times to ensure even coverage. Let them sit at room temperature for 30 minutes. You’ll see them slowly turn a beautiful, ghostly shade of grey. Don’t leave them longer than 35 minutes, or they might start to taste a little briny.
- Make the Filling (10 minutes): While the whites are soaking, make the filling. Using a fork or potato masher, mash the egg yolks into a fine crumb. Add the 1/2 cup of mayonnaise, 2 tablespoons of Dijon mustard, 1 tablespoon of apple cider vinegar, 1 teaspoon of smoked paprika, 1/2 teaspoon of garlic powder, 1/4 teaspoon of salt, and 1/4 teaspoon of black pepper. Mix until everything is completely smooth and creamy. Taste it! You might want a little more salt or paprika. This is your moment.
- Assemble the Haunted Eggs (10 minutes): Remove the egg whites from the brine and pat them dry very gently with a paper towel. Arrange them on your serving platter. Spoon your yolk mixture into a piping bag (or a zip-top bag with a small corner snipped off). Pipe the filling into each egg white half, creating a nice swirl on top. Don’t be shy with the filling—pile it high!
- Create the Spider Garnish (5 minutes): Take your remaining pitted black olives. Slice them crosswise into thin rounds. You’ll use one round per deviled egg. Place an olive round on top of the filling in the center of each egg. If you want to be extra fancy, use a toothpick to place tiny strips of chive on either side of the olive to look like spider legs. It takes a minute, but it’s totally worth it for the “wow” factor.
- Chill and Serve (at least 30 minutes): Refrigerate the finished deviled eggs for at least 30 minutes before serving. This allows the flavors to meld and the filling to firm up slightly. They are best served cold.
Cooking Tips & Techniques
I’ve made a lot of mistakes with deviled eggs over the years. Let me save you some trouble. The biggest one? Overcooking the eggs. That green ring isn’t just ugly—it gives the yolks a weird, sulfurous taste. The 10-minute rest method I shared above is bulletproof. I use it every single time, and I never get a green yolk.
Another thing I learned the hard way: don’t skip the ice bath. I know it’s tempting to just run them under cold water, but the ice bath shocks the egg and separates the membrane from the shell. It makes peeling so much easier. I used to spend ten minutes picking little bits of shell out of my eggs. Now? They practically fall off.
For the dye, don’t be tempted to add more brine to get a darker color faster. The 30-minute soak is the sweet spot. I once left them in for an hour, and they started to taste a bit too much like olives. The color was amazing, but the flavor was off. Stick to the 30-minute rule. And when you pat them dry, be gentle. Those grey whites are beautiful, but they can be a little more delicate than plain ones.
Variations & Adaptations
One of the best things about this recipe is how flexible it is. You can change the look and flavor without losing the “spooky” vibe. I’ve tried a few different versions myself.
- The Green Ghoul: Instead of the black olive brine, use the brine from a jar of pickled beets. This will dye the egg whites a stunning, vibrant pink or magenta. It’s a different kind of spooky—more of a “glowing” effect. The taste is slightly sweet and tangy, which pairs beautifully with the smoky filling.
- The “Bloody” Yolk: Add a teaspoon of sriracha or your favorite hot sauce to the yolk mixture. It gives it a gorgeous orange-red hue and a spicy kick. Top with a tiny drop of sriracha on top of the olive for a “bloody” effect.
- Herbivore Version (Vegan): Use a block of extra-firm tofu instead of eggs. Press the tofu to remove excess water, then cube and steam for 10 minutes. Use the same black olive brine to dye the tofu cubes. Mash with vegan mayonnaise, mustard, and the same seasonings. It’s surprisingly good and looks just as spooky.
- The “Eyeball” Egg: Instead of the olive spider, place a small slice of black olive in the center of the filling and top it with a tiny dot of sriracha or ketchup. It looks like a bloodshot eyeball. It’s a little more gruesome, which is perfect for a haunted feast.
Serving & Storage Suggestions
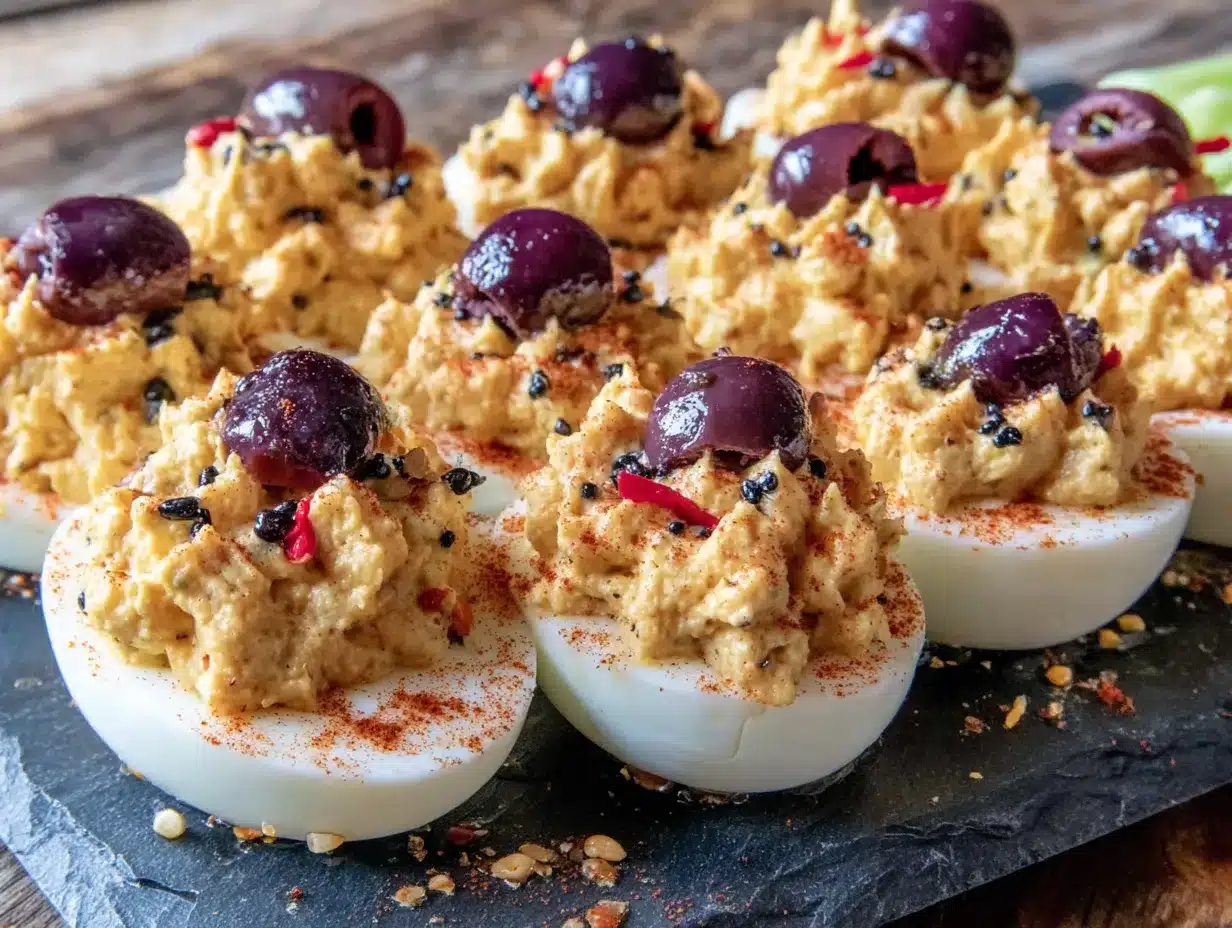
These Spooky Halloween Deviled Eggs are best served cold, straight from the fridge. The filling is firm and creamy, and the smoky flavor really shines when it’s chilled. I like to arrange them on a black platter or a slate board for maximum spooky effect. A few scattered rosemary sprigs (they look like tiny dead branches) and a couple of fake spiders from the dollar store complete the look.
They pair perfectly with other Halloween treats. I often serve them alongside a bowl of creamy roasted pumpkin soup for a mini “haunted feast” or with a platter of crispy baked chicken wings for a savory spread. For drinks, a dark and stormy cocktail or a glass of dry cider is a fantastic match.
For storage, place the deviled eggs in a single layer in an airtight container. They will keep well in the refrigerator for up to 2 days. I actually think the flavor is even better on the second day—the smoky paprika really has time to meld with the other ingredients. Do not freeze them. The texture of the filling will become watery and grainy.
To reheat (if you somehow have leftovers and want them warm), you can gently microwave them for 10-15 seconds, but honestly, they are best enjoyed cold. The flavors are more vibrant that way.
Nutritional Information & Benefits
Deviled eggs are a surprisingly nutritious snack. Each serving (two halves) provides a good dose of protein and healthy fats, keeping you full and satisfied. The eggs themselves are a fantastic source of choline, which is great for brain health. The smoked paprika adds a touch of antioxidants, and the olives offer healthy monounsaturated fats.
- Estimated per serving (2 halves): Calories: 180, Fat: 14g, Protein: 12g, Carbs: 2g.
- Dietary Considerations: This recipe is naturally gluten-free and low-carb. For a keto-friendly option, it’s perfect. It can be made dairy-free by using a vegan mayonnaise.
- Potential Allergens: Contains eggs. The filling contains mayonnaise, which is typically made with eggs and oil. Be sure to check the labels on your mayonnaise and mustard if you have specific dietary needs.
From a wellness perspective, I love that these are a “real food” snack. You know exactly what’s in them. No weird preservatives or artificial flavors. It’s a classic, simple dish that you can feel good about serving to your family and friends, even on a spooky night.
Conclusion
These Spooky Halloween Deviled Eggs are more than just a recipe—they’re a little piece of edible Halloween magic. They capture the spirit of the season without sacrificing an ounce of flavor. Whether you’re hosting a big haunted feast or just looking for a fun and creepy snack to enjoy with a scary movie, this is the recipe you need. I promise, the first time you see that beautiful grey egg white with the perfect little olive spider on top, you’ll be hooked.
I love making these because they always get a reaction. People are genuinely surprised and delighted. It’s that perfect combination of “Whoa, that’s cool!” and “Mmm, that’s delicious.” I encourage you to make them your own. Add a little extra spice, try a different garnish, or experiment with the dye. The possibilities are endless. If you make a batch, I’d love to hear about it! Drop a comment below and tell me how they turned out, or share a photo on Pinterest. Happy Haunting!
Frequently Asked Questions
Can I use store-bought deviled eggs and just dye them?
Technically, yes, but the flavor won’t be the same. The homemade filling with smoked paprika is what makes these truly special. The store-bought ones are often too sweet or bland. The extra 10 minutes to make the filling from scratch is totally worth it.
What if I don’t have black olives?
You can use the brine from any dark-colored pickled vegetable, like pickled beets (for a pink color) or even a strong black tea. The black olive brine gives the most authentic “spooky grey” color and a subtle savory flavor, but you can definitely get creative.
How far in advance can I make these?
You can make them up to 2 days in advance. Store them in an airtight container in the refrigerator. I actually prefer them on day two, as the flavors have more time to meld together. Just make sure the garnishes (the olive spiders) are placed on top right before serving so they don’t get soggy.
Can I make these without the olive brine dye?
Absolutely. If you want a more classic look, you can skip the dye entirely. The filling and the spider garnish are still plenty spooky on a white egg. Or, you can use a few drops of natural black food coloring (made from activated charcoal) to achieve a similar effect.
How do I prevent the egg whites from tasting too salty from the brine?
The 30-minute soak is the key. Don’t leave them in for longer than 35 minutes. The brine is salty, but the short soak only flavors the very outer layer of the egg white. Patting them dry gently after the soak also helps remove any excess saltiness on the surface.
Pin This Recipe!
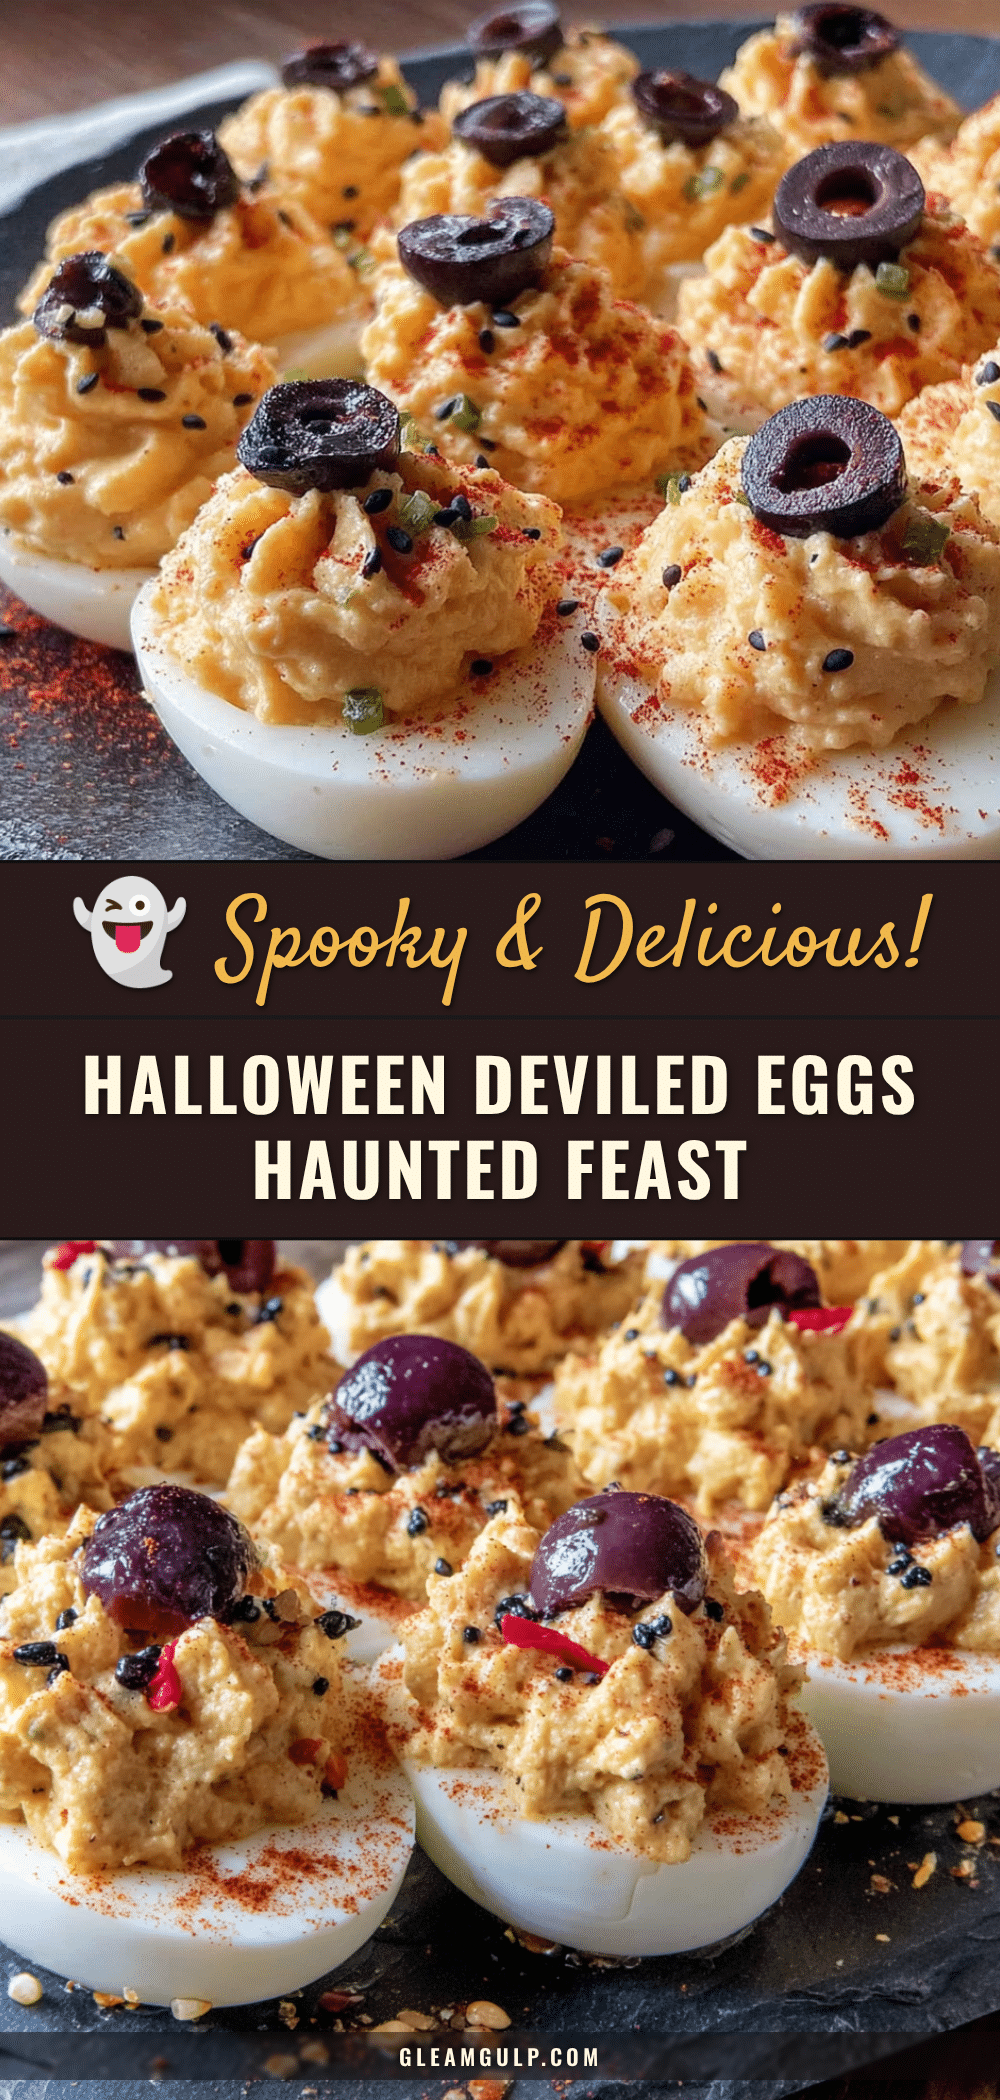
Spooky Halloween Deviled Eggs: Easy Haunted Feast Recipe
These Spooky Halloween Deviled Eggs are a show-stopping appetizer with naturally dyed grey egg whites and a smoky, creamy filling. Perfect for a haunted feast or Halloween party, they are as delicious as they are eerie.
- Prep Time: 15 minutes
- Cook Time: 15 minutes
- Total Time: 1 hour 30 minutes (includes soaking and chilling)
- Yield: 24 deviled egg halves (12 servings of 2 halves each) 1x
- Category: Appetizer
- Cuisine: American
Ingredients
- 12 large eggs
- 1 can black olives (California Ripe Olives recommended)
- Water (enough to cover eggs)
- 1/2 cup mayonnaise (Hellmann’s or Duke’s recommended)
- 2 tablespoons Dijon mustard (Grey Poupon recommended)
- 1 tablespoon apple cider vinegar
- 1 teaspoon smoked paprika (sweet smoked paprika ideal)
- 1/2 teaspoon garlic powder
- 1/4 teaspoon salt
- 1/4 teaspoon black pepper (freshly ground)
- 12 pitted black olives (for garnish)
- Optional: Chives or green onion tops (for spider legs)
Instructions
- Hard-Boil the Eggs: Place 12 eggs in a single layer in a saucepan. Cover with cold water by about an inch. Bring to a rolling boil over high heat. Once boiling, turn off heat, cover, and let sit for exactly 10 minutes.
- Ice Bath: While eggs cook, prepare a large bowl of ice water. Transfer eggs to ice bath using a slotted spoon. Let chill for at least 5 minutes.
- Prepare the ‘Spooky’ Dye: Open can of black olives and pour brine into a small bowl (about 1/2 cup). Add 1/2 cup cold water. Set aside.
- Peel and Halve the Eggs: Gently tap each egg to crack shell. Peel under cold running water. Slice each egg in half lengthwise. Pop yolks into a medium bowl. Place 24 white halves on a plate or shallow dish.
- The Spooky Soak: Pour olive brine mixture over egg white halves, ensuring they are completely submerged. Let sit at room temperature for 30 minutes. Do not exceed 35 minutes.
- Make the Filling: Mash egg yolks with a fork or potato masher. Add 1/2 cup mayonnaise, 2 tablespoons Dijon mustard, 1 tablespoon apple cider vinegar, 1 teaspoon smoked paprika, 1/2 teaspoon garlic powder, 1/4 teaspoon salt, and 1/4 teaspoon black pepper. Mix until smooth and creamy. Taste and adjust seasoning.
- Assemble the Haunted Eggs: Remove egg whites from brine and pat dry gently with a paper towel. Arrange on serving platter. Spoon filling into a piping bag or zip-top bag with corner snipped off. Pipe filling into each egg white half, piling high.
- Create the Spider Garnish: Slice remaining pitted black olives crosswise into thin rounds. Place one round on top of filling in center of each egg. Optionally, use toothpick to place tiny chive strips on either side for spider legs.
- Chill and Serve: Refrigerate finished deviled eggs for at least 30 minutes before serving. Serve cold.
Notes
For best results, use older eggs for easier peeling. Do not soak egg whites in brine for more than 35 minutes to avoid overly salty flavor. Pat egg whites dry gently after soaking. The filling can be made a day ahead; flavors meld and improve overnight. Store in an airtight container in the refrigerator for up to 2 days. Do not freeze.
Nutrition
- Serving Size: 2 deviled egg halves
- Calories: 180
- Sugar: 1
- Sodium: 350
- Fat: 14
- Saturated Fat: 3
- Carbohydrates: 2
- Protein: 12
Keywords: Halloween deviled eggs, spooky deviled eggs, haunted feast, Halloween appetizer, deviled eggs recipe, black olive brine, smoky paprika deviled eggs, easy Halloween recipe


