Love this? Save it for later!
Share the inspiration with your friends
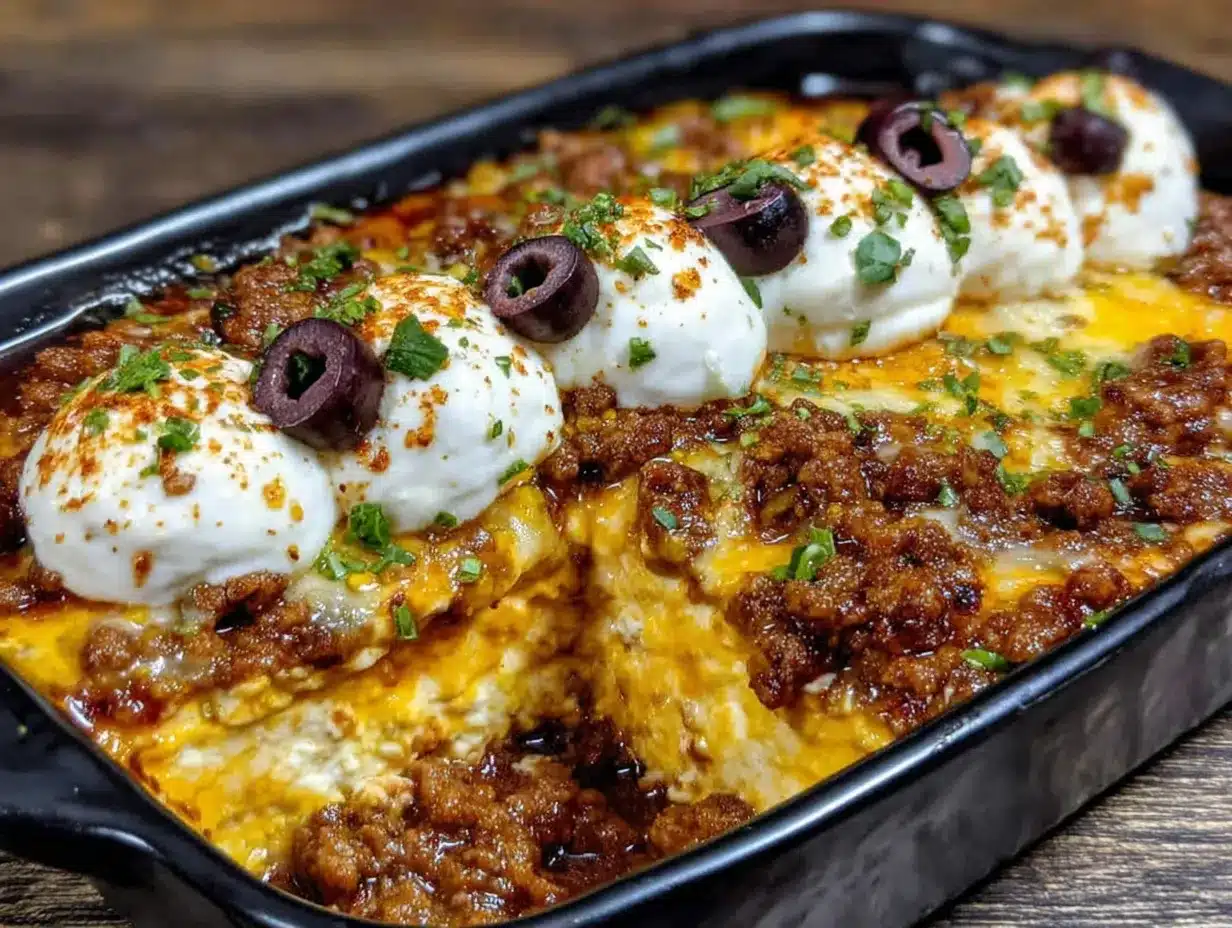
Jessie wasn’t trying to be the star of the Halloween party. I’d stopped by her house to drop off a bag of ice and a pack of napkins—you know, the usual pre-party scramble—and the smell hit me before I even got through the door. It was warm, savory, with that unmistakable taco seasoning kick, but underneath it there was something cool and creamy. I honestly thought she was just making regular taco dip. Then I rounded the corner into her kitchen and saw it: a full-on graveyard scene, right there in a 9×13 baking dish. There were little tombstones made of tortilla chips. There were “worms” crawling out of the “dirt.” And Jessie? She was just casually arranging a few more black olives on top like it was no big deal. “Oh, this old thing?” she said when she caught me staring. “Just threw it together.” Let me tell you, I’ve never thrown anything together that looked that good. I stood there for a good five minutes, just taking it in, before I even remembered why I’d come over. Maybe you’ve been there—you see a dish that’s so clever and so delicious that you know, right then and there, you’re going to have to make it yourself. That’s what this Spooky Graveyard Taco Dip was for me. It’s the kind of recipe that makes you look like a Halloween hero without actually having to work like one.
Why You’ll Love This Recipe
I’ve tested this dip at three different parties now, and I can tell you with total confidence: it disappears. Every. Single. Time. People can’t resist scooping up a tombstone or digging into the “dirt.” Here’s why this one is different from every other taco dip recipe out there.
- Quick & Easy : This comes together in about 20 minutes flat. No baking required, just a little chilling time to let the flavors meld. Perfect for that last-minute Halloween craving or a party you forgot was happening.
- Simple Ingredients : You probably have most of these in your fridge and pantry right now. No fancy grocery trips—just classic taco dip staples that you already know and love.
- Perfect for Halloween Parties : It’s literally a graveyard on a platter. Kids love it, adults love it, and it gets more photos taken of it than the costumes. It’s a guaranteed conversation starter.
- Crowd-Pleaser : This dip checks every box. It’s creamy, it’s crunchy, it’s savory, and it’s got that little bit of spice that keeps you coming back for more. I’ve seen picky eaters go back for thirds.
- Unbelievably Delicious : The combination of the cool, smooth sour cream layer with the warm, seasoned ground beef and the crunch of fresh veggies is just next-level comfort food. It’s the kind of dip you eat with a fork when nobody’s watching.
What makes this version stand out isn’t just the spooky presentation—it’s the technique. I use a simple trick to keep the sour cream layer from getting watery, and I’ve perfected the seasoning ratio so every bite is balanced. It’s not just another taco dip; it’s the best taco dip, dressed up for Halloween.
Honestly, this recipe is the kind that makes you close your eyes after the first bite. It’s comfort food reimagined—faster, easier, but with the same soul-soothing satisfaction. And the best part? You get to impress everyone at the party without breaking a sweat.
What Ingredients You Will Need
This recipe uses simple, wholesome ingredients to deliver bold flavor and that classic taco dip texture. Most of these are pantry staples, which makes this dish perfect for a last-minute Halloween gathering. Let’s break down what you’ll need and why each ingredient matters.
For the Beef Layer
- 1 pound ground beef (80/20 works best for flavor, but you can use lean if you prefer)
- 1 packet taco seasoning (I prefer McCormick or a store-brand organic version—they have less filler)
- 1/2 cup water (to bloom the seasoning)
- 1 can (15 oz) refried beans (look for a brand without lard if you’re vegetarian-curious)
For the Creamy Layer
- 1 cup sour cream (full fat gives the best texture, but Greek yogurt works too)
- 1 cup cream cheese, softened (this is my secret for a thick, non-runny layer)
- 1/2 cup salsa (mild or medium—drain it slightly so it doesn’t make the dip watery)
- 1 teaspoon garlic powder
- 1 teaspoon onion powder
- 1/2 teaspoon cumin (adds that warm, earthy taco flavor)
For the Toppings & Graveyard Decor
- 2 cups shredded lettuce (iceberg gives the best crunch)
- 1 cup shredded cheddar cheese (or a Mexican blend)
- 1/2 cup black olives, sliced (these become your “bugs” and “worms”)
- 1/2 cup diced tomatoes (seeded to avoid extra moisture)
- 1/4 cup green onions, sliced (for that grassy graveyard look)
- 1 bag tortilla chips (I use Tostitos Scoops for the tombstones—they stand up perfectly)
For the Spooky Decor (Optional but Highly Recommended)
- Guacamole or sour cream (to pipe “RIP” on the tombstones)
- Black food coloring (to tint sour cream or olives for extra creepy effect)
- Pretzel sticks (to make little fences or crosses)
- Fresh cilantro (for that “overgrown graveyard” look)
I always recommend using full-fat dairy here because it holds up better for a party. Low-fat sour cream tends to get watery after sitting out for an hour. And if you’re using store-bought guacamole for the decor, make sure it’s a thick one—not the runny kind.
Equipment Needed
You don’t need any fancy equipment for this recipe, which is part of the charm. Here’s what you’ll need to pull this graveyard together.
- Large skillet (for browning the beef)
- 9×13 baking dish (or any large, shallow serving dish—a rectangular one works best for the graveyard layout)
- Mixing bowls (one for the creamy layer, one for the toppings)
- Spatula (for spreading layers evenly)
- Piping bag or zip-top bag (for writing “RIP” on tombstones)
- Sharp knife and cutting board (for chopping veggies)
If you don’t have a 9×13 dish, you can use a large round platter or even a cast-iron skillet. Just make sure it’s deep enough to hold all those layers. I’ve used a disposable aluminum pan before for a potluck, and it worked like a charm. For the piping bag, a small zip-top bag with the corner snipped off does the job perfectly—no need to buy anything special.
Preparation Method
Alright, let’s get into the good stuff. Here’s how to build your spooky graveyard, step by step. I’ve included time estimates and sensory cues so you know exactly what to look for.
- Brown the ground beef (10 minutes) : Heat your skillet over medium-high heat. Add the ground beef and break it up with a spatula. Cook until it’s no longer pink, about 6-8 minutes. You’ll know it’s done when you hear that satisfying sizzle start to quiet down and the meat is browned all over. Drain off any excess fat—I usually tilt the pan and spoon it out.
- Season the beef (3 minutes) : Add the taco seasoning and water to the skillet. Stir well and bring it to a simmer. Let it cook for 2-3 minutes, until the liquid thickens and coats the meat. The smell at this point is going to be incredible—that warm, spicy taco aroma that makes everyone wander into the kitchen.
- Prepare the refried bean layer (2 minutes) : Spread the refried beans evenly over the bottom of your 9×13 dish. Use a spatula to make it smooth. This is your “dirt” base, so don’t worry about perfection—a little texture actually looks more like soil.
- Layer the seasoned beef (2 minutes) : Spoon the cooked beef over the refried beans and spread it out evenly. Make sure it reaches all the corners. This layer adds the savory, hearty foundation that makes this dip so satisfying.
- Make the creamy layer (5 minutes) : In a mixing bowl, combine the softened cream cheese, sour cream, salsa, garlic powder, onion powder, and cumin. Mix until smooth and well combined. I use a fork for this—the cream cheese needs to be really soft to avoid lumps. If it’s still a bit firm, pop it in the microwave for 10 seconds. Spread this mixture over the beef layer.
- Add the cheese (2 minutes) : Sprinkle the shredded cheddar cheese evenly over the creamy layer. This will melt slightly as the dip sits, creating a beautiful, gooey top.
- Build the graveyard toppings (5 minutes) : Now for the fun part. Sprinkle the shredded lettuce over the cheese to create your “grass.” Then scatter the diced tomatoes, black olives (these are your “bugs”), and green onions. Leave a few areas clear for your tombstones.
- Create the tombstones (5 minutes) : Take your tortilla chips—I use the Scoops because they stand up—and press them gently into the dip at an angle so they look like gravestones. You can write “RIP” on them with a little sour cream or guacamole using your piping bag. I usually do a few that say “BOO” and one that says “HERE LIES TACO DIP.”
- Add the spooky details (3 minutes) : Arrange pretzel sticks around the edges to look like a fence. Add a few extra olive slices to look like worms crawling out of the “dirt.” If you have fresh cilantro, tuck a few sprigs in to look like overgrown weeds. Let your imagination run wild.
- Chill before serving (30 minutes minimum) : Pop the whole dish in the fridge for at least 30 minutes before serving. This lets the flavors meld and makes the dip easier to scoop. I’ve served it immediately in a pinch, and it’s still delicious, but the chilled version is next level.
Cooking Tips & Techniques
I’ve made this dip enough times to know where things can go wrong. Here are my hard-earned tips to make sure your graveyard looks as good as it tastes.
Don’t skip draining the beef. I learned this the hard way at a party. Too much grease makes the creamy layer slide right off. Take the extra 30 seconds to drain it well—your dip will hold together much better.
Let the cream cheese soften completely. I know, I know—you’re in a rush. But cold cream cheese creates lumps that never quite smooth out. Leave it on the counter for 30 minutes, or microwave it in 10-second bursts until it’s soft to the touch. Your future self will thank you.
Build the tombstones just before serving. If you put the chips in too early, they’ll get soft and fall over. I usually assemble the dip, chill it, and then add the tombstones and pretzel fences right before I set it out. That way, everything stays crunchy.
Use a piping bag for the writing. A zip-top bag with a tiny corner snipped off works perfectly. Fill it with sour cream or guacamole and practice writing on a plate first. I’ve had a few “RIP” messages that looked more like “R1P” because I rushed it. Take your time.
Keep an eye on the texture. If your salsa is watery, drain it in a fine-mesh strainer before adding it to the creamy layer. Too much liquid will make the whole dip runny. I’ve had a dip turn into soup before—trust me, it’s not a good look for a graveyard.
Variations & Adaptations
One of the best things about this recipe is how easy it is to adapt. Here are a few ways to make it your own.
Vegetarian Graveyard: Swap the ground beef for a plant-based crumble or extra refried beans. I’ve used Beyond Meat before, and it works surprisingly well. Just season it the same way, and nobody will miss the meat.
Spicy Version: Add a diced jalapeño to the beef layer, use hot salsa, and sprinkle some crushed red pepper flakes on top. I made this for a friend who loves heat, and she said it was “perfectly dangerous.”
Guacamole Graveyard: Swap the creamy layer for a thick guacamole. Just mash 3 ripe avocados with lime juice, salt, and a little garlic. Spread it over the beef, and top with the usual veggies. It’s a lighter, fresher take that’s still incredibly satisfying.
Dairy-Free Option: Use dairy-free cream cheese and sour cream—I’ve found that Kite Hill and Tofutti work best. The texture is slightly different, but the flavor is still spot-on. Just make sure to chill it well so it sets properly.
Mini Graveyard Cups: For a party, make individual servings in small cups or mason jars. Layer everything the same way, and top each with a mini tortilla chip tombstone. They’re perfect for guests to grab and go.
Serving & Storage Suggestions
This dip is best served cold or at room temperature, straight from the fridge. I like to set it out about 15 minutes before guests arrive so it’s not ice-cold, but still firm enough to scoop.
For presentation, surround the dish with extra tortilla chips and veggie sticks. I usually put a small bowl of extra chips on the side, because people will go through them fast. You can also add a few fake spider webs or plastic skeletons around the serving platter for extra Halloween flair.
Storage: Leftovers (if you have any) keep well in the fridge for up to 3 days. Cover the dish tightly with plastic wrap or transfer it to an airtight container. The chips will get soft, so I recommend removing them before storing. Just add fresh chips when you’re ready to eat again.
Reheating: This dip is meant to be served cold, so I don’t recommend reheating it. If you really want to warm it up, scoop out a portion and microwave it for 20-30 seconds. The texture won’t be quite the same, but the flavor is still great.
The flavors actually get better after a day in the fridge. The creamy layer absorbs all the taco seasoning, and everything melds together beautifully. I’ve been known to make this a day ahead of a party just so it’s extra flavorful.
Nutritional Information & Benefits
Let’s be real—this is a party dip, not a health food. But here’s a rough estimate of what you’re working with, based on about 12 servings.
Per serving (approximate): 320 calories, 22g fat, 18g carbohydrates, 14g protein, 3g fiber, 680mg sodium.
The good news is that this dip does have some redeeming qualities. The refried beans add fiber and protein, the tomatoes and lettuce provide vitamins A and C, and the avocado in the guacamole version is full of healthy fats. If you use Greek yogurt instead of sour cream, you’ll cut some calories and add probiotics.
For dietary considerations: This recipe is gluten-free (check your taco seasoning packet to be sure) and can be made vegetarian or dairy-free with the swaps I mentioned. It’s not low-carb or keto-friendly because of the beans and chips, but you can serve it with cucumber slices or bell pepper strips instead of tortilla chips.
Personally, I think everything in moderation is fine. This is a once-a-year Halloween treat, and it’s worth every single bite. Just maybe don’t eat the whole dish yourself—I speak from experience.
Conclusion
This Spooky Graveyard Taco Dip is everything you want in a Halloween recipe. It’s fun to make, stunning to look at, and absolutely delicious to eat. The best part? It’s so simple that you can throw it together in under 30 minutes, but it looks like you spent all day on it. That’s the kind of recipe magic we all need in our lives.
I’d love to see how your graveyard turns out. Did you add a ghost? A skeleton hand? Did you write something funny on the tombstones? Drop a comment below and share your creation—I read every single one. And if you’re looking for more Halloween inspiration, check out my Halloween party snacks collection or this mummy jalapeno poppers recipe that’s always a hit.
Go on—grab your ingredients, channel your inner graveyard artist, and make something spooky and delicious. Your party guests will thank you, and honestly? You’ll thank yourself when you’re scooping up that last bite.
Frequently Asked Questions
Can I make this dip ahead of time?
Absolutely! In fact, I recommend it. Assemble the dip up to 24 hours in advance, but wait to add the tombstones and pretzel fences until just before serving. The flavors get even better after a day in the fridge.
What if I don’t have a 9×13 dish?
No problem at all. Use any large, shallow dish you have—a round platter, a cast-iron skillet, or even a disposable aluminum pan. Just make sure it’s deep enough to hold all the layers without overflowing.
Can I use ground turkey instead of beef?
Yes, you can. Ground turkey works perfectly, but make sure to drain it well because it can release more liquid than beef. You might need to cook it a minute or two longer to get all the moisture out.
How do I keep the tortilla chips from getting soggy?
Add the chips right before serving. If you’re making this ahead, store the chips separately and arrange them on top when you’re ready to set out the dip. I also recommend using thicker chips like Scoops—they hold up much better than thin ones.
Can I make this vegetarian or vegan?
Definitely. For vegetarian, swap the ground beef for a plant-based crumble or extra refried beans. For vegan, use dairy-free cream cheese and sour cream, and skip the shredded cheese or use a vegan alternative. Everything else is already plant-based.
Pin This Recipe!
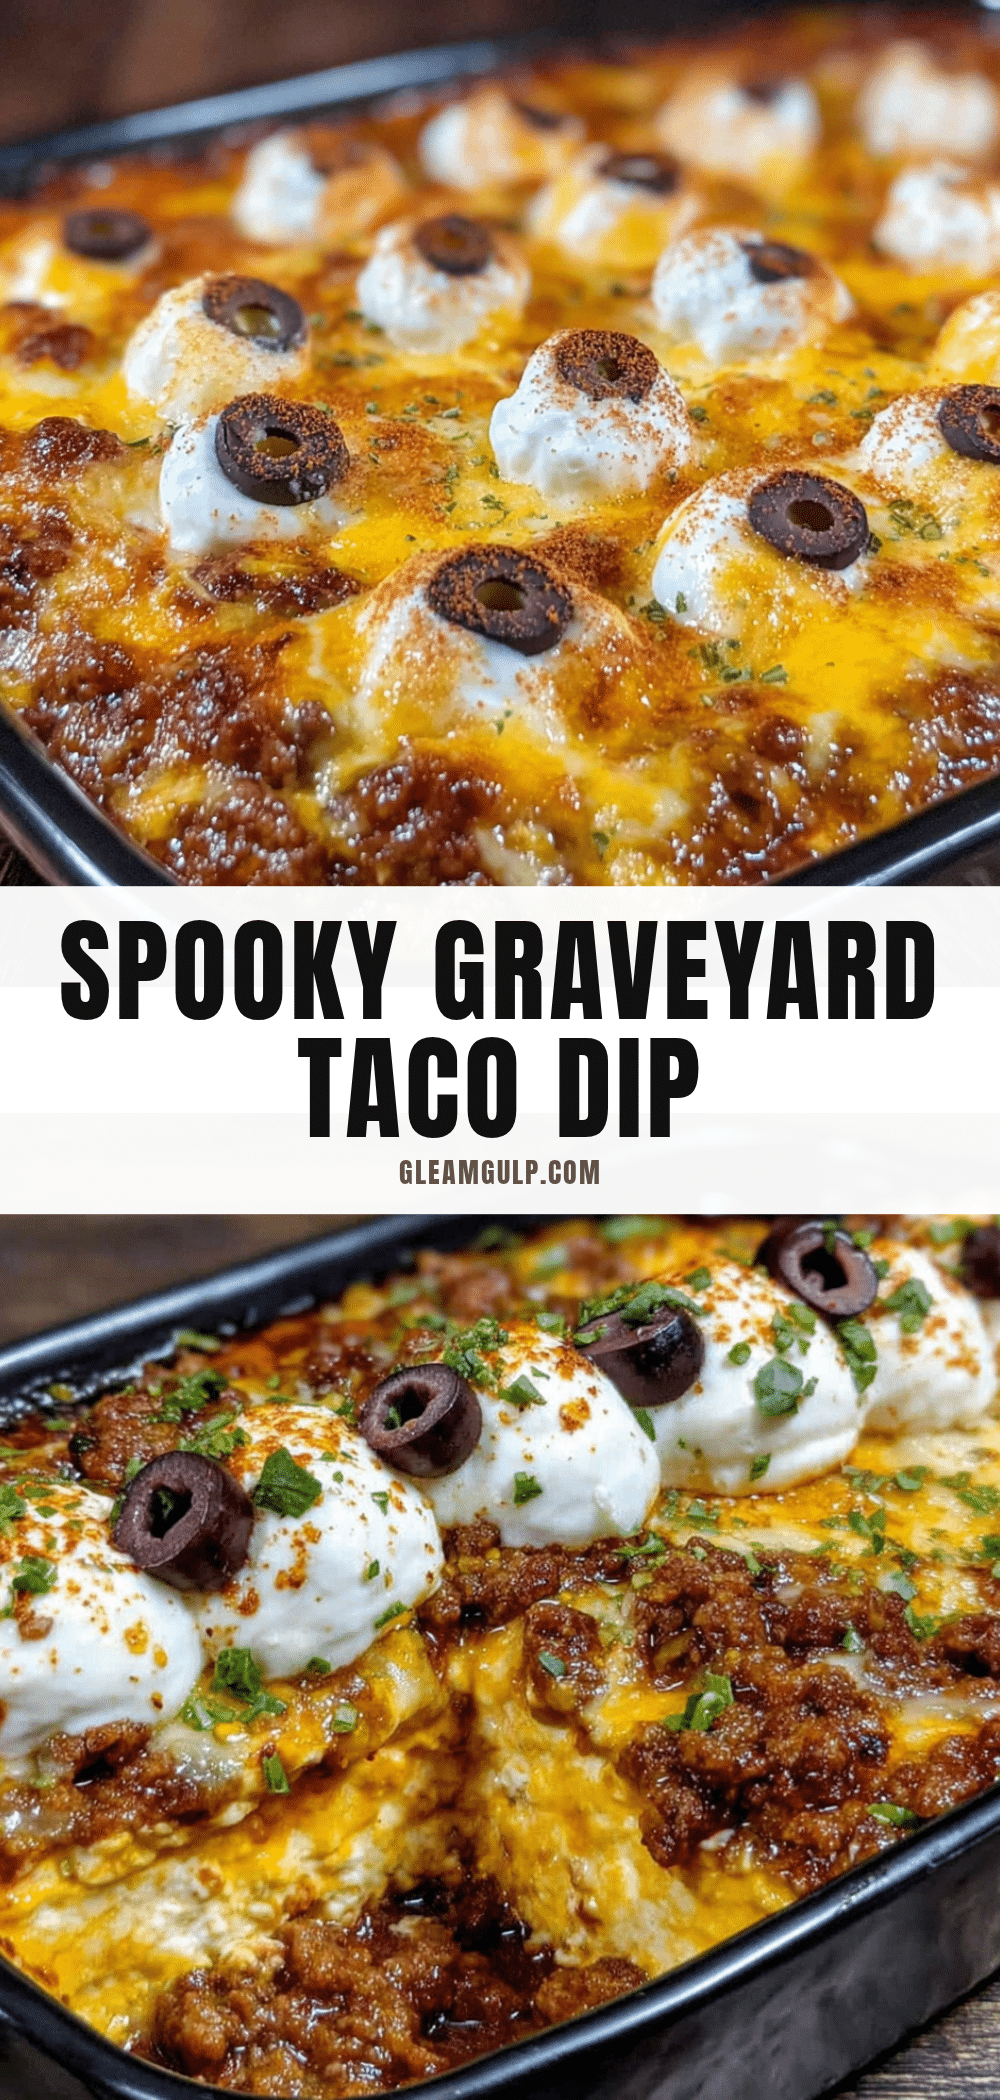
Spooky Graveyard Taco Dip: Easy Halloween Recipe

A fun and delicious Halloween party dip that looks like a graveyard, with layers of seasoned beef, refried beans, creamy sour cream mixture, and crunchy toppings, all decorated with tortilla chip tombstones and spooky details.
- Prep Time: 20 minutes
- Cook Time: 10 minutes
- Total Time: 30 minutes (plus 30 minutes chilling)
- Yield: 12 servings 1x
- Category: Appetizer
- Cuisine: Mexican-American
Ingredients
- 1 pound ground beef (80/20 works best)
- 1 packet taco seasoning (e.g., McCormick)
- 1/2 cup water
- 1 can (15 oz) refried beans
- 1 cup sour cream (full fat)
- 1 cup cream cheese, softened
- 1/2 cup salsa (mild or medium, drained slightly)
- 1 teaspoon garlic powder
- 1 teaspoon onion powder
- 1/2 teaspoon cumin
- 2 cups shredded lettuce (iceberg)
- 1 cup shredded cheddar cheese (or Mexican blend)
- 1/2 cup black olives, sliced
- 1/2 cup diced tomatoes (seeded)
- 1/4 cup green onions, sliced
- 1 bag tortilla chips (Tostitos Scoops recommended)
- Guacamole or sour cream (for piping ‘RIP’ on tombstones, optional)
- Black food coloring (optional)
- Pretzel sticks (optional)
- Fresh cilantro (optional)
Instructions
- Brown the ground beef: Heat a large skillet over medium-high heat. Add ground beef and cook until no longer pink, about 6-8 minutes. Drain excess fat.
- Season the beef: Add taco seasoning and water to the skillet. Stir and simmer for 2-3 minutes until liquid thickens and coats the meat.
- Prepare the refried bean layer: Spread refried beans evenly over the bottom of a 9×13 baking dish.
- Layer the seasoned beef: Spoon cooked beef over refried beans and spread evenly.
- Make the creamy layer: In a mixing bowl, combine softened cream cheese, sour cream, salsa, garlic powder, onion powder, and cumin. Mix until smooth. Spread over beef layer.
- Add the cheese: Sprinkle shredded cheddar cheese evenly over the creamy layer.
- Build the graveyard toppings: Sprinkle shredded lettuce over cheese. Scatter diced tomatoes, black olives, and green onions. Leave areas clear for tombstones.
- Create the tombstones: Press tortilla chips (Scoops) into the dip at an angle to look like gravestones. Pipe ‘RIP’ or other messages with sour cream or guacamole using a piping bag or zip-top bag.
- Add spooky details: Arrange pretzel sticks around edges for a fence. Add extra olive slices for worms. Tuck cilantro sprigs for overgrown look.
- Chill before serving: Refrigerate for at least 30 minutes before serving to meld flavors and firm up the dip.
Notes
For best results, let cream cheese soften completely to avoid lumps. Drain beef well to prevent greasy dip. Add tortilla chip tombstones just before serving to keep them crunchy. If salsa is watery, drain it in a fine-mesh strainer. Dip can be made up to 24 hours ahead; add tombstones and pretzel fences just before serving.
Nutrition
- Serving Size: 1 serving (approx. 1
- Calories: 320
- Sugar: 3
- Sodium: 680
- Fat: 22
- Saturated Fat: 10
- Carbohydrates: 18
- Fiber: 3
- Protein: 14
Keywords: Halloween, taco dip, graveyard, party dip, spooky, easy, ground beef, tortilla chips


