Love this? Save it for later!
Share the inspiration with your friends
The woman at the farmers market stall watched me eyeing her chocolate chunk samples for a solid five minutes before she finally spoke. “You keep coming back,” she said, not unkindly. “Most people grab one and move on.” I laughed, embarrassed, and admitted I was trying to reverse-engineer a cookie recipe that had been haunting me for weeks—something with crisp edges and a gooey center, but not so many that I’d eat a dozen before breakfast. She wiped her hands on her apron, reached under the table, and handed me a crumpled index card. “This one makes just eight. That’s all you need.”
I tucked that card into my wallet and honestly, I lost it twice before I finally copied it into my notebook. The first batch I made was a disaster—I used baking soda instead of powder and ended up with flat, greasy coins that tasted like salt and regret. But the second batch? That was the one. I tweaked the butter temperature, swapped in a specific brand of chocolate I’d been hoarding, and found the exact oven rack position that made the bottoms golden without burning. This perfect small-batch chocolate chip cookies recipe became my go-to for those evenings when you just want something warm and sweet without committing to a full batch. Maybe you’ve been there—standing in your kitchen at 9 PM, craving a cookie but not wanting to deal with a mixer or a mountain of dough. This one’s for you.
Why You’ll Love This Recipe
Let me tell you why this recipe has earned a permanent spot in my rotation. I’ve tested it at least a dozen times—sometimes deliberately, sometimes because I “needed” to verify the results (for science, obviously). Each time, these cookies deliver that perfect balance of chewy centers and crispy edges that store-bought versions just can’t touch.
- Quick & Easy: From craving to cookie in under 25 minutes. No chilling required, no stand mixer needed. Just a bowl, a spoon, and your hands.
- Simple Ingredients: You probably have everything already. Butter, sugar, an egg, flour, vanilla, and chocolate chips. That’s it. No obscure extracts or specialty flours.
- Perfect for Small Cravings: This makes exactly 8 cookies. Not 24, not 36. Eight. Enough for a treat without tempting you to eat half the batch in one sitting.
- Crowd-Pleaser: I brought these to a book club meeting and three people asked for the recipe before the discussion even started. They disappear fast.
- Unbelievably Delicious: The texture is everything—crispy on the outside, soft and almost fudgy on the inside. The browned butter adds this nutty depth that makes you wonder why you ever made cookies any other way.
What makes this version different? It’s the technique of browning the butter first. That extra step transforms the flavor from ordinary to something that tastes like it came from a fancy bakery. Plus, the ratio of brown sugar to white sugar is dialed in perfectly—more brown sugar means more moisture and that signature chewiness you want in a classic chocolate chip cookie.
This isn’t just another cookie recipe. It’s the one that makes you close your eyes after the first bite. It’s comfort food reimagined—faster, smaller, but with the same soul-soothing satisfaction. Perfect for a quiet Tuesday night or when you want to impress someone without breaking a sweat.
What Ingredients You Will Need
This recipe uses simple, wholesome ingredients to deliver bold flavor and satisfying texture without the fuss. Most of these are pantry staples, which is exactly why this recipe works so well for spontaneous baking sessions.
- Unsalted butter, 5 tablespoons (70g) — I prefer using unsalted so I can control the salt level. You’ll brown this butter, which is the secret to that deep, nutty flavor. (Use salted butter if that’s all you have—just reduce the added salt by ¼ teaspoon.)
- Dark brown sugar, ¼ cup (50g), packed — This gives the cookies moisture and that soft, chewy texture. I like Domino dark brown sugar for its molasses content, but any brand works. Pack it firmly into the measuring cup.
- Granulated sugar, 2 tablespoons (25g) — Just enough for sweetness and to help with those crispy edges. Don’t skip it—the combination of both sugars is key.
- Large egg yolk, 1 — Room temperature is best. Using just the yolk instead of the whole egg makes the cookies richer and more tender. Save the white for an omelet tomorrow.
- Vanilla extract, ½ teaspoon — Pure vanilla makes a difference here. I use Nielsen-Massey Madagascar vanilla, but any pure extract works. Skip the imitation stuff if you can.
- All-purpose flour, ½ cup (60g) — Spoon and level it into your measuring cup. Don’t scoop directly from the bag—you’ll pack in too much flour and end up with dry cookies.
- Baking soda, ¼ teaspoon — This helps the cookies spread just enough. Make sure it’s fresh—test it by dropping a pinch into vinegar; it should fizz immediately.
- Salt, ¼ teaspoon — I use fine sea salt. If you’re using kosher salt, increase to ½ teaspoon. Salt balances the sweetness and enhances the chocolate.
- Semi-sweet chocolate chips, ⅓ cup (60g) — Guittard or Ghirardelli are my go-to brands. You can also chop a chocolate bar into chunks for a more rustic look. Dark chocolate works beautifully here too.
- Flaky sea salt, for sprinkling (optional but recommended) — A tiny pinch on top of each cookie right out of the oven takes them from great to unforgettable. I use Maldon.
Substitution notes: For a dairy-free version, use vegan butter sticks (not spreadable margarine). Coconut sugar can replace both sugars, though the texture will be slightly grainier. If you’re gluten-sensitive, swap the all-purpose flour with a 1:1 gluten-free baking flour blend—I’ve had good results with Bob’s Red Mill.
Equipment Needed
You don’t need fancy gadgets for these cookies, which is part of the beauty. Here’s what you’ll need:
- Small saucepan — For browning the butter. A light-colored pan helps you see the color change. I use a 1-quart stainless steel saucepan.
- Mixing bowl — Medium-sized, preferably glass or stainless steel. Ceramic works too, but avoid plastic—it can retain odors.
- Whisk — For combining the wet ingredients. A fork works in a pinch.
- Rubber spatula — For folding in the flour and chocolate chips. A wooden spoon works too, but the spatula gets every bit of dough.
- Baking sheet — A half-sheet pan (18×13 inches) is ideal. Avoid dark non-stick pans—they absorb heat and can over-brown the bottoms. My favorite is a simple aluminum sheet pan from Nordic Ware.
- Parchment paper or silicone baking mat — Parchment is cheaper and gives slightly crisper bottoms. Silicone mats work well but may result in slightly softer cookies.
- Cookie scoop or tablespoon — For evenly sized cookies. A #40 scoop (about 1.5 tablespoons) is perfect. If you’re using a spoon, aim for golf-ball-sized portions.
- Cooling rack — Essential for letting the cookies set properly. If you don’t have one, let them cool on the baking sheet for 10 minutes, then transfer to a plate.
Budget tip: Skip the fancy scoop and use two spoons to portion the dough. A silicone baking mat is nice but not necessary—parchment paper costs pennies per sheet and works beautifully.
Preparation Method
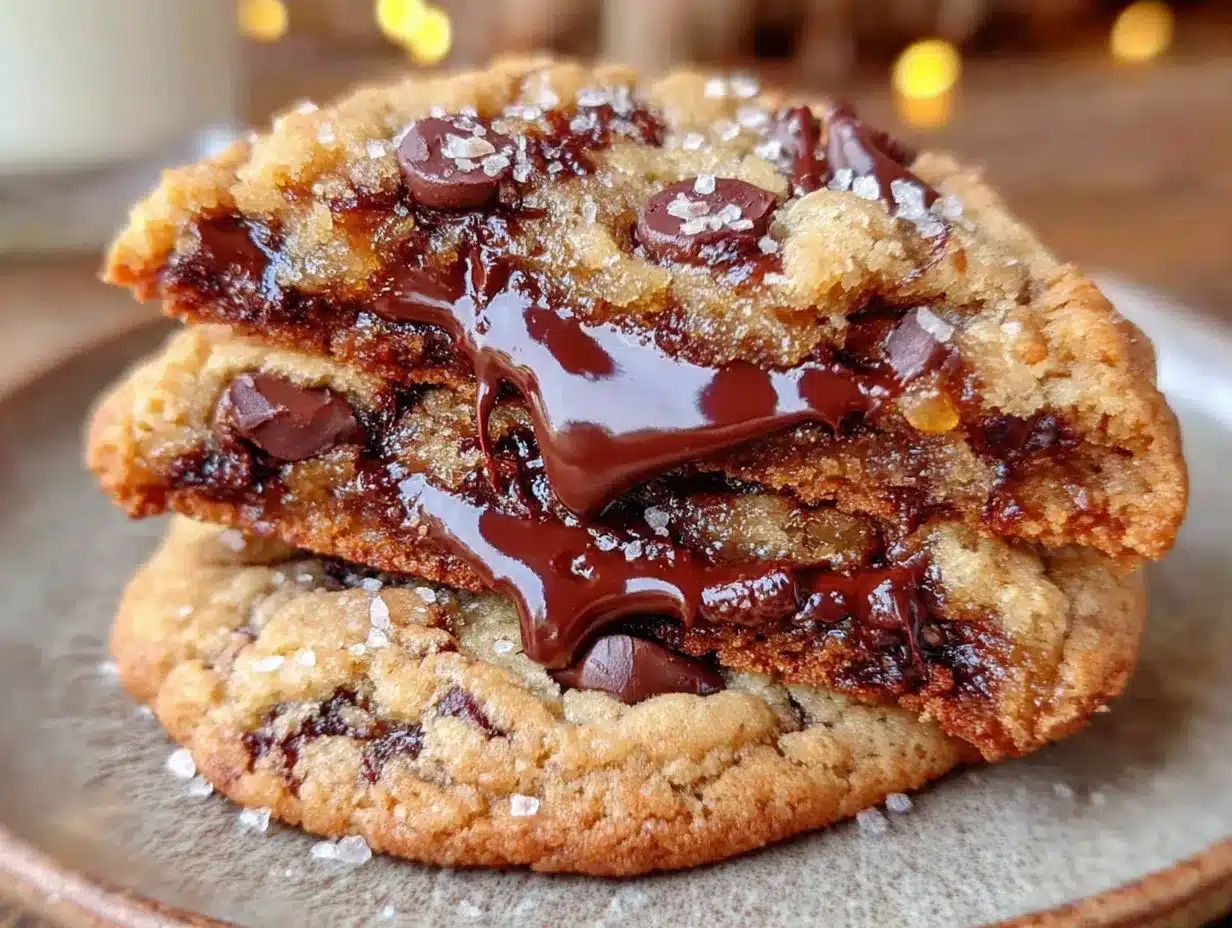
Let’s get to the fun part. Follow these steps carefully, and you’ll have perfect cookies in about 25 minutes.
- Brown the butter. Place the 5 tablespoons of butter in a small saucepan over medium heat. Stir constantly with a rubber spatula or wooden spoon. After about 3-4 minutes, the butter will start to foam and turn golden. Watch closely—once you see brown specks forming at the bottom and smell a nutty aroma, remove the pan from heat immediately. Transfer the browned butter to a heatproof bowl to stop the cooking process. Let it cool for 5 minutes. (Don’t skip this cooling step—if the butter is too hot, it will cook the egg yolk later.)
- Mix the sugars and butter. Add the packed brown sugar and granulated sugar to the cooled browned butter. Whisk vigorously for about 1 minute until the mixture looks like wet sand and has thickened slightly. It should smell incredible at this point—like caramel and toffee.
- Add the egg yolk and vanilla. Drop in the room-temperature egg yolk and the vanilla extract. Whisk until the mixture is smooth, glossy, and pale—about 45 seconds. It should fall off the whisk in a thick ribbon. If it looks separated, keep whisking—it will come together.
- Combine the dry ingredients. In a separate small bowl, whisk together the flour, baking soda, and salt. Make sure there are no lumps. This step ensures the baking soda is evenly distributed so your cookies rise uniformly.
- Fold in the dry ingredients. Add the flour mixture to the wet ingredients. Use a rubber spatula to fold gently—just until you no longer see streaks of flour. Overmixing at this stage develops gluten and makes cookies tough. Stop when the dough comes together and looks shaggy.
- Add the chocolate chips. Fold in the chocolate chips with a few quick strokes. Reserve about 1 tablespoon of chips to press onto the tops of the dough balls later—this makes the cookies look bakery-style.
- Portion the dough. Scoop the dough into 8 equal portions, about 1.5 tablespoons each. Roll each portion into a ball and place them on the prepared baking sheet, spaced about 2 inches apart. Press a few of the reserved chocolate chips onto the tops of each dough ball.
- Bake. Preheat your oven to 375°F (190°C). Bake the cookies on the middle rack for 9-11 minutes. At 9 minutes, the edges should be golden brown and the centers should look slightly puffy and underdone. They will continue to set as they cool. For softer cookies, bake for 9 minutes. For crisper cookies, go to 11 minutes.
- Cool and finish. Let the cookies cool on the baking sheet for exactly 5 minutes. Sprinkle with flaky sea salt while they’re still warm. Then transfer them to a cooling rack. The centers will sink slightly and become perfectly chewy. Let them cool completely if you can resist—about 15 more minutes.
Sensory cue: When the cookies are done, your kitchen should smell like a combination of toasted nuts, caramel, and vanilla. The edges will be deep golden brown, and the centers will look slightly soft and puffy. Don’t be tempted to overbake—the carryover heat will finish the job.
Preparation note: If your dough feels too sticky to roll, refrigerate it for 10 minutes. If it feels too dry, add 1 teaspoon of milk or water. Humidity and flour brands vary, so trust your instincts.
Cooking Tips & Techniques
I’ve made my share of cookie mistakes so you don’t have to. Here’s what I’ve learned the hard way:
Don’t skip browning the butter. The first time I tried this recipe, I was impatient and used melted butter straight from the microwave. The cookies were flat and one-dimensional. Browning the butter adds that nutty, toffee-like flavor that makes these cookies taste sophisticated. Just watch it carefully—burnt butter is bitter and ruins the batch.
Use room-temperature egg yolk. Cold egg yolk can seize the browned butter and make the dough greasy. Set your egg out 30 minutes before baking, or place it in a bowl of warm water for 5 minutes. This small step makes a big difference in texture.
Measure flour correctly. This is the most common cookie mistake. Fluff your flour with a spoon, then spoon it into your measuring cup and level it off with a knife. If you scoop directly from the bag, you can add up to 25% more flour than needed, resulting in dry, cakey cookies.
Chill if you have time. While this recipe doesn’t require chilling, letting the dough rest in the fridge for 30 minutes will concentrate the flavors and produce slightly thicker cookies. I’ve done it both ways—both are delicious, but chilled dough gives a more pronounced caramel flavor.
Bake one sheet at a time. If you’re doubling the recipe, bake one sheet at a time on the middle rack. Two sheets at once can cause uneven baking and spreading. Trust me—I’ve tried to rush it, and the cookies on the bottom rack always come out pale and underdone.
Use a timer. Those last two minutes are crucial. Set your timer for 9 minutes and check. If the edges are golden and the centers are puffy, pull them out. Every oven runs differently—my friend’s oven bakes these perfectly at 9 minutes, while mine needs 10.
Variations & Adaptations
This recipe is wonderfully flexible. Here are some variations I’ve tried and loved:
- Double Chocolate Chip: Replace 1 tablespoon of flour with 1 tablespoon of unsweetened cocoa powder. Use dark chocolate chips instead of semi-sweet. The result is a rich, fudgy cookie that tastes like a brownie’s cousin.
- Add Nuts: Fold in ¼ cup of toasted pecans or walnuts along with the chocolate chips. Toast them first in a dry pan over medium heat for 3-4 minutes until fragrant—this brings out their oils and makes them crunchier.
- Citrus Zest: Add ½ teaspoon of orange or lemon zest to the sugar mixture before whisking. The bright citrus cuts through the richness beautifully. I tried this on a whim one afternoon and it’s now my favorite spring variation.
- Gluten-Free Option: Substitute the all-purpose flour with a 1:1 gluten-free baking blend that contains xanthan gum. I’ve tested this with King Arthur Measure for Measure and the texture is remarkably close to the original—slightly more delicate, but still chewy.
- Vegan Version: Use vegan butter (I like Miyoko’s) and replace the egg yolk with 1 tablespoon of aquafaba (the liquid from a can of chickpeas) mixed with ½ teaspoon of cornstarch. The cookies will be slightly less rich but still delicious.
My personal favorite: The browned butter + sea salt + dark chocolate combination. I use 70% dark chocolate bars chopped into irregular chunks instead of chips. The pools of melted chocolate against the salty, buttery cookie are absolutely addictive.
Serving & Storage Suggestions
These cookies are best enjoyed warm, about 10 minutes after they come out of the oven. The edges are crispy, the center is soft, and the chocolate is still slightly melted. Serve them with a cold glass of milk or a hot cup of coffee for the full experience.
For presentation: Arrange the cookies on a wooden board or a simple white plate. A small bowl of extra flaky sea salt on the side looks intentional and lets guests add their own. They’re perfect for afternoon tea, a casual dessert, or packing in a lunchbox.
Storage: Store leftover cookies in an airtight container at room temperature for up to 3 days. Place a slice of bread in the container—it absorbs excess moisture and keeps the cookies soft. Replace the bread slice every day if you’re storing longer.
Freezing instructions: These cookies freeze beautifully. Freeze baked cookies in a single layer on a baking sheet, then transfer to a freezer bag for up to 3 months. To reheat, pop a frozen cookie in a 300°F (150°C) oven for 5 minutes—they’ll taste freshly baked. You can also freeze the raw dough balls on a sheet pan, then transfer to a bag. Bake from frozen, adding 1-2 minutes to the baking time.
Flavor development: Honestly, these cookies taste even better the next day. The flavors meld together and the texture becomes perfectly balanced. If you can wait 24 hours, you’re in for a treat.
Nutritional Information & Benefits
Per cookie (based on 8 cookies): Approximately 215 calories, 12g fat, 26g carbohydrates, 3g protein, 1g fiber, 16g sugar. These values are estimates and will vary based on specific ingredients used.
While these are definitely a treat, there are a few bright spots. The browned butter provides a small amount of vitamin A, and dark chocolate contains antioxidants called flavonoids that support heart health. Using semi-sweet chips instead of milk chocolate reduces overall sugar content. Plus, the small batch size means portion control is built right in—you get exactly eight cookies, no more, no less.
Dietary considerations: This recipe contains dairy (butter), eggs, gluten (flour), and may contain traces of soy (in chocolate chips). For a dairy-free version, use vegan butter. For gluten-free, use a 1:1 gluten-free flour blend. It’s not suitable for vegans as written, but the vegan variation above works well.
My personal take: I believe in enjoying food without guilt. These cookies are made with real ingredients, and they satisfy a craving in a way that processed snacks never can. One perfectly baked cookie is far more satisfying than a handful of something mediocre. That’s the philosophy I stand by.
Conclusion
This perfect small-batch chocolate chip cookies recipe has become my secret weapon for those moments when only a warm, homemade cookie will do. It’s quick enough for a weeknight craving, special enough to share with friends, and simple enough that anyone can make it—even on a whim at 10 PM.
What I love most is how adaptable it is. You can make it your own with different chocolates, add-ins, or a sprinkle of sea salt. The base recipe is solid, but the possibilities are endless. I’ve made these cookies in a tiny apartment kitchen, in a friend’s cabin with mismatched bowls, and in my own kitchen more times than I can count. They never disappoint.
I’d love to hear how yours turn out! Drop a comment below and let me know what variations you tried—or if you discovered a new favorite way to enjoy them. Share this recipe with someone who needs a little homemade comfort in their life. Happy baking, friend. You’ve got this.
Frequently Asked Questions
Can I use salted butter instead of unsalted?
Yes, you can. Just reduce the added salt in the recipe to ⅛ teaspoon. The browned butter will still work beautifully, though salted butter may foam slightly more during browning. Keep an eye on it and remove from heat as soon as it turns golden.
Why did my cookies turn out flat?
Flat cookies usually mean the butter was too warm when you added the dry ingredients, or the dough sat too long before baking. Make sure your browned butter has cooled for at least 5 minutes before adding the egg yolk. Also, check that your baking soda is fresh—old baking soda won’t provide enough lift.
Can I double this recipe?
Absolutely. Simply double all ingredients. The baking time remains the same, though you may need to bake in batches if your oven can’t fit two sheets at once. The dough can be made ahead and refrigerated for up to 3 days—just let it sit at room temperature for 10 minutes before scooping.
How do I make these cookies chewier?
For chewier cookies, use an extra tablespoon of brown sugar and reduce the granulated sugar by one tablespoon. You can also replace the egg yolk with a whole egg (though the cookies will be slightly less rich). Bake at 350°F (175°C) instead of 375°F for a softer, chewier texture.
Can I use chocolate chunks instead of chips?
Yes, and I actually prefer them! Chop a 4-ounce bar of your favorite chocolate into irregular pieces. The varying sizes create pools of melted chocolate throughout the cookie. Just be aware that chunks may melt differently than chips—some will stay intact while others create chocolate puddles. It’s a wonderful thing.
Pin This Recipe!
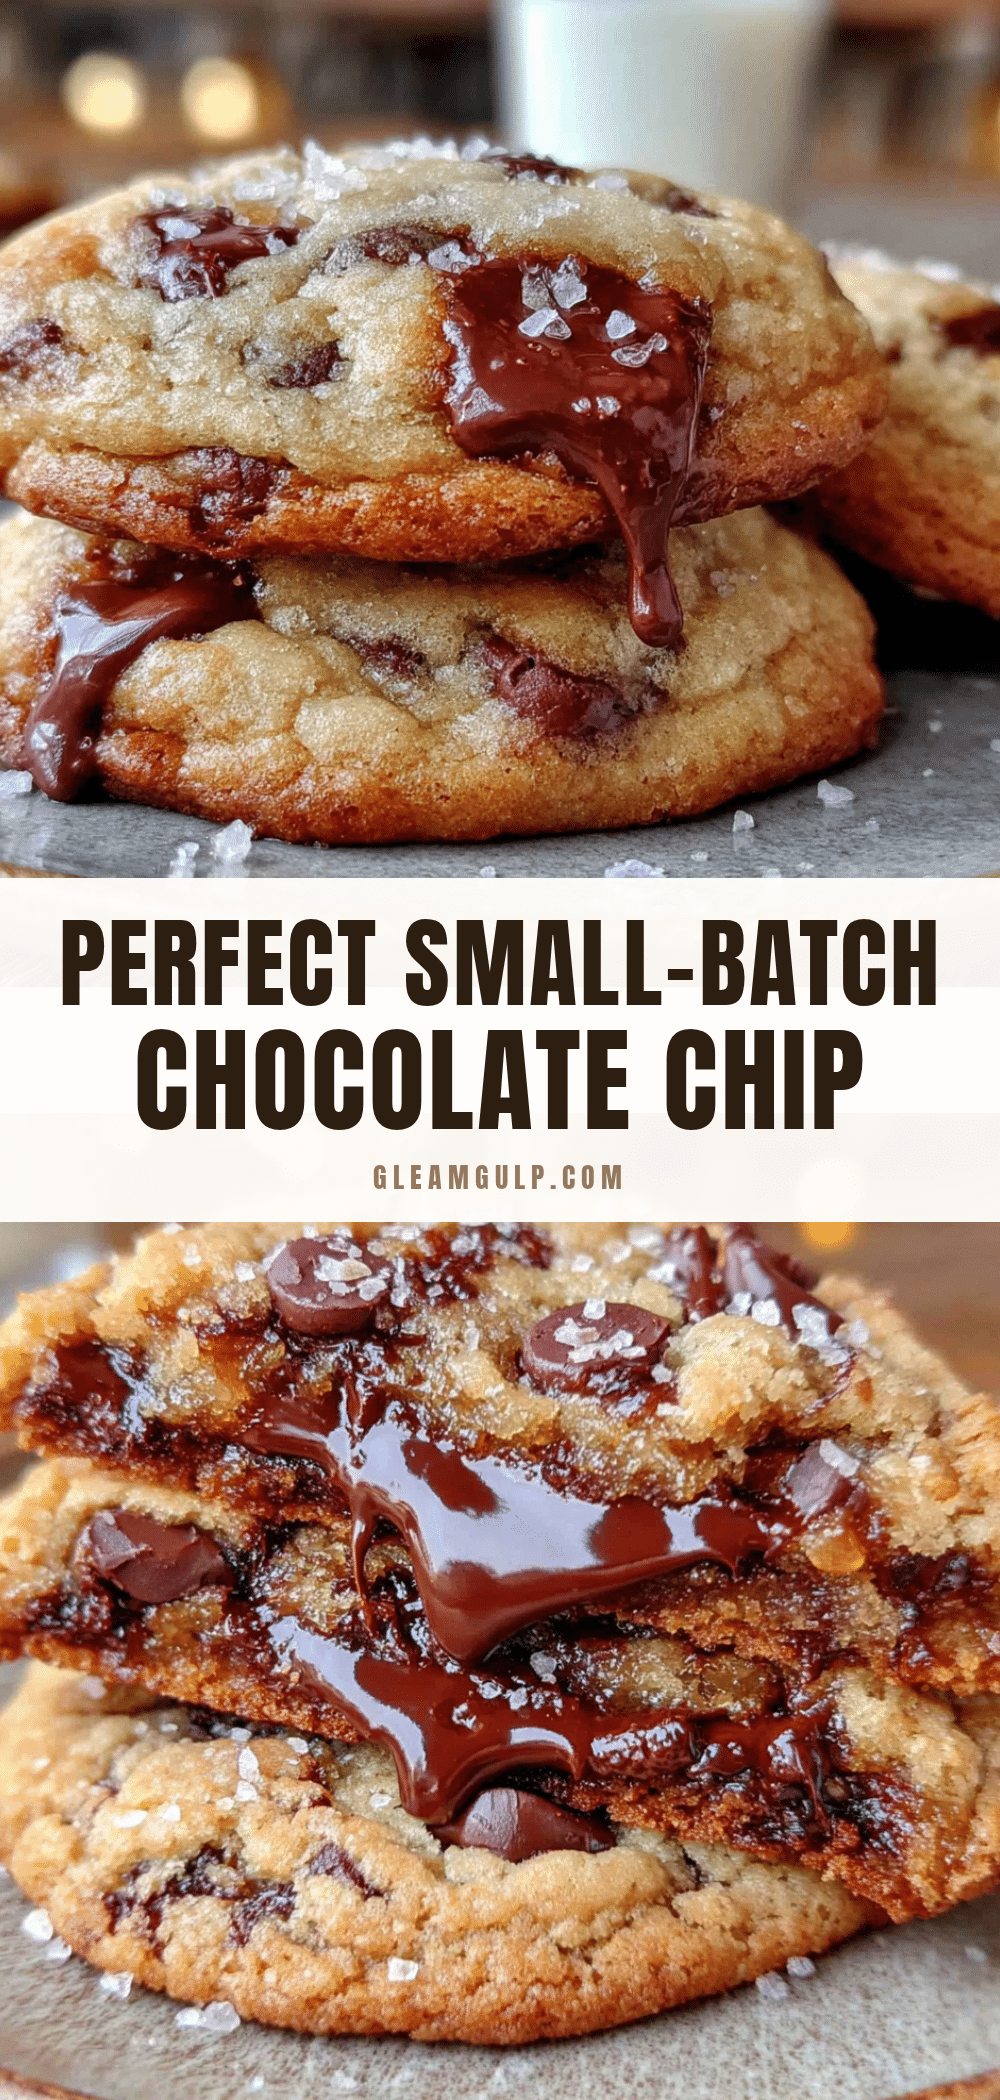
Perfect Small-Batch Chocolate Chip Cookies: Easy Recipe

This recipe makes exactly 8 cookies with crisp edges and a gooey center, using browned butter for a nutty depth of flavor. It’s quick, easy, and perfect for small cravings without committing to a full batch.
- Prep Time: 15 minutes
- Cook Time: 10 minutes
- Total Time: 25 minutes
- Yield: 8 cookies 1x
- Category: Dessert
- Cuisine: American
Ingredients
- 5 tablespoons (70g) unsalted butter
- 1/4 cup (50g) dark brown sugar, packed
- 2 tablespoons (25g) granulated sugar
- 1 large egg yolk, room temperature
- 1/2 teaspoon vanilla extract
- 1/2 cup (60g) all-purpose flour
- 1/4 teaspoon baking soda
- 1/4 teaspoon fine sea salt
- 1/3 cup (60g) semi-sweet chocolate chips
- Flaky sea salt for sprinkling (optional)
Instructions
- Brown the butter: Place 5 tablespoons of butter in a small saucepan over medium heat. Stir constantly until it foams and turns golden with brown specks, about 3-4 minutes. Remove from heat immediately and transfer to a heatproof bowl. Let cool for 5 minutes.
- Mix the sugars and butter: Add packed brown sugar and granulated sugar to the cooled browned butter. Whisk vigorously for about 1 minute until the mixture looks like wet sand and has thickened slightly.
- Add the egg yolk and vanilla: Drop in the room-temperature egg yolk and vanilla extract. Whisk until smooth, glossy, and pale, about 45 seconds.
- Combine the dry ingredients: In a separate small bowl, whisk together the flour, baking soda, and salt until no lumps remain.
- Fold in the dry ingredients: Add the flour mixture to the wet ingredients. Use a rubber spatula to fold gently just until no streaks of flour remain. Do not overmix.
- Add the chocolate chips: Fold in the chocolate chips with a few quick strokes. Reserve about 1 tablespoon of chips to press onto the tops of the dough balls later.
- Portion the dough: Scoop the dough into 8 equal portions, about 1.5 tablespoons each. Roll each into a ball and place on a prepared baking sheet, spaced about 2 inches apart. Press reserved chocolate chips onto the tops.
- Bake: Preheat oven to 375°F (190°C). Bake on the middle rack for 9-11 minutes. At 9 minutes, edges should be golden brown and centers slightly puffy and underdone.
- Cool and finish: Let cookies cool on the baking sheet for exactly 5 minutes. Sprinkle with flaky sea salt while warm. Transfer to a cooling rack and let cool completely, about 15 more minutes.
Notes
For chewier cookies, use an extra tablespoon of brown sugar and reduce granulated sugar by one tablespoon. Bake at 350°F instead of 375°F for a softer texture. Cookies taste even better the next day. Freeze baked cookies or raw dough balls for up to 3 months.
Nutrition
- Serving Size: 1 cookie
- Calories: 215
- Sugar: 16
- Sodium: 150
- Fat: 12
- Saturated Fat: 7
- Carbohydrates: 26
- Fiber: 1
- Protein: 3
Keywords: small-batch chocolate chip cookies, easy cookie recipe, browned butter cookies, chewy chocolate chip cookies, quick cookies


