Love this? Save it for later!
Share the inspiration with your friends
I was digging through my freezer last Tuesday, looking for a bag of frozen peas, when my hand brushed against a forgotten container wrapped in foil. I pulled it out, and there they were—a dozen chocolate covered strawberry cheesecake bites I’d stashed away three weeks ago, completely slipping my mind. The moment I peeled back the foil, that familiar sweet-tart smell hit me, and suddenly I was twenty-two, standing in my first tiny apartment kitchen, covered in melted chocolate, convinced I’d ruined everything.
That first attempt was a disaster, honestly. I used cheap chocolate that seized up, my cheesecake filling was lumpy, and the strawberries leaked juice everywhere. But I kept at it because the idea was just too good to abandon. Chocolate covered strawberries? Classic. Cheesecake? Irresistible. Put them together in bite-sized form? That’s the kind of thinking that keeps you awake at night until you get it right.
These perfect chocolate covered strawberry cheesecake bites have become my signature party contribution, and let me tell you—they disappear faster than anything else on the table. I’ve tweaked and tested this recipe more times than I care to admit, but I finally landed on a version that actually works. No seizing, no leaking, no stress. Just creamy cheesecake filling wrapped around fresh strawberries, all dipped in smooth chocolate. You know that feeling when you bite into something and your eyes just close automatically? That’s what we’re going for here.
Why You’ll Love This Recipe
Look, I’ve tested this recipe through every possible scenario—humid summer days, rushed holiday prep, even a power outage that forced me to work by flashlight. Through all that trial and error, these chocolate covered strawberry cheesecake bites have proven themselves worth every bit of effort. Here’s why they’ll become your new go-to:
- Surprisingly Simple: Despite looking like something from a fancy bakery, these come together in about 30 minutes of active work. The hardest part is waiting for them to set.
- No Special Skills Required: If you can stir cream cheese and melt chocolate, you can make these. I promise—I’ve taught my cousin who burns toast to make them successfully.
- Perfect for Any Occasion: Valentine’s Day, birthday parties, bridal showers, or just a Tuesday night when you need something sweet. They’re fancy enough to impress but casual enough for any gathering.
- Naturally Portion-Controlled: Each bite is perfectly sized—satisfying without being overwhelming. You get that rich cheesecake flavor without committing to an entire slice.
- Make-Ahead Friendly: These actually taste better after a day in the fridge. The flavors meld together, and the chocolate sets up perfectly. Stress-free entertaining at its finest.
What makes these different from every other chocolate covered strawberry recipe out there? It’s the texture contrast. The creamy, tangy cheesecake filling against the juicy strawberry, all wrapped in that crisp chocolate shell—it’s a symphony in your mouth. I spent months perfecting the filling consistency so it stays thick enough to hold its shape but soft enough to melt slightly when you bite into it. This isn’t just another version; it’s the version I’d serve to people I really want to impress.
What Ingredients You Will Need
This recipe uses simple, wholesome ingredients that come together to create something truly special. Most of these are pantry staples, which makes these chocolate covered strawberry cheesecake bites perfect for last-minute cravings or unexpected guests.
For the Cheesecake Filling
- 8 ounces cream cheese, softened to room temperature (I prefer Philadelphia brand for its consistent texture—trust me on this one)
- 1/4 cup powdered sugar, sifted (prevents lumps and gives that silky smoothness)
- 1/2 teaspoon vanilla extract (use pure, not imitation—the flavor difference is noticeable)
- 2 tablespoons heavy cream (adds richness and helps the filling pipe smoothly)
For the Strawberries
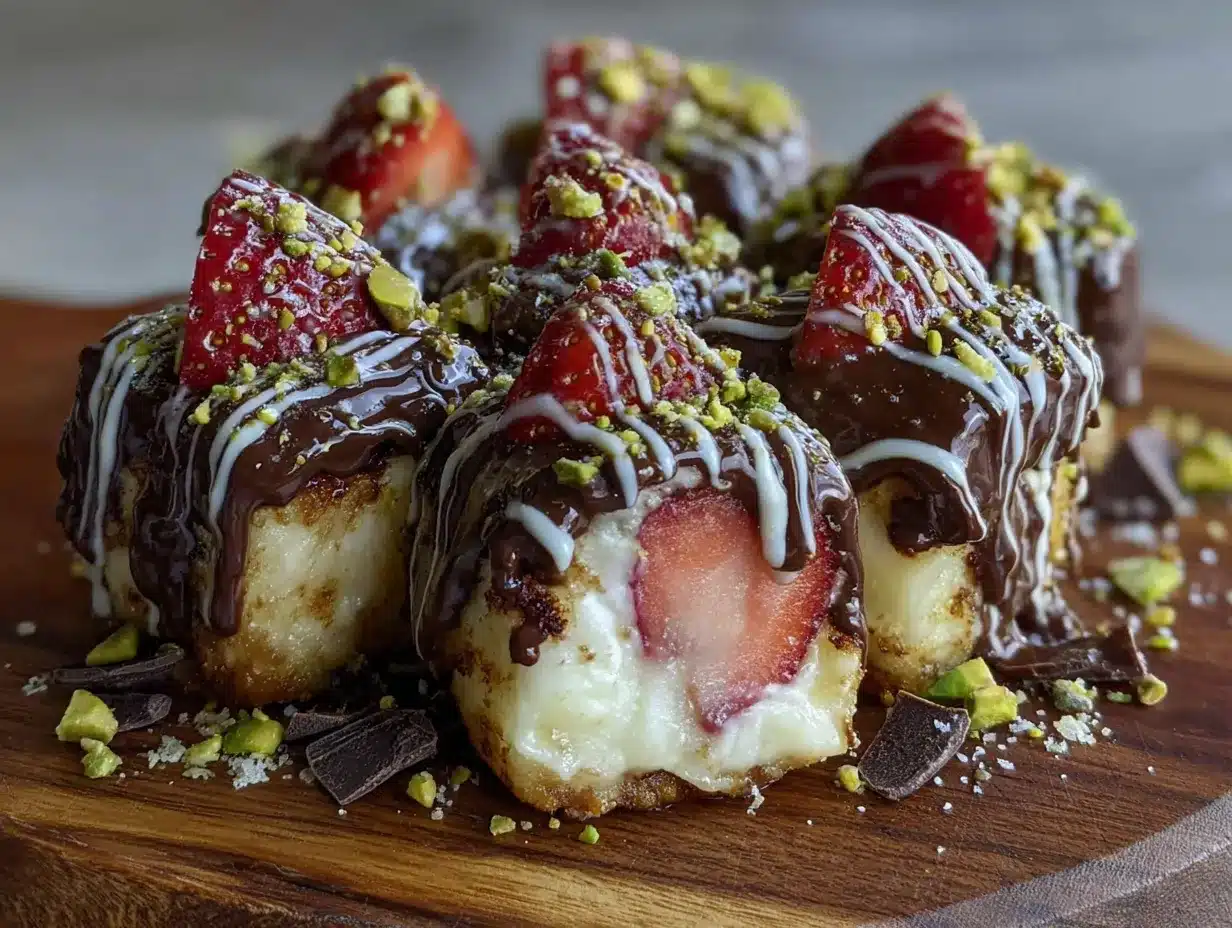
- 12 large fresh strawberries, washed and thoroughly dried (this is crucial—any moisture will ruin your chocolate coating)
- 1 teaspoon cornstarch (optional, but helps absorb any residual moisture from the berries)
For the Chocolate Coating
- 8 ounces semi-sweet chocolate chips (I use Ghirardelli for that perfect snap and shine)
- 1 tablespoon coconut oil or vegetable shortening (this is my secret weapon for that glossy, professional finish)
For Garnish (Optional)
- White chocolate for drizzling
- Crushed freeze-dried strawberries for color
- Flaky sea salt (if you’re feeling fancy—the salty-sweet combo is incredible)
A quick note on ingredient selection: look for strawberries that are firm and uniformly shaped—they’re easier to dip and look prettier on the plate. Avoid berries that are overly ripe or mushy. For the cream cheese, let it sit on the counter for at least 30 minutes before starting. Cold cream cheese creates lumps that no amount of mixing can fix, and I learned that the hard way during my third attempt at these chocolate covered strawberry cheesecake bites.
Equipment Needed
You don’t need a professional pastry kitchen for these, but having the right tools makes the process smoother. Here’s what I use:
- Electric hand mixer or stand mixer (for getting that cream cheese filling perfectly smooth—a whisk works but your arm will hate you)
- Small cookie scoop or melon baller (ensures uniform sizes so they set evenly)
- Parchment-lined baking sheet (non-negotiable for easy removal)
- Double boiler or microwave-safe bowl (for melting chocolate gently)
- Two forks or dipping tools (for coating and lifting the bites)
- Toothpicks (for testing chocolate consistency and fixing drips)
If you don’t have a double boiler, a glass bowl set over a pot of simmering water works perfectly. I actually prefer this method because it gives me more control over the heat. For the dipping, I’ve tried fancy chocolate dipping tools, but honestly, two regular forks work better. Just make sure they’re completely dry before you start.
Preparation Method
Alright, let’s make these chocolate covered strawberry cheesecake bites. Take your time with each step—rushing is the enemy of good chocolate work.
- Prepare your strawberries. Wash them gently and pat them completely dry with paper towels. I mean completely dry—any water droplets will cause the chocolate to seize and turn grainy. Let them sit on a paper towel-lined plate for 10 minutes to air dry further. Remove the stems and hulls, then pat the tops dry again.
- Make the cheesecake filling. In a medium bowl, beat the softened cream cheese with an electric mixer on medium speed until smooth and fluffy, about 2 minutes. Add the sifted powdered sugar and vanilla extract, then beat until combined. Scrape down the sides of the bowl. Add the heavy cream and beat on medium-high for another minute until the mixture is light and airy. The filling should hold its shape when you lift the beaters.
- Fill the strawberries. Transfer the cheesecake filling to a piping bag fitted with a large round tip, or use a zip-top bag with the corner snipped off. Pipe the filling into the hollowed center of each strawberry, mounding it slightly on top. Don’t overfill—you want a nice dome, not a overflowing mess. Place the filled strawberries on the parchment-lined baking sheet.
- Freeze the filled strawberries. This step is crucial for chocolate covered strawberry cheesecake bites. Place the baking sheet in the freezer for at least 30 minutes, or up to 2 hours. The filling needs to be completely firm before dipping. If you skip this, the cheesecake will slide right off into your chocolate. I learned this the messy way.
- Melt the chocolate. About 10 minutes before you’re ready to dip, combine the chocolate chips and coconut oil in a heatproof bowl. Melt using a double boiler or microwave in 30-second intervals, stirring between each. Stop when the chocolate is mostly melted but still has a few lumps—stir until completely smooth. The coconut oil gives it that beautiful shine and helps it set with a nice snap.
- Test the chocolate temperature. Dip a clean finger into the chocolate. It should feel warm but not hot—like a comfortable bath temperature. If it’s too hot, it will melt your frozen filling. Let it cool for a minute or two if needed.
- Dip the bites. Remove 4-5 filled strawberries from the freezer at a time (keep the rest frozen). Holding each by the top, dip it into the melted chocolate, tilting the bowl to coat completely. Let excess chocolate drip off, then place back on the parchment. Use a toothpick to fix any bare spots or drips.
- Add garnishes. While the chocolate is still wet, sprinkle with crushed freeze-dried strawberries or drizzle with white chocolate. If using sea salt, wait until the chocolate is almost set but still slightly tacky.
- Let them set. Place the dipped bites back in the refrigerator for at least 20 minutes, or until the chocolate is firm and shiny. Don’t rush this—touching them too early will leave fingerprints.
Your chocolate covered strawberry cheesecake bites should have a clean, glossy shell that cracks slightly when you bite into it, revealing the creamy filling and juicy strawberry underneath. The first time I got that perfect snap, I may have done a little dance in my kitchen.
Cooking Tips & Techniques
After making these chocolate covered strawberry cheesecake bites more times than I can count, I’ve collected some hard-won wisdom. Here’s what I wish someone had told me:
Temperature is everything. The biggest mistake people make is rushing the temperature game. The filling needs to be frozen solid, but the chocolate needs to be just warm enough to coat without melting that frozen center. If your chocolate starts getting too thick while you’re working, pop it back over the warm water for 10 seconds. I keep a bowl of warm water nearby and just rest my chocolate bowl on it between dips.
Work in small batches. Only take 4-5 strawberries out of the freezer at a time. If you take them all out at once, they’ll start sweating, and moisture is the enemy of good chocolate work. I learned this during a disastrous attempt at making these for a party—I ended up with streaky, blotchy chocolate and nearly cried.
Use the fork trick. When dipping, use two forks to lift the bite out of the chocolate. Let the excess drip off between the forks, then gently scrape the bottom against the rim of the bowl before placing it on the parchment. This prevents those annoying chocolate puddles from forming around the base.
Don’t skip the coconut oil. I know it seems like an extra step, but that tablespoon of coconut oil is what gives your chocolate that professional-looking shine. Without it, the chocolate sets up matte and dull. Plus, it helps the chocolate flow more smoothly around the strawberry, giving you a thinner, more elegant coating.
Variations & Adaptations
One of the best things about these chocolate covered strawberry cheesecake bites is how customizable they are. Here are some variations I’ve tried and loved:
- White Chocolate Dream: Swap the semi-sweet chocolate for white chocolate and add a drop of pink food coloring for a Valentine’s Day special. The sweetness pairs beautifully with the tangy cheesecake.
- Dark Chocolate Indulgence: Use 70% dark chocolate for a more sophisticated, less sweet version. The bitterness cuts through the richness of the cheesecake perfectly. This is my personal favorite for adult gatherings.
- Nutty Crunch: Before the chocolate sets, roll the dipped bites in crushed pistachios, toasted almonds, or even crushed graham crackers. The texture contrast is amazing.
- Vegan Version: Use dairy-free cream cheese and coconut cream instead of heavy cream. The filling won’t be quite as firm, so freeze them a bit longer. Use dark chocolate that’s dairy-free, and you’re good to go.
- Keto-Friendly: Substitute the powdered sugar with monk fruit sweetener and use sugar-free chocolate chips. The filling stays creamy and delicious without the carbs.
I once made a batch with crushed Oreos mixed into the cheesecake filling for a birthday party, and they disappeared within minutes. Don’t be afraid to experiment—these chocolate covered strawberry cheesecake bites are surprisingly forgiving once you get the basic technique down.
Serving & Storage Suggestions
These chocolate covered strawberry cheesecake bites are best served cold, right out of the refrigerator. The chocolate should be firm and snappy, the filling creamy but not too soft. Arrange them on a platter lined with parchment or a decorative doily—they look gorgeous just as they are, but a few fresh mint leaves or extra strawberries around the edges make them look extra special.
For storage, place the bites in a single layer in an airtight container, separated by parchment paper if you need to stack them. They’ll keep in the refrigerator for up to 4 days, though honestly, they rarely last that long in my house. The flavors actually develop after a day—the strawberry juices mingle with the cheesecake filling, creating this incredible harmony.
You can also freeze these for up to 2 months. Place them on a baking sheet in the freezer until solid, then transfer to a freezer-safe container. To serve, let them thaw in the refrigerator for about 30 minutes. Don’t thaw them at room temperature—the condensation will ruin that beautiful chocolate shell.
A word on serving temperature: I’ve found that letting them sit at room temperature for exactly 5 minutes before serving gives you the best texture. The chocolate stays firm, but the filling softens just enough to become luscious. Any longer, and they start to get weepy.
Nutritional Information & Benefits
While these chocolate covered strawberry cheesecake bites are definitely a treat, they’re not without their redeeming qualities. Each bite (based on 12 servings) contains approximately:
- Calories: 185
- Fat: 12g
- Carbohydrates: 18g
- Protein: 3g
- Sugar: 14g
Strawberries are packed with vitamin C and antioxidants, while dark chocolate contains flavonoids that support heart health. The cream cheese provides calcium and protein. Are these health food? No. But they’re made with real ingredients, and there’s something to be said for treating yourself with actual food rather than processed snacks.
For those with dietary concerns, please note that this recipe contains dairy and may contain traces of soy (in the chocolate). The gluten-free version is naturally gluten-free as long as you check your chocolate labels. I’ve made these for friends with various dietary restrictions, and with a few simple swaps, everyone can enjoy them.
Conclusion
These chocolate covered strawberry cheesecake bites have become more than just a recipe in my kitchen—they’re my go-to for every celebration, every last-minute gathering, every time I want to show someone I care without spending hours in the kitchen. They look impressive, taste incredible, and honestly, they’re fun to make.
I hope you give them a try and make them your own. Maybe you’ll add a different extract to the filling, or try a new topping, or discover a trick I haven’t thought of yet. That’s the beauty of cooking—every batch tells a story, and every bite is a chance to create something delicious.
Drop a comment below and let me know how yours turned out! Did you try any variations? Any happy accidents along the way? I’d love to hear about your chocolate covered strawberry cheesecake bite adventures. Happy cooking, friends!
Frequently Asked Questions
Can I use frozen strawberries for this recipe?
No, fresh strawberries are essential for these chocolate covered strawberry cheesecake bites. Frozen strawberries release too much moisture as they thaw, which will make your cheesecake filling watery and prevent the chocolate from adhering properly. Stick with fresh, firm berries for the best results.
My chocolate seized up while melting. What went wrong?
Chocolate seizes when it comes into contact with even a tiny amount of water. Make sure all your bowls and utensils are completely dry before you start. If your chocolate does seize, you can try adding a tablespoon of coconut oil or vegetable shortening and stirring vigorously—sometimes you can save it, but often it’s better to start fresh.
How far in advance can I make these?
You can make these chocolate covered strawberry cheesecake bites up to 4 days ahead and store them in the refrigerator. They actually taste better after a day because the flavors have time to meld. For longer storage, freeze them for up to 2 months.
Can I use milk chocolate instead of semi-sweet?
Absolutely! Milk chocolate will give you a sweeter, creamier coating. Just keep in mind that milk chocolate is softer than semi-sweet, so it won’t have quite the same snap when you bite into it. You might also want to reduce the sugar in the cheesecake filling slightly to balance the sweetness.
Why did my chocolate coating crack?
This usually happens when the chocolate is too thick or the filling was too cold when you dipped it. Try adding a little more coconut oil to thin the chocolate, and make sure your filled strawberries aren’t frozen solid—they should be firm but not rock hard. If they’re too cold, let them sit at room temperature for 2-3 minutes before dipping.
Pin This Recipe!
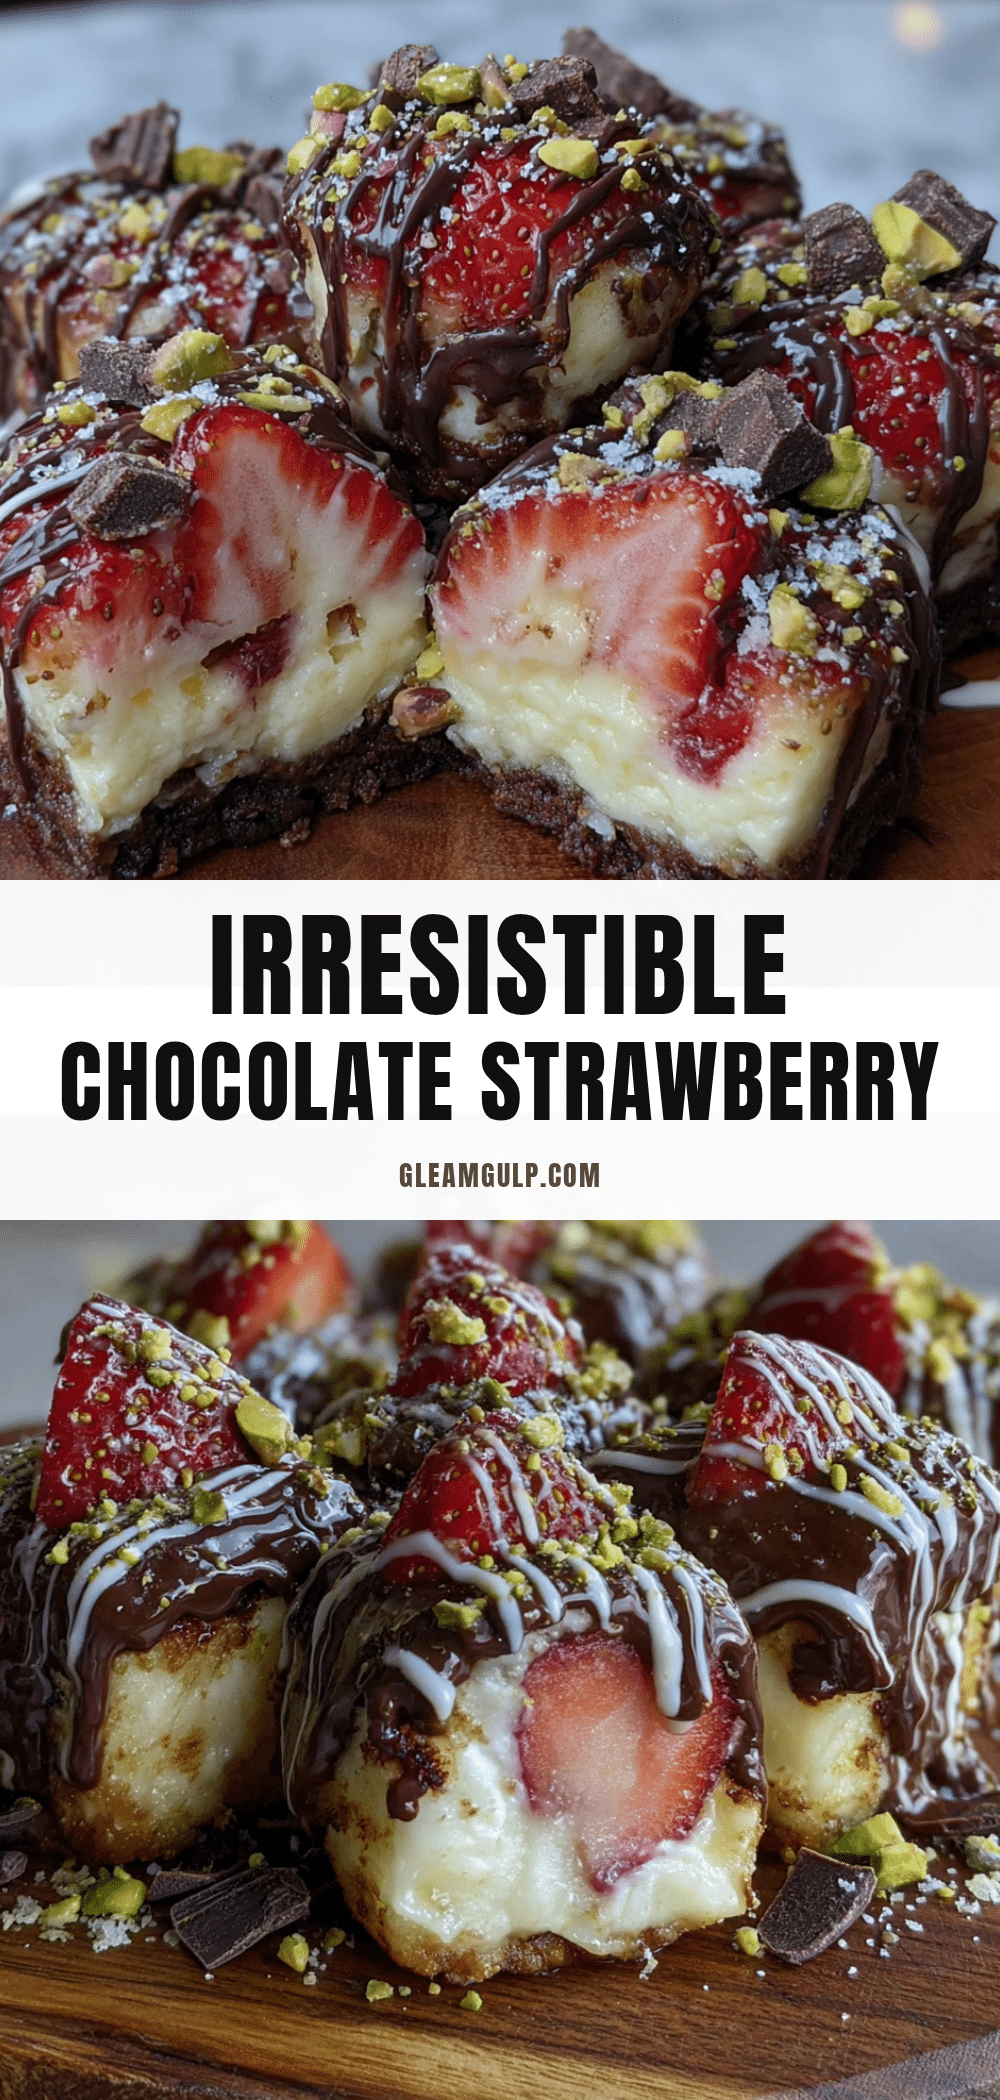
Perfect Chocolate Covered Strawberry Cheesecake Bites

Creamy cheesecake filling wrapped around fresh strawberries, all dipped in smooth chocolate. These bite-sized treats are surprisingly simple to make and perfect for any occasion.
- Prep Time: 30 minutes
- Cook Time: 0 minutes
- Total Time: 1 hour 20 minutes (includes freezing and setting time)
- Yield: 12 servings 1x
- Category: Dessert
- Cuisine: American
Ingredients
- 8 ounces cream cheese, softened to room temperature
- 1/4 cup powdered sugar, sifted
- 1/2 teaspoon vanilla extract (pure)
- 2 tablespoons heavy cream
- 12 large fresh strawberries, washed and thoroughly dried
- 1 teaspoon cornstarch (optional)
- 8 ounces semi-sweet chocolate chips
- 1 tablespoon coconut oil or vegetable shortening
- White chocolate for drizzling (optional)
- Crushed freeze-dried strawberries for garnish (optional)
- Flaky sea salt for garnish (optional)
Instructions
- Prepare your strawberries: Wash them gently and pat them completely dry with paper towels. Let them sit on a paper towel-lined plate for 10 minutes to air dry further. Remove the stems and hulls, then pat the tops dry again.
- Make the cheesecake filling: In a medium bowl, beat the softened cream cheese with an electric mixer on medium speed until smooth and fluffy, about 2 minutes. Add the sifted powdered sugar and vanilla extract, then beat until combined. Scrape down the sides of the bowl. Add the heavy cream and beat on medium-high for another minute until the mixture is light and airy. The filling should hold its shape when you lift the beaters.
- Fill the strawberries: Transfer the cheesecake filling to a piping bag fitted with a large round tip, or use a zip-top bag with the corner snipped off. Pipe the filling into the hollowed center of each strawberry, mounding it slightly on top. Don’t overfill—you want a nice dome, not a overflowing mess. Place the filled strawberries on a parchment-lined baking sheet.
- Freeze the filled strawberries: Place the baking sheet in the freezer for at least 30 minutes, or up to 2 hours. The filling needs to be completely firm before dipping.
- Melt the chocolate: About 10 minutes before you’re ready to dip, combine the chocolate chips and coconut oil in a heatproof bowl. Melt using a double boiler or microwave in 30-second intervals, stirring between each. Stop when the chocolate is mostly melted but still has a few lumps—stir until completely smooth.
- Test the chocolate temperature: Dip a clean finger into the chocolate. It should feel warm but not hot—like a comfortable bath temperature. If it’s too hot, it will melt your frozen filling. Let it cool for a minute or two if needed.
- Dip the bites: Remove 4-5 filled strawberries from the freezer at a time (keep the rest frozen). Holding each by the top, dip it into the melted chocolate, tilting the bowl to coat completely. Let excess chocolate drip off, then place back on the parchment. Use a toothpick to fix any bare spots or drips.
- Add garnishes: While the chocolate is still wet, sprinkle with crushed freeze-dried strawberries or drizzle with white chocolate. If using sea salt, wait until the chocolate is almost set but still slightly tacky.
- Let them set: Place the dipped bites back in the refrigerator for at least 20 minutes, or until the chocolate is firm and shiny. Don’t rush this—touching them too early will leave fingerprints.
Notes
Temperature is everything. The filling needs to be frozen solid, but the chocolate needs to be just warm enough to coat without melting that frozen center. Work in small batches—only take 4-5 strawberries out of the freezer at a time. Use the fork trick: when dipping, use two forks to lift the bite out of the chocolate and let excess drip off. Don’t skip the coconut oil—it gives the chocolate a professional-looking shine. These are best served cold, right out of the refrigerator. Let them sit at room temperature for exactly 5 minutes before serving for the best texture.
Nutrition
- Serving Size: 1 bite
- Calories: 185
- Sugar: 14
- Sodium: 95
- Fat: 12
- Saturated Fat: 7
- Carbohydrates: 18
- Fiber: 1
- Protein: 3
Keywords: chocolate covered strawberries, cheesecake bites, strawberry dessert, no-bake dessert, party dessert, Valentine's Day dessert


