Love this? Save it for later!
Share the inspiration with your friends
There used to be a little diner off Route 9 called The Rusty Spoon that made a chili so good it ruined me for all others. When they closed in 2019 — the owner retired, just like that — I actually grieved. I mean, I stood in the parking lot staring at the locked door like a fool. After twelve tries — twelve, let me tell you, some of them were downright embarrassing — I finally cracked it. This no bean Texas chili is that memory, resurrected in my own kitchen, and honestly? It might be even better than the original.
You know that feeling when you find a recipe that checks every single box? It’s cheap, it’s fast, and somehow the whole family actually agrees on it. That’s this chili. I’ve been making it for two years now, tweaking and testing, and it’s become our go-to Wednesday night dinner. No beans, just pure, beefy comfort that doesn’t break the bank.
Why You’ll Love This Recipe
Let’s be real — feeding a family on a budget is a constant juggling act. You want something hearty, something that fills bellies without emptying your wallet. This no bean Texas chili delivers on every front. Here’s why it’s earned a permanent spot in my weekly rotation:
- Budget-Friendly: Ground beef, canned tomatoes, and pantry spices — that’s it. No fancy ingredients, no specialty store trips.
- Kid-Approved: No beans means no picky eater protests. My kids devour this, and they’re the toughest critics I know.
- 30 Minutes Flat: From fridge to table in under half an hour. Perfect for those chaotic evenings when everyone’s hungry and patience is thin.
- Leftovers That Actually Get Better: This chili improves overnight. The flavors meld, the texture deepens — it’s a gift that keeps giving.
- Freezer-Friendly: Double the batch and stash half for a rainy day. Future you will be so grateful.
I’ve tested this recipe with different cuts of beef, various spice blends, and even tried sneaking in veggies (spoiler: don’t bother, it’s perfect as is). This version is the one that got the thumbs up from my family, my neighbor Carol, and even my notoriously picky brother-in-law. It’s not just another chili recipe — it’s the one you’ll make again and again.
What Ingredients You Will Need
This no bean Texas chili uses simple, everyday ingredients to build layers of flavor without any fuss. Everything is probably already in your kitchen — that’s the beauty of it. Here’s what you’ll need:
For the Chili Base
- 2 pounds ground beef (85/15 works perfectly — not too lean, not too fatty)
- 1 large yellow onion, diced (about 1½ cups)
- 4 cloves garlic, minced (or 1 teaspoon garlic powder in a pinch)
- 1 can (14.5 ounces) diced tomatoes, undrained (I prefer fire-roasted for extra depth)
- 1 can (8 ounces) tomato sauce
- 2 tablespoons tomato paste (adds richness and body)
For the Seasoning Blend
- 2 tablespoons chili powder (use a good quality blend — I like McCormick or Penzeys)
- 1 teaspoon ground cumin
- 1 teaspoon smoked paprika (regular works too, but smoked adds magic)
- ½ teaspoon dried oregano
- ½ teaspoon salt, plus more to taste
- ¼ teaspoon black pepper
- ¼ teaspoon cayenne pepper (optional, for heat — adjust based on your family’s tolerance)
For Serving (Optional but Recommended)
- Shredded cheddar cheese
- Sour cream
- Chopped green onions
- Crushed tortilla chips (for scooping)
- Cornbread (my family loves it with a side of buttery cornbread)
Ingredient Notes: For the beef, I’ve tried ground chuck (80/20) and it’s delicious but slightly greasier. If you use extra-lean (93/7), add a tablespoon of olive oil to prevent dryness. The fire-roasted tomatoes are a game-changer — they add a subtle smokiness that makes this chili taste like it simmered all day. And that smoked paprika? Don’t skip it. It’s the secret weapon that makes people ask, “What’s in this?”
Equipment Needed
Nothing fancy here — this is a one-pot wonder. Here’s what you’ll need:
- Large Dutch oven or heavy-bottomed pot (5-6 quart capacity). I use my trusty Lodge enameled cast iron, but any sturdy pot works.
- Wooden spoon or spatula for breaking up the meat.
- Sharp knife and cutting board for dicing the onion and mincing garlic.
- Measuring spoons for the spices.
- Can opener (obvious, but you’d be surprised how often I forget).
- Ladle for serving.
If you don’t have a Dutch oven, a large stainless steel pot or even a deep skillet will work. Just make sure it’s big enough to hold everything without splattering. I’ve made this in a cheap nonstick pot before and it turned out fine — the key is even heat distribution, which any decent pot provides.
Preparation Method
Let’s get cooking. This no bean Texas chili comes together in about 30 minutes, and I’ll walk you through every step so you nail it on the first try.
- Brown the beef: Set your pot over medium-high heat and add the ground beef. Break it up with your spoon as it cooks — you want small, even crumbles, not big chunks. Cook for 6-8 minutes, stirring occasionally, until the beef is well browned. Don’t rush this step; browning equals flavor. If there’s excess fat (more than a tablespoon), carefully spoon it out and discard. Leave a little for richness.
- Sauté the aromatics: Reduce heat to medium. Add the diced onion to the pot with the beef. Cook for 3-4 minutes, stirring frequently, until the onion softens and becomes translucent. Add the minced garlic and cook for 30 seconds more — just until fragrant. Be careful not to burn the garlic; it turns bitter quickly.
- Bloom the spices: Sprinkle the chili powder, cumin, smoked paprika, oregano, salt, pepper, and cayenne (if using) over the meat mixture. Stir constantly for 1 minute. This step is crucial — toasting the spices in the fat releases their essential oils and deepens their flavor. Your kitchen will smell incredible right about now.
- Add the tomatoes and sauce: Pour in the diced tomatoes (with their juices) and the tomato sauce. Add the tomato paste. Stir everything together until the paste is fully incorporated. Scrape the bottom of the pot to release any browned bits — that’s pure flavor gold.
- Simmer: Bring the chili to a gentle boil, then reduce heat to low. Let it simmer uncovered for 15-20 minutes, stirring occasionally. The chili will thicken and the flavors will meld. If it seems too thick, add a splash of beef broth or water. Too thin? Let it simmer a few minutes longer.
- Taste and adjust: After simmering, give it a taste. Need more salt? Add it. Want more heat? A pinch of cayenne or a dash of hot sauce. This is your chili — make it yours.
- Rest and serve: Remove the pot from heat and let the chili rest for 5 minutes before serving. This allows the flavors to settle and the texture to stabilize. Ladle into bowls and top with your favorite fixings.
Pro Tip: If you have time, let the chili cool completely, then refrigerate overnight. Reheat gently the next day — the flavor transformation is remarkable. I’ve done this countless times, and it’s always worth the wait.
Cooking Tips & Techniques
After making this no bean Texas chili more times than I can count, I’ve learned a few things the hard way. Here are my best tips to ensure success every time:
- Don’t skip browning the beef properly: I used to rush this step, ending up with gray, sad meat. Real browning takes time — let the beef sit undisturbed for a minute or two before stirring. That deep brown crust is where the flavor lives.
- Toast your spices: This is the single biggest upgrade you can make. Thirty seconds in the hot fat transforms dusty spices into something aromatic and complex. I learned this after years of bland chili — it’s a game-changer.
- Control the heat: For a truly kid-friendly version, skip the cayenne entirely. My youngest can’t handle any spice, so I add a dash of hot sauce to my bowl instead. Everyone wins.
- Thicken naturally: If your chili is too watery, don’t reach for cornstarch. Just let it simmer uncovered for an extra 5-10 minutes. The natural evaporation will concentrate the flavors and thicken the texture perfectly.
- Make it ahead: This chili is actually better the next day. I often make it on Sunday for Monday’s dinner. The flavors meld and deepen overnight — it’s like magic.
One mistake I made early on? Using lean ground beef and wondering why the chili tasted flat. That little bit of fat carries the spices and creates a silky mouthfeel. Stick with 85/15 and you’ll be golden.
Variations & Adaptations
This no bean Texas chili is wonderfully adaptable. Here are some ways to switch it up based on what you have or who you’re feeding:
- Beef Swap: Use ground turkey or chicken for a lighter version. Add a tablespoon of olive oil to compensate for the lower fat content. The flavor will be different but still delicious.
- Add Veggies: Sneak in finely diced bell peppers, zucchini, or even grated carrots. Sauté them with the onion — they’ll soften and blend right in. My kids never notice, and I feel a little better about dinner.
- Spicy Upgrade: For heat lovers, add a diced jalapeño with the onion, or stir in a tablespoon of chipotle in adobo for smoky heat. My husband loves this version — I keep it separate and add it to his bowl.
- Slow Cooker Method: Brown the beef and sauté the aromatics on the stovetop, then transfer everything to a slow cooker. Cook on low for 4-6 hours or high for 2-3 hours. The longer simmer makes it even more flavorful.
- Gluten-Free: This recipe is naturally gluten-free as written. Just double-check your spice blends — some contain wheat flour as a filler. I use McCormick and Penzeys without issue.
I once tried adding a can of black beans to stretch the budget even further. My kids revolted. So I went back to the no-bean version and never looked back. Sometimes the original is best.
Serving & Storage Suggestions
This no bean Texas chili is incredibly versatile when it comes to serving. Here’s how I like to do it:
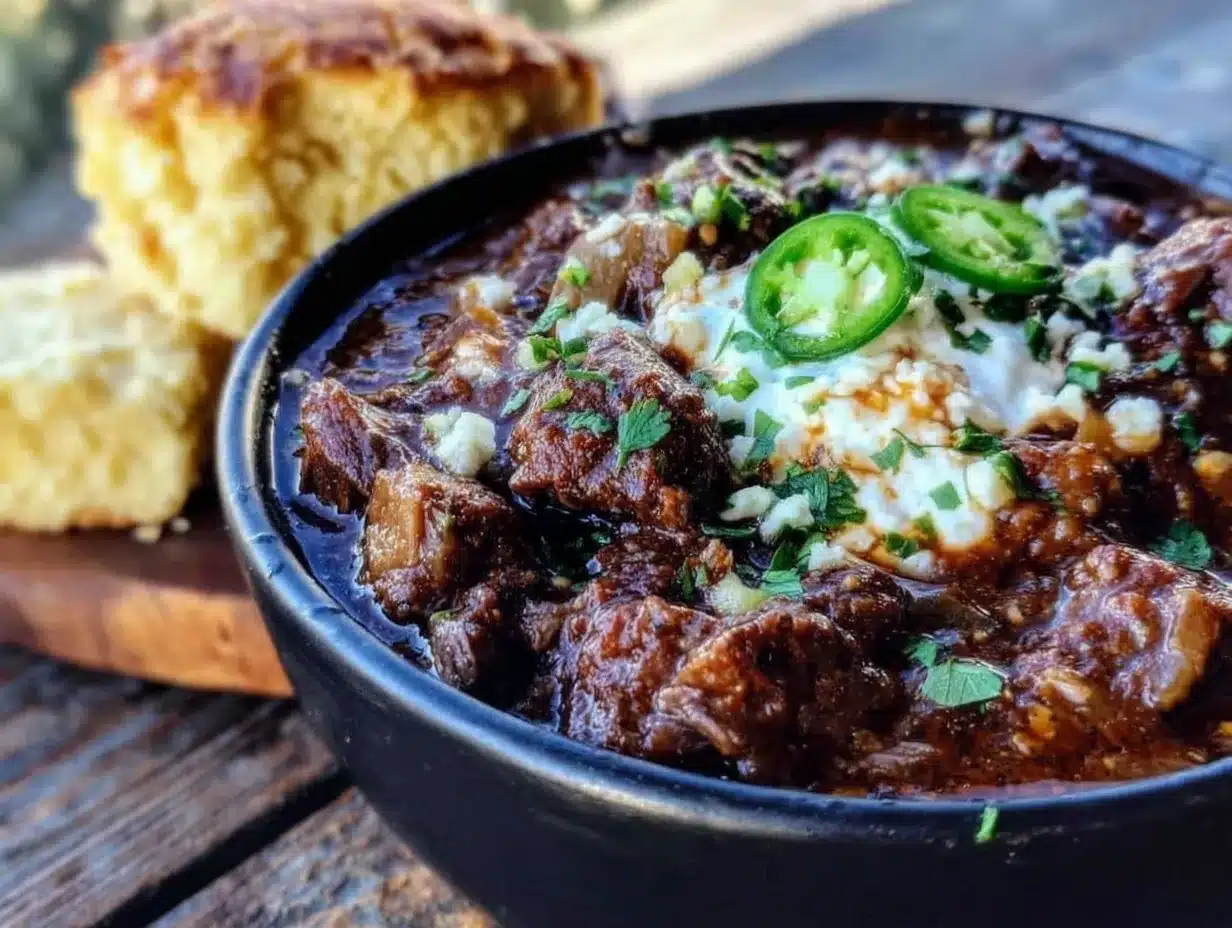
Serving: Ladle the chili into deep bowls while it’s still hot. Top with a generous handful of shredded cheddar, a dollop of sour cream, and a sprinkle of green onions. Crushed tortilla chips on the side are non-negotiable in my house — they add crunch and are perfect for scooping. Cornbread is another favorite; the sweetness balances the chili’s savory depth beautifully.
Storage: Let the chili cool completely before transferring to airtight containers. It will keep in the refrigerator for up to 5 days. The flavors actually improve over the first 2-3 days as they meld together.
Freezing: This chili freezes like a dream. Portion it into freezer-safe bags or containers, leaving a little room for expansion. It will keep for up to 3 months. Thaw overnight in the refrigerator and reheat gently on the stovetop or in the microwave.
Reheating: Reheat on the stovetop over medium-low heat, stirring occasionally, until bubbling. Add a splash of water or broth if it’s too thick. In the microwave, heat in 1-minute intervals, stirring between each, until hot throughout.
One thing I love about this chili? It’s even better as leftovers. The spices mellow and meld, the texture thickens, and every bite tastes more developed. I always make extra just for the next day’s lunch.
Nutritional Information & Benefits
Here’s the approximate nutritional breakdown per serving (based on 6 servings, without toppings):
| Nutrient | Amount |
|---|---|
| Calories | 380 |
| Protein | 32g |
| Fat | 22g |
| Carbohydrates | 12g |
| Fiber | 3g |
| Sugar | 6g |
| Sodium | 680mg |
This no bean Texas chili is a solid source of protein and iron from the beef. The tomatoes provide vitamin C and lycopene, a powerful antioxidant. It’s naturally gluten-free and low in carbs, making it suitable for various dietary needs. If you’re watching sodium, use low-sodium canned tomatoes and adjust the added salt to taste.
I’m not a nutritionist, but I feel good serving this to my family. It’s real food, made from scratch, with ingredients I can pronounce. That’s a win in my book.
Conclusion
This no bean Texas chili is proof that you don’t need fancy ingredients or hours of simmering to create something truly memorable. It’s the recipe I turn to when I need a win — a dinner that satisfies everyone, stretches the budget, and leaves me with leftovers that are somehow even better the next day.
I’ve made this for busy weeknights, lazy Sundays, and everything in between. It’s become our family’s comfort food, the kind of meal that makes everyone gather around the table without being asked. And honestly? That’s the highest compliment I can give any recipe.
Give it a try, and don’t be afraid to make it your own. Add more spice, swap the toppings, double the batch — this chili can handle it. When you do, come back and let me know how it turned out. I’d love to hear about your version of the story.
Frequently Asked Questions
Can I make this no bean Texas chili in a slow cooker?
Absolutely! Brown the beef and sauté the onion and garlic on the stovetop first, then transfer everything to the slow cooker. Cook on low for 4-6 hours or high for 2-3 hours. The longer simmer makes it even more flavorful.
How can I make this chili thicker?
Let it simmer uncovered for an extra 5-10 minutes to evaporate excess liquid. You can also mash some of the beef against the side of the pot to release starches that naturally thicken the chili. Avoid using cornstarch or flour — it changes the texture.
What can I use instead of ground beef?
Ground turkey, chicken, or even plant-based crumbles work well. If using leaner meats, add a tablespoon of olive oil to prevent dryness. The flavor will be slightly different but still delicious.
Can I freeze this chili?
Yes! This chili freezes beautifully. Let it cool completely, then portion into freezer-safe bags or containers. It will keep for up to 3 months. Thaw overnight in the refrigerator and reheat gently.
Is this chili spicy enough for kids?
As written, it’s very mild — the cayenne is optional. My kids (ages 6 and 9) love it without any heat. For adults who want more kick, add hot sauce or extra cayenne to individual bowls. Everyone gets exactly what they want.
Pin This Recipe!
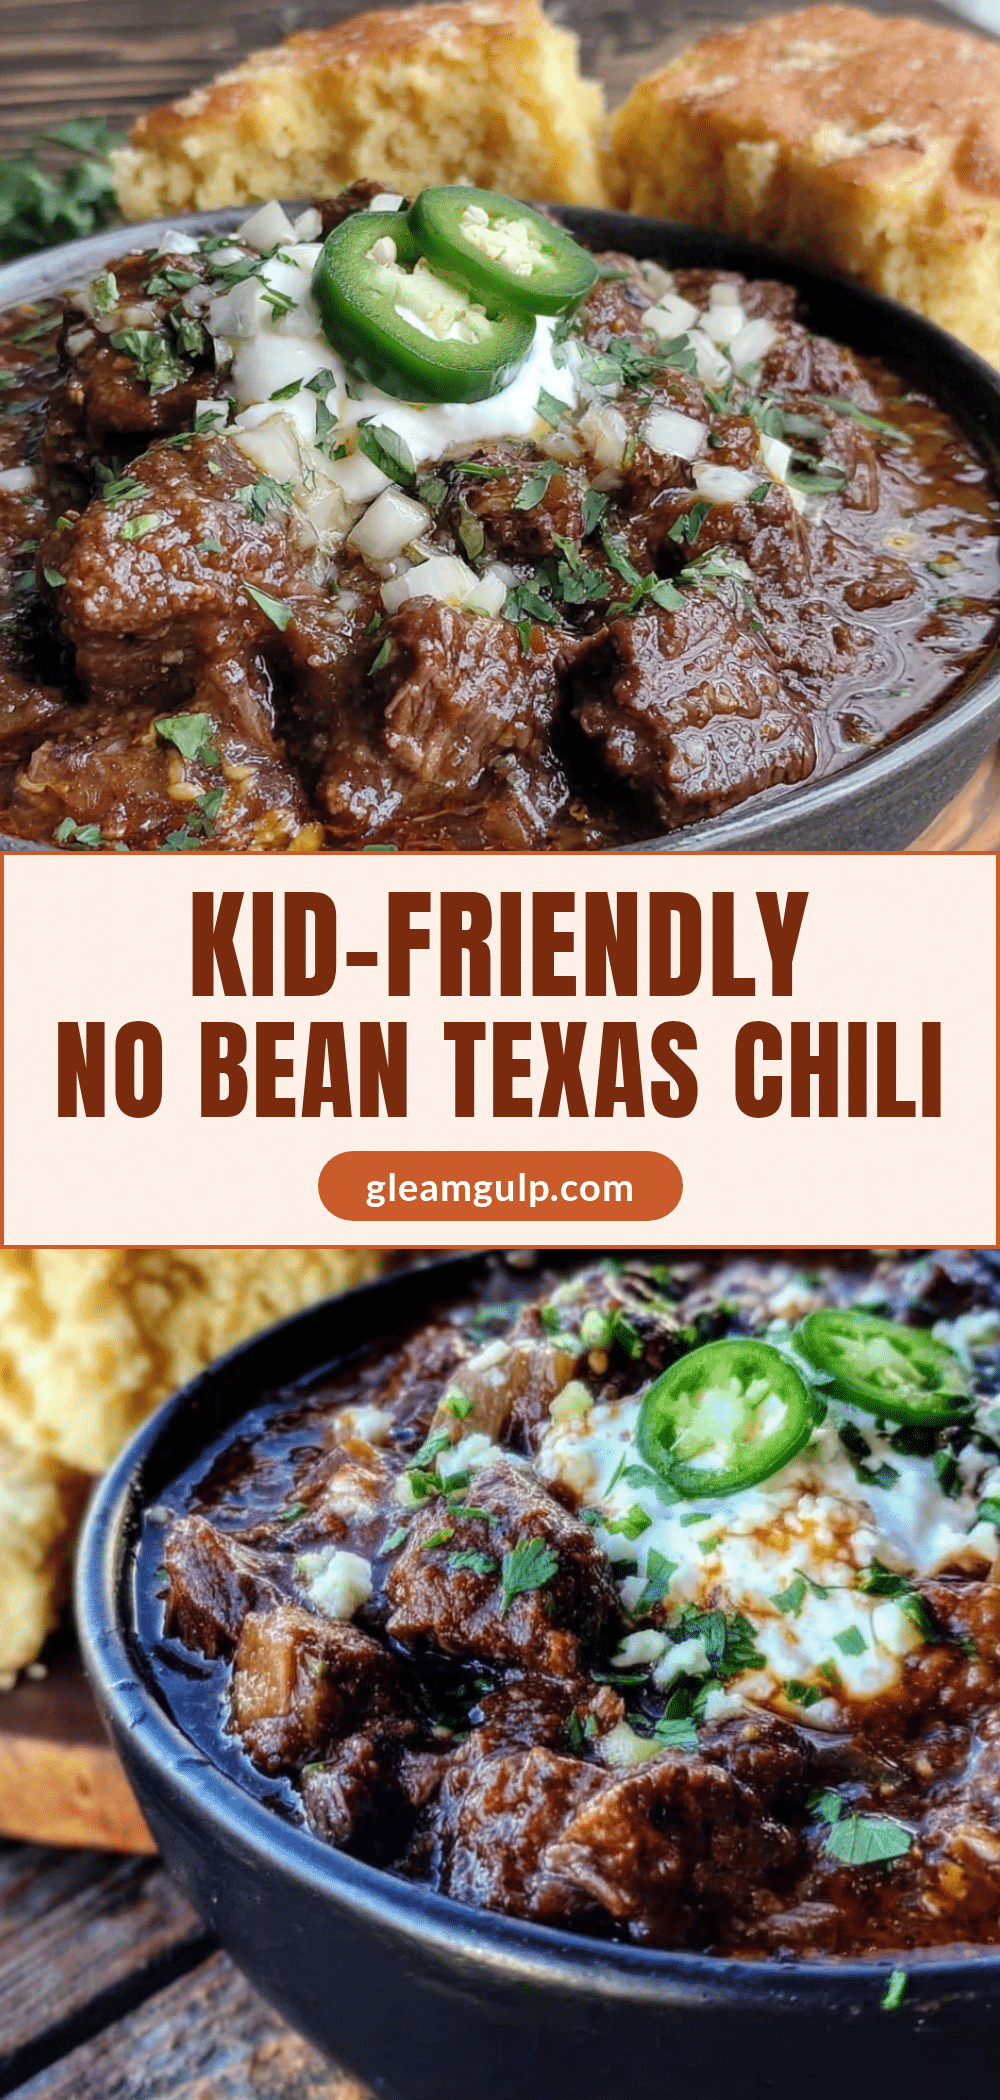
No Bean Texas Chili – Easy Budget Dinner the Whole Family Loves

A hearty, budget-friendly no-bean Texas chili that comes together in 30 minutes. Made with simple pantry ingredients, this family favorite is perfect for busy weeknights and tastes even better the next day.
- Prep Time: 10 minutes
- Cook Time: 20 minutes
- Total Time: 30 minutes
- Yield: 6 servings 1x
- Category: Main Course
- Cuisine: American
Ingredients
- 2 pounds ground beef (85/15)
- 1 large yellow onion, diced (about 1½ cups)
- 4 cloves garlic, minced (or 1 teaspoon garlic powder)
- 1 can (14.5 ounces) diced tomatoes, undrained (fire-roasted preferred)
- 1 can (8 ounces) tomato sauce
- 2 tablespoons tomato paste
- 2 tablespoons chili powder
- 1 teaspoon ground cumin
- 1 teaspoon smoked paprika
- ½ teaspoon dried oregano
- ½ teaspoon salt, plus more to taste
- ¼ teaspoon black pepper
- ¼ teaspoon cayenne pepper (optional, for heat)
- Shredded cheddar cheese (for serving)
- Sour cream (for serving)
- Chopped green onions (for serving)
- Crushed tortilla chips (for serving)
- Cornbread (for serving)
Instructions
- Brown the beef: Set your pot over medium-high heat and add the ground beef. Break it up with your spoon as it cooks — you want small, even crumbles, not big chunks. Cook for 6-8 minutes, stirring occasionally, until the beef is well browned. If there’s excess fat (more than a tablespoon), carefully spoon it out and discard. Leave a little for richness.
- Sauté the aromatics: Reduce heat to medium. Add the diced onion to the pot with the beef. Cook for 3-4 minutes, stirring frequently, until the onion softens and becomes translucent. Add the minced garlic and cook for 30 seconds more — just until fragrant. Be careful not to burn the garlic.
- Bloom the spices: Sprinkle the chili powder, cumin, smoked paprika, oregano, salt, pepper, and cayenne (if using) over the meat mixture. Stir constantly for 1 minute. This step is crucial — toasting the spices in the fat releases their essential oils and deepens their flavor.
- Add the tomatoes and sauce: Pour in the diced tomatoes (with their juices) and the tomato sauce. Add the tomato paste. Stir everything together until the paste is fully incorporated. Scrape the bottom of the pot to release any browned bits.
- Simmer: Bring the chili to a gentle boil, then reduce heat to low. Let it simmer uncovered for 15-20 minutes, stirring occasionally. The chili will thicken and the flavors will meld. If it seems too thick, add a splash of beef broth or water. Too thin? Let it simmer a few minutes longer.
- Taste and adjust: After simmering, give it a taste. Need more salt? Add it. Want more heat? A pinch of cayenne or a dash of hot sauce.
- Rest and serve: Remove the pot from heat and let the chili rest for 5 minutes before serving. Ladle into bowls and top with your favorite fixings.
Notes
For best flavor, let the chili cool completely and refrigerate overnight before reheating. The flavors meld and deepen remarkably. If using extra-lean ground beef (93/7), add a tablespoon of olive oil to prevent dryness. Fire-roasted diced tomatoes and smoked paprika are recommended for extra depth.
Nutrition
- Serving Size: 1 serving (about 1½
- Calories: 380
- Sugar: 6
- Sodium: 680
- Fat: 22
- Saturated Fat: 8
- Carbohydrates: 12
- Fiber: 3
- Protein: 32
Keywords: no bean chili, Texas chili, easy chili recipe, budget dinner, ground beef chili, 30 minute chili, family dinner, freezer friendly chili


