Love this? Save it for later!
Share the inspiration with your friends
The office cookie swap was in twenty-four hours and I’d completely forgotten. I mean, completely. I walked into the kitchen Wednesday night, saw the calendar pinned to the fridge, and felt that cold wash of panic you get when you realize everyone else has been planning their elaborate, three-day fermentation, browned-butter-chilled-for-exactly-eighteen-hours cookies for weeks. I had a stick of butter, a bag of all-purpose flour, and a serious lack of energy for any kind of mixer drama. My mixer? Buried under a pile of cookbooks I swore I’d organize last spring. Not happening.
So I stood there, staring at the butter, and I remembered a trick my neighbor had mentioned months ago. She’d made cookies without a mixer, just a bowl and a whisk, and she swore they were better. I was skeptical, honestly. But with the clock ticking and my pride on the line, I figured I had nothing to lose. I mean, the worst that could happen was I showed up with flat, sad disks while Susan brought her famous triple-chocolate espresso bites. The pressure was real.
I grabbed that butter, tossed it in a pan, and let it brown while I rummaged for a whisk. And let me tell you, something clicked. The nutty smell filled the kitchen, and for a second, I forgot about the competition. I was just making cookies. Simple, straightforward, no fancy equipment. The dough came together in maybe ten minutes, and I slid the tray in the oven with a prayer and a hope. When they came out, golden and crackled on top, I knew I had something. They were lighter, somehow—not in a diet way, but in a texture way. Less dense, more chewy, with that deep brown butter flavor that made everyone at the swap do a double take. I didn’t win the official vote, but honestly? My tray was empty first. That’s the win that counts, right?
Why You’ll Love This Recipe
These cookies aren’t just another chocolate chip recipe. They’re the ones you make when you want something that feels special but doesn’t require a hour of cleanup or a stand mixer the size of a small car. Here’s why they’ve become my go-to for everything from last-minute gatherings to quiet Tuesday night treats.
- No Mixer Needed: Seriously, you just need a bowl, a whisk, and a spatula. Your arms get a tiny workout, but that’s a bonus.
- Lighter Texture: The combination of melted brown butter and the right flour ratio gives you a cookie that’s tender and chewy, not heavy or cakey. It’s a beautiful thing.
- Simple Ingredients: You probably have almost everything in your pantry right now. No weird flours or specialty extracts.
- Perfect for Busy Days: From start to finish, you’re looking at about 30 minutes, including baking time. That’s faster than ordering delivery.
- Crowd-Pleaser: I’ve brought these to potlucks, birthday parties, and casual coffee dates. They disappear every single time.
What makes this recipe different from the rest is the brown butter technique combined with the no-mixer method. Most brown butter cookie recipes insist on creaming the butter with sugar using a mixer to get that fluffy texture. But here, we’re letting the brown butter do the heavy lifting. The nutty, caramelized flavor infuses every bite, and the simple whisking method creates a dough that bakes up with those perfect crackly tops and soft centers. It’s not just another version—it’s the version you’ll actually make on a Wednesday night.
These cookies are the kind that make you close your eyes after the first bite. That brown butter flavor hits you first, then the melty chocolate, then that soft, chewy texture. It’s comfort food reimagined—faster, simpler, but with the same soul-soothing satisfaction. Perfect for impressing guests without stress, or turning a simple evening into something a little more memorable.
What Ingredients You Will Need
This recipe uses simple, wholesome ingredients to deliver that deep brown butter flavor and perfect chewy texture. Most of these are pantry staples, which makes these cookies even more appealing when a craving strikes out of nowhere.
- Unsalted Butter: 1 cup (2 sticks, 226g). You’ll be browning this, so unsalted is best to control the salt level. I personally love using Kerrygold for its rich flavor, but any good-quality unsalted butter works.
- Light Brown Sugar: ¾ cup (150g), packed. Brown sugar adds moisture and that subtle molasses flavor that pairs so well with brown butter. Dark brown sugar works too, but it will make the cookies slightly more caramel-like.
- Granulated Sugar: ¼ cup (50g). This helps with spreading and gives the edges a nice crispness.
- Large Egg: 1, at room temperature. A room-temperature egg blends more smoothly into the warm brown butter. If you forget to take it out, place it in a bowl of warm water for 5 minutes.
- Vanilla Extract: 2 teaspoons. Pure vanilla extract makes a difference here. I always reach for Nielsen-Massey when I want that deep, floral vanilla note.
- All-Purpose Flour: 1 ½ cups (190g). Spoon and level your flour—don’t scoop directly from the bag, or you’ll end up with dry, dense cookies.
- Baking Soda: ½ teaspoon. This gives the cookies their spread and helps them get those lovely golden edges.
- Salt: ½ teaspoon. I use fine sea salt. It balances the sweetness and enhances the brown butter flavor.
- Chocolate Chips: 1 cup (175g). I’m partial to semi-sweet or dark chocolate chips to cut through the sweetness. Guittard or Ghirardelli are my go-to brands. You can also chop up a good-quality chocolate bar for those melty puddles.
- Optional Flaky Salt: A pinch for sprinkling on top before baking. It’s not mandatory, but it takes these cookies to another level. Maldon sea salt flakes are perfect for this.
Ingredient Selection Tips: For the best brown butter flavor, use a butter that you enjoy eating on its own. The quality really shines through. If you’re using a salted butter, reduce the added salt to ¼ teaspoon. For a dairy-free option, you can use a plant-based butter, but the browning process might be slightly different—watch it carefully so it doesn’t burn.
Equipment Needed
One of the best things about this recipe is how little equipment you need. No stand mixer, no hand mixer, no fancy gadgets. Here’s what you’ll want to have on hand:
- Medium Saucepan: For browning the butter. A light-colored pan is ideal so you can see the butter solids turn golden. I use a stainless steel saucepan for this.
- Large Mixing Bowl: Any large bowl works. I have a favorite ceramic one that’s heavy enough to stay put while I whisk.
- Whisk: A standard balloon whisk is perfect. You’ll use this to combine the wet ingredients and get the sugar dissolved.
- Rubber Spatula: For folding in the flour and chocolate chips. A silicone spatula is great because it doesn’t scratch your bowl.
- Baking Sheets: Two standard half-sheet pans work well. If you only have one, just bake in batches and let the pan cool between rounds.
- Parchment Paper or Silicone Baking Mat: This prevents sticking and makes cleanup a breeze. I prefer parchment paper for the crispiest bottoms.
- Cookie Scoop or Tablespoon: For portioning the dough evenly. A #40 cookie scoop (about 1.5 tablespoons) is my favorite size for these cookies.
- Cooling Rack: Not strictly necessary, but it helps the cookies cool evenly and keeps them from getting soggy on the bottom.
Budget-Friendly Options: Don’t have a cookie scoop? Use two spoons to drop the dough. No cooling rack? A clean wire rack from your oven works in a pinch, or just let the cookies cool on the baking sheet for a few extra minutes. The beauty of this recipe is its simplicity—you don’t need a perfectly stocked kitchen to make it work.
Preparation Method
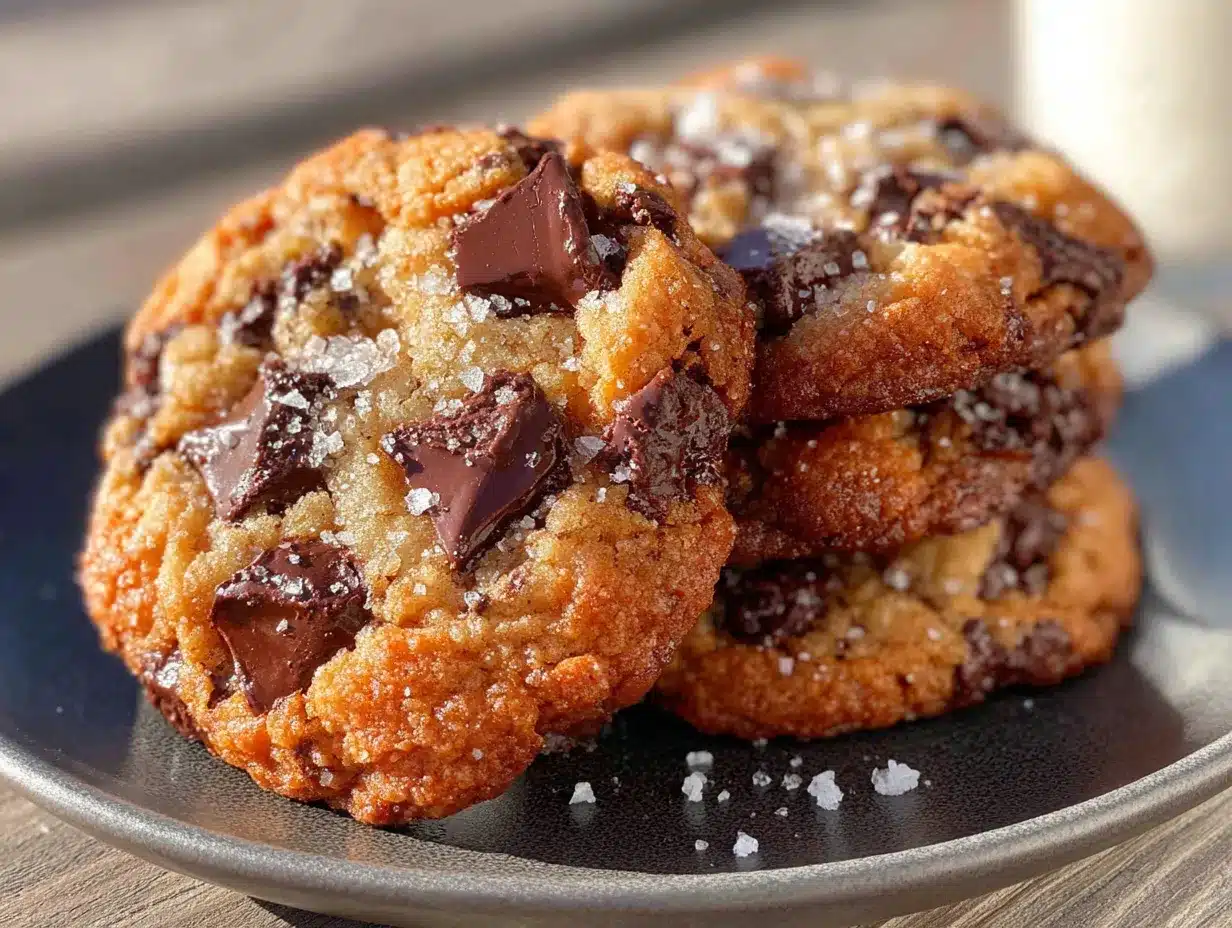
Let’s get to the fun part. This method is straightforward, but there are a few key moments where paying attention makes all the difference. Trust me—I’ve learned these through trial and error, and a few burnt batches of butter.
- Brown the butter: Place the 1 cup of unsalted butter in a medium saucepan over medium heat. Let it melt completely, then continue cooking, stirring occasionally with a rubber spatula or wooden spoon. The butter will foam up, then subside, and you’ll start to see brown specks forming at the bottom. This takes about 5-7 minutes. The moment it smells nutty and the solids are a deep golden brown, remove it from the heat immediately. Pour it into a large mixing bowl to stop the cooking process. Don’t walk away during this step—brown butter can go from perfect to burnt in seconds.
- Cool the butter slightly: Let the brown butter sit in the bowl for about 5-10 minutes. You want it warm but not hot—if you add the egg to hot butter, you’ll end up with scrambled eggs in your cookie dough. I usually wait until I can touch the bottom of the bowl without yanking my hand away.
- Add the sugars: To the warm brown butter, add ¾ cup packed light brown sugar and ¼ cup granulated sugar. Whisk vigorously for about 1-2 minutes until the mixture looks smooth and slightly thickened. The sugar should be mostly dissolved. This step is where your arm gets that little workout I mentioned.
- Add the egg and vanilla: Crack 1 large room-temperature egg into the sugar-butter mixture. Add 2 teaspoons vanilla extract. Whisk until everything is fully combined and the mixture looks glossy and smooth, about 30 seconds. Don’t over-whisk here—you just want it incorporated.
- Combine the dry ingredients: In a separate small bowl, whisk together 1 ½ cups all-purpose flour, ½ teaspoon baking soda, and ½ teaspoon fine sea salt. This ensures the baking soda and salt are evenly distributed. I used to skip this step and just dump everything in, but I ended up with pockets of salt in some cookies. Lesson learned.
- Fold in the dry ingredients: Add the flour mixture to the wet ingredients. Use your rubber spatula to fold gently, just until no streaks of flour remain. A few streaks are okay—over-mixing will make the cookies tough. This should take about 10-15 folds.
- Add the chocolate chips: Fold in 1 cup chocolate chips until they’re evenly distributed. The dough will be thick and slightly sticky. If it feels too soft, you can pop it in the fridge for 15 minutes, but honestly, it’s usually fine to go straight to scooping.
- Preheat and prepare: Preheat your oven to 350°F (175°C). Line two baking sheets with parchment paper or silicone mats.
- Scoop the dough: Using a #40 cookie scoop or a tablespoon, scoop rounded balls of dough (about 1.5 tablespoons each) and place them on the prepared baking sheets, spacing them about 2 inches apart. You should get about 18-20 cookies. If you want that bakery-style look, press a few extra chocolate chips on top of each dough ball.
- Bake: Bake one sheet at a time for 10-12 minutes, or until the edges are golden brown and the centers look slightly underdone and puffy. The cookies will continue to set as they cool. I usually pull them out at the 11-minute mark for that perfect soft center. Your kitchen will smell incredible at this point.
- Cool: Let the cookies cool on the baking sheet for 5 minutes. This is crucial—they’re very soft right out of the oven and need that time to firm up. Then transfer them to a wire rack to cool completely. Or, you know, eat one warm. I won’t tell.
Sensory Cues: When browning the butter, you’re looking for a deep amber color and a nutty, almost hazelnut-like aroma. The dough should be thick and slightly glossy, with the sugar fully dissolved. The cookies are done when the edges are a deep golden brown and the centers are still pale and puffy. If the centers look fully set in the oven, they’ll be overbaked when they cool.
Cooking Tips & Techniques
Over the years, I’ve made these cookies more times than I can count, and I’ve picked up a few tricks that make a real difference. Here are the ones I swear by:
Watch the butter like a hawk. I cannot stress this enough. Brown butter is amazing, but burnt butter is a tragedy. The moment you see those brown specks and smell that nutty aroma, pull it off the heat. I once got distracted by a phone call and ended up with black butter that smelled like burnt popcorn. The whole batch went in the trash. Now I set a timer for 5 minutes and don’t leave the stove.
Room temperature egg matters. I know, I know, it’s one of those annoying baking rules. But when you add a cold egg to warm brown butter, it can seize up the mixture and leave you with a greasy dough. If you forgot to take the egg out, place it in a bowl of warm water for 5 minutes. Problem solved.
Chill the dough if needed. This recipe is designed to work without chilling, but if your kitchen is hot or your butter got a little too warm, the dough might be too soft to scoop. Just pop it in the fridge for 15-20 minutes. It won’t hurt the cookies—in fact, it might even improve the texture slightly. I’ve done this on humid summer days and the cookies came out perfect.
Use a light-colored pan. Dark baking sheets absorb more heat and can cause the bottoms of your cookies to burn before the centers are done. I use aluminum half-sheet pans and they work great. If you only have dark pans, reduce the oven temperature by 25°F and keep a close eye on them.
Don’t over-bake. This is the most common mistake with cookies. They might look underdone in the center when you pull them out, but that’s exactly what you want. The residual heat from the pan will continue to cook them as they cool. Over-baked cookies are dry and crumbly, and nobody wants that.
Variations & Adaptations
One of the best things about this cookie recipe is how easy it is to adapt. Here are some variations I’ve tried and loved:
Gluten-Free Version: Substitute the all-purpose flour with a good 1:1 gluten-free baking flour blend. I’ve had great results with Bob’s Red Mill 1-to-1 Baking Flour. The texture is slightly more delicate, but the flavor is still amazing. Add an extra tablespoon of flour if the dough seems too wet.
Double Chocolate Chunk: Replace ¼ cup of the all-purpose flour with ¼ cup of unsweetened cocoa powder. Use dark chocolate chunks instead of semi-sweet chips. The brown butter and chocolate combo is absolutely decadent. I made these for a friend’s birthday and she said they were the best cookies she’d ever had.
Nutty Delight: Add ½ cup of toasted, chopped pecans or walnuts along with the chocolate chips. Toast the nuts in a dry skillet for 3-4 minutes until fragrant, then let them cool before adding. The crunch is a lovely contrast to the soft cookie.
Sea Salt Finish: This is my personal favorite variation. Sprinkle a few flakes of flaky sea salt on each dough ball right before baking. The salt enhances the brown butter flavor and balances the sweetness. It’s a small touch that makes a huge difference.
Dairy-Free Adaptation: Use a high-quality plant-based butter that’s designed for baking. I’ve had good luck with Miyoko’s European Style Cultured Vegan Butter. The browning process is slightly different—watch it carefully—but the results are surprisingly close to the original.
Serving & Storage Suggestions
These cookies are best served slightly warm, when the chocolate is still melty and the texture is at its peak. But let’s be real, they’re pretty amazing at any temperature. Here’s how to make the most of them:
Serving: Arrange the cookies on a beautiful plate or platter. A glass of cold milk is the classic pairing, but they’re also fantastic with a cup of hot coffee or a mug of chai tea. For a dessert spread, serve them alongside a scoop of vanilla ice cream or a dollop of lightly sweetened whipped cream.
Storage: Store the cookies in an airtight container at room temperature for up to 5 days. I like to layer them with parchment paper to prevent sticking. They’ll stay soft and chewy for the first few days, then gradually become more crisp. Honestly, I’ve never had them last longer than 3 days in my house.
Freezing: These cookies freeze beautifully. You can freeze the baked cookies in a freezer-safe bag for up to 3 months. Thaw at room temperature for about 30 minutes, then warm them in a 300°F oven for 5 minutes to revive that fresh-baked texture. Alternatively, you can freeze the raw dough balls on a baking sheet, then transfer them to a freezer bag. Bake from frozen, adding 2-3 minutes to the baking time. This is my secret weapon for unexpected guests.
Flavor Development: Here’s a little secret—these cookies actually taste even better the next day. The brown butter flavor deepens and melds with the chocolate overnight. If you can resist eating them all on day one, you’ll be rewarded on day two.
Nutritional Information & Benefits
While these cookies are definitely a treat, they’re made with simple, recognizable ingredients without any preservatives or artificial additives. The brown butter technique allows you to use less sugar than some traditional recipes because the nutty flavor adds so much depth. Here’s a rough estimate per cookie (based on 20 cookies):
- Calories: 175
- Total Fat: 10g
- Saturated Fat: 6g
- Cholesterol: 30mg
- Sodium: 95mg
- Total Carbohydrates: 21g
- Dietary Fiber: 1g
- Sugars: 14g
- Protein: 2g
Health Benefits of Key Ingredients: Dark chocolate (if you use dark chocolate chips) contains antioxidants called flavonoids that may support heart health. Butter provides fat-soluble vitamins like A, D, E, and K. And let’s not forget the mental health benefits of taking 30 minutes to bake something delicious—that counts for something, right?
Dietary Considerations: This recipe contains dairy, eggs, and gluten. For gluten-free and dairy-free options, see the variations section above. These cookies are nut-free as written, but check your chocolate chips for potential cross-contamination if that’s a concern.
Conclusion
These Lighter Brown Butter Chocolate Chip Cookies have become my go-to for a reason. They’re proof that you don’t need fancy equipment or hours of prep to make something truly special. The brown butter adds a depth of flavor that feels fancy, but the no-mixer method keeps it grounded and accessible. It’s the kind of recipe that makes you feel like a baking genius, even on a chaotic Wednesday night when you’ve forgotten about a cookie swap.
I hope you give these a try and make them your own. Maybe you’ll add extra chocolate chips, or sprinkle on some flaky salt, or swap in dark chocolate chunks. That’s the beauty of a simple, solid recipe—it’s a canvas for your own creativity. And honestly, the best cookies are the ones you make with love, even if you’re rushing and using a whisk instead of a mixer.
So go ahead, grab that butter and a whisk. Let me know how they turn out in the comments below. Did you try a variation? Did you burn the butter on your first try like I did? Share your stories—I’d love to hear them. Happy baking, friends!
Frequently Asked Questions
Can I use salted butter instead of unsalted?
Yes, you can. Just reduce the added salt in the recipe to ¼ teaspoon. The brown butter flavor will still be fantastic.
Why did my cookies turn out flat?
Flat cookies usually mean the butter was too warm or the dough wasn’t chilled enough. If your kitchen is warm, pop the scooped dough in the fridge for 15-20 minutes before baking. Also, make sure your baking soda is fresh—old baking soda loses its leavening power.
Can I make the dough ahead of time?
Absolutely. You can refrigerate the dough for up to 3 days. Let it sit at room temperature for about 10 minutes before scooping and baking. You can also freeze the dough balls for up to 3 months.
How do I get that bakery-style look with the cracked tops?
The key is not over-mixing the dough and using the right amount of brown sugar. The brown sugar helps create those beautiful crackles. Also, pulling the cookies out when the centers are still slightly underdone helps them set with that perfect texture.
Can I use whole wheat flour instead of all-purpose?
You can substitute up to half of the all-purpose flour with whole wheat flour for a nuttier flavor and slightly denser texture. Using 100% whole wheat flour will make the cookies heavier and less tender. I’d recommend starting with a 50/50 blend.
Pin This Recipe!
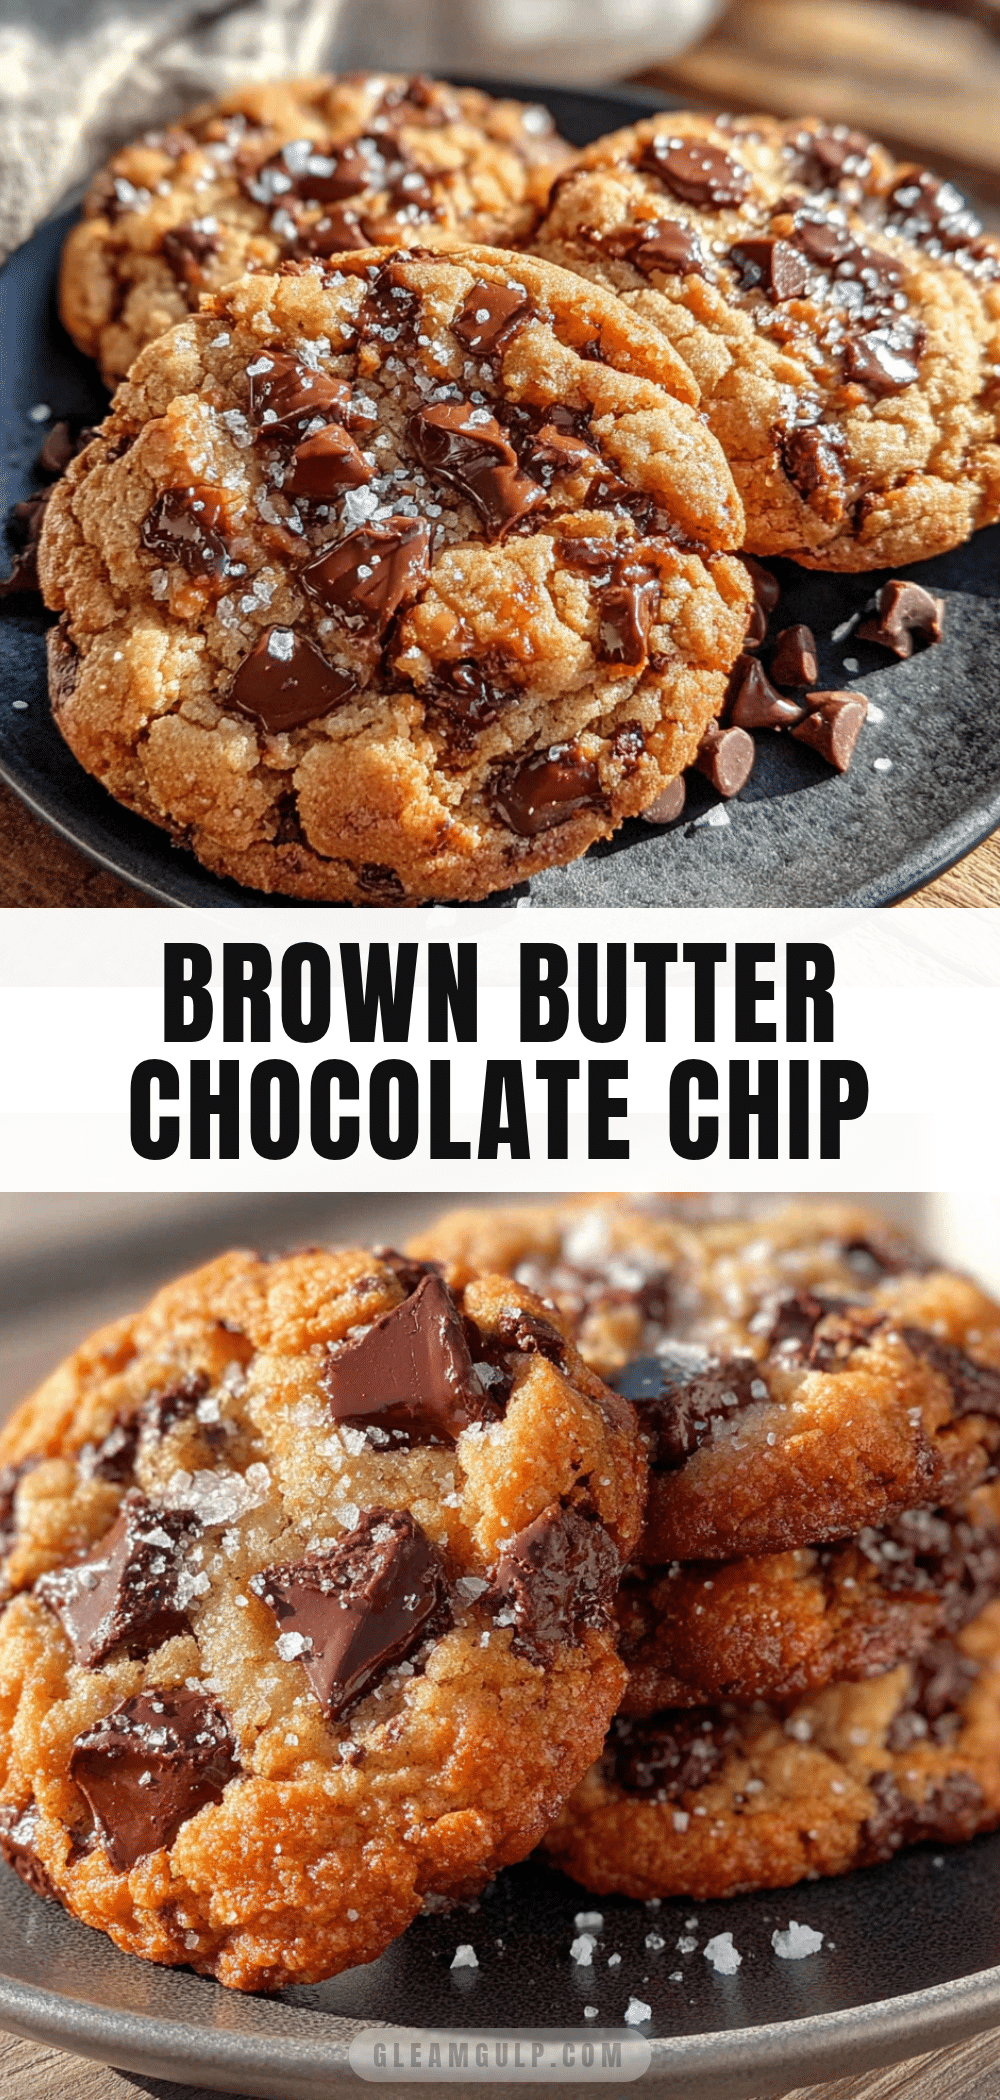
Lighter Brown Butter Chocolate Chip Cookies (No Mixer)

These no-mixer brown butter chocolate chip cookies are lighter, chewier, and packed with nutty flavor. Perfect for last-minute baking, they come together in about 30 minutes with simple pantry ingredients and no fancy equipment.
- Prep Time: 15 minutes
- Cook Time: 12 minutes
- Total Time: 27 minutes
- Yield: 18-20 cookies 1x
- Category: Dessert
- Cuisine: American
Ingredients
- 1 cup (2 sticks, 226g) unsalted butter
- 3/4 cup (150g) light brown sugar, packed
- 1/4 cup (50g) granulated sugar
- 1 large egg, at room temperature
- 2 teaspoons vanilla extract
- 1 1/2 cups (190g) all-purpose flour
- 1/2 teaspoon baking soda
- 1/2 teaspoon fine sea salt
- 1 cup (175g) semi-sweet or dark chocolate chips
- Optional: flaky sea salt for sprinkling
Instructions
- Brown the butter: Place 1 cup unsalted butter in a medium saucepan over medium heat. Melt completely, then continue cooking, stirring occasionally, until the butter foams, subsides, and brown specks form at the bottom (about 5-7 minutes). When it smells nutty and the solids are deep golden brown, remove from heat immediately and pour into a large mixing bowl to stop cooking.
- Cool the butter slightly: Let the brown butter sit for 5-10 minutes until warm but not hot (you should be able to touch the bottom of the bowl comfortably).
- Add the sugars: To the warm brown butter, add 3/4 cup packed light brown sugar and 1/4 cup granulated sugar. Whisk vigorously for 1-2 minutes until smooth and slightly thickened, with sugar mostly dissolved.
- Add the egg and vanilla: Crack 1 large room-temperature egg into the mixture and add 2 teaspoons vanilla extract. Whisk until fully combined and glossy, about 30 seconds.
- Combine dry ingredients: In a separate small bowl, whisk together 1 1/2 cups all-purpose flour, 1/2 teaspoon baking soda, and 1/2 teaspoon fine sea salt.
- Fold in dry ingredients: Add the flour mixture to the wet ingredients. Use a rubber spatula to fold gently until just combined (10-15 folds). A few streaks of flour are okay—do not over-mix.
- Add chocolate chips: Fold in 1 cup chocolate chips until evenly distributed. The dough will be thick and slightly sticky.
- Preheat and prepare: Preheat oven to 350°F (175°C). Line two baking sheets with parchment paper or silicone mats.
- Scoop the dough: Using a #40 cookie scoop or tablespoon, scoop rounded balls of dough (about 1.5 tablespoons each) onto prepared baking sheets, spacing 2 inches apart. Press a few extra chocolate chips on top if desired. You should get 18-20 cookies.
- Bake: Bake one sheet at a time for 10-12 minutes, until edges are golden brown and centers look slightly underdone and puffy. Pull them out at 11 minutes for soft centers.
- Cool: Let cookies cool on the baking sheet for 5 minutes (they will firm up), then transfer to a wire rack to cool completely.
Notes
Watch the butter carefully when browning—it can go from perfect to burnt in seconds. Use a room-temperature egg to prevent the butter from seizing. If dough is too soft, chill for 15-20 minutes. For best results, use a light-colored baking sheet to prevent burning. Cookies taste even better the next day as flavors deepen.
Nutrition
- Serving Size: 1 cookie
- Calories: 175
- Sugar: 14
- Sodium: 95
- Fat: 10
- Saturated Fat: 6
- Carbohydrates: 21
- Fiber: 1
- Protein: 2
Keywords: brown butter chocolate chip cookies, no mixer cookies, easy chocolate chip cookies, chewy cookies, last-minute cookies, simple baking recipe


