Love this? Save it for later!
Share the inspiration with your friends
The Halloween party was in five hours and I’d completely forgotten. Everyone else would be bringing those elaborate themed dishes—you know, the ones that look like severed fingers or eyeballs floating in punch. I had a bag of frozen chicken wings, a bottle of hot sauce I wasn’t even sure was still good, and honestly, a growing sense of panic. My neighbor Sarah had been bragging for weeks about her “famous” ghost-shaped deviled eggs, and I was about to show up with, what, a store-bought veggie platter?
I mean, let me tell you—I stood there staring into my fridge like it held the answers to the universe. And then it hit me. Wings. But not just any wings. Lighter Bat Wing Buffalo Wings with Blue Cheese. The name alone sounded spooky enough for the occasion, and I figured I could tweak the recipe to be a little less… gut-busting. I’d been testing a lighter version for weeks anyway, swapping out the deep-fry for a hot oven and cutting back on the butter without losing that sticky, fiery kick. Maybe you’ve been there—scrambling to throw something together that looks like you actually planned it.
The wings came out of the oven looking like actual bat wings—crispy, dark, slightly curled at the edges. I tossed them in that tangy Buffalo sauce, threw together a quick blue cheese dip with Greek yogurt instead of sour cream, and ran out the door. Sarah’s deviled eggs were impressive, sure. But guess which platter was empty first? Yeah. These wings have been my go-to ever since, whether it’s game day or just a Tuesday when I’m craving something that feels indulgent but doesn’t leave me regretting it.
Why You’ll Love This Recipe
Let’s be real for a second—Buffalo wings are basically a national treasure. But traditional versions are loaded with oil and butter, and they usually end up sitting in your stomach like a brick. These Lighter Bat Wing Buffalo Wings with Blue Cheese give you all that sticky, spicy, finger-licking goodness without the heavy aftermath. I’ve tested this method about a dozen times, tweaking temperatures and timing until the texture was just right—crispy on the outside, tender on the inside, no deep fryer required.
- Quick & Easy: These wings come together in about 45 minutes, with only 10 minutes of active prep. Perfect for last-minute gatherings or weeknight cravings.
- Simple Ingredients: You probably already have hot sauce, butter, and garlic powder in your pantry. The blue cheese dip uses Greek yogurt, which is likely in your fridge right now.
- Perfect for Game Day or Halloween: They look dramatic on a platter (hello, bat wings!), but they’re equally at home during the Super Bowl or a casual dinner.
- Crowd-Pleaser: I’ve served these to picky eaters, health-conscious friends, and wing purists. Every single person went back for seconds.
- Unbelievably Delicious: The secret is in the baking powder trick—it dries out the skin so you get that crackly crunch without a drop of oil. Trust me, it works.
What makes this recipe different from the rest? It’s the balance. Most lighter wing recipes end up rubbery or dry, but this one nails the texture. The blue cheese dip uses Greek yogurt for creaminess with a fraction of the calories, and the sauce has just enough butter to coat the wings without making them greasy. This isn’t just another version—it’s the version I bring to every potluck, and it’s the one people ask for by name.
What Ingredients You Will Need
This recipe uses simple, everyday ingredients to deliver bold flavor and satisfying texture without any fuss. Most of these are pantry staples, which makes it easy to whip up on a whim.
For the Wings
- 2 pounds chicken wings, separated into drumettes and flats (about 20-24 pieces total)
- 1 tablespoon baking powder (not baking soda—this is crucial for crispiness)
- 1 teaspoon garlic powder
- 1 teaspoon onion powder
- ½ teaspoon salt
- ½ teaspoon black pepper
For the Buffalo Sauce
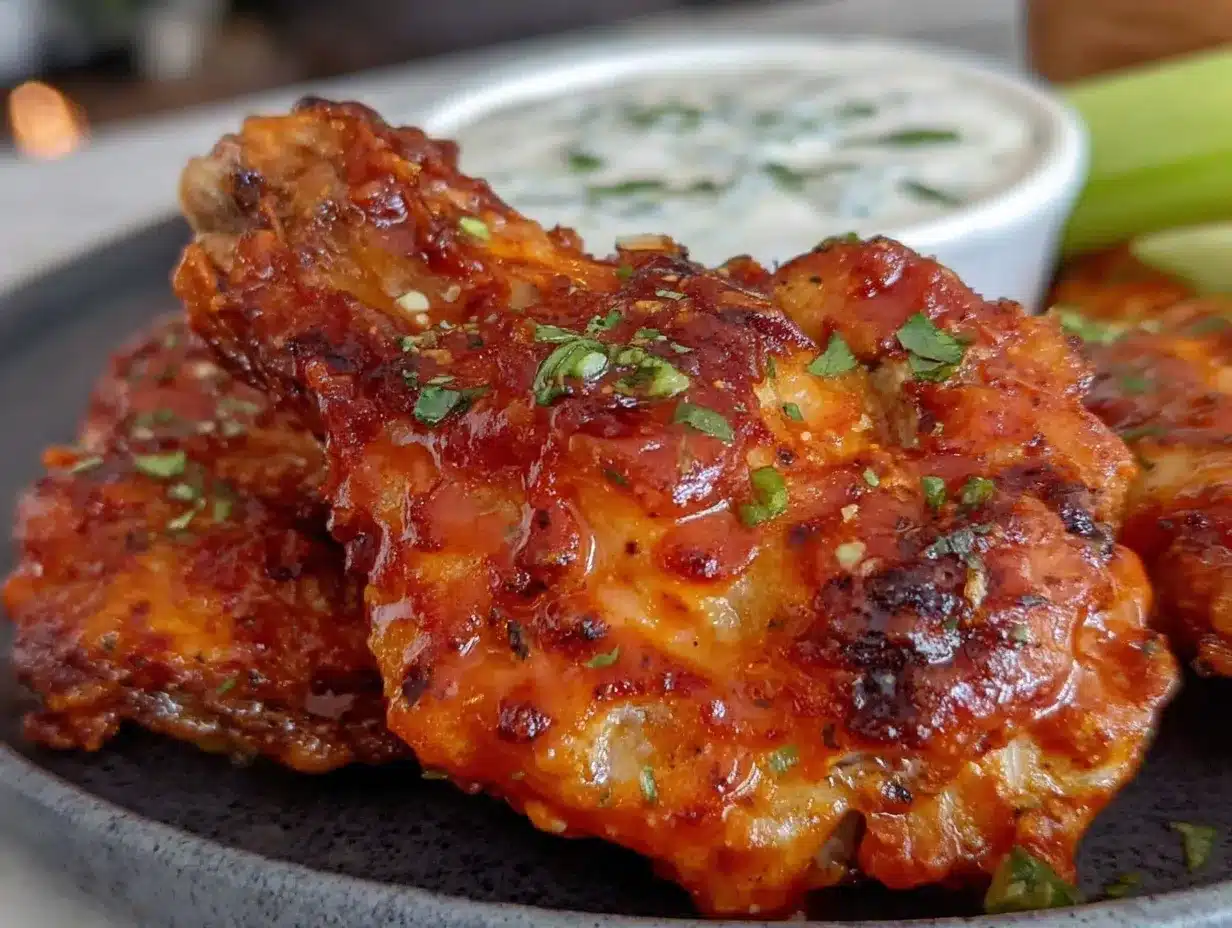
- ½ cup Frank’s RedHot Original sauce (I’ve tried others, but Frank’s really is the gold standard here)
- 2 tablespoons unsalted butter, melted (use a vegan butter if needed)
- 1 tablespoon honey (optional, but it balances the heat beautifully)
- 1 teaspoon Worcestershire sauce
For the Blue Cheese Dip
- ½ cup plain Greek yogurt (full-fat or 2% works best for creaminess)
- ¼ cup crumbled blue cheese, plus more for garnish
- 1 tablespoon lemon juice
- 1 tablespoon milk (to thin the dip to your preferred consistency)
- ¼ teaspoon garlic powder
- Pinch of salt and black pepper
For Garnish
- Fresh celery sticks
- Carrot sticks
- Fresh parsley or chives, chopped
Ingredient Tips: Look for smaller wings if you can find them—they crisp up better. For the blue cheese, I prefer a creamy, crumbly variety like Maytag or Point Reyes. If you’re dairy-free, you can swap the butter for a plant-based alternative and use a vegan blue cheese (Treeline makes a good one). The honey is optional, but I find it rounds out the heat without making the wings sweet.
Equipment Needed
You don’t need much fancy gear for these wings, which is part of the beauty. Here’s what you’ll need:
- Baking sheet with a wire rack (the rack lets air circulate underneath, which is key for crispy skin)
- Large bowl for tossing the wings with the dry rub
- Small saucepan for the Buffalo sauce
- Mixing bowl for the blue cheese dip
- Whisk or fork for combining the dip ingredients
- Tongs for flipping the wings halfway through baking
- Paper towels for patting the wings dry—don’t skip this step
If you don’t have a wire rack, you can line your baking sheet with aluminum foil and place the wings directly on it—just flip them halfway through and expect slightly less crispiness. I’ve done both methods, and the rack really does make a difference, but the foil method works in a pinch. Pro tip: line the baking sheet with foil under the rack for easier cleanup. Trust me on this one.
Preparation Method
Alright, let’s get cooking. These Lighter Bat Wing Buffalo Wings with Blue Cheese come together in a few straightforward steps. Follow along, and you’ll have crispy, saucy wings in no time.
- Preheat your oven to 425°F (220°C). Place a wire rack on a baking sheet lined with foil. The rack is non-negotiable if you want that crunch—it lets hot air circulate all around each wing.
- Pat the wings completely dry with paper towels. I cannot stress this enough. Moisture is the enemy of crispy skin. Take an extra minute to blot each piece—your future self will thank you.
- In a large bowl, whisk together the baking powder, garlic powder, onion powder, salt, and pepper. Add the dried wings and toss until every piece is evenly coated. The baking powder might look a little powdery at first, but it’ll disappear as the wings cook.
- Arrange the wings on the wire rack in a single layer. Make sure none of them are touching—crowding the pan will steam them instead of crisping them. If you have to, use two baking sheets.
- Bake for 20 minutes, then flip each wing with tongs. Bake for another 20-25 minutes, until the skin is golden brown and crackly. The wings should reach an internal temperature of 165°F (74°C).
- While the wings bake, make the Buffalo sauce. In a small saucepan over low heat, combine the hot sauce, melted butter, honey, and Worcestershire sauce. Whisk until smooth and warmed through—about 2 minutes. Keep it warm on the lowest setting.
- Make the blue cheese dip. In a mixing bowl, combine the Greek yogurt, crumbled blue cheese, lemon juice, milk, garlic powder, salt, and pepper. Stir until creamy. If it’s too thick, add a splash more milk. Taste and adjust seasoning—I always add a little extra black pepper.
- When the wings are done, transfer them to a large bowl. Pour the warm Buffalo sauce over the top and toss gently with tongs until every wing is coated. Don’t drown them—you want a glossy coat, not a puddle.
- Serve immediately with the blue cheese dip, celery sticks, and carrot sticks. Garnish with extra crumbled blue cheese and a sprinkle of fresh parsley or chives if you’re feeling fancy.
Pro Tip: If you want extra-crispy wings, let them rest on the rack for 5 minutes after baking before tossing them in the sauce. This lets the steam escape and keeps the skin from getting soggy.
Cooking Tips & Techniques
I’ve made these wings more times than I can count, and I’ve learned a few things the hard way. Here are my top tips for perfect results every time.
Don’t skip the drying step. I know it feels tedious, but patting the wings dry is the single most important thing you can do for crispy skin. I once got lazy and skipped it—the wings came out steamed and sad. Never again.
Baking powder is your best friend. It raises the pH of the skin, which helps it brown and crisp up faster. Just make sure you’re using baking powder, not baking soda—they’re not the same thing, and baking soda will leave a metallic taste. I learned that one the hard way, too.
Watch your oven temperature. Every oven runs a little differently. If your wings are browning too quickly, drop the temp to 400°F (200°C) and extend the cooking time by 5-10 minutes. If they’re not crisping up, give them another 5 minutes on the rack.
Make the sauce while the wings bake. This is a great time to multitask. The sauce only takes about 2 minutes, and the dip takes another 2 minutes. By the time the wings are done, everything else is ready to go.
Taste your blue cheese dip before serving. Blue cheeses vary wildly in saltiness and intensity. I’ve had some that were super mild and needed extra crumbles, and others that were so pungent I had to add more yogurt. Adjust to your taste.
Variations & Adaptations
One of the best things about this recipe is how flexible it is. Here are a few variations I’ve tried and loved.
Spicy Mango Wings: Swap the Buffalo sauce for a mix of ½ cup mango puree, 2 tablespoons sriracha, and 1 tablespoon lime juice. It’s sweet, spicy, and totally addictive. I made this version for a summer barbecue and it was gone in 10 minutes.
Smoky Chipotle Wings: Add 2 minced chipotle peppers in adobo sauce to the Buffalo sauce. The smokiness pairs beautifully with the blue cheese dip. This is my go-to for game day.
Air Fryer Method: If you have an air fryer, cook the wings at 400°F (200°C) for 12-15 minutes, shaking the basket halfway through. They come out even crispier than the oven version. Just don’t overcrowd the basket—work in batches if needed.
Dairy-Free Adaptation: Use vegan butter in the sauce and a dairy-free blue cheese alternative for the dip. I’ve tested this with Miyoko’s vegan butter and Treeline blue cheese, and it works beautifully.
Extra-Crispy Version: After the initial 20-minute bake, brush the wings with a little melted butter and broil them on high for 2-3 minutes. Watch them closely—they go from golden to burnt very quickly.
Serving & Storage Suggestions
These wings are best served hot, right after tossing them in the sauce. The contrast between the crispy skin and the sticky, spicy coating is pure magic. Arrange them on a large platter with the blue cheese dip in the center, surrounded by celery and carrot sticks. A sprinkle of fresh parsley or chives adds a pop of color.
For drinks, these wings pair beautifully with a cold beer (an IPA or pale ale works great), a crisp white wine like Sauvignon Blanc, or a simple sparkling water with lime if you’re keeping it light. If you’re serving them as part of a spread, they go well with coleslaw, potato wedges, or a simple green salad.
Storage: Leftover wings can be stored in an airtight container in the refrigerator for up to 3 days. The blue cheese dip will keep for up to 5 days—just give it a stir before serving.
Reheating: The oven is your best bet for reheating. Place the wings on a wire rack over a baking sheet and warm them at 375°F (190°C) for 10-12 minutes. The microwave will make them soggy, so avoid it if you can. I’ve also had good results reheating them in an air fryer at 350°F (175°C) for 5-6 minutes.
The flavors actually deepen a bit overnight—the sauce soaks into the skin just a touch, making them even more flavorful the next day. Not that they usually last that long in my house.
Nutritional Information & Benefits
These Lighter Bat Wing Buffalo Wings with Blue Cheese are a healthier take on a classic indulgence. Here’s the approximate nutritional breakdown per serving (about 6 wings with dip):
- Calories: 380
- Protein: 32g
- Fat: 22g (7g saturated)
- Carbohydrates: 8g (2g fiber, 4g sugar)
- Sodium: 980mg
Compared to traditional fried wings, this version saves you about 150 calories and 10g of fat per serving—without sacrificing any of the flavor. The baking powder method gives you that crunch you crave without the deep fryer, and swapping Greek yogurt for sour cream in the dip cuts calories and adds protein.
Chicken wings are a good source of high-quality protein, which helps keep you full and satisfied. The hot sauce contains capsaicin, which may give your metabolism a tiny boost. And blue cheese? It’s actually rich in calcium and probiotics (especially if you use a raw or artisanal variety).
Dietary Considerations: This recipe is gluten-free (double-check your hot sauce brand), low-carb, and keto-friendly. For a dairy-free version, see the variations section above.
Conclusion
Look, I’m not going to tell you these wings will change your life. But they might just change your wing game. These Lighter Bat Wing Buffalo Wings with Blue Cheese have become my secret weapon for parties, game days, and lazy Sunday afternoons when I want something that feels naughty but isn’t. They’re crispy, they’re saucy, and that blue cheese dip is honestly good enough to eat with a spoon.
What I love most about this recipe is how forgiving it is. You can tweak the spice level, swap the sauce, or double the batch without any drama. It’s the kind of recipe that makes you look like a hero in the kitchen, even when you’re just trying to use up that bag of wings in the freezer.
So go ahead—give these wings a try. Toss them in your favorite sauce, dip them in that creamy blue cheese, and enjoy every single bite. And when you do, come back and tell me how they turned out. Did you add extra hot sauce? Try the mango version? I’d love to hear about it. Drop a comment below or tag me in your photos—I’m always here for wing talk.
Frequently Asked Questions
Can I make these wings ahead of time?
You can bake the wings a day ahead and store them in the fridge without the sauce. When you’re ready to serve, reheat them on a wire rack at 400°F (200°C) for 10 minutes, then toss with the warmed Buffalo sauce. The blue cheese dip can be made up to 3 days in advance.
Why are my wings not crispy?
Most likely, they weren’t dried thoroughly before baking, or the baking powder was old. Make sure you pat the wings completely dry with paper towels, and check that your baking powder is fresh (test it by dropping a pinch in hot water—it should bubble vigorously). Also, avoid overcrowding the pan.
Can I use frozen wings?
Yes, but you’ll need to thaw them completely in the refrigerator first. Once thawed, pat them very dry—frozen wings release more moisture as they thaw, so take an extra minute with the paper towels. The baking time may also increase by 5-10 minutes.
Is this recipe spicy?
It has a medium heat level—enough to make your nose run a little, but not enough to scare off the faint of heart. If you want it milder, reduce the hot sauce to ⅓ cup and add an extra tablespoon of butter. For more heat, add a teaspoon of cayenne pepper to the sauce or use a spicier hot sauce like Dave’s Insanity.
Can I use boneless chicken thighs instead?
Absolutely. Cut boneless, skinless thighs into wing-sized pieces and follow the same baking instructions. They’ll cook a little faster—check for doneness at the 30-minute mark. The texture will be different (less skin, more meat), but the flavor will still be fantastic.
Pin This Recipe!
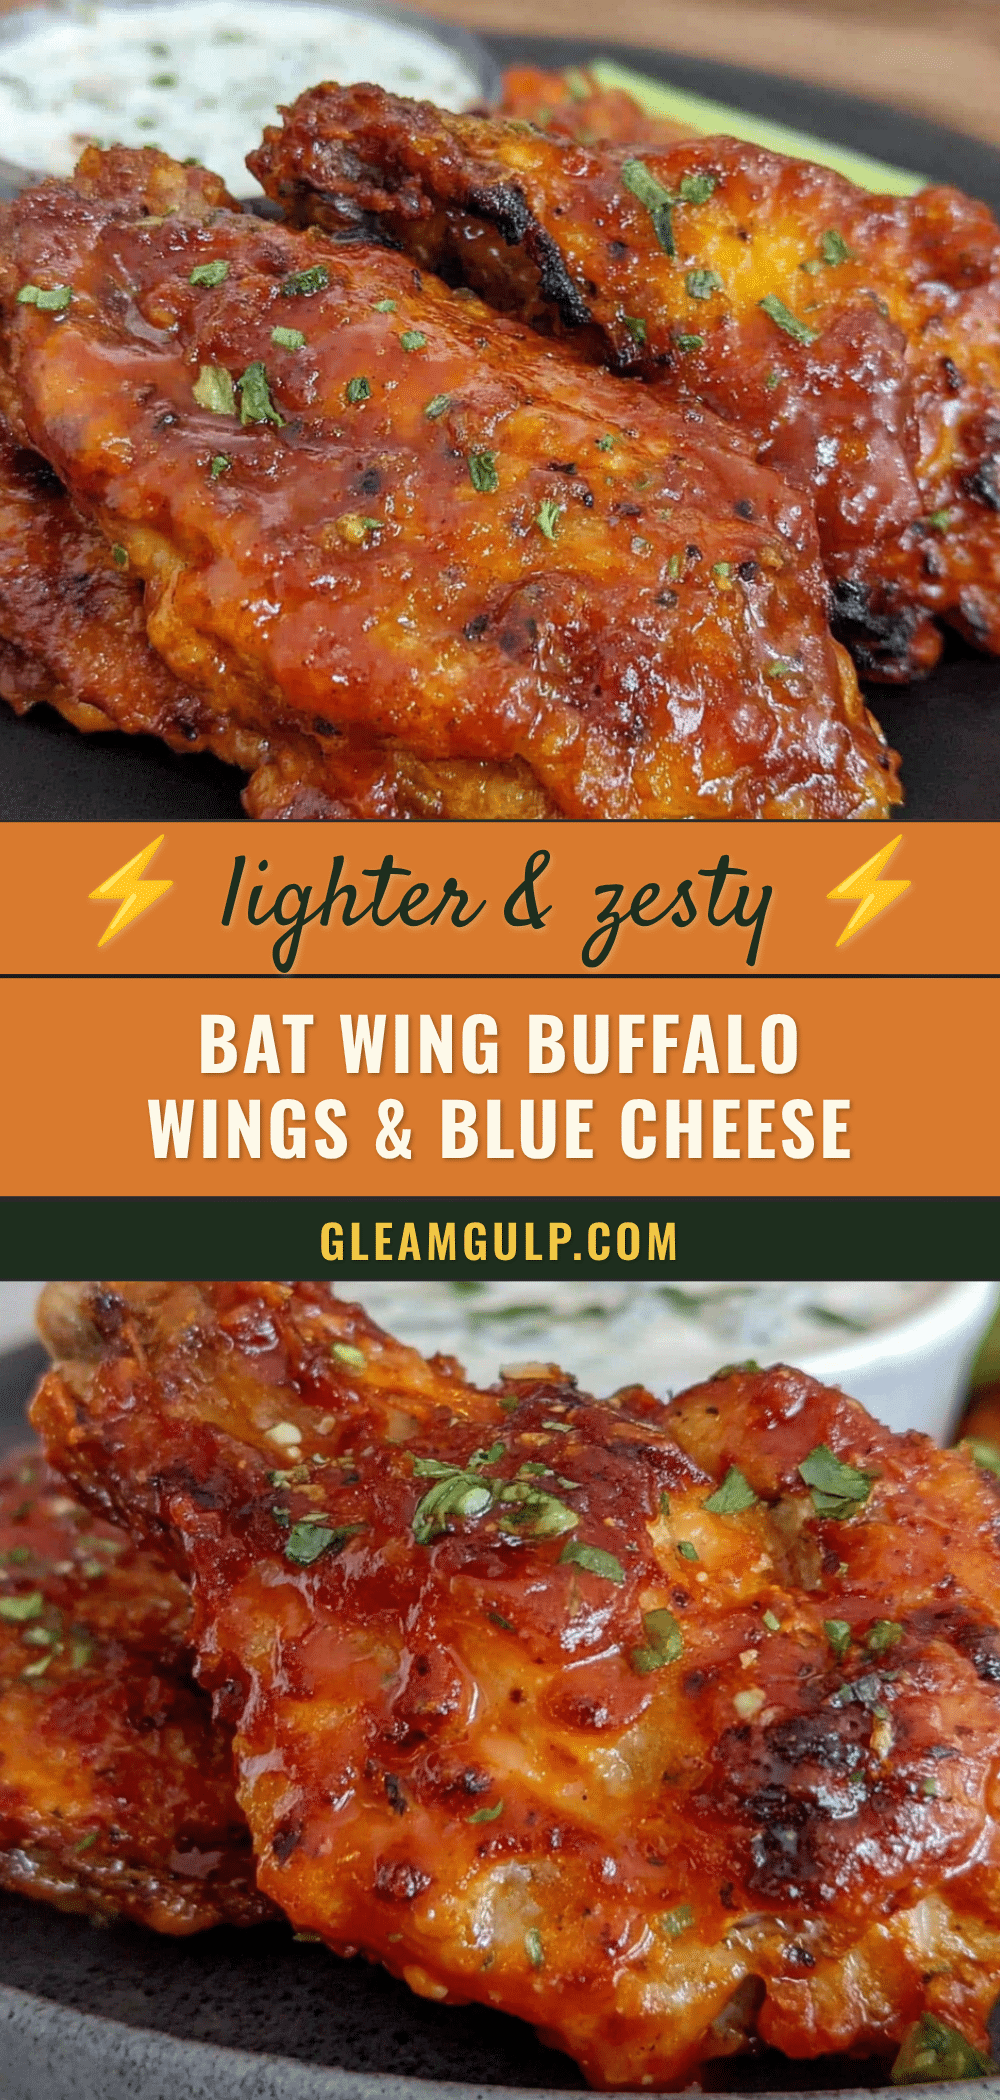
Lighter Bat Wing Buffalo Wings with Perfect Blue Cheese

Crispy, spicy, and lighter than traditional fried wings, these oven-baked Buffalo wings are perfect for Halloween, game day, or any gathering. Served with a creamy blue cheese dip made with Greek yogurt, they deliver all the flavor without the guilt.
- Prep Time: 10 minutes
- Cook Time: 40-45 minutes
- Total Time: 50-55 minutes
- Yield: 4 servings 1x
- Category: Appetizer
- Cuisine: American
Ingredients
- 2 pounds chicken wings, separated into drumettes and flats (about 20–24 pieces total)
- 1 tablespoon baking powder (not baking soda)
- 1 teaspoon garlic powder
- 1 teaspoon onion powder
- ½ teaspoon salt
- ½ teaspoon black pepper
- ½ cup Frank’s RedHot Original sauce
- 2 tablespoons unsalted butter, melted
- 1 tablespoon honey (optional)
- 1 teaspoon Worcestershire sauce
- ½ cup plain Greek yogurt (full-fat or 2%)
- ¼ cup crumbled blue cheese, plus more for garnish
- 1 tablespoon lemon juice
- 1 tablespoon milk
- ¼ teaspoon garlic powder
- Pinch of salt and black pepper
- Fresh celery sticks
- Carrot sticks
- Fresh parsley or chives, chopped
Instructions
- Preheat your oven to 425°F (220°C). Place a wire rack on a baking sheet lined with foil.
- Pat the wings completely dry with paper towels.
- In a large bowl, whisk together the baking powder, garlic powder, onion powder, salt, and pepper. Add the dried wings and toss until evenly coated.
- Arrange the wings on the wire rack in a single layer, making sure none are touching.
- Bake for 20 minutes, then flip each wing with tongs. Bake for another 20-25 minutes, until the skin is golden brown and crackly and the internal temperature reaches 165°F (74°C).
- While the wings bake, make the Buffalo sauce: In a small saucepan over low heat, combine the hot sauce, melted butter, honey, and Worcestershire sauce. Whisk until smooth and warmed through, about 2 minutes. Keep warm.
- Make the blue cheese dip: In a mixing bowl, combine the Greek yogurt, crumbled blue cheese, lemon juice, milk, garlic powder, salt, and pepper. Stir until creamy. Adjust consistency with more milk if needed.
- When the wings are done, transfer them to a large bowl. Pour the warm Buffalo sauce over the top and toss gently with tongs until every wing is coated.
- Serve immediately with the blue cheese dip, celery sticks, and carrot sticks. Garnish with extra crumbled blue cheese and fresh parsley or chives.
Notes
For extra-crispy wings, let them rest on the rack for 5 minutes after baking before tossing in sauce. Do not skip drying the wings thoroughly. Use baking powder, not baking soda. If wings brown too quickly, reduce oven to 400°F (200°C) and extend cooking time.
Nutrition
- Serving Size: 6 wings with dip
- Calories: 380
- Sugar: 4
- Sodium: 980
- Fat: 22
- Saturated Fat: 7
- Carbohydrates: 8
- Fiber: 2
- Protein: 32
Keywords: buffalo wings, baked wings, healthy wings, game day, Halloween, blue cheese dip, lighter wings


