Love this? Save it for later!
Share the inspiration with your friends
It was 10:47 PM on a random Tuesday in October, and I had an overwhelming need to make something that looked like it belonged at a Halloween party. The thing is, my kids were already in bed, I had zero fancy decorating tools, and the only chocolate cupcakes in the house were from a box mix I’d baked that morning for a school bake sale that got cancelled. I didn’t have any of those expensive piping bags or those fancy decorating tips that food bloggers always use, but I had a ziploc bag, some white frosting, and this wild idea that maybe I could make something spooky without it looking like a Pinterest fail.
Honestly, I was half-asleep standing at the counter, and I almost gave up. But then I remembered that my neighbor Karen once told me she makes spiderwebs using a toothpick, and I thought, well, that’s either going to be genius or a total disaster. So I grabbed a toothpick from the drawer, melted some white chocolate chips in the microwave (and yes, I burned the first batch because I got distracted by a raccoon digging through the trash), and I just went for it. Let me tell you, the way that white chocolate swirled into the dark frosting was like magic. It wasn’t perfect, but it was charming in that imperfect, homemade way that kids actually love.
That’s the thing about these kid-friendly chocolate spiderweb cupcakes. They don’t need to be perfect to be amazing. They need to be fun, they need to be delicious, and they need to make your kids’ eyes light up when they see them. Maybe you’ve been there too—staring at a batch of plain cupcakes, wishing you had the time and energy to make them special without spending hours in the kitchen. These spiderweb cupcakes are the answer. They look impressive, but they’re so simple that even a tired parent at 11 PM can pull them off. And honestly, that’s why I keep making them year after year.
Why You’ll Love This Recipe
I’ve tested this recipe about seven times now, and I mean really tested it—with impatient kids hovering, with a toddler who kept trying to stick his fingers in the frosting, and once when I was so tired I almost used salt instead of sugar. Through all those trials, I figured out what actually works and what’s just fluff. Here’s why these cupcakes are worth every minute:
- Quick & Easy: From start to finish, you’re looking at about 35 minutes. That’s including the cooling time. Perfect for those after-school Halloween parties or last-minute classroom treats.
- Simple Ingredients: You probably have everything in your pantry right now. No weird extracts, no specialty flours, nothing that requires a trip to the fancy grocery store.
- Perfect for Halloween: These are the star of any spooky celebration. They work for classroom parties, family gatherings, or just a fun weekend baking project.
- Crowd-Pleaser: I’ve yet to meet a kid who doesn’t go nuts for these. The chocolate base is rich but not too heavy, and the spiderweb design is just fun.
- Unbelievably Delicious: The combination of moist chocolate cake and creamy vanilla frosting with that hint of melted white chocolate is honestly next-level comfort food.
What makes this recipe different from all the other spiderweb cupcake tutorials out there? It’s the technique. Most recipes tell you to use a piping bag with a tiny tip, but I figured out that a simple ziploc bag with the corner snipped off works just as well. And the toothpick method? That’s the real game-changer. It creates those perfect, delicate webs without any fancy equipment. This isn’t just another Halloween cupcake recipe—it’s the one that actually works when you’re short on time and patience.
This recipe connects with something deeper too. It’s not just about making cupcakes; it’s about creating a moment. That first bite, when your kid’s face lights up because they helped make the spiderwebs? That’s the good stuff. It’s comfort food reimagined for spooky season—faster, simpler, but with the same soul-soothing satisfaction that makes baking worth it.
What Ingredients You Will Need
This recipe uses simple, honest ingredients that come together to create something genuinely special. Most of these are pantry staples, which means you can whip up a batch without a special grocery trip. Here’s what you’ll need:
For the Cupcakes
- 1 ¾ cups all-purpose flour (I use Gold Medal, but any brand works fine)
- 1 ½ cups granulated sugar
- ¾ cup unsweetened cocoa powder (I prefer Hershey’s for that classic chocolate flavor)
- 1 ½ teaspoons baking powder
- 1 ½ teaspoons baking soda
- 1 teaspoon salt
- 2 large eggs, room temperature (this matters for a better rise)
- 1 cup whole milk (2% works too, but whole milk gives a richer crumb)
- ½ cup vegetable oil (canola or any neutral oil works)
- 2 teaspoons vanilla extract
- 1 cup boiling water (this is the secret to a super moist cupcake)
For the Frosting
- 1 cup unsalted butter, softened (I leave mine out for about an hour)
- 3 ½ cups powdered sugar
- ¼ cup heavy cream (or milk if that’s what you have)
- 2 teaspoons vanilla extract
- Pinch of salt
For the Spiderweb Decoration
- ½ cup white chocolate chips (or melting wafers)
- 1 tablespoon coconut oil (helps the chocolate flow smoothly)
- Black gel food coloring (optional, for making little spiders)
- Mini candy eyeballs (optional, but kids love them)
A few notes on ingredients: The boiling water might seem weird, but trust me on this. It helps bloom the cocoa powder, which deepens the chocolate flavor without making the cupcakes bitter. I learned this trick from a pastry chef friend, and it makes a huge difference. For the white chocolate, I recommend Ghirardelli or Guittard—they melt more smoothly than generic brands. And if you’re dairy-free, you can substitute the milk with oat milk and the butter with a good vegan butter. Just make sure the vegan butter is softened properly, or your frosting will be lumpy.
Equipment Needed
You don’t need a fancy kitchen to make these spiderweb cupcakes. Here’s what you’ll actually use:
- Standard 12-cup muffin tin (I’ve had my Nordic Ware one for years, and it’s worth the investment)
- Paper cupcake liners (orange or black ones make them extra festive)
- Two mixing bowls (one large, one medium)
- Whisk (for dry ingredients)
- Electric hand mixer (or stand mixer if you’re fancy)
- Measuring cups and spoons
- Ziploc bag (quart size works perfectly)
- Toothpicks (the unsung heroes of this recipe)
- Cooling rack
- Offset spatula (or a butter knife in a pinch)
If you don’t have an electric mixer, you can absolutely make the frosting by hand—it’s just a good arm workout. And if you’re missing a muffin tin, you can use a disposable aluminum one from the grocery store. I’ve done it, and it works fine. The key piece of equipment here is the toothpick. Don’t use a skewer or a chopstick—they’re too thick and will ruin the spiderweb effect. Trust me, I learned that the hard way.
Preparation Method
Let me walk you through this step by step. I’ve made these cupcakes more times than I can count, so I know exactly where things can go wrong and how to fix them.
Step 1: Preheat and Prep
Preheat your oven to 350°F (175°C). Line your muffin tin with paper liners—I like using orange ones for Halloween, but black or even plain white work too. If you’re out of liners, you can grease the tin well with butter or cooking spray. Just be aware they might stick a little more.
Step 2: Mix Dry Ingredients
In a large bowl, whisk together the flour, sugar, cocoa powder, baking powder, baking soda, and salt. Make sure there are no lumps in the cocoa powder—I’ve skipped this step before and ended up with bitter pockets in my cupcakes. Not ideal.
Step 3: Combine Wet Ingredients
In a separate medium bowl, whisk the eggs, milk, oil, and vanilla extract until everything is well combined. The eggs should be room temperature—if you forgot to take them out earlier, place them in a bowl of warm water for 5 minutes. It actually works.
Step 4: Bring It Together
Pour the wet ingredients into the dry ingredients and mix until just combined. Don’t overmix here—a few lumps are okay. Overmixing will make your cupcakes tough, and nobody wants a tough cupcake. The batter will be thick at this point, and that’s normal.
Step 5: Add the Boiling Water
This is the magic step. Slowly pour in the boiling water while stirring gently. The batter will become very thin and liquidy—don’t panic. That’s exactly what you want. This thin batter creates that ultra-moist, tender crumb that makes these cupcakes so good. I remember the first time I made this recipe, I thought I’d messed up and added too much water. I almost threw it out. So glad I didn’t.
Step 6: Fill and Bake
Fill each liner about ⅔ full. I use a ¼-cup measuring scoop for consistency. Bake for 18-22 minutes, or until a toothpick inserted into the center comes out clean or with just a few moist crumbs. The tops should spring back when lightly touched. Let them cool in the pan for 5 minutes, then transfer to a cooling rack. And here’s the hard part—let them cool completely before frosting. I know it’s tempting, but warm frosting is a mess.
Step 7: Make the Frosting
While the cupcakes cool, beat the softened butter with an electric mixer until it’s creamy and pale, about 2 minutes. Gradually add the powdered sugar, one cup at a time, beating on low speed. Add the heavy cream, vanilla, and salt, then beat on medium-high for 3-4 minutes until light and fluffy. If it’s too thick, add a splash more cream. Too thin? Add a bit more powdered sugar. Frosting is forgiving.
Step 8: Create the Spiderwebs
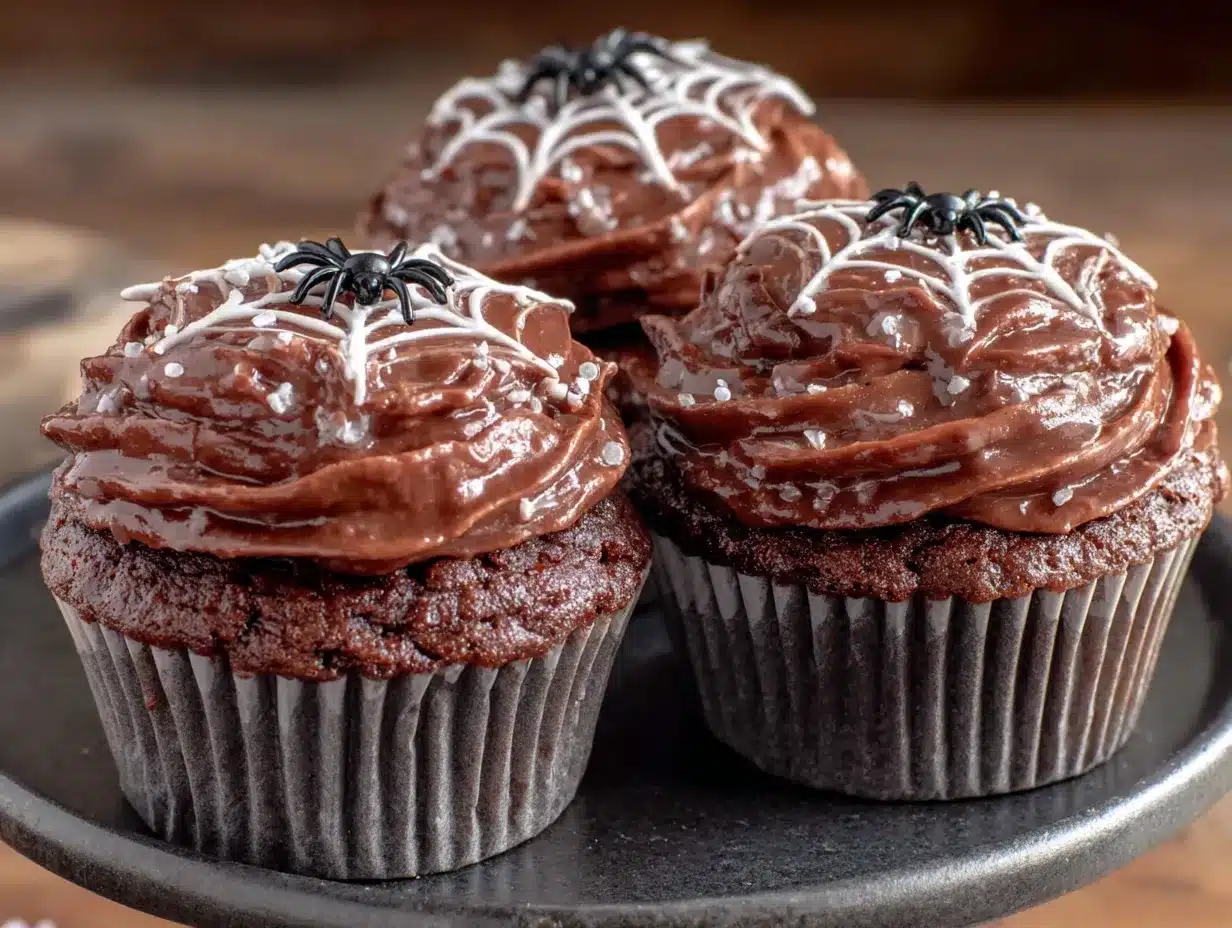
This is where the fun happens. Frost each cupcake with a smooth layer of vanilla frosting. In a small microwave-safe bowl, melt the white chocolate chips with the coconut oil in 20-second intervals, stirring between each, until smooth. Let it cool for a minute. Snip a tiny corner off a ziploc bag and spoon the melted white chocolate into the bag. Pipe a spiral starting from the center of each cupcake and working outward. Then, using a toothpick, drag lines from the center outward through the spiral to create the web effect. It looks like magic when it works.
Cooking Tips & Techniques
After making these cupcakes about a dozen times, I’ve collected some hard-won wisdom. Here’s what I wish someone had told me:
The toothpick trick is everything. Don’t press too hard when you drag the toothpick through the white chocolate. You want to barely graze the surface. If you press too hard, the spiral will smear and you’ll lose the web effect. I’ve done this more times than I care to admit, and it’s frustrating. Gentle, light strokes are the key.
Let the white chocolate cool slightly. If it’s too hot, it will melt into the frosting instead of sitting on top. You want it warm enough to flow but not so hot that it disappears. Test it on a piece of wax paper first—if it holds its shape, you’re good to go.
Don’t overcrowd the oven. If you’re making a double batch, bake them in two rounds. Putting too many cupcakes in at once creates uneven heat and some will bake faster than others. I learned this when I tried to bake 24 cupcakes at once for my daughter’s class party. Half were perfect, and half were slightly underdone. Not my finest moment.
Timing is everything with the frosting. Make the frosting while the cupcakes cool. That way, by the time they’re room temperature, your frosting is ready to go. This saves about 15 minutes and keeps you from standing around waiting.
If your frosting is too soft, pop it in the fridge for 10 minutes. This is a lifesaver, especially if your kitchen is warm. Cold frosting is easier to pipe and holds its shape better. Just don’t leave it in too long, or it’ll be too stiff to spread.
Variations & Adaptations
One of the best things about this recipe is how flexible it is. Here are some variations I’ve tried and loved:
Gluten-Free Version
Swap the all-purpose flour with a 1:1 gluten-free baking flour. I’ve used Bob’s Red Mill with great results. The texture is slightly more delicate, so be gentle when frosting. My friend Sarah has celiac disease, and she said these were the best gluten-free cupcakes she’s ever had. High praise.
Dairy-Free Adaptation
Use oat milk instead of whole milk, and swap the butter for a good vegan butter. For the white chocolate, look for dairy-free white chocolate chips—they’re available at most health food stores. The coconut oil in the decoration helps keep everything smooth. I made these for a dairy-free friend’s Halloween party, and nobody could tell the difference.
Spiderweb Color Variations
Instead of white chocolate, try using colored candy melts. Orange webs on chocolate frosting look amazing for Halloween. Or use purple for a witchy vibe. I did green ones once for a monster-themed party, and the kids went crazy for them. Just make sure to use candy melts, not regular chocolate, because they set up harder and look more vibrant.
Extra Spooky Touch
Add a little plastic spider on top of each cupcake. You can find them at any party supply store. Or pipe a small spider using black gel food coloring on a piece of wax paper, let it harden, and place it on the web. It takes an extra 5 minutes but makes the cupcakes look professionally done.
Serving & Storage Suggestions
These cupcakes are best served at room temperature, which lets the frosting soften slightly and the spiderweb design really pop. If you’re serving them at a party, arrange them on a black or orange platter for maximum visual impact. I like to add some fake spiderwebs around the platter for extra Halloween flair.
For storage, place the cupcakes in an airtight container at room temperature for up to 3 days. Don’t refrigerate them—the fridge dries out the cake and makes the frosting lose its shine. If you need to store them longer, freeze them unfrosted for up to 2 months. Wrap each cupcake individually in plastic wrap, then place them in a freezer bag. When you’re ready to serve, thaw them at room temperature, then frost and decorate. The spiderwebs are best added the day you serve them, as the white chocolate can soften over time.
One thing I love about these cupcakes is that the flavors actually improve after a day. The chocolate deepens, and the frosting settles into the cake slightly, making everything taste more cohesive. So if you can make them a day ahead, do it. Just add the spiderwebs on the day you serve them.
Nutritional Information & Benefits
Let’s be real—these are cupcakes, not health food. But here’s the breakdown for one cupcake (based on 12 servings): approximately 380 calories, 18g fat, 52g carbohydrates, 4g protein, and 2g fiber. The cocoa powder in the cupcakes is actually a good source of antioxidants and can help improve mood (which is probably why kids love them so much).
If you’re watching your sugar intake, you can reduce the sugar in the cupcake batter to 1 cup without affecting the texture too much. The frosting will still be sweet, but you can use less on each cupcake. I’ve also made these with a cream cheese frosting for a tangier, less sweet option, and it works beautifully.
For those with dietary concerns, the gluten-free and dairy-free variations mentioned above work well. Just be aware that the nutritional values will change with those substitutions. And as always, check your ingredients for potential allergens—these cupcakes contain dairy, eggs, and wheat in their standard form.
Conclusion
These kid-friendly chocolate spiderweb cupcakes have become a Halloween tradition in my house, and I think they deserve a spot in yours too. They’re the kind of recipe that makes you look like a baking superstar without actually requiring any real skill. The spiderweb design is forgiving, the chocolate base is foolproof, and the whole thing comes together in under an hour. What more could you ask for?
I love this recipe because it’s proof that you don’t need fancy equipment or hours of free time to create something special. A ziploc bag, a toothpick, and a little bit of patience are all it takes. And honestly, the best part isn’t even the cupcakes themselves—it’s the look on your kids’ faces when they see those spiderwebs. Or when they help you pipe the white chocolate and make their own designs. That’s the real magic.
So go ahead, give these a try. Customize them however you want—add spiders, change the colors, make them gluten-free. The recipe is just a starting point. I’d love to hear how yours turn out. Drop a comment below and let me know if your kids loved them as much as mine do. And if you come up with a fun variation, share that too. Happy Halloween, and happy baking!
Frequently Asked Questions
Can I use a boxed cake mix instead of making the cupcakes from scratch?
Absolutely. If you’re short on time, a boxed chocolate cake mix works perfectly. Just follow the package instructions and bake according to the directions. The spiderweb decoration is what really makes these cupcakes special, so the cake base is flexible.
How do I keep the white chocolate from seizing up in the microwave?
Heat it in short 20-second bursts and stir between each one. Adding a teaspoon of coconut oil or vegetable shortening helps keep the chocolate smooth and prevents it from seizing. If it does seize, add a little more oil and stir vigorously—it might still be salvageable.
Can I make these cupcakes ahead of time for a party?
Yes! Bake the cupcakes and make the frosting up to two days in advance. Store the unfrosted cupcakes in an airtight container at room temperature and the frosting in the fridge. When you’re ready to serve, bring the frosting to room temperature, give it a quick whip, and frost the cupcakes. Add the spiderwebs right before serving for the best effect.
My spiderwebs always turn out messy. What am I doing wrong?
You’re probably pressing too hard with the toothpick. The key is to use a very light touch—just barely drag the toothpick through the white chocolate. Also, make sure your white chocolate isn’t too hot or too cold. It should be warm enough to flow but thick enough to hold its shape on top of the frosting.
Can I freeze these cupcakes with the spiderwebs already on them?
I don’t recommend it. The white chocolate spiderwebs can become brittle and crack in the freezer, and condensation when thawing can make them look smudged. It’s better to freeze the unfrosted cupcakes, then frost and decorate them on the day you plan to serve them.
Pin This Recipe!
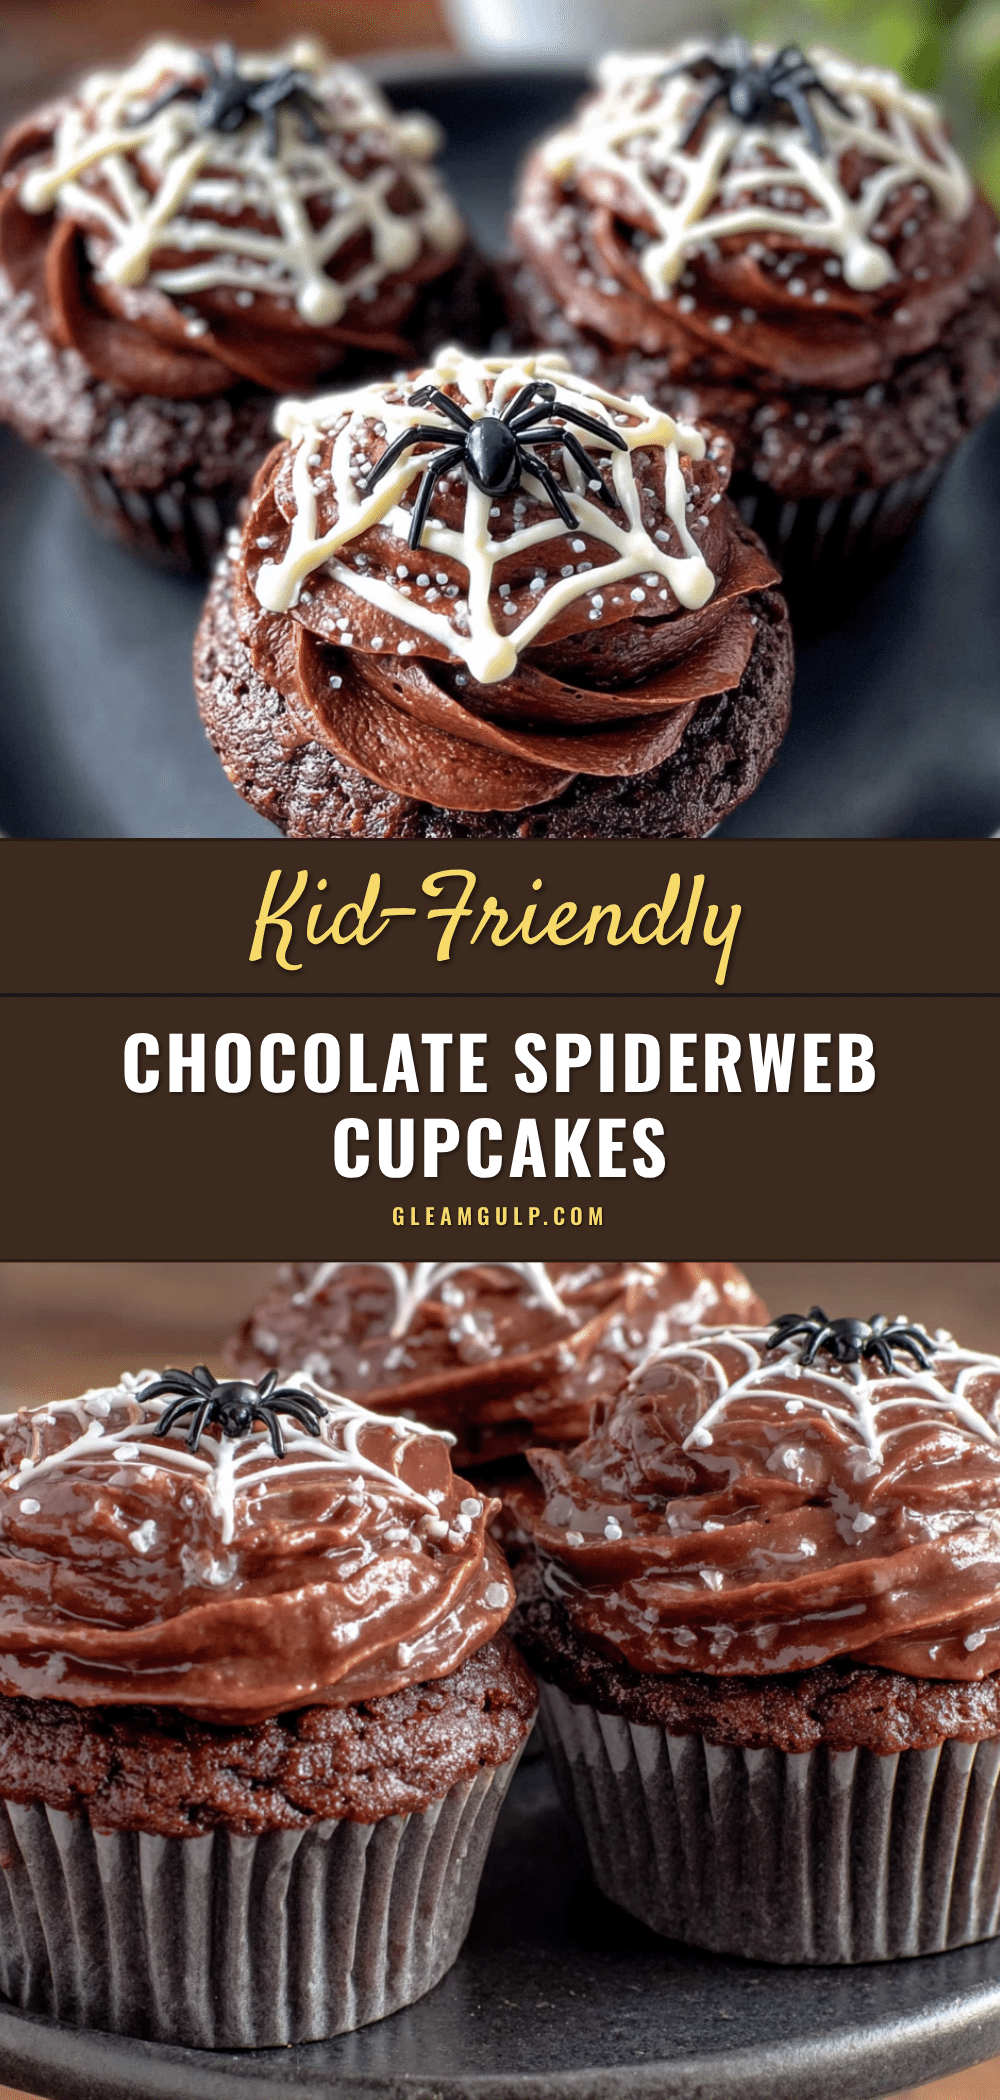
Kid-Friendly Chocolate Spiderweb Cupcakes (Best Halloween Recipe)
These kid-friendly chocolate spiderweb cupcakes are the perfect Halloween treat. They look impressive but are so simple that even a tired parent at 11 PM can pull them off, using a ziploc bag and a toothpick to create the spiderweb design.
- Prep Time: 15 minutes
- Cook Time: 20 minutes
- Total Time: 35 minutes
- Yield: 12 servings 1x
- Category: Dessert
- Cuisine: American
Ingredients
- 1 ¾ cups all-purpose flour
- 1 ½ cups granulated sugar
- ¾ cup unsweetened cocoa powder
- 1 ½ teaspoons baking powder
- 1 ½ teaspoons baking soda
- 1 teaspoon salt
- 2 large eggs, room temperature
- 1 cup whole milk
- ½ cup vegetable oil
- 2 teaspoons vanilla extract
- 1 cup boiling water
- 1 cup unsalted butter, softened
- 3 ½ cups powdered sugar
- ¼ cup heavy cream
- 2 teaspoons vanilla extract
- Pinch of salt
- ½ cup white chocolate chips
- 1 tablespoon coconut oil
- Black gel food coloring (optional)
- Mini candy eyeballs (optional)
Instructions
- Preheat your oven to 350°F (175°C). Line your muffin tin with paper liners.
- In a large bowl, whisk together the flour, sugar, cocoa powder, baking powder, baking soda, and salt.
- In a separate medium bowl, whisk the eggs, milk, oil, and vanilla extract until well combined.
- Pour the wet ingredients into the dry ingredients and mix until just combined. The batter will be thick.
- Slowly pour in the boiling water while stirring gently. The batter will become very thin and liquidy.
- Fill each liner about ⅔ full. Bake for 18-22 minutes, or until a toothpick inserted into the center comes out clean. Let cool in the pan for 5 minutes, then transfer to a cooling rack to cool completely.
- While the cupcakes cool, beat the softened butter with an electric mixer until creamy and pale, about 2 minutes. Gradually add the powdered sugar, one cup at a time, beating on low speed. Add the heavy cream, vanilla, and salt, then beat on medium-high for 3-4 minutes until light and fluffy.
- Frost each cupcake with a smooth layer of vanilla frosting.
- In a small microwave-safe bowl, melt the white chocolate chips with the coconut oil in 20-second intervals, stirring between each, until smooth. Let cool for a minute.
- Snip a tiny corner off a ziploc bag and spoon the melted white chocolate into the bag. Pipe a spiral starting from the center of each cupcake and working outward.
- Using a toothpick, drag lines from the center outward through the spiral to create the web effect. Use a light touch.
Notes
The boiling water helps bloom the cocoa powder for a deeper chocolate flavor. Use a light touch with the toothpick when creating spiderwebs. Let white chocolate cool slightly before piping. Cupcakes can be made a day ahead; add spiderwebs on serving day.
Nutrition
- Serving Size: 1 cupcake
- Calories: 380
- Sugar: 38
- Sodium: 320
- Fat: 18
- Saturated Fat: 10
- Carbohydrates: 52
- Fiber: 2
- Protein: 4
Keywords: Halloween cupcakes, spiderweb cupcakes, chocolate cupcakes, kid-friendly Halloween recipe, easy Halloween dessert


