Love this? Save it for later!
Share the inspiration with your friends
I used to think green beans were just a filler vegetable on a holiday plate. You know the ones—soggy, grayish, and completely forgettable. My neighbor, a retired chef named Marguerite who grows the most incredible herbs in her tiny backyard, watched me one afternoon as I was frantically trying to pull together a quick side dish for a weeknight dinner. I was staring at a bag of green beans like they were a puzzle I couldn’t solve.
“Hand me that bowl,” she said, without even asking what I was making. She walked over to her garden, snipped a handful of fresh dill, and came back to my kitchen. Within ten minutes, she had transformed those sad beans into something I still dream about. She didn’t lecture me or act like I was hopeless. She just showed me, quietly and kindly, that a vegetable could be the star of the meal instead of an afterthought.
That day, I learned that crispy green bean almondine wasn’t some fancy restaurant dish reserved for special occasions. It was a practical, affordable way to make my family actually excited about eating their vegetables. Marguerite told me her mother used to make it during the Depression, stretching a pound of beans to feed six people by adding toasted almonds and a splash of lemon. Honestly, I had never thought about green beans that way—as something to look forward to.
I messed up the first few times I tried it on my own. I burned the almonds. I overcooked the beans until they were limp. But Marguerite just laughed and said, “That’s how you learn, honey.” Now, this crispy green bean almondine is the side dish my kids request for birthdays, not just Thanksgiving. Maybe you’ve been there too, standing in the grocery aisle wondering how to make vegetables taste like something worth celebrating. Let me tell you, this recipe changes everything.
Why You’ll Love This Recipe
This isn’t your grandmother’s green bean casserole, though I have nothing against that classic. This crispy green bean almondine is something else entirely—crunchy, bright, and so simple you’ll wonder why you haven’t been making it every single week. I’ve tested this recipe at least a dozen times, tweaking the cooking time and the amount of lemon until it was just right. My family has been my unofficial taste testers, and they’ve never once complained about eating their greens.
- Quick & Easy: From start to finish, this dish comes together in under 20 minutes. That’s faster than ordering takeout, and I promise it tastes better.
- Simple Ingredients: You probably already have most of these items in your pantry. Fresh green beans, almonds, butter, garlic, and a lemon. No fancy grocery trips required.
- Perfect for Busy Weeknights: This side dish pairs beautifully with chicken, fish, steak, or even a simple pasta. It’s versatile enough for a Tuesday dinner or a holiday feast.
- Crowd-Pleaser: My picky eater, who once declared all vegetables “suspicious,” asks for seconds every single time. Even the adults at our last family gathering went back for more.
- Unbelievably Delicious: The contrast between the tender-crisp beans and the crunchy toasted almonds is pure magic. The lemon adds just enough brightness to make every bite feel fresh.
What makes this recipe different from the rest? It’s the technique. Instead of boiling the beans until they’re sad and limp, you blanch them briefly, then sauté them in butter until they develop those gorgeous brown spots. The almonds get toasted right in the same pan, soaking up all that buttery goodness. It’s not just another green bean recipe—it’s your new go-to. And honestly, it’s the kind of dish that makes you close your eyes after the first bite, wondering why you ever settled for less.
What Ingredients You Will Need
This recipe relies on simple, wholesome ingredients that work together to create something truly special. Nothing here is complicated, but each component plays an important role. Here’s what you’ll need to gather before you start cooking.
- Fresh Green Beans (1 pound, trimmed): Look for beans that are bright green and snap when you bend them. Avoid any that are limp or have brown spots. I prefer using haricots verts, those thin French green beans, but standard green beans work perfectly too. If you’re using thicker beans, just add an extra minute to the blanching time.
- Unsalted Butter (3 tablespoons): Butter adds richness and helps the almonds toast evenly. I use unsalted so I can control the salt level. If you only have salted butter, just reduce the added salt by a pinch.
- Slivered Almonds (1/3 cup): Toasted almonds are the heart of this dish. They add crunch and a nutty flavor that pairs beautifully with the green beans. I recommend using slivered almonds because they toast more evenly than whole almonds. You can also use sliced almonds if that’s what you have.
- Fresh Garlic (3 cloves, minced): Garlic adds a savory depth that makes the dish feel more substantial. Don’t skip it, and don’t use the jarred stuff—fresh garlic makes a real difference here.
- Fresh Lemon (1 whole lemon): You’ll need both the zest and the juice. The zest adds fragrant citrus oil, while the juice provides acidity that balances the richness of the butter. Roll the lemon on the counter before juicing to get the most out of it.
- Salt (1/2 teaspoon, or to taste): I use fine sea salt for even seasoning. You can use kosher salt, but you might need a bit more since the flakes are larger.
- Black Pepper (1/4 teaspoon, freshly ground): Freshly ground pepper adds a subtle warmth that you just can’t get from pre-ground pepper. Trust me on this one.
- Optional Garnish: Fresh parsley or dill, chopped (about 2 tablespoons). This adds a pop of color and a fresh herbal note, but it’s entirely optional. Marguerite always added dill, so I tend to follow her lead.
One thing I’ve learned over the years is that ingredient quality matters, especially with simple recipes. When you’re only using a handful of items, each one needs to shine. I recommend using a good-quality butter, like Kerrygold or Plugrà, for the best flavor. And if you can find fresh green beans at a farmers’ market, grab them—they’re usually sweeter and more tender than grocery store beans.
Equipment Needed
You don’t need a fancy kitchen to make this crispy green bean almondine. Most of these tools are probably already in your drawers and cabinets. Here’s what you’ll need:
- Large Pot (for blanching the beans): You need enough water to fully submerge the green beans. A 5-quart pot works perfectly.
- Large Skillet or Sauté Pan (12-inch preferred): A wide pan gives the beans room to cook evenly without steaming. I use a stainless steel pan, but nonstick works too. Cast iron is also great if you have it.
- Slotted Spoon or Spider Strainer: This makes it easy to transfer the beans from the boiling water to the ice bath without burning yourself.
- Large Bowl of Ice Water: This stops the cooking process immediately, locking in that bright green color and crisp texture. Use a bowl big enough to hold all the beans.
- Chef’s Knife and Cutting Board: For trimming the beans and mincing the garlic. A sharp knife makes the job faster and safer.
- Microplane or Fine Grater: For zesting the lemon. A box grater works too, but a microplane gives you finer zest that blends into the dish more evenly.
- Measuring Spoons and Cups: For accuracy. I know some cooks eyeball everything, but for this recipe, precise measurements help you get consistent results every time.
- Paper Towels or a Clean Kitchen Towel: For drying the beans after blanching. Wet beans won’t brown properly in the pan.
If you don’t have a slotted spoon, you can use tongs to transfer the beans. And if you don’t have a microplane, just use the fine side of a box grater. The equipment here is flexible—don’t let a missing tool stop you from making this dish.
Preparation Method
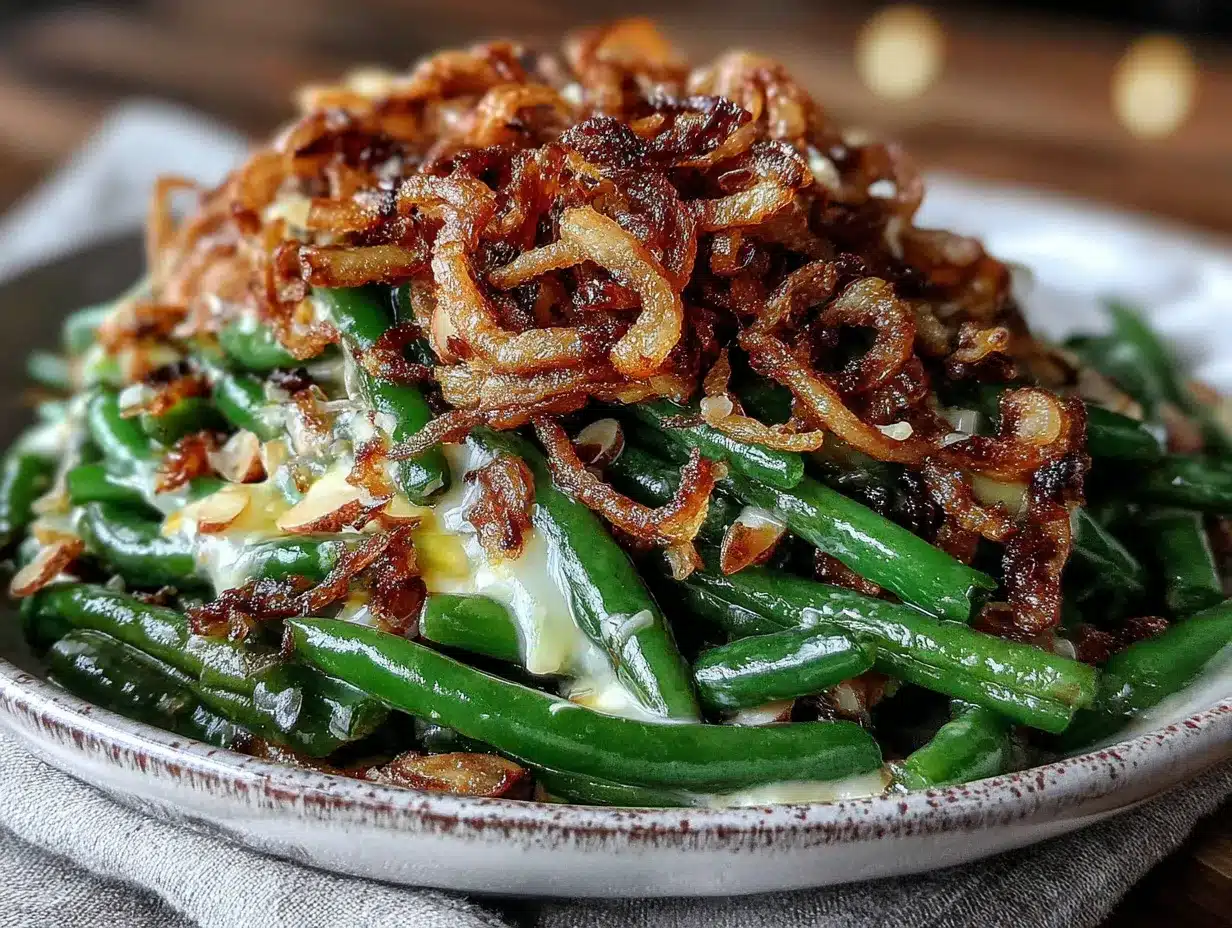
Let me walk you through this step by step. I’ve made this recipe so many times that I could do it in my sleep, but I still follow these steps every single time. They work.
- Prepare the green beans: Wash the green beans thoroughly under cold running water. Snap or trim off the stem ends. You don’t need to remove the tail ends—they’re perfectly edible and look pretty on the plate. If you’re using thicker green beans, you might want to cut them into 2-inch pieces for easier eating. Pat them dry with a clean towel.
- Bring a large pot of water to a boil: Fill your pot about two-thirds full with water. Add a generous pinch of salt—about 1 tablespoon. The salt helps season the beans from the inside out. While you’re waiting for the water to boil, prepare your ice bath by filling a large bowl with cold water and a handful of ice cubes.
- Blanch the green beans: Once the water is at a rolling boil, carefully drop in the green beans. Set a timer for exactly 2 minutes. You want them tender but still crisp—think “al dente” for vegetables. If you’re using very thin haricots verts, check them at 90 seconds. Drain them immediately using your slotted spoon and transfer them to the ice bath.
- Shock and dry: Let the beans sit in the ice water for at least 2 minutes. This stops the cooking process and sets that beautiful bright green color. Drain them well, then spread them out on a clean kitchen towel or paper towels. Pat them dry thoroughly. This step is crucial—wet beans will steam instead of sauté, and you won’t get those lovely brown spots.
- Toast the almonds: Place your large skillet over medium heat. Add 1 tablespoon of the butter. Once it melts and starts to foam, add the slivered almonds. Stir them constantly with a wooden spoon or spatula. They can go from perfectly golden to burnt in seconds, so don’t walk away. After about 2-3 minutes, when the almonds are fragrant and golden brown, transfer them to a small bowl and set aside.
- Sauté the garlic: In the same skillet, add the remaining 2 tablespoons of butter over medium heat. Once melted, add the minced garlic. Sauté for about 30 seconds, stirring constantly, until fragrant. Be careful not to let the garlic burn—it turns bitter quickly.
- Cook the green beans: Add the blanched and dried green beans to the skillet. Spread them out in an even layer. Let them cook undisturbed for about 2 minutes. This allows them to develop those gorgeous brown spots. Then toss them and cook for another 2 minutes. The beans should be heated through and starting to blister in places.
- Add the almonds and lemon: Return the toasted almonds to the skillet. Add the lemon zest and squeeze the juice of half the lemon over everything. Season with salt and pepper. Toss everything together gently but thoroughly. Taste a bean and adjust the seasoning—maybe add more salt, more lemon, or a pinch of red pepper flakes if you like heat.
- Garnish and serve: Transfer the crispy green bean almondine to a serving platter. Sprinkle with fresh chopped parsley or dill if you’re using it. Serve immediately while the beans are still warm and the almonds are crunchy.
One thing I want to emphasize: don’t skip the drying step. I learned this the hard way. The first few times I made this dish, my beans turned out steamed and limp instead of crispy and browned. It was frustrating because I was doing everything else right. Once I started patting them dry thoroughly, everything changed. That little extra effort makes a huge difference.
Cooking Tips & Techniques
Over the years, I’ve collected a few tricks that make this recipe even better. Some I learned from Marguerite, some I figured out through trial and error, and a few came from late-night cooking shows I watched while feeding my newborn. Here’s what I wish someone had told me from the start.
Don’t overcrowd the pan: If you’re doubling this recipe for a big family gathering, cook the beans in batches. When you crowd the pan, the beans release moisture and end up steaming instead of browning. Work in batches if needed, and keep the first batch warm in a low oven while you finish the rest.
Toast the almonds separately: I know it’s tempting to just throw the almonds in with the beans and save a step. Don’t do it. The almonds need direct contact with the pan to toast evenly, and they cook much faster than the beans. Toasting them separately ensures they’re perfectly golden and crunchy, not soft and sad.
Use room-temperature butter: Cold butter straight from the fridge takes longer to melt and can cool down your pan. Let your butter sit on the counter for about 15 minutes before you start cooking. It makes a noticeable difference in how evenly everything cooks.
Watch your heat: Medium heat is your friend here. Too high, and you’ll burn the garlic and almonds before the beans are warm. Too low, and the beans will release their moisture and turn soggy. Medium heat gives you that perfect balance—crispy beans, golden almonds, and fragrant garlic.
Season in layers: Don’t wait until the end to add all your salt. Season the blanching water, season the beans as they cook, and season again at the end. Layering the seasoning ensures every bite is flavorful, not just the surface.
Prep everything before you start: This dish comes together fast once you start cooking. Have your beans trimmed, your garlic minced, your lemon zested and juiced, and your almonds measured before you turn on the stove. It makes the whole process smoother and less stressful.
I once tried to multitask while making this dish—answering emails, helping with homework, and stirring the beans. The garlic burned, the almonds got too dark, and the beans were unevenly cooked. My family ate it anyway, but I knew it wasn’t my best work. Now I give this recipe my full attention for those 20 minutes. It’s worth it.
Variations & Adaptations
One of the best things about this recipe is how easily it adapts to different tastes and dietary needs. I’ve made so many versions over the years, and each one has been delicious in its own way. Here are some of my favorites.
Garlic Parmesan Version: After you add the almonds and lemon, toss in 1/4 cup of freshly grated Parmesan cheese. The heat from the beans melts the cheese slightly, creating a savory, nutty coating that’s absolutely irresistible. My kids call this the “cheesy bean” version, and they request it constantly.
Spicy Kick Version: Add 1/4 teaspoon of red pepper flakes along with the garlic. The heat pairs beautifully with the lemon and almonds. If you really love spice, you can also add a thinly sliced fresh chili, like a serrano or Thai bird chili. Just be careful not to overwhelm the delicate flavor of the beans.
Bacon Lover’s Version: Cook 4 slices of bacon in the skillet until crispy. Remove the bacon, crumble it, and set it aside. Drain all but 1 tablespoon of the bacon fat from the pan, then proceed with the recipe using the bacon fat instead of butter. Add the crumbled bacon back in at the end. This version is indulgent, but honestly, it’s incredible for special occasions.
Vegan Version: Substitute the butter with a high-quality vegan butter or good olive oil. I’ve used both, and they work beautifully. The olive oil version has a slightly different flavor profile—more Mediterranean, less rich—but it’s still delicious. Just make sure to use a vegan butter that browns well, like Miyoko’s or Earth Balance.
Nut-Free Version: If you’re cooking for someone with a nut allergy, replace the almonds with toasted pumpkin seeds or sunflower seeds. They provide a similar crunch and nutty flavor without the allergen. Toast them the same way you would the almonds, watching carefully so they don’t burn.
Seasonal Variations: In the spring, I add fresh asparagus spears along with the green beans. In the summer, I toss in cherry tomatoes halved during the last minute of cooking. In the fall, I add a handful of sliced mushrooms. The basic technique stays the same, but the vegetables change with the seasons.
My personal favorite variation is the one with a splash of balsamic vinegar added at the end, along with the lemon. The sweetness of the balsamic balances the acidity of the lemon and adds a beautiful deep color to the beans. I discovered this by accident when I ran out of lemons one night and had to improvise. Sometimes the best recipes come from mistakes.
Serving & Storage Suggestions
This crispy green bean almondine is best served immediately, while the beans are still warm and the almonds are crunchy. But I understand that real life doesn’t always cooperate with perfect timing. Here’s how to handle serving and storing this dish.
Serving Temperature: Serve warm, not hot. If the beans are too hot, the lemon juice can taste harsh. Let them rest for a minute or two after cooking. Room temperature is also lovely, especially if you’re serving this at a buffet or picnic.
Presentation Ideas: Arrange the beans in a single layer on a large platter, rather than piling them high. This shows off the beautiful green color and the toasted almonds. Sprinkle the fresh herbs over the top for a pop of color. A few lemon slices arranged around the edges of the platter add a nice visual touch.
Complementary Dishes: This side dish pairs beautifully with roasted chicken, grilled salmon, pan-seared steak, or even a simple omelet. It’s also wonderful alongside a hearty grain bowl or a piece of crusty bread. For holiday meals, it’s a lighter alternative to green bean casserole that still feels special.
Storage Instructions: If you have leftovers, store them in an airtight container in the refrigerator for up to 3 days. The beans will soften over time, and the almonds will lose some of their crunch, but the flavor will still be good.
Reheating Methods: The best way to reheat this dish is in a skillet over medium heat. Add a tiny splash of water or a small pat of butter, and toss the beans until they’re warmed through. This usually takes about 3-4 minutes. You can also reheat them in the microwave, but the texture won’t be as good. If you’re reheating for a crowd, spread the beans on a baking sheet and warm them in a 350°F oven for about 5-7 minutes.
How Flavors Develop: Interestingly, the lemon flavor mellows and becomes more integrated after the dish sits for a few hours. Leftovers often taste slightly different—more savory, less bright—but still delicious. I sometimes make a double batch on purpose, just so I can have leftovers for lunch the next day.
One thing I don’t recommend is freezing this dish. The beans become mushy when thawed, and the almonds lose all their crunch. If you want to prep ahead, blanch the beans and keep them in the refrigerator for up to 2 days. Then finish the recipe just before serving.
Nutritional Information & Benefits
I’m not a nutritionist, but I’ve done my homework on this recipe because it’s one I make so often. Here’s what I’ve learned about the ingredients in this dish.
| Nutrient | Amount Per Serving (1/6 of recipe) |
|---|---|
| Calories | 145 |
| Total Fat | 11g |
| Saturated Fat | 5g |
| Cholesterol | 20mg |
| Sodium | 220mg |
| Total Carbohydrates | 9g |
| Dietary Fiber | 4g |
| Sugars | 4g |
| Protein | 4g |
| Vitamin A | 15% DV |
| Vitamin C | 20% DV |
| Calcium | 6% DV |
| Iron | 8% DV |
Green beans are a fantastic source of fiber, which helps with digestion and keeps you feeling full. They’re also rich in vitamin C, which supports your immune system, and vitamin K, which is important for bone health. The almonds add healthy monounsaturated fats and vitamin E, an antioxidant that protects your cells from damage. And the garlic? It’s been used for centuries to support heart health and fight inflammation.
This recipe is naturally gluten-free and can easily be made dairy-free or vegan with a few simple substitutions. If you’re watching your sodium, you can reduce the salt or use a salt substitute. Just keep in mind that the beans will be less flavorful if you skip the salt entirely.
From my perspective, this dish is a win-win. It’s packed with nutrients, but it doesn’t feel like “healthy food” in a boring way. It’s satisfying and delicious, which means my family actually wants to eat it. And that, to me, is what good cooking is all about.
Conclusion
This crispy green bean almondine has become a staple in my kitchen for good reason. It’s quick enough for a busy Tuesday, special enough for a holiday table, and flexible enough to adapt to whatever ingredients you have on hand. But more than that, it’s a reminder that simple food, made with care and attention, can be truly extraordinary.
I hope you’ll give this recipe a try, and I hope you’ll make it your own. Maybe you’ll add a little more garlic, or swap in pecans for the almonds, or serve it alongside your family’s favorite roast chicken. However you make it, I think you’ll find that this dish has a way of becoming a regular part of your rotation. It certainly has in mine.
If you do make this crispy green bean almondine, I’d love to hear about it. Leave a comment below and let me know how it turned out, or share your own variation. Did you add something unexpected? Did your picky eater ask for seconds? I want to hear all about it. And if you’re looking for more simple, family-friendly side dishes, be sure to check out my roasted garlic parmesan broccoli and honey glazed carrots with thyme—they’re both crowd-pleasers in my house.
Until next time, happy cooking. And remember, the best recipes are the ones you share with the people you love.
Frequently Asked Questions
Can I use frozen green beans for this recipe?
You can, but I don’t recommend it. Frozen green beans release a lot of water when they cook, which makes it hard to get that crispy, browned exterior. If you’re in a pinch and only have frozen beans, thaw them completely and pat them very dry before cooking. The texture won’t be quite the same, but the flavor will still be good.
How do I keep the almonds from burning?
The key is to watch them constantly and stir frequently. Almonds go from perfectly toasted to burnt in about 30 seconds. I recommend using medium heat and pulling them off the heat as soon as they start to turn golden. They’ll continue to cook slightly from the residual heat in the pan.
Can I make this dish ahead of time?
You can prep the ingredients ahead of time, but I recommend cooking the dish just before serving. You can blanch the beans and toast the almonds up to 2 days in advance. Store them separately in the refrigerator, then finish the recipe when you’re ready to eat. The whole final cooking process takes less than 10 minutes.
What can I use instead of almonds?
If you don’t have almonds or need a nut-free option, try toasted pumpkin seeds, sunflower seeds, or even crushed pistachios. Each will give you a different flavor and texture, but they all work beautifully. For a completely different twist, try toasted breadcrumbs or panko for extra crunch.
Is this recipe keto-friendly?
Yes, this recipe is naturally low in carbohydrates, with only about 9 grams of total carbs and 4 grams of fiber per serving. That works out to about 5 grams of net carbs, which fits well into a ketogenic diet. Just be mindful of the butter and almonds, as they do add fat and calories.
Pin This Recipe!
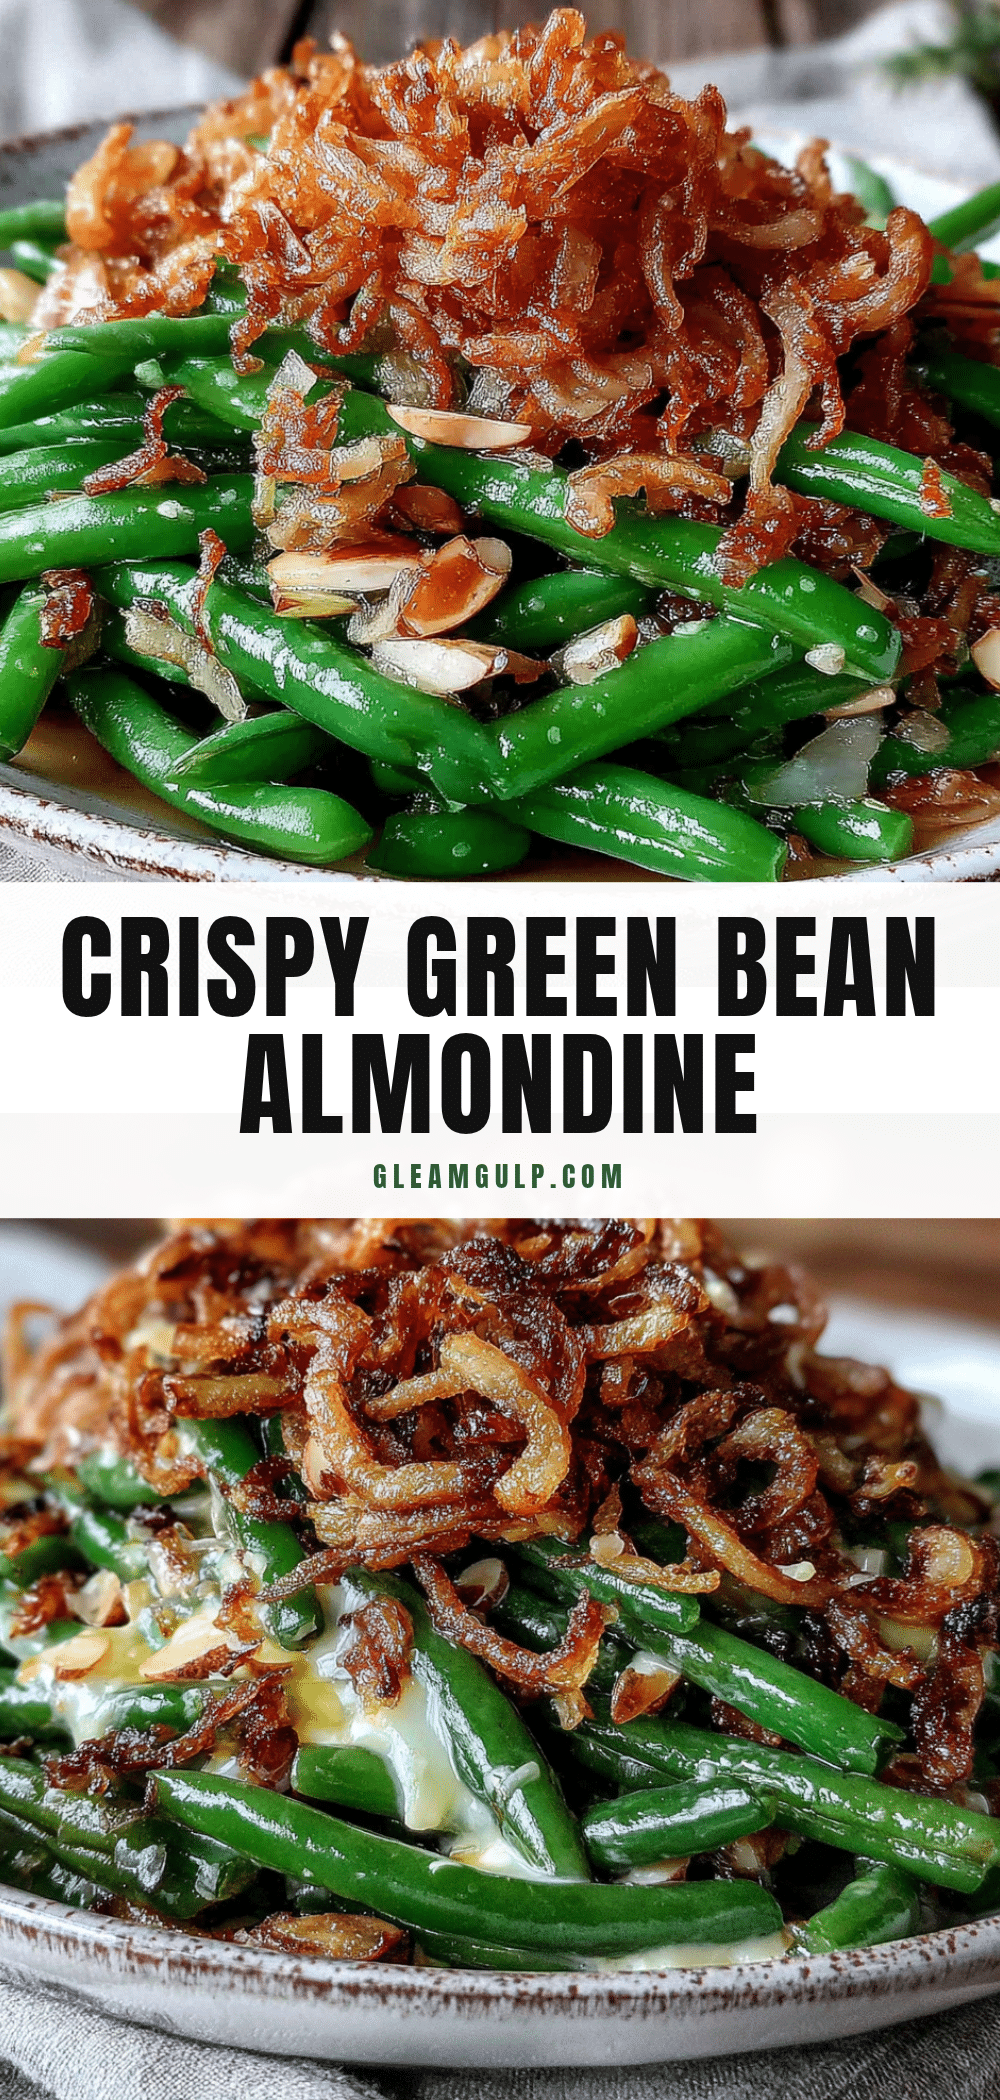
Crispy Green Bean Almondine: Easy & Best Side Dish Recipe
This crispy green bean almondine is a quick and easy side dish that transforms simple green beans into a crunchy, bright, and delicious vegetable side. Ready in under 20 minutes, it’s perfect for busy weeknights or holiday feasts.
- Prep Time: 10 minutes
- Cook Time: 10 minutes
- Total Time: 20 minutes
- Yield: 6 servings 1x
- Category: Side Dish
- Cuisine: American
Ingredients
- 1 pound fresh green beans, trimmed
- 3 tablespoons unsalted butter
- 1/3 cup slivered almonds
- 3 cloves garlic, minced
- 1 whole lemon (zest and juice)
- 1/2 teaspoon fine sea salt (or to taste)
- 1/4 teaspoon freshly ground black pepper
- Optional: 2 tablespoons fresh parsley or dill, chopped
Instructions
- Prepare the green beans: Wash the green beans thoroughly under cold running water. Snap or trim off the stem ends. Pat them dry with a clean towel.
- Bring a large pot of water to a boil: Fill your pot about two-thirds full with water. Add a generous pinch of salt—about 1 tablespoon. While waiting, prepare an ice bath by filling a large bowl with cold water and a handful of ice cubes.
- Blanch the green beans: Once the water is at a rolling boil, carefully drop in the green beans. Set a timer for exactly 2 minutes. Drain immediately using a slotted spoon and transfer to the ice bath.
- Shock and dry: Let the beans sit in the ice water for at least 2 minutes. Drain well, then spread them out on a clean kitchen towel or paper towels. Pat them dry thoroughly.
- Toast the almonds: Place a large skillet over medium heat. Add 1 tablespoon of the butter. Once melted and foaming, add the slivered almonds. Stir constantly for 2-3 minutes until golden brown. Transfer to a small bowl and set aside.
- Sauté the garlic: In the same skillet, add the remaining 2 tablespoons of butter over medium heat. Once melted, add the minced garlic. Sauté for about 30 seconds, stirring constantly, until fragrant.
- Cook the green beans: Add the blanched and dried green beans to the skillet. Spread them out in an even layer. Cook undisturbed for about 2 minutes, then toss and cook for another 2 minutes until heated through and starting to blister.
- Add the almonds and lemon: Return the toasted almonds to the skillet. Add the lemon zest and squeeze the juice of half the lemon over everything. Season with salt and pepper. Toss gently to combine. Taste and adjust seasoning as needed.
- Garnish and serve: Transfer to a serving platter. Sprinkle with fresh chopped parsley or dill if using. Serve immediately while warm and crunchy.
Notes
Don’t skip drying the beans after blanching—wet beans will steam instead of sauté. Toast almonds separately to ensure even browning. Use medium heat to avoid burning garlic or almonds. Season in layers for best flavor. Prep all ingredients before starting as the dish comes together quickly.
Nutrition
- Serving Size: 1/6 of recipe
- Calories: 145
- Sugar: 4
- Sodium: 220
- Fat: 11
- Saturated Fat: 5
- Carbohydrates: 9
- Fiber: 4
- Protein: 4
Keywords: green bean almondine, crispy green beans, easy side dish, quick vegetable side, green beans with almonds, healthy side dish, gluten-free side dish


