Love this? Save it for later!
Share the inspiration with your friends
I wasn’t supposed to be in that kitchen. I’d stopped by to borrow a drill, of all things, and the scent of vanilla hit me before I even got past the screen door. It wasn’t the sharp, synthetic kind you get from the grocery store either—it was warm, floral, almost boozy. My neighbor, a guy named Pete who spends most of his weekends rebuilding lawnmowers, was standing at his counter with a whisk in one hand and a can of sweetened condensed milk in the other.
“Don’t say a word,” he said, not even looking up. “It’s just ice cream.”
Just ice cream. He said it like it was nothing—like he wasn’t performing some kind of kitchen magic without a machine, without a thermometer, without breaking a sweat. I sat on a stool and watched him fold whipped cream into that vanilla-speckled mixture, and honestly, I felt a little cheated. All those years I’d spent obsessing over custard bases and ice cream makers, and here was a guy in a grease-stained t-shirt making the most ethereal frozen dessert I’d ever tasted. Maybe you’ve been there—watching someone do something effortlessly that you’ve been overcomplicating for years.
That first spoonful was a revelation. It was creamy, but somehow light. Rich, but not heavy. And the vanilla bean specks were everywhere, not just floating on top. I asked Pete for the recipe, and he literally shrugged and said, “Four things. Mix it. Freeze it.” That was it. No fuss, no drama. I’ve been making it ever since, and let me tell you, it’s become my secret weapon for everything from summer parties to Tuesday night cravings. This creamy no-churn vanilla bean ice cream is the kind of recipe you’ll memorize after one try—and that’s the whole point.
Why You’ll Love This Recipe
Let me be honest with you—I’ve tested a lot of ice cream recipes over the years. Some required egg yolks and constant stirring. Others needed an expensive machine that took up half my counter space. This one? It’s different. It’s the recipe I come back to again and again because it actually works, every single time.
- No Machine Required – You don’t need an ice cream maker, a compressor, or any fancy gadget. Just a bowl, a whisk (or a hand mixer), and a freezer. That’s it.
- Only 4 Simple Ingredients – Heavy cream, sweetened condensed milk, vanilla bean paste (or extract), and a pinch of salt. No eggs, no cooking, no stress.
- Incredibly Creamy Texture – The secret is in the technique. Whipping the cream to stiff peaks and gently folding it into the condensed milk creates a silky, scoopable texture that rivals any premium brand.
- Perfect for Any Occasion – It’s fancy enough for dinner parties (hello, vanilla bean specks!) but simple enough for a random Wednesday night when you just need a bowl of something good.
- Endlessly Customizable – Once you’ve mastered the base, you can add chocolate chips, crushed cookies, fresh fruit, or swirls of caramel. The possibilities are endless.
What makes this recipe stand out from the hundreds of other no-churn recipes out there? It’s the texture. I spent weeks testing ratios—too much condensed milk made it icy, not enough made it hard as a rock. This version hits that sweet spot where it’s scoopable straight from the freezer, with a velvety mouthfeel that melts on your tongue. It’s not just another version—it’s the best version. Trust me, I ate a lot of test batches to get here.
What Ingredients You Will Need
This recipe uses simple, everyday ingredients to create something truly special. You probably already have most of these in your kitchen, which is part of the beauty of this creamy no-churn vanilla bean ice cream.
- 2 cups (480 ml) heavy cream – Also called heavy whipping cream. This needs to be cold—straight from the fridge. The fat content is crucial for that rich, creamy texture. I prefer Organic Valley or Horizon for consistent results, but any brand with at least 36% milk fat works beautifully.
- 1 can (14 ounces / 397 grams) sweetened condensed milk – This is the magic ingredient. It adds sweetness and creates a soft, scoopable texture without needing eggs or a custard base. Eagle Brand or Borden are my go-to choices. Do not substitute with evaporated milk—they are not the same thing.
- 1 whole vanilla bean, or 2 teaspoons vanilla bean paste – This is where the magic happens. Vanilla bean paste gives you those gorgeous black specks and a deep, complex flavor. If you’re using a whole bean, split it lengthwise and scrape out the seeds. Nielsen-Massey makes an excellent paste. You can use 1 tablespoon of pure vanilla extract in a pinch, but you’ll miss those beautiful specks.
- 1/4 teaspoon fine sea salt – Don’t skip this. Salt balances the sweetness and enhances the vanilla flavor. It’s a small addition that makes a big difference.
Optional Add-Ins (for variations):
- 1 tablespoon vodka or bourbon (keeps the ice cream softer for easier scooping)
- 1/2 cup crushed cookies, chocolate chips, or chopped nuts (fold in at the end)
- 1/4 cup fruit puree or caramel sauce (swirl in before freezing)
Ingredient Selection Tips:
When choosing your heavy cream, look for one without any added stabilizers or gums if possible. The simpler the ingredient list, the better the flavor. For the vanilla bean, give it a gentle squeeze—it should feel slightly oily and pliable, not dry and brittle. That’s how you know it’s fresh and full of flavor.
Equipment Needed
You don’t need much for this recipe, which is exactly why I love it. Here’s what you’ll need:
- Large mixing bowl – A glass or stainless steel bowl works best. Make sure it’s completely clean and dry—any trace of grease can prevent your cream from whipping properly.
- Hand mixer or stand mixer – You can absolutely whip the cream by hand with a whisk, but it’ll take about 5-7 minutes of vigorous arm work. A hand mixer cuts that down to 2-3 minutes. I use my KitchenAid hand mixer for this.
- Rubber spatula – For folding the whipped cream into the condensed milk mixture. A flexible spatula helps you incorporate everything gently without deflating the air.
- Loaf pan or freezer-safe container – A standard 9×5-inch loaf pan is perfect. You can also use a wide, shallow container for faster freezing. I prefer glass or ceramic because they conduct cold evenly.
- Plastic wrap or parchment paper – To press directly onto the surface of the ice cream before freezing. This prevents ice crystals from forming on top.
- Sharp knife or vanilla bean splitter – If you’re using a whole vanilla bean, you’ll need something to split it open. A small paring knife works perfectly.
Budget-Friendly Alternatives:
Don’t have a hand mixer? A whisk and some elbow grease will get the job done. Chill your bowl and beaters in the freezer for 10 minutes before you start—it helps the cream whip faster. No loaf pan? Any freezer-safe container will work, even a mixing bowl. Just cover it tightly.
Preparation Method
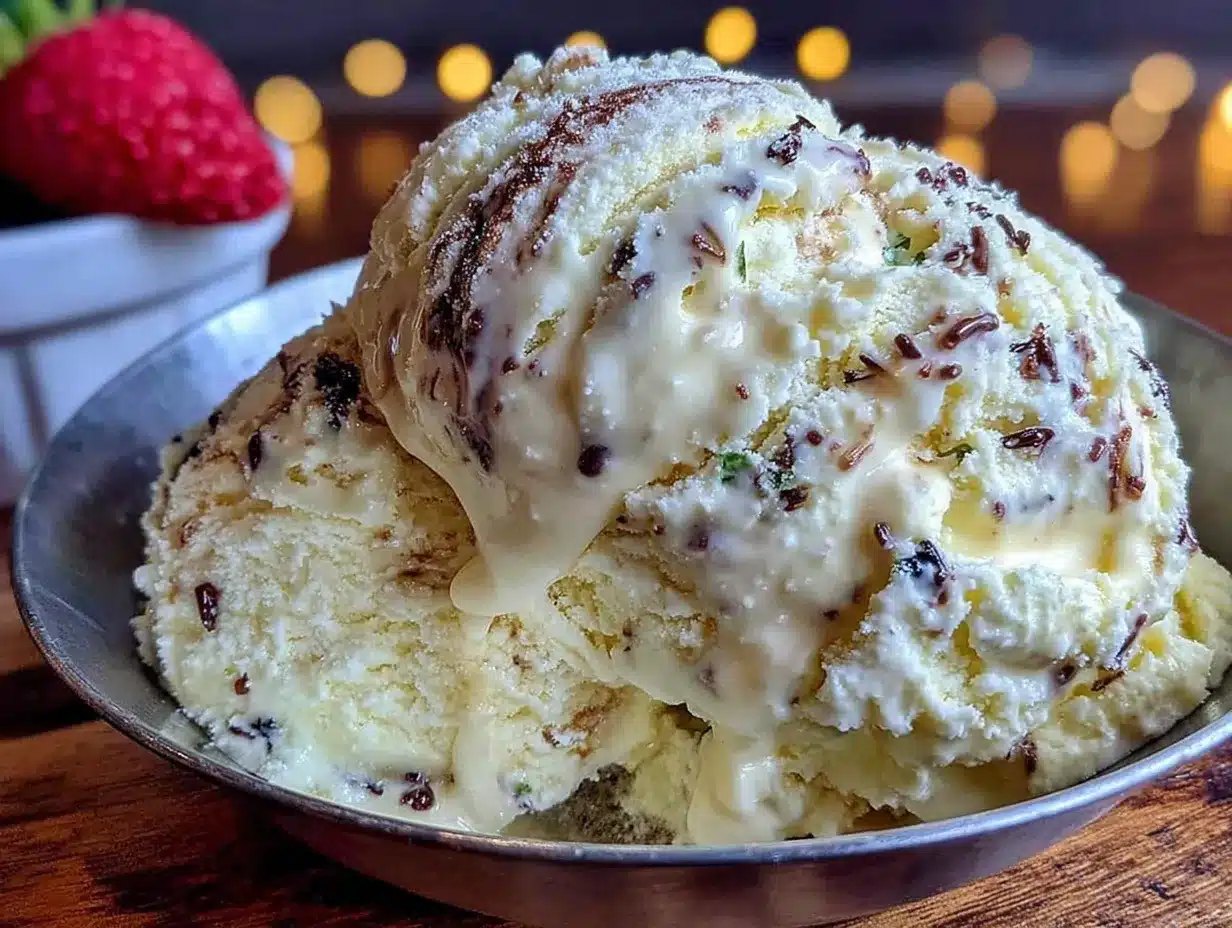
This is where the magic happens. Follow these steps carefully, and you’ll have the creamiest no-churn vanilla bean ice cream you’ve ever tasted.
- Chill your equipment. Place your mixing bowl and beaters (or whisk attachment) in the freezer for 10-15 minutes. Cold equipment helps the cream whip faster and hold its shape better. This is a little trick I learned after making a batch on a hot summer day—it makes a noticeable difference.
- Prepare the vanilla base. In a separate small bowl, combine the sweetened condensed milk with the vanilla bean paste (or the seeds scraped from your vanilla bean) and the salt. Stir until everything is well combined. Let it sit for 5 minutes so the vanilla flavor can infuse into the milk. If you’re using a whole vanilla bean, don’t throw away the pod—drop it into the condensed milk mixture and let it steep while you whip the cream. It adds even more flavor.
- Whip the cream. Pour the cold heavy cream into your chilled mixing bowl. Using a hand mixer or stand mixer fitted with the whisk attachment, beat the cream on medium-high speed. Start slow to avoid splashing, then increase speed. You’re looking for stiff peaks—when you lift the beaters, the cream should stand up straight without drooping. This usually takes about 2-3 minutes with a mixer. Be careful not to over-whip, or you’ll end up with butter. (I may or may not have learned this the hard way. Twice.)
- Fold the mixtures together. Pour the vanilla-condensed milk mixture over the whipped cream. Using your rubber spatula, gently fold everything together. The key word here is gently. Cut through the center of the mixture, scrape along the bottom of the bowl, and bring the spatula up and over. Rotate the bowl as you go. You want to incorporate the two mixtures without deflating all that air you just whipped into the cream. Stop folding as soon as you don’t see any more streaks of white or beige—it should look uniform and silky.
- Transfer to your container. Pour the mixture into your loaf pan or freezer-safe container. Use the spatula to spread it evenly. Give the pan a gentle tap on the counter to release any air bubbles. Smooth the top with the spatula.
- Press plastic wrap onto the surface. Take a piece of plastic wrap and press it directly onto the surface of the ice cream mixture. This is non-negotiable—it prevents ice crystals from forming and keeps the texture creamy. If you don’t have plastic wrap, a piece of parchment paper cut to size works too.
- Freeze for at least 6 hours, preferably overnight. Place the container in the coldest part of your freezer (usually the back, not the door). The ice cream needs time to set properly. I know it’s tempting to check it after 3 hours, but trust me—wait the full 6 hours. Overnight is even better. The texture will be perfectly scoopable and velvety.
- Scoop and serve. When you’re ready to eat, remove the ice cream from the freezer and let it sit at room temperature for 5-10 minutes. This softens it just enough for easy scooping. Run your ice cream scoop under hot water for a few seconds before scooping—it glides right through.
Sensory Cues: When you’re whipping the cream, listen for the sound to change from sloshing to a soft, muffled thumping. That’s when you know it’s getting close to stiff peaks. When folding, you’ll see the mixture transform from a fluffy cloud into something that looks like soft-serve—smooth, thick, and glossy.
Troubleshooting Tip: If your mixture looks slightly grainy or separated after folding, don’t panic. You may have slightly over-whipped the cream. Just fold a little more gently and proceed—it will still freeze into a delicious ice cream, though the texture might be slightly less silky.
Cooking Tips & Techniques
After making this creamy no-churn vanilla bean ice cream more times than I can count (and messing up plenty of batches along the way), I’ve picked up a few tricks that make all the difference.
The Cold Bowl Trick: I mentioned this earlier, but it’s worth repeating. A cold bowl and cold beaters help the cream whip faster and hold its structure better. On a hot day, I even chill the cream itself for an extra 10 minutes in the freezer before whipping. It’s like giving your cream a head start.
Don’t Over-Whip: This is the most common mistake I see. You want stiff peaks, but not dry, chunky, butter-like cream. The moment you lift the beaters and the cream stands up straight without collapsing, stop. If you see it starting to look curdled or separated, you’ve gone too far. Start over with fresh cream—it’s worth it.
The Gentle Fold: When combining the whipped cream with the condensed milk, think of it as a slow dance, not a race. Use a light hand and a gentle motion. Over-mixing will deflate all the air you worked so hard to create, and your ice cream will end up dense instead of creamy.
Patience Is Key: I know you want to eat this immediately. I get it. But letting the ice cream freeze for a full 6-8 hours is essential. The mixture needs time to set properly so the texture becomes smooth and scoopable. If you dig in too early, you’ll get a soft, slushy mess. Trust the process.
Add a Splash of Booze: If you want an extra-soft, scoopable texture straight from the freezer, add 1 tablespoon of vodka or bourbon to the condensed milk mixture before folding. Alcohol doesn’t freeze, so it keeps the ice cream softer. You won’t taste it, I promise. I add it to every batch now.
My Biggest Failure: The first time I made this, I used a cheap vanilla extract and skipped the salt. The result was bland, one-note, and honestly disappointing. Don’t make my mistake. Good vanilla (preferably paste or a real bean) and that pinch of salt are what transform this from “okay” to “oh my god, I need the recipe.”
Variations & Adaptations
Once you’ve mastered the basic creamy no-churn vanilla bean ice cream, the fun really begins. Here are some of my favorite variations:
Chocolate Chip Cookie Dough: Fold in 1/2 cup of mini chocolate chips and 1/2 cup of egg-free cookie dough crumbles (just flour, butter, sugar, and vanilla). Swirl it in gently before freezing. It’s like having your favorite cookie in ice cream form.
Fresh Berry Swirl: Cook 1 cup of mixed berries (fresh or frozen) with 2 tablespoons of sugar until they break down and thicken. Let it cool completely, then swirl it into the ice cream base before freezing. The tartness of the berries cuts through the sweetness beautifully.
Vegan Adaptation: Use full-fat coconut cream (chilled overnight) instead of heavy cream, and use a dairy-free sweetened condensed coconut milk. The texture will be slightly different—a bit icier—but still delicious. Add a tablespoon of cornstarch to help with creaminess.
Mint Chocolate Chip: Add 1/2 teaspoon of peppermint extract to the condensed milk mixture, and fold in 1/2 cup of dark chocolate chips. A drop of green food coloring is optional, but it does make it look pretty.
Coffee Toffee Crunch: Dissolve 1 tablespoon of instant espresso powder in 1 teaspoon of hot water and add it to the condensed milk mixture. Fold in 1/2 cup of crushed toffee bits before freezing. This one is dangerously good.
My Personal Favorite: I make a salted caramel version by swirling in 1/3 cup of homemade caramel sauce and sprinkling flaky sea salt on top before freezing. The combination of sweet, salty, and creamy is absolutely addictive.
Serving & Storage Suggestions
This ice cream is incredibly versatile, and how you serve it can really elevate the experience.
Serving Temperature: For the best texture and flavor, let the ice cream sit at room temperature for 5-10 minutes before scooping. This softens it just enough to scoop easily without it melting into a puddle. I like to set it out while I’m plating dessert.
Presentation Ideas: Serve scoops in chilled bowls or glass cups for a classic look. Top with fresh berries, a drizzle of honey or caramel sauce, a sprinkle of flaky sea salt, or a sprig of mint. For a truly indulgent treat, serve it alongside a warm brownie or a slice of apple pie. The temperature contrast is heavenly.
Complementary Dishes: This vanilla bean ice cream pairs beautifully with fruit cobblers, crisps, pies, and cakes. It’s also amazing on its own—sometimes the simplest presentation is the best. For drinks, try it with a shot of espresso for an affogato, or float a scoop in root beer for a float.
Storage Instructions: Keep the ice cream in a tightly sealed container in the coldest part of your freezer. Press plastic wrap directly onto the surface before sealing the lid to prevent ice crystals. Properly stored, it will stay creamy and delicious for up to 2 weeks. After that, it may start to develop ice crystals, but it’s still perfectly safe to eat.
Reheating (Softening): If the ice cream becomes too hard after a few days, let it sit at room temperature for 10-15 minutes before scooping. You can also microwave it for 10-15 seconds on low power, but be careful not to melt it.
Flavor Development: Interestingly, the vanilla flavor actually deepens and becomes more pronounced after a day or two in the freezer. So if you can resist eating it all immediately, it gets even better.
Nutritional Information & Benefits
Let’s be real—this is a treat, not a health food. But knowing what’s in it can help you enjoy it mindfully.
Estimated Nutritional Values (per 1/2 cup serving):
- Calories: 320
- Fat: 22g (14g saturated)
- Carbohydrates: 28g (27g sugar)
- Protein: 4g
- Sodium: 95mg
Health Benefits of Key Ingredients: Heavy cream contains fat-soluble vitamins A, D, E, and K, which are important for immune function and bone health. Vanilla bean has been used traditionally for its calming properties and contains antioxidants. The small amount of salt helps balance electrolytes.
Dietary Considerations: This recipe is gluten-free and contains no eggs. It is not dairy-free, vegan, or low-carb. For a lower-sugar option, you can use a sugar-free sweetened condensed milk, though the texture will be slightly different.
Potential Allergens: This recipe contains dairy (milk and cream). If you have a dairy allergy, try the vegan adaptation mentioned in the variations section.
My Personal Take: I believe in enjoying life’s little pleasures in moderation. A scoop of this ice cream after a long day is one of those pleasures. It’s made with real ingredients, no weird additives, and it brings a lot of joy for something so simple. That’s a win in my book.
Conclusion
This creamy no-churn vanilla bean ice cream is more than just a recipe—it’s a reminder that the best things in life don’t have to be complicated. With just four ingredients and a little patience, you can create something that tastes like it came from a fancy ice cream shop. It’s the kind of recipe that makes you look like a hero at dinner parties, but it’s also perfect for those quiet nights when you just need a bowl of something comforting.
I love this recipe because it’s forgiving, versatile, and genuinely foolproof once you know a few key tricks. It’s become my go-to for everything from summer barbecues to holiday desserts, and I never get tired of watching people’s faces light up when they take that first bite. The vanilla bean specks, the silky texture, the way it melts on your tongue—it’s pure magic.
Now it’s your turn. Give this recipe a try, and don’t be afraid to make it your own. Add your favorite mix-ins, experiment with flavors, and let me know how it turns out. Leave a comment below, share your photos, or tell me about your favorite variation. I’d love to hear from you. Happy freezing, friend!
Frequently Asked Questions
Can I use half-and-half or milk instead of heavy cream?
No, I don’t recommend it. Heavy cream is essential for this recipe because it whips up to hold air, which gives the ice cream its light, creamy texture. Half-and-half or milk won’t whip properly, and you’ll end up with a dense, icy mixture instead of fluffy ice cream.
Why did my ice cream turn out icy?
Ice crystals usually form for two reasons: either the mixture wasn’t protected from freezer air, or it was frozen too slowly. Make sure you press plastic wrap directly onto the surface before freezing. Also, use a shallow container so the mixture freezes faster. Adding a tablespoon of vodka or bourbon also helps prevent iciness.
Can I use vanilla extract instead of vanilla bean paste?
Absolutely. Use 1 tablespoon of pure vanilla extract instead of the paste or bean. You’ll still get great flavor, but you’ll miss those beautiful black vanilla specks. If presentation matters to you, stick with the paste or a real bean.
How long does this ice cream keep in the freezer?
Properly stored (with plastic wrap pressed onto the surface and a tight lid), it will stay creamy and delicious for up to 2 weeks. After that, it may develop some ice crystals, but it’s still safe to eat. I’ve never had a batch last longer than a week in my house, though!
Can I double this recipe?
Yes, you can easily double or even triple this recipe. Just make sure you have a large enough bowl to whip the cream, and work in batches if needed. A bigger container will take slightly longer to freeze, so plan for an extra hour or two in the freezer.
Pin This Recipe!
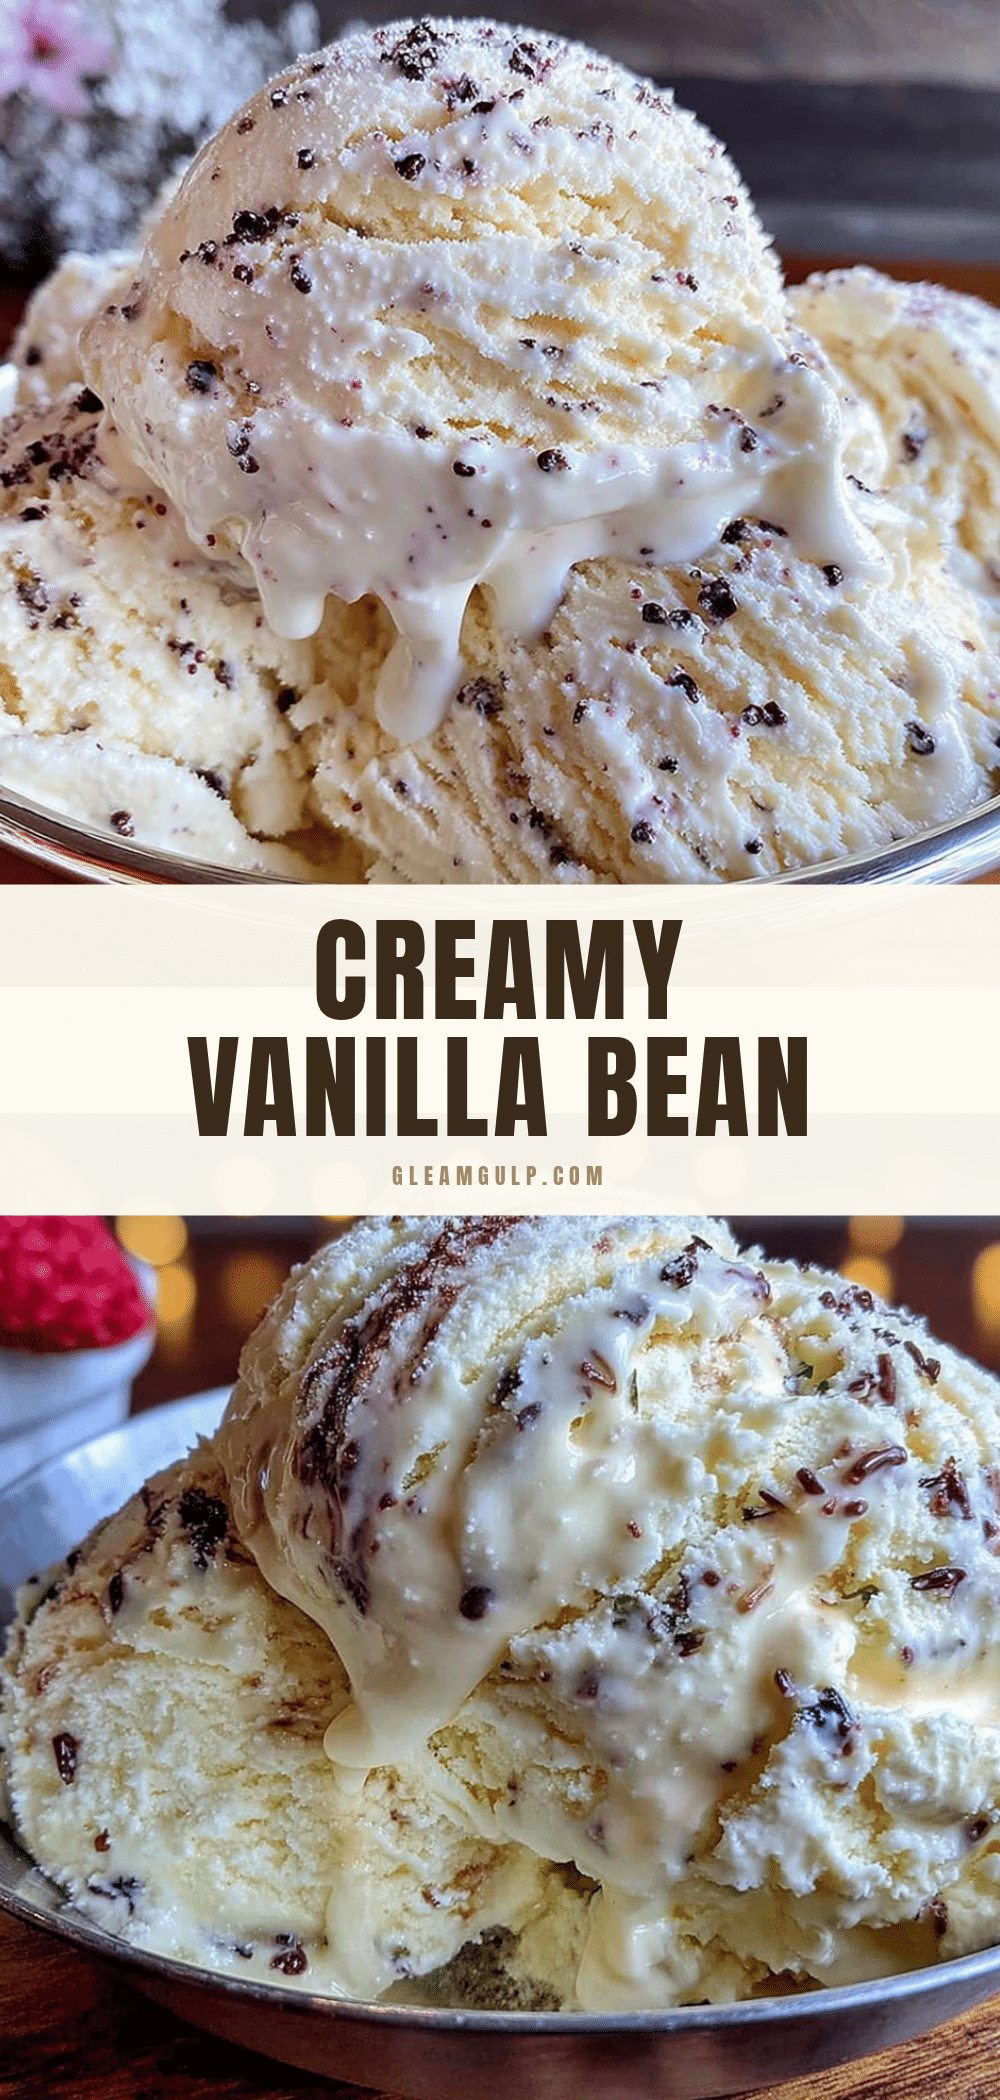
Creamy No-Churn Vanilla Bean Ice Cream (Easy 4-Ingredient Recipe)

This creamy no-churn vanilla bean ice cream requires only 4 simple ingredients and no machine. It’s incredibly smooth, scoopable, and perfect for any occasion.
- Prep Time: 15 minutes
- Cook Time: 0 minutes
- Total Time: 6 hours 15 minutes (includes freezing)
- Yield: 8 servings 1x
- Category: Dessert
- Cuisine: American
Ingredients
- 2 cups (480 ml) heavy cream
- 1 can (14 ounces / 397 grams) sweetened condensed milk
- 1 whole vanilla bean, or 2 teaspoons vanilla bean paste
- 1/4 teaspoon fine sea salt
Instructions
- Chill your mixing bowl and beaters in the freezer for 10-15 minutes.
- In a small bowl, combine sweetened condensed milk, vanilla bean paste (or seeds from vanilla bean), and salt. Stir well and let sit for 5 minutes.
- Pour cold heavy cream into the chilled bowl. Beat on medium-high speed until stiff peaks form (about 2-3 minutes with a mixer).
- Pour the vanilla-condensed milk mixture over the whipped cream. Gently fold together with a rubber spatula until uniform and silky.
- Transfer the mixture to a loaf pan or freezer-safe container. Spread evenly and tap gently to release air bubbles.
- Press plastic wrap directly onto the surface of the ice cream mixture.
- Freeze for at least 6 hours, preferably overnight.
- Before serving, let the ice cream sit at room temperature for 5-10 minutes. Scoop and enjoy.
Notes
For extra soft texture, add 1 tablespoon of vodka or bourbon to the condensed milk mixture. Press plastic wrap directly onto the surface to prevent ice crystals. Let ice cream sit at room temperature for 5-10 minutes before scooping.
Nutrition
- Serving Size: 1/2 cup
- Calories: 320
- Sugar: 27
- Sodium: 95
- Fat: 22
- Saturated Fat: 14
- Carbohydrates: 28
- Protein: 4
Keywords: no-churn ice cream, vanilla bean ice cream, easy ice cream, 4-ingredient ice cream, homemade ice cream, no machine ice cream


