Love this? Save it for later!
Share the inspiration with your friends
Introduction
“Why can’t you just toss the green chiles right into the cheese sauce?” my friend asked one evening while I was fussing over the mac and cheese. I started to explain why that wouldn’t work—then stopped. Honestly, her idea made so much sense that I gave it a shot, no fancy prep, just stirring the Hatch green chiles straight into the melted cheese. The result? Pure magic.
That night, I learned something important: sometimes the simplest instincts in cooking are exactly right. I mean, I’d spent years tiptoeing around green chiles in mac and cheese, worried about overpowering the dish or messing with the creamy texture. But mixing them in early gave the sauce this bright, smoky warmth that felt like a cozy Southwestern hug.
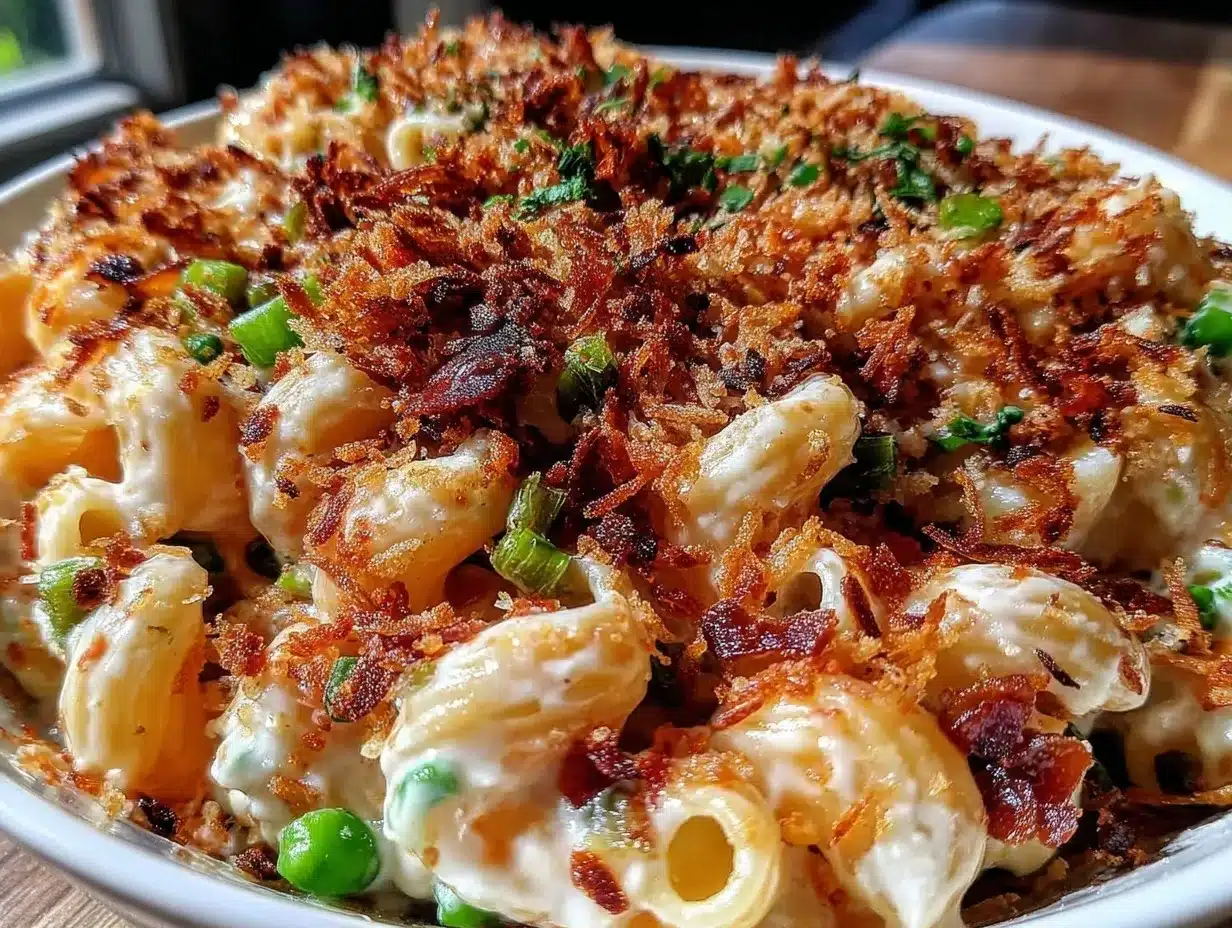
Maybe you’ve been there—stuck in the “how it’s always done” mindset only to realize the rules were made to be broken. The crispy breadcrumb topping was a last-minute addition, inspired by a crumbly mess I made trying to toast some panko. It turned out to be the perfect contrast, adding crunch and a little nutty flavor that took this creamy Hatch green chile mac and cheese to a whole new level.
I keep making this recipe now because it’s so forgiving, so flavorful, and honestly, it’s the ultimate comfort food with a kick. Let me tell you, if you love a creamy, cheesy dish with a touch of heat and a crispy finish, this one’s going to stick with you too.
Why You’ll Love This Recipe
After testing this creamy Hatch green chile mac and cheese more times than I can count, I’m confident it hits all the right notes for a crowd-pleasing comfort dish. Here’s why it’s a go-to in my kitchen:
- Quick & Easy: Ready in under 30 minutes, making it perfect for busy weeknights or when you need a last-minute dinner fix.
- Simple Ingredients: Uses pantry staples with the exciting addition of Hatch green chiles, which you can find fresh or roasted in most grocery stores.
- Perfect for Any Occasion: Whether it’s a cozy dinner, a potluck side, or a game day snack, this mac and cheese fits right in.
- Crowd-Pleaser: Kids love the creamy cheese, adults appreciate the subtle heat and smoky flavor—everyone wins.
- Unbelievably Delicious: The Hatch green chiles add a unique Southwest twist, and the crispy breadcrumbs bring texture that balances the silky sauce beautifully.
This isn’t just another mac and cheese recipe. The secret is in blending the green chiles directly into the cheese sauce for a smooth, spicy flavor throughout, paired with a golden breadcrumb topping that adds just the right crunch. Honestly, it’s the kind of dish that makes you slow down and savor every bite.
What Ingredients You Will Need
This creamy Hatch green chile mac and cheese recipe uses simple, wholesome ingredients to deliver bold flavor and satisfying texture without fuss. Most items are pantry staples, with Hatch chiles offering that signature southwestern punch.
- Elbow macaroni: 12 ounces (340 grams), the classic shape that holds sauce well.
- Unsalted butter: 4 tablespoons (about 57 grams), for richness and smooth sauce.
- All-purpose flour: 1/4 cup (30 grams), to thicken the cheese sauce.
- Whole milk: 3 cups (720 ml), room temperature for a silky texture.
- Sharp cheddar cheese: 3 cups (about 340 grams), shredded (I prefer Cabot for best melt and flavor).
- Monterey Jack cheese: 1 cup (about 115 grams), shredded, for creamy meltiness.
- Roasted Hatch green chiles: 1 cup diced (about 150 grams), fresh or canned (look for medium heat if you want to avoid too much spice).
- Garlic powder: 1/2 teaspoon, adds subtle depth.
- Onion powder: 1/2 teaspoon, rounds out the flavor.
- Salt and freshly ground black pepper: to taste.
- Panko breadcrumbs: 1 cup (about 50 grams), for the crispy topping.
- Olive oil or melted butter: 2 tablespoons, to toast the breadcrumbs.
Substitutions: Use gluten-free pasta and flour blends to make this gluten-free. Swap whole milk for a 2% or plant-based milk (unsweetened almond or oat) for a lighter version. For dairy-free, try vegan cheeses and a non-dairy milk, though the texture will be a bit different.
Equipment Needed
- Large pot: For boiling the pasta. A heavy-bottomed pot helps prevent sticking.
- Medium saucepan: For making the cheese sauce. A non-stick or stainless steel pan works well.
- Whisk: Essential for stirring the roux and milk to avoid lumps.
- Cheese grater: Freshly shredded cheese melts better than pre-shredded.
- Baking dish or oven-safe skillet: To combine the mac and cheese with breadcrumbs and crisp it under the broiler.
- Measuring cups and spoons: For precise ingredient amounts.
- Colander: To drain the pasta.
For toasting the breadcrumbs, I sometimes use a small skillet instead of the oven—quick and easy, but the oven broil method gives a more even golden crust. If you don’t have a baking dish, a cast-iron skillet is a great alternative and adds a rustic touch.
Preparation Method
- Cook the macaroni: Bring a large pot of salted water to a boil. Add 12 ounces (340 grams) of elbow macaroni and cook until al dente, about 7-8 minutes. Drain and set aside. (Pro tip: undercook the pasta slightly, as it will cook more with the sauce.)
- Make the roux: In a medium saucepan over medium heat, melt 4 tablespoons (57 grams) of unsalted butter. Once melted, whisk in 1/4 cup (30 grams) of all-purpose flour. Stir continuously for 2-3 minutes until it forms a smooth paste and smells slightly nutty. This cooks off the raw flour taste.
- Add the milk: Gradually pour in 3 cups (720 ml) of whole milk, whisking constantly to avoid lumps. Bring the mixture to a gentle simmer and cook until thickened, about 5 minutes. You’ll know it’s ready when it coats the back of a spoon.
- Incorporate cheeses and chiles: Lower the heat and stir in 3 cups (340 grams) sharp cheddar and 1 cup (115 grams) Monterey Jack cheese until melted and smooth. Add 1 cup (150 grams) diced roasted Hatch green chiles, 1/2 teaspoon garlic powder, 1/2 teaspoon onion powder, and season with salt and freshly ground black pepper to taste. Stir well to combine. The sauce should be creamy and flavorful with a subtle smoky heat.
- Combine pasta and sauce: Add the drained macaroni into the cheese sauce, stirring gently to coat every piece. If the sauce seems too thick, add a splash more milk to loosen it up. (Personal tip: this step is crucial to ensure every bite is cheesy goodness.)
- Prepare the breadcrumb topping: In a small skillet, heat 2 tablespoons olive oil or melted butter over medium heat. Add 1 cup (50 grams) panko breadcrumbs and toast, stirring frequently, until golden brown and fragrant, about 3-4 minutes. Remove from heat.
- Assemble and bake: Transfer the mac and cheese to a baking dish or oven-safe skillet. Evenly sprinkle the toasted breadcrumbs over the top. Place under a preheated broiler for 2-4 minutes until the breadcrumbs are crispy and golden. Watch carefully to prevent burning!
- Rest and serve: Let the dish rest for 5 minutes before serving to thicken up slightly and meld flavors.
Cooking Tips & Techniques
Making creamy Hatch green chile mac and cheese is all about balancing textures and flavors, and I’ve learned a few things along the way.
- Use freshly shredded cheese: Pre-shredded cheese often contains anti-caking agents that prevent smooth melting. Shredding your own gives you that silky sauce texture.
- Don’t skip the roux: This mixture of butter and flour is the foundation of your cheese sauce. Cooking it long enough ensures no raw flour taste.
- Slowly add milk: Pouring milk in gradually while whisking prevents lumps and creates a velvety sauce.
- Choose the right pasta: Elbow macaroni holds the sauce well, but shells or cavatappi work beautifully too.
- Watch the broiler: That crispy breadcrumb topping can go from perfect to burnt in seconds, so stay close.
- Adjust heat to taste: Hatch chiles vary in spiciness. I recommend tasting as you add and balancing with extra cheese or milk if it feels too spicy.
- Make it ahead: You can assemble the mac and cheese, cover, and refrigerate for a few hours before broiling the topping just before serving.
Variations & Adaptations
This recipe is flexible enough to fit many preferences and dietary needs.
- Spicy Kick: Add a pinch of cayenne or a few dashes of hot sauce to the cheese sauce for extra heat.
- Vegetarian Boost: Stir in sautéed mushrooms or roasted corn to add texture and flavor.
- Gluten-Free Version: Use gluten-free pasta and substitute all-purpose flour with a gluten-free flour blend or cornstarch for the roux.
- Dairy-Free Option: Swap cheeses for plant-based melts and use unsweetened almond or oat milk. The sauce will be less rich but still tasty.
- Seasonal Twists: Swap Hatch chiles with roasted poblano peppers in the fall for a milder, earthy flavor.
Once, I tried adding caramelized onions to the sauce—it added a lovely sweetness that played beautifully with the smoky chile heat. Feel free to experiment with your favorite add-ins!
Serving & Storage Suggestions
This creamy Hatch green chile mac and cheese is best served warm, right out of the oven, with the crispy topping still crackling under your fork. For a heartier meal, pair it with a fresh green salad or some smoky grilled chicken.
Leftovers keep well in an airtight container in the refrigerator for up to 3 days. When reheating, add a splash of milk and gently warm on the stovetop or microwave to restore creaminess. The breadcrumbs lose their crunch but the flavors deepen overnight, making it a perfect make-ahead dish.
For longer storage, freeze the mac and cheese without the breadcrumb topping in a freezer-safe container for up to 2 months. Thaw overnight in the fridge, then add fresh toasted breadcrumbs before broiling.
Nutritional Information & Benefits
Per serving (based on 6 servings), this creamy Hatch green chile mac and cheese contains approximately:
| Calories | 480 |
|---|---|
| Protein | 20g |
| Carbohydrates | 45g |
| Fat | 22g |
| Fiber | 2g |
The Hatch green chiles add vitamin C and antioxidants, while the cheeses provide calcium and protein. This recipe can be adjusted to be lower carb by choosing a smaller pasta portion or using alternative pasta types. Keep in mind the dairy content if you have sensitivities.
From a wellness perspective, I appreciate that this dish balances indulgence with a hint of fresh spice and uses minimal processed ingredients.
Conclusion
This creamy Hatch green chile mac and cheese with crispy breadcrumbs is a deliciously simple way to bring a little Southwestern flair to a classic comfort dish. It’s easy to make, adaptable to your tastes, and always leaves a warm, cheesy glow after the last bite. I love how the Hatch chiles add that unexpected smoky heat that feels both familiar and exciting.
Give it a try and make it your own—add your favorite cheeses, adjust the spice, or mix in some veggies. And please let me know how it turns out or what tweaks you made. Sharing recipes and stories like this one is what makes cooking such a joy!
Happy cooking!
Frequently Asked Questions (FAQs)
Can I use canned green chiles instead of fresh Hatch chiles?
Yes, canned roasted green chiles work well if fresh Hatch chiles aren’t available. Just drain and dice them before adding to the sauce.
How do I make this recipe gluten-free?
Use gluten-free pasta and replace the all-purpose flour with a gluten-free flour blend or cornstarch for the roux. Be sure to check your breadcrumbs for gluten content or skip the topping.
Can I prepare this mac and cheese in advance?
Absolutely! You can assemble it, cover, and refrigerate for a few hours. Add the breadcrumb topping and broil just before serving.
What cheeses work best for a creamy sauce?
Sharp cheddar and Monterey Jack are classic choices for meltiness and flavor, but you can also try Colby or Gouda for a different twist.
How spicy is the dish with Hatch green chiles?
Hatch chiles typically have mild to medium heat, but it varies by batch. If you prefer less spice, use fewer chiles or remove the seeds before dicing.
Pin This Recipe!
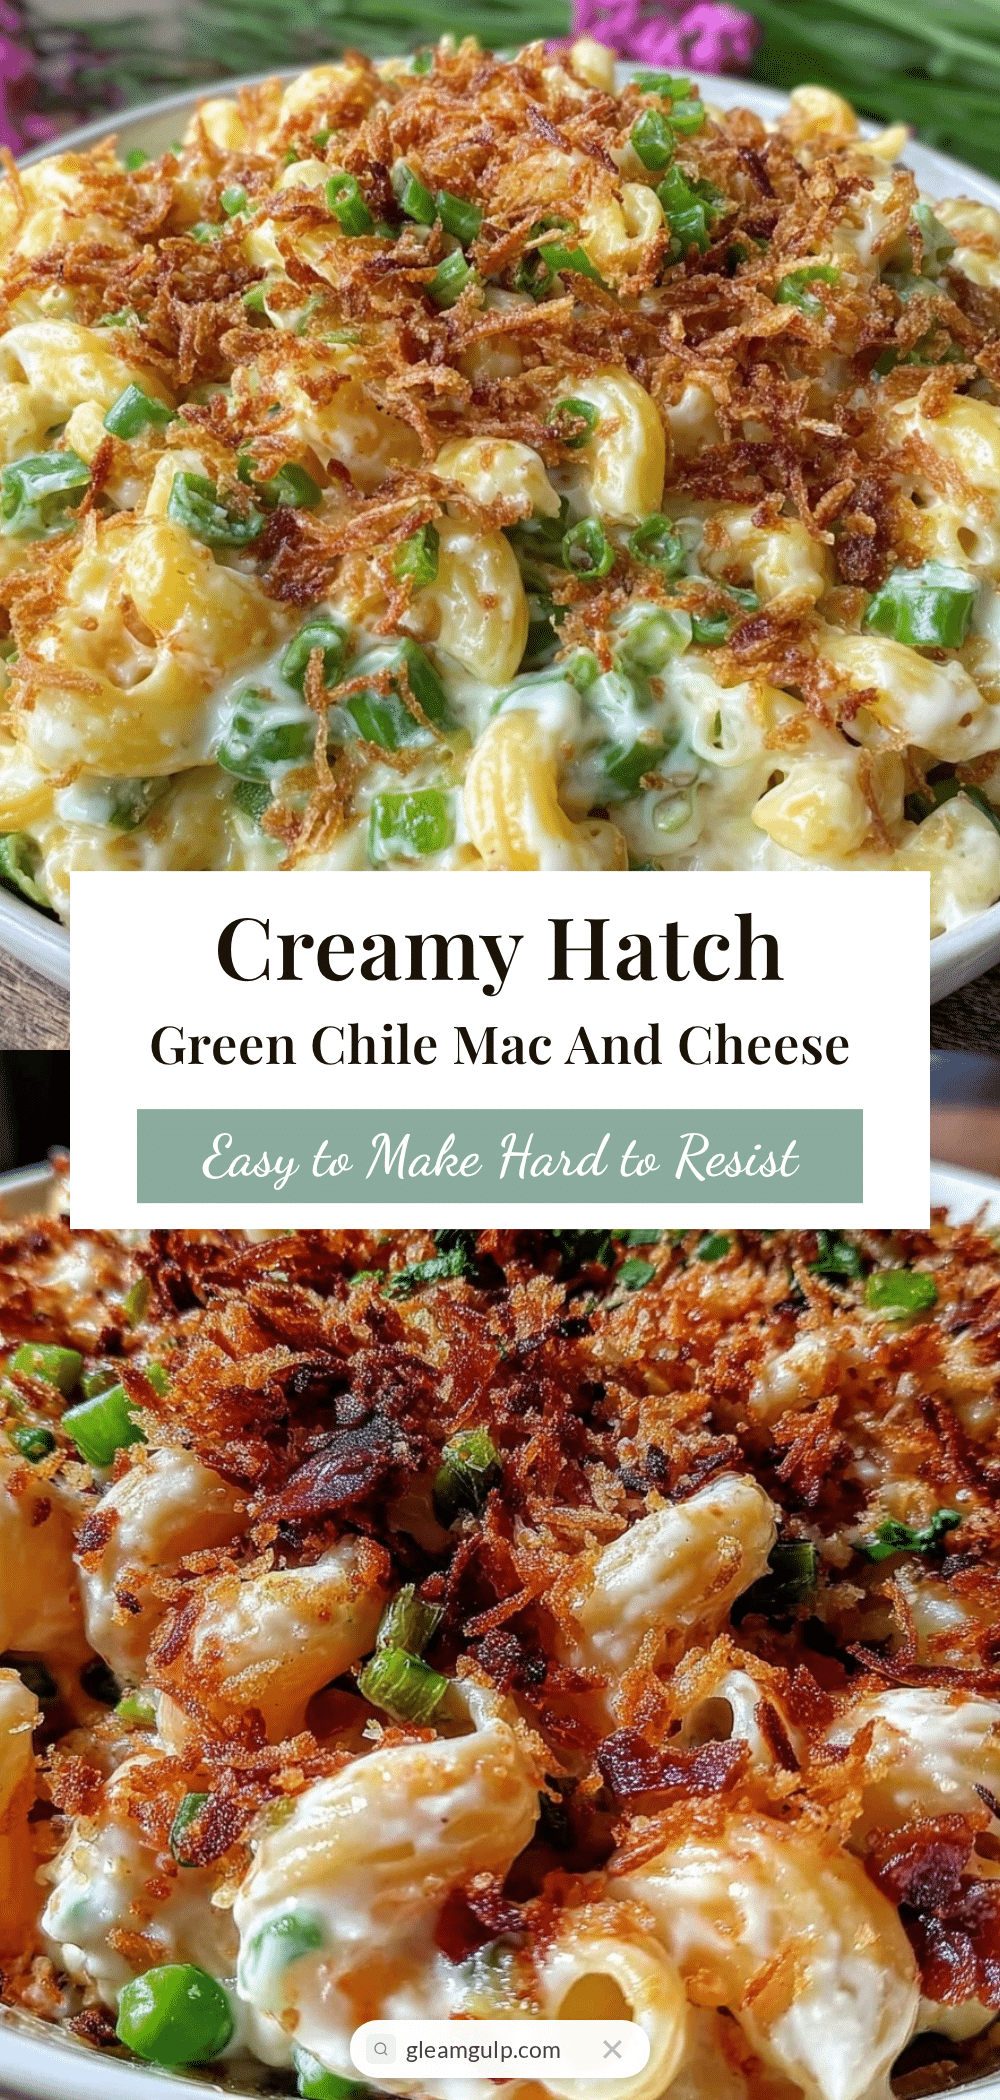
Creamy Hatch Green Chile Mac and Cheese Recipe with Crispy Breadcrumbs

A creamy, cheesy mac and cheese with a smoky Southwestern twist from Hatch green chiles, topped with crispy golden breadcrumbs for texture and flavor.
- Prep Time: 10 minutes
- Cook Time: 20 minutes
- Total Time: 30 minutes
- Yield: 6 servings 1x
- Category: Main Course
- Cuisine: Southwestern American
Ingredients
- 12 ounces elbow macaroni
- 4 tablespoons unsalted butter
- 1/4 cup all-purpose flour
- 3 cups whole milk
- 3 cups sharp cheddar cheese, shredded
- 1 cup Monterey Jack cheese, shredded
- 1 cup diced roasted Hatch green chiles
- 1/2 teaspoon garlic powder
- 1/2 teaspoon onion powder
- Salt and freshly ground black pepper to taste
- 1 cup panko breadcrumbs
- 2 tablespoons olive oil or melted butter
Instructions
- Bring a large pot of salted water to a boil. Add elbow macaroni and cook until al dente, about 7-8 minutes. Drain and set aside.
- In a medium saucepan over medium heat, melt unsalted butter. Whisk in all-purpose flour and stir continuously for 2-3 minutes until smooth and nutty smelling.
- Gradually pour in whole milk while whisking constantly to avoid lumps. Bring to a gentle simmer and cook until thickened, about 5 minutes.
- Lower heat and stir in sharp cheddar and Monterey Jack cheeses until melted and smooth. Add diced roasted Hatch green chiles, garlic powder, onion powder, salt, and pepper. Stir well.
- Add drained macaroni to the cheese sauce and stir gently to coat. Add a splash more milk if sauce is too thick.
- In a small skillet, heat olive oil or melted butter over medium heat. Add panko breadcrumbs and toast, stirring frequently, until golden brown and fragrant, about 3-4 minutes. Remove from heat.
- Transfer mac and cheese to a baking dish or oven-safe skillet. Evenly sprinkle toasted breadcrumbs over the top.
- Place under a preheated broiler for 2-4 minutes until breadcrumbs are crispy and golden. Watch carefully to prevent burning.
- Let the dish rest for 5 minutes before serving.
Notes
Use freshly shredded cheese for best melt and texture. Watch the broiler closely to avoid burning the breadcrumbs. For gluten-free, substitute pasta, flour, and breadcrumbs accordingly. The recipe can be made ahead and refrigerated before broiling the topping.
Nutrition
- Serving Size: 1 serving (approxima
- Calories: 480
- Fat: 22
- Carbohydrates: 45
- Fiber: 2
- Protein: 20
Keywords: mac and cheese, Hatch green chile, creamy, cheesy, comfort food, crispy breadcrumbs, Southwestern, easy recipe


