Love this? Save it for later!
Share the inspiration with your friends
There used to be a tiny, smoke-filled joint off I-35 in Austin called The Iron Pot that made a beef chili so dark and rich it looked like melted chocolate in the bowl. When they closed their doors back in 2019—gentrification, I heard, turned into another damn taco shop—I honestly felt a little lost. I mean, that chili was my go-to after long drives from Dallas, the kind of meal that made you forget about the traffic and the heat and everything else. After twelve tries—twelve, let me tell you, including one batch that tasted like burnt coffee grounds—I finally got it.
The secret, as it turns out, wasn’t some fancy ingredient or a decades-old family recipe. It was patience and a slow cooker. That’s it. The Iron Pot’s magic came from letting cheap cuts of beef simmer all day with just the right mix of dried chiles and spices, no beans in sight to water things down. I remember the first time I nailed it—a rainy Tuesday in October, the kitchen smelled like a campfire, and my neighbor Mike knocked on the door asking what the heck I was cooking. I handed him a bowl, and he didn’t say a word for five minutes. That’s the kind of silence you aim for with Texas chili.
You know that feeling when you take a spoonful of something and your brain just stops? Like, you forget what you were worried about, what you have to do tomorrow, who you’re annoyed at? That’s this chili. It’s not about being fancy or impressing anyone. It’s about coming home to a slow cooker full of deeply savory, beefy goodness that makes your whole apartment smell like a hug. Maybe you’ve been there—chasing a taste from a place that doesn’t exist anymore, trying to bottle up a memory. If so, this one’s for you.
Why You’ll Love This Recipe
This isn’t just another chili recipe you’ll bookmark and forget about. This is the one you’ll text your friends about. Here’s why it works so well:
- Set It and Forget It: You spend about 20 minutes on prep in the morning, then your slow cooker does the heavy lifting. Dinner is basically ready when you walk through the door.
- Real Texas Style: No beans, no tomatoes chunks, no weird fillers. This is all about the beef and the chiles, the way it should be. I’ve tested this against a few “authentic” versions, and honestly, this one holds its own.
- Deep, Complex Flavor: We’re using whole dried chiles here, not just chili powder. It makes a world of difference—smoky, slightly sweet, with a warmth that builds slowly without overwhelming you.
- Budget-Friendly: Chuck roast or brisket trimmings work perfectly here. These tougher cuts get meltingly tender after hours in the slow cooker, so you get premium results without the premium price tag.
- Crowd-Pleaser: I’ve served this at Super Bowl parties and quiet winter dinners. It disappears every single time. People who say they don’t like chili change their minds after one bite of this.
What makes this recipe different from the dozens of others out there? It’s the technique of blooming the dried chiles before they go into the slow cooker. Most recipes skip this step, and you end up with a chili that tastes flat. Taking those extra few minutes to toast and rehydrate the chiles unlocks a depth of flavor you just can’t get from a jar of powder. It’s not complicated—it’s just doing one small thing right that changes everything.
This is the kind of meal that makes you close your eyes after the first bite. It’s comfort food stripped down to its essentials—meat, chiles, time—and somehow that simplicity makes it even more satisfying. Perfect for a chilly Sunday when you want the house to smell amazing, or for feeding a crowd without breaking a sweat.
What Ingredients You Will Need
This recipe uses a short list of ingredients, but each one plays a crucial role. No fluff here—just honest, flavorful components that come together to create something truly special. Most of these are pantry staples or easy to find at any decent grocery store.
For the Chili Base
- 3 pounds beef chuck roast, cut into 1-inch cubes (or brisket trimmings—ask your butcher, they’re usually cheaper and perfect for this)
- 2 tablespoons vegetable oil (or any neutral oil with a high smoke point, like avocado oil)
- 1 large yellow onion, diced (about 2 cups—don’t skimp, it adds sweetness and body)
- 6 cloves garlic, minced (yes, six. Trust me on this)
- 2 tablespoons tomato paste (I prefer the tube kind—easier to use and less waste)
- 4 cups beef broth, low-sodium (homemade is great, but a good store-bought brand like Kitchen Basics works fine)
- 1 tablespoon apple cider vinegar (adds brightness at the end, cuts through the richness)
- 1 tablespoon brown sugar (optional, but it balances the heat and acidity beautifully)
- Salt and black pepper to taste
For the Chile Mixture
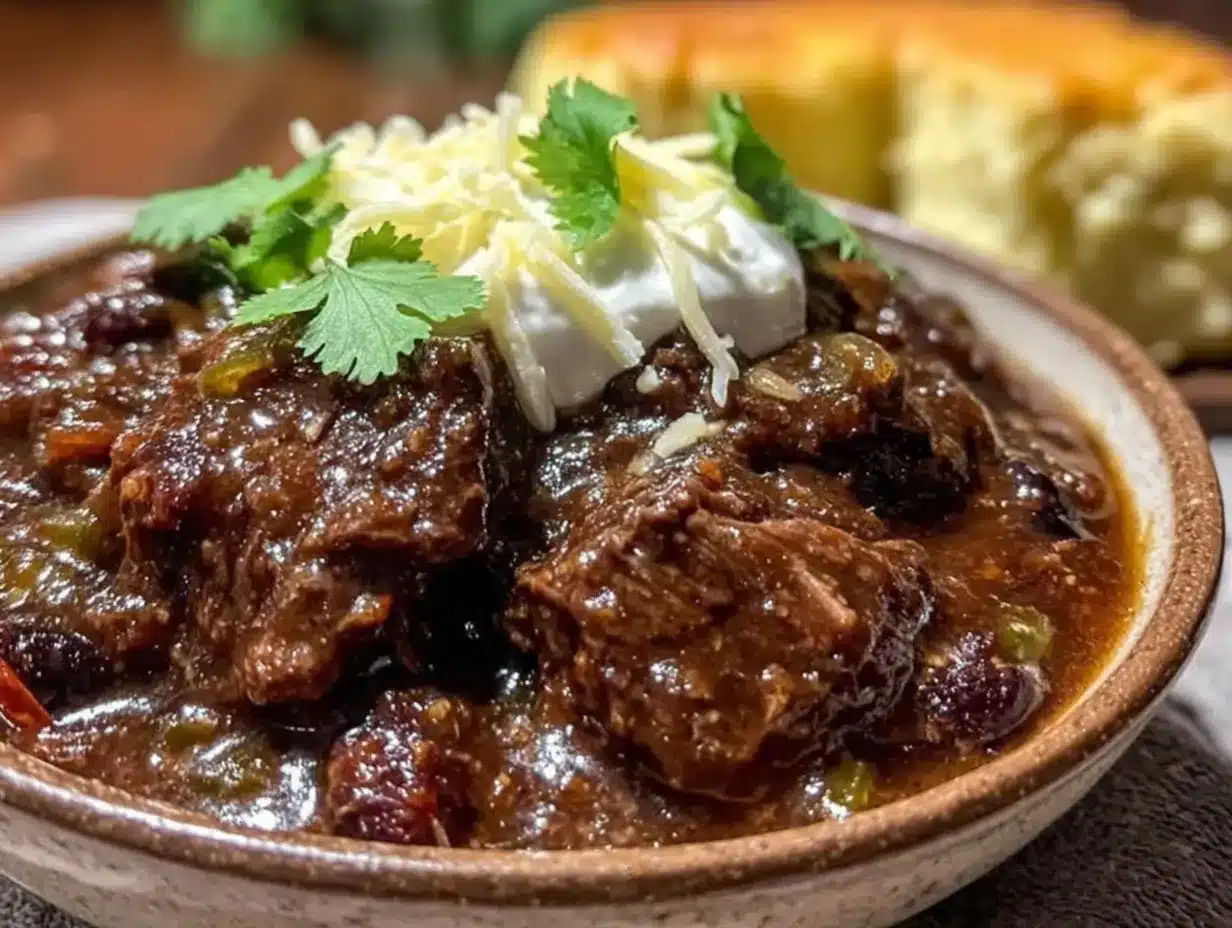
- 4 dried ancho chiles, stems and seeds removed (these are dried poblano peppers—mild, sweet, with a raisin-like flavor)
- 2 dried guajillo chiles, stems and seeds removed (adds a nice fruity heat, medium spice level)
- 1 dried chipotle chile, stem and seeds removed (this is a smoked jalapeño—gives that essential smoky kick)
- 1 tablespoon ground cumin (toast whole seeds and grind them yourself if you can—it’s a game changer)
- 1 tablespoon smoked paprika (not regular paprika—the smoked kind is non-negotiable here)
- 2 teaspoons dried oregano (Mexican oregano if you can find it, but regular works too)
- 1 teaspoon cayenne pepper (adjust based on your heat tolerance—start with 1/2 teaspoon if you’re sensitive)
For Serving (Optional but Recommended)
- Shredded cheddar cheese (sharp white cheddar is my favorite)
- Diced white onion or red onion
- Fresh cilantro, chopped
- Sour cream or crema
- Pickled jalapeños (the acidity cuts through the richness perfectly)
- Cornbread or saltine crackers
A quick note on the chiles: you can find dried chiles in the international aisle of most grocery stores, or at any Latin market. They keep for months in a sealed bag in your pantry, so don’t worry about buying a few extra. I’ve also used a mix of chiles de árbol for extra heat, but that’s for another day—this blend is perfectly balanced for most palates.
Equipment Needed
You don’t need a professional kitchen to make this chili. Here’s what you’ll need:
- Slow cooker (6-quart or larger—anything smaller and you’ll have trouble fitting everything in)
- Large skillet or Dutch oven (for browning the meat and toasting the chiles—cast iron works beautifully here)
- Cutting board and sharp knife (a dull knife makes cutting beef a frustrating chore)
- Mixing bowl (for soaking the chiles)
- Blender or food processor (to puree the rehydrated chiles into a paste—an immersion blender works too, but a regular blender gives a smoother result)
- Wooden spoon or spatula (for stirring and scraping up the browned bits from the pan)
- Measuring cups and spoons (accuracy matters with the spices)
- Tongs (for turning the beef while browning)
If you don’t have a blender, you can mince the rehydrated chiles very finely with a knife. It takes a bit more effort, but the result is still fantastic. I’ve also made this in a Dutch oven in the oven at 300°F for about 3 hours, and it works great—the slow cooker just makes it more hands-off.
Preparation Method
Let’s get cooking. I promise, the active time here is short—the slow cooker does the real work.
- Prepare the dried chiles: Place the stemmed and seeded ancho, guajillo, and chipotle chiles in a bowl. Cover them with boiling water and let them soak for 20 minutes. They’ll soften and become pliable. While they soak, move on to browning the beef.
- Brown the beef (this is crucial): Pat the beef cubes dry with paper towels. This is important—wet meat won’t brown properly. Season generously with salt and pepper. Heat 1 tablespoon of vegetable oil in your large skillet over medium-high heat until it shimmers. Add the beef in batches—don’t crowd the pan, or you’ll steam the meat instead of browning it. Cook for 3-4 minutes per side until a deep, dark crust forms. Transfer the browned beef to your slow cooker. Yes, it takes a few extra minutes, but this step builds the foundation of flavor. I once skipped it because I was in a hurry, and the chili tasted like boiled beef. Never again.
- Sauté the aromatics: Reduce the heat to medium. Add the remaining 1 tablespoon of oil to the skillet. Add the diced onion and cook for 5-6 minutes, stirring occasionally, until soft and translucent. Add the minced garlic and cook for another minute until fragrant. Stir in the tomato paste and cook for 2 minutes, stirring constantly—it will darken and smell amazing. Scrape this mixture into the slow cooker on top of the beef.
- Make the chile paste: Drain the soaked chiles (reserve about 1/2 cup of the soaking liquid). Transfer the softened chiles to a blender along with 1/2 cup of the reserved soaking liquid, the ground cumin, smoked paprika, dried oregano, and cayenne pepper. Blend until completely smooth, scraping down the sides as needed. The paste should be thick and vibrant red. Pour this into the slow cooker.
- Deglaze the skillet: Pour about 1 cup of the beef broth into the hot skillet and scrape up all the browned bits from the bottom—this is pure flavor. Pour this liquid into the slow cooker.
- Add the remaining liquid: Pour the rest of the beef broth into the slow cooker. Add the apple cider vinegar and brown sugar (if using). Stir everything together gently until well combined. The liquid should come about halfway up the beef—add a little water if needed.
- Cook low and slow: Cover the slow cooker and cook on LOW for 8-10 hours, or on HIGH for 5-6 hours. I prefer LOW—the longer cook time makes the beef more tender and allows the flavors to meld together beautifully. Your kitchen will start smelling incredible around hour 3, and it only gets better.
- Finish and adjust: After cooking, taste the chili and adjust the seasoning. You’ll likely need more salt—I usually add about 1 teaspoon at this point. If the chili is too thin, you can thicken it by removing the lid and cooking on HIGH for another 20-30 minutes, or by stirring in a slurry of 1 tablespoon cornstarch mixed with 2 tablespoons cold water. If it’s too thick, stir in a little more broth or water.
- Rest before serving: This is a step most people skip, but it makes a difference. Let the chili sit, covered, for about 15-20 minutes after cooking. This allows the flavors to settle and the texture to become more cohesive. Trust me on this one.
A few sensory cues along the way: when you’re browning the beef, listen for a steady sizzle—if it’s sputtering, the pan is too crowded. The chile paste should smell fruity and earthy, with a slight smokiness. And when you lift the lid after 8 hours, the beef should be so tender it falls apart with a gentle stir.
Cooking Tips & Techniques
I’ve made this chili probably thirty times by now, and I’ve learned a few things the hard way. Here’s what I wish someone had told me from the start:
Don’t skip the browning. I know, I know—it’s an extra step, and it dirties a pan. But that brown crust on the beef is where the magic lives. It’s called the Maillard reaction, and it creates hundreds of flavor compounds that you simply can’t get any other way. If you’re short on time, brown the beef in batches while you chop the onion. Multitask.
Toast your spices. If you’re using whole cumin seeds, toast them in a dry skillet over medium heat for about a minute until fragrant before grinding. Same goes for any dried chiles you’re using whole. It wakes up the essential oils and makes everything taste more vibrant. I learned this after making a batch that tasted oddly flat—the difference was night and day.
Watch the salt. Different brands of beef broth have wildly different sodium levels. I always use low-sodium broth and add salt at the end. You can always add more salt, but you can’t take it out. I once used a regular broth and added salt at the beginning—the chili was borderline inedible. Lesson learned.
Let it rest overnight. This chili is even better the next day. The flavors marry together, the texture thickens, and everything just comes into focus. Make it a day ahead if you can. I often make it on Saturday for Sunday dinner—it takes about 10 minutes to reheat, and the payoff is huge.
Skim the fat. Depending on how fatty your beef is, there might be a layer of rendered fat on top after cooking. I use a spoon to skim most of it off before serving. You want some richness, but not a greasy mouthfeel. If you’re making it ahead, the fat solidifies on top in the fridge, making it even easier to remove.
Don’t overcook the garlic. When you’re sautéing the garlic with the onion, keep it to a minute max. Burnt garlic turns bitter and will ruin the whole pot. I learned this the hard way when I got distracted by a phone call—the chili had a weird, acrid undertone that I couldn’t fix.
Variations & Adaptations
One of the best things about chili is how adaptable it is. Here are a few ways to make this recipe your own:
Meat Variations: You can use ground beef instead of chuck roast for a quicker version—just brown it well and drain the excess fat. I’ve also used cubed pork shoulder or a mix of beef and ground pork. For a leaner option, try cubed venison or bison, though you might need to add a little extra fat to keep it moist.
Heat Level: If you like things spicy, add a dried chile de árbol or two to the soaking liquid, or stir in a minced fresh jalapeño with the onion. For a milder version, skip the cayenne and use only ancho chiles—they’re very mild and sweet. I once made a version with habanero for a friend who claims to love heat—even he was sweating.
Smoky Version: Add 1-2 chipotle peppers in adobo sauce (the canned kind) along with the chile paste. It adds a deeper, smokier flavor that’s incredible. Just go easy—they’re potent. I’d start with one and taste from there.
Thicker Chili: If you prefer a chili that’s almost stew-like, stir in 2 tablespoons of masa harina (corn flour) mixed with 1/4 cup of water during the last 30 minutes of cooking. It thickens beautifully and adds a subtle corn flavor. My aunt from San Antonio taught me this trick.
Dietary Adaptations: This recipe is naturally gluten-free and dairy-free (as long as you skip the cheese and sour cream toppings). For a lower-fat version, trim all visible fat from the beef before cooking and skim the fat after cooking. I’ve also made it with grass-fed beef, which has a slightly different flavor profile—leaner, earthier, still delicious.
Slow Cooker vs. Stovetop: You can absolutely make this on the stovetop. After browning the beef and sautéing the aromatics, add everything to a large pot or Dutch oven. Simmer on low heat, partially covered, for 2-3 hours, stirring occasionally. The flavor won’t be quite as deep as the slow cooker version, but it’s still fantastic for a weeknight.
Serving & Storage Suggestions
This chili is a meal in itself, but the right accompaniments can take it to another level. Here’s how I like to serve it:
Serving Temperature: Serve piping hot, straight from the slow cooker. I like to ladle it into deep bowls and let everyone add their own toppings. The contrast between the hot chili and cool sour cream or fresh onion is part of the experience.
Toppings Bar: Set out small bowls of shredded cheese, diced onion, cilantro, sour cream, pickled jalapeños, and tortilla chips or cornbread. Let people customize their bowls. It makes dinner feel like an event, even on a random Tuesday.
What to Serve With It: A side of warm cornbread with honey butter is my go-to. The sweetness balances the heat of the chili perfectly. A simple green salad with a tangy vinaigrette also works—it cuts through the richness. For drinks, a cold beer (something like a Mexican lager or a pale ale) or a bold red wine like Zinfandel pairs beautifully.
Storage: Leftover chili keeps in an airtight container in the refrigerator for up to 5 days. The flavor actually improves after a day or two—the spices mellow and meld together. I often double the recipe just so I have leftovers for lunch.
Freezing: This chili freezes like a dream. Let it cool completely, then transfer to freezer-safe containers or zip-top bags. It keeps for up to 3 months. Thaw overnight in the refrigerator and reheat gently on the stovetop or in the microwave. I usually freeze individual portions for quick lunches—just grab a container in the morning and it’s ready by lunchtime.
Reheating: Reheat on the stovetop over medium-low heat, stirring occasionally, until bubbling. Add a splash of broth or water if it’s too thick. In the microwave, heat in 1-minute intervals, stirring between each, until hot. The texture stays remarkably good—just don’t overheat it or the beef can become tough.
Flavor Development: I’ve noticed that this chili is at its absolute best on day two or three. The flavors deepen and become more harmonious. If you can, make it a day ahead and let it sit in the fridge overnight. The wait is worth it.
Nutritional Information & Benefits
While this chili is definitely comfort food, it also packs some surprising nutritional benefits. Here’s a rough estimate per serving (based on 8 servings, without toppings):
- Calories: ~425
- Protein: 38g
- Fat: 28g
- Carbohydrates: 12g
- Fiber: 4g
- Sugar: 5g
- Sodium: ~680mg (varies based on broth and added salt)
This chili is naturally high in protein thanks to the beef, which supports muscle health and keeps you feeling full. The dried chiles are rich in vitamins A and C, as well as capsaicin, which may help boost metabolism and reduce inflammation. Garlic and onions provide prebiotic fiber that supports gut health, and cumin is known for its digestive benefits.
From a dietary perspective, this recipe is naturally gluten-free, dairy-free, and low-carb (only about 12g net carbs per serving). It’s also free of added sugars if you skip the brown sugar. I personally love that I can serve this to a crowd with different dietary needs without having to make multiple versions. Just set out a variety of toppings and let everyone build their own bowl.
One note: the sodium content can add up, especially if you’re using regular beef broth and adding salt. I always recommend low-sodium broth and seasoning to taste at the end. Your heart and your taste buds will thank you.
Conclusion
This slow cooker Texas-style beef chili is the recipe I keep coming back to, again and again. It’s the one I make when I need a hug in a bowl, when I want to impress guests without breaking a sweat, when I just want the house to smell amazing all day long. It’s proof that simple ingredients, treated with care and given enough time, can create something truly extraordinary.
I hope you give this one a try. Don’t be afraid to make it your own—swap in different chiles, adjust the heat, pile on your favorite toppings. The beauty of chili is that it’s forgiving and personal. And if you nail it on your first try, great. If it takes you twelve tries like it did me, that’s okay too. The journey is part of the story.
I’d love to hear how yours turns out. Drop a comment below and let me know what toppings you went with, or if you discovered a variation that works even better. Share this recipe with someone who needs a cozy meal this week—I promise they’ll thank you. Until next time, happy cooking, and may your slow cooker always be full of something good.
Frequently Asked Questions
Can I use canned chili powder instead of whole dried chiles?
You can, but the flavor won’t be as deep or complex. The dried chiles add a smoky, fruity sweetness that powder just can’t replicate. If you’re in a pinch, use about 1/3 cup of good-quality chili powder and skip the soaking step. It’ll still be tasty, just not quite the same.
How do I make this chili spicier without making it too hot?
Add the seeds from one or two of the dried chiles to the blender when you make the paste. The seeds contain most of the heat. You can also stir in a minced fresh serrano or jalapeño pepper with the onion. Start small and taste as you go—you can always add more heat, but you can’t take it away.
Can I make this in an Instant Pot or pressure cooker?
Absolutely. Use the sauté function to brown the beef and cook the aromatics. Then add everything else, secure the lid, and cook on high pressure for 35 minutes with a natural release. The texture will be slightly different—the beef won’t be quite as fall-apart tender—but it’s a great option for a weeknight.
Why does my chili taste bitter?
That usually happens when the chiles are burned during toasting, or when the garlic is overcooked. Make sure you’re toasting the chiles gently—just until they’re fragrant, about 30 seconds per side. And keep an eye on that garlic; it only needs a minute in the pan. Burnt garlic is a one-way ticket to bitter town.
Can I add beans to this recipe even though it’s Texas-style?
You can, but purists might give you some side-eye. If you want to add beans, stir in a can of drained and rinsed kidney or pinto beans during the last 30 minutes of cooking. Just know that it’s no longer technically Texas chili. I won’t tell anyone if you don’t.
Pin This Recipe!
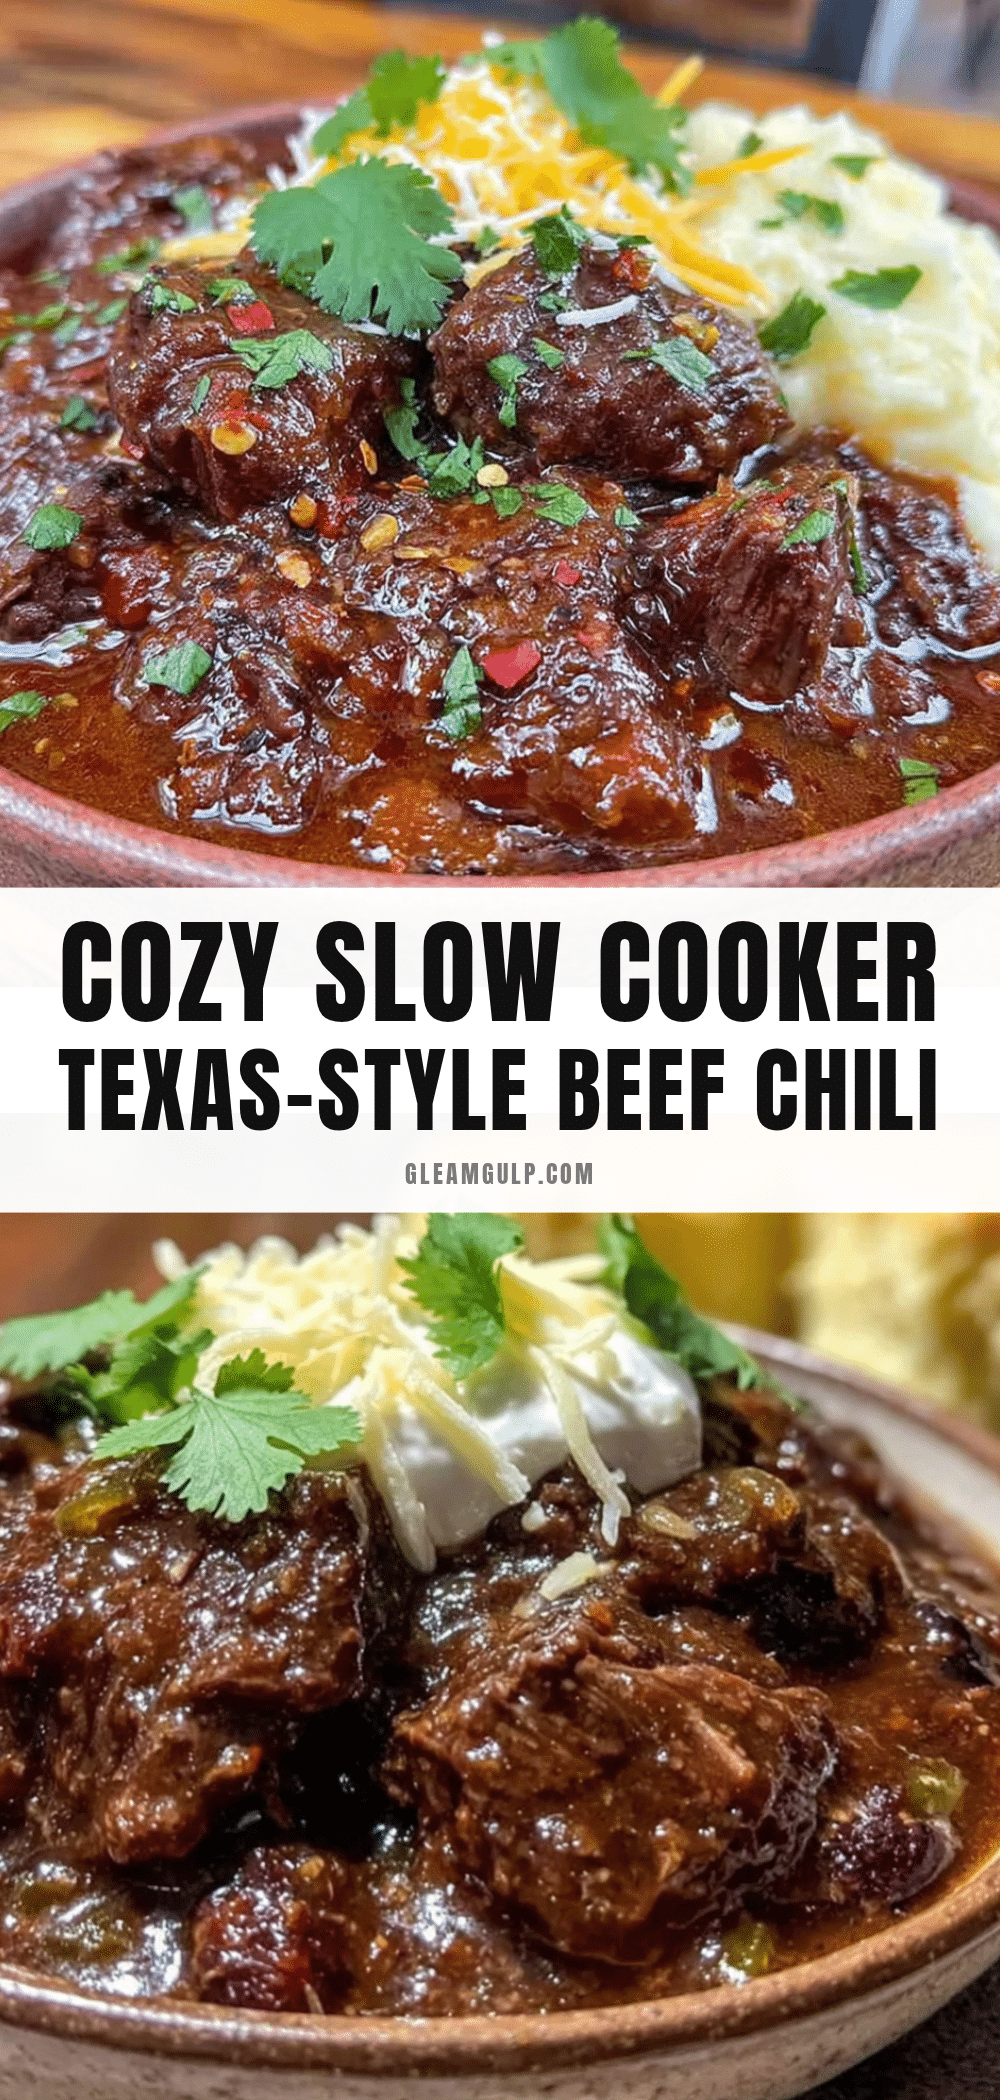
Cozy Slow Cooker Texas-Style Beef Chili: Best No Bean Recipe
This slow cooker Texas-style beef chili is deeply savory, rich, and packed with smoky, fruity flavor from whole dried chiles. It’s a set-it-and-forget-it comfort food that’s perfect for chilly days or feeding a crowd, with no beans in sight.
- Prep Time: 20 minutes
- Cook Time: 8 hours (on LOW) or 5-6 hours (on HIGH)
- Total Time: 8 hours 20 minutes (on LOW) or 5 hours 20 minutes (on HIGH)
- Yield: 8 servings 1x
- Category: Main Course
- Cuisine: Texas-Style / American
Ingredients
- 3 pounds beef chuck roast, cut into 1-inch cubes (or brisket trimmings)
- 2 tablespoons vegetable oil (or avocado oil)
- 1 large yellow onion, diced (about 2 cups)
- 6 cloves garlic, minced
- 2 tablespoons tomato paste
- 4 cups low-sodium beef broth
- 1 tablespoon apple cider vinegar
- 1 tablespoon brown sugar (optional)
- Salt and black pepper to taste
- 4 dried ancho chiles, stems and seeds removed
- 2 dried guajillo chiles, stems and seeds removed
- 1 dried chipotle chile, stem and seeds removed
- 1 tablespoon ground cumin
- 1 tablespoon smoked paprika
- 2 teaspoons dried oregano (Mexican oregano preferred)
- 1 teaspoon cayenne pepper (adjust to taste)
Instructions
- Prepare the dried chiles: Place the stemmed and seeded ancho, guajillo, and chipotle chiles in a bowl. Cover them with boiling water and let them soak for 20 minutes.
- Brown the beef: Pat the beef cubes dry with paper towels. Season generously with salt and pepper. Heat 1 tablespoon of vegetable oil in a large skillet over medium-high heat. Add the beef in batches and cook for 3-4 minutes per side until a deep, dark crust forms. Transfer the browned beef to a 6-quart or larger slow cooker.
- Sauté the aromatics: Reduce the heat to medium. Add the remaining 1 tablespoon of oil to the skillet. Add the diced onion and cook for 5-6 minutes until soft and translucent. Add the minced garlic and cook for 1 minute until fragrant. Stir in the tomato paste and cook for 2 minutes, stirring constantly. Scrape this mixture into the slow cooker.
- Make the chile paste: Drain the soaked chiles (reserve about 1/2 cup of the soaking liquid). Transfer the softened chiles to a blender along with 1/2 cup of the reserved soaking liquid, ground cumin, smoked paprika, dried oregano, and cayenne pepper. Blend until completely smooth. Pour this into the slow cooker.
- Deglaze the skillet: Pour about 1 cup of the beef broth into the hot skillet and scrape up all the browned bits. Pour this liquid into the slow cooker.
- Add the remaining liquid: Pour the rest of the beef broth into the slow cooker. Add the apple cider vinegar and brown sugar (if using). Stir everything together gently.
- Cook low and slow: Cover the slow cooker and cook on LOW for 8-10 hours, or on HIGH for 5-6 hours.
- Finish and adjust: After cooking, taste and adjust seasoning, adding more salt if needed (about 1 teaspoon). If the chili is too thin, remove the lid and cook on HIGH for another 20-30 minutes, or stir in a slurry of 1 tablespoon cornstarch mixed with 2 tablespoons cold water. If too thick, stir in more broth or water.
- Rest before serving: Let the chili sit, covered, for 15-20 minutes before serving to allow flavors to settle.
Notes
For best flavor, toast whole cumin seeds and grind them yourself. Let the chili rest overnight in the fridge for deeper flavor. Skim excess fat before serving. Adjust heat by adding or removing cayenne or using different chiles.
Nutrition
- Serving Size: 1 bowl (about 1.5 cu
- Calories: 425
- Sugar: 5
- Sodium: 680
- Fat: 28
- Saturated Fat: 10
- Carbohydrates: 12
- Fiber: 4
- Protein: 38
Keywords: Texas chili, no bean chili, slow cooker chili, beef chili, dried chiles, comfort food, gluten-free, dairy-free


