Love this? Save it for later!
Share the inspiration with your friends
I had sworn off pumpkin cookies for almost a decade. Not because of some dramatic kitchen disaster—nothing so exciting, honestly. It was more of a quiet, stubborn refusal. Every single one I tried tasted like someone had sneezed cinnamon into a bowl of wet sand. The texture was always off—gummy, dense, or strangely slick in a way that made me side-eye the whole concept. “Pumpkin belongs in pie,” I’d tell anyone who asked, “and that’s where it should stay.” My neighbor, a sweet woman named Helen who bakes compulsively every fall, kept leaving samples on my porch. I’d thank her politely and toss them in the trash the second her door clicked shut. I know. It’s terrible. But I couldn’t help it—the disappointment was just too consistent.
Then last October, I got caught red-handed. Helen knocked on my door mid-afternoon, holding a plate wrapped in foil and a look of such earnest hope that I couldn’t fake my way out of it. “Try one right now,” she said. “While they’re warm.” So there I stood, trapped on my own front steps, holding a cookie I had zero intention of enjoying. I took a bite to be polite. And then I took another bite because—wait. What was this? The outside had this delicate, crackled sugar crust that shattered softly when I bit into it. The inside was tender, almost pillowy, with a warmth that spread from my tongue straight down to my toes. There was pumpkin in there, sure, but it wasn’t bossy about it. It was just… cozy. I finished the cookie. Then I asked for the recipe. Helen grinned like she’d won a bet I didn’t know we were playing.
These cozy pumpkin snickerdoodle cookies for fall baking are the reason I stopped being a pumpkin cookie snob. They’re the reason I now keep a can of pumpkin puree in my pantry year-round, just in case the craving strikes. The trick—and it took me three tries to get it right—is in how you handle the moisture. Too much pumpkin and you’re back in gummy territory. Too little and what’s even the point? But when you nail that balance, something magical happens. The pumpkin doesn’t fight the cinnamon-sugar; it cradles it. The cookies stay soft for days, which is rare for any snickerdoodle, and that crackly top? Pure witchcraft, I swear. Maybe you’ve had your own run-ins with disappointing pumpkin cookies. I get it. But trust me on this one—these are different.
Why You’ll Love This Recipe
Let me tell you why these cookies have earned a permanent spot in my fall rotation. First off, they come together in about 30 minutes total. No chilling the dough, no waiting around—just mix, roll, bake, and eat. That’s practically unheard of for a cookie that tastes this good. I’ve tested this recipe six times across three different ovens (my finicky gas range, my sister’s electric, and a friend’s tiny toaster oven) and it works beautifully every single time.
- Quick & Easy : From bowl to plate in under 30 minutes, which means you can satisfy a cookie craving before your coffee even cools down.
- Simple Ingredients : Nothing weird here. Butter, sugar, pumpkin puree, flour, and spices you probably already have in your cabinet. No cream of tartar hunting required.
- Perfect for Fall Baking : These are tailor-made for crisp October afternoons, Thanksgiving dessert tables, or those cozy evenings when you just want the house to smell like autumn.
- Crowd-Pleaser : I brought a batch to my book club last week and three people asked for the recipe before I’d even sat down. Even the pumpkin skeptics were converted.
- Unbelievably Delicious : The texture is what gets everyone. That crackly cinnamon-sugar exterior gives way to a soft, almost cake-like center that’s somehow both light and satisfying.
What makes this recipe different from all the other pumpkin snickerdoodles out there? It’s the technique. Most recipes call for draining the pumpkin puree or adding extra flour to combat the moisture, which always leaves the cookies tasting dry or dense. Instead, I use a specific ratio of pumpkin to fat that creates a tender crumb without any sogginess. The result is a cookie that actually tastes like a snickerdoodle first and a pumpkin cookie second—the way it should be. This isn’t just another fall recipe you’ll make once and forget. It’s the kind that makes you close your eyes after the first bite, the kind you’ll find yourself making in July because you can’t wait for sweater weather.
What Ingredients You Will Need
This recipe uses simple, wholesome ingredients that work together to deliver that perfect balance of pumpkin warmth and classic snickerdoodle comfort. Most of these are pantry staples, which makes these cookies dangerously easy to whip up on a whim.
- Unsalted butter, softened (1/2 cup or 113g) — I always use unsalted so I can control the salt level. Let it sit out for about 30 minutes before you start.
- Granulated sugar (3/4 cup or 150g) — Regular white sugar gives the cookies that classic sweetness and helps create the crackly top.
- Brown sugar, packed (1/4 cup or 50g) — Light or dark works here. Dark brown sugar adds a deeper molasses note that plays beautifully with the pumpkin.
- Pumpkin puree (1/3 cup or 80g) — Not pumpkin pie filling! Make sure you grab the 100% pure pumpkin puree. Libby’s is my go-to because it’s consistently thick and not watery.
- Large egg (1, room temperature) — A room-temperature egg incorporates more evenly into the batter. If you forgot to take it out, just set it in warm water for 5 minutes.
- Vanilla extract (1 teaspoon) — Pure vanilla makes a difference here. The fake stuff has a chemical aftertaste that doesn’t play well with pumpkin.
- All-purpose flour (1 and 3/4 cups or 218g) — Spoon and level your flour. Scooping directly from the bag can pack in too much and make your cookies dry.
- Cream of tartar (1 teaspoon) — This is what gives snickerdoodles their signature tangy flavor and chewy texture. Don’t skip it if you can help it.
- Baking soda (1/2 teaspoon) — Helps the cookies spread just enough without turning into pancakes.
- Salt (1/4 teaspoon) — Balances the sweetness and brings out the warm spices.
- Ground cinnamon (1 teaspoon in the dough) — The backbone of any good snickerdoodle. I use Vietnamese cinnamon for its intense, sweet heat.
- Ground nutmeg (1/4 teaspoon) — Freshly grated if you have it, but pre-ground works fine.
- Ground ginger (1/4 teaspoon) — Adds a subtle warmth that complements the pumpkin without overwhelming it.
- Ground cloves (1/8 teaspoon) — Just a pinch. Cloves are potent and can easily take over.
For the cinnamon-sugar coating:
- Granulated sugar (1/4 cup or 50g)
- Ground cinnamon (2 tablespoons) — Yes, that much. This is what gives the cookies their signature crackly crust.
A quick note on substitutions: If you’re out of cream of tartar, you can use 1/2 teaspoon of lemon juice or white vinegar mixed into the wet ingredients, but honestly, the texture won’t be quite the same. For a dairy-free version, swap the butter with a high-quality vegan butter stick—not the spreadable kind in a tub. I’ve had good luck with Earth Balance. And if you want to skip the pumpkin, well, you’re making regular snickerdoodles, which is also a perfectly valid life choice.
Equipment Needed
You don’t need fancy equipment for these cookies, which is part of their charm. Here’s what you’ll want on hand:
- Large mixing bowl — Any bowl works, but I prefer a wide, shallow one for easier mixing.
- Medium mixing bowl — For whisking the dry ingredients together.
- Electric hand mixer or stand mixer — You can cream the butter and sugar by hand, but your arm will thank you for using a mixer. I’ve done it both ways and the mixer gives a fluffier result.
- Rubber spatula — For scraping down the sides of the bowl and folding in the dry ingredients.
- Whisk — For combining the flour, spices, and leavening agents.
- Cookie scoop (about 1.5 tablespoons) — This ensures even-sized cookies that bake uniformly. A #40 scoop is perfect.
- Baking sheets (2) — Light-colored aluminum sheets work best. Dark sheets can cause the bottoms to brown too quickly.
- Parchment paper or silicone baking mats — Non-stick is essential here. The sugar coating can stick to bare pans.
- Cooling rack — Lets air circulate around the cookies so they cool evenly without getting soggy on the bottom.
- Small shallow bowl — For the cinnamon-sugar coating mixture.
If you don’t have a cookie scoop, use two spoons to portion the dough. It won’t be as uniform, but the cookies will still taste amazing. And if you’re using a dark baking sheet, reduce the oven temperature by 25 degrees to prevent over-browning. I learned that one the hard way after a batch of cookies came out looking like miniature hockey pucks.
Preparation Method
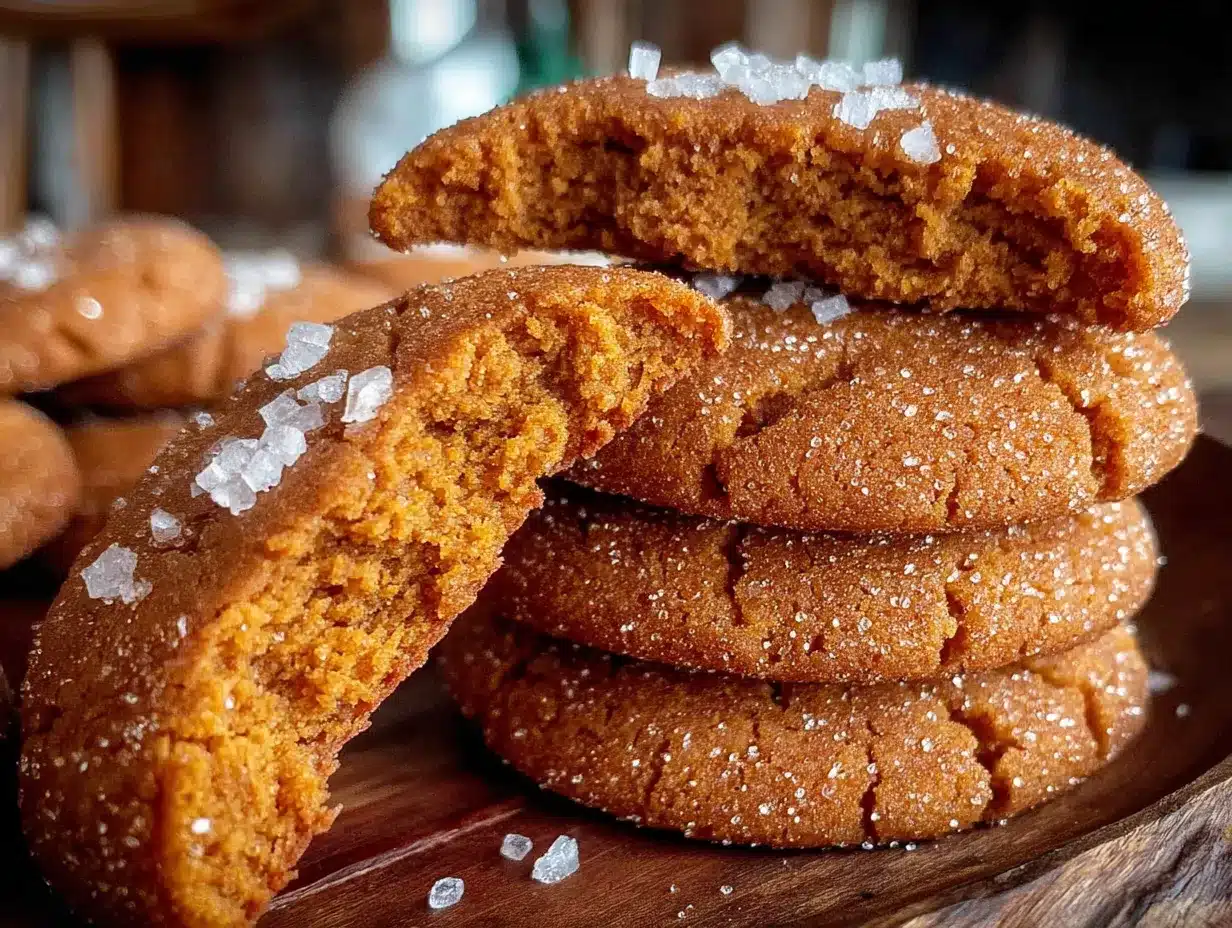
Preheat your oven to 350°F (175°C). Line two baking sheets with parchment paper or silicone mats. This recipe makes about 24 cookies, so you’ll likely need to bake in batches unless you have a convection oven.
- Cream the butter and sugars. In a large mixing bowl, beat the softened butter, granulated sugar, and brown sugar together on medium speed until light and fluffy—about 2 to 3 minutes. Scrape down the sides of the bowl halfway through. The mixture should look pale and airy, almost like whipped frosting. This step is crucial because it incorporates air that helps the cookies rise properly.
- Add the wet ingredients. Beat in the pumpkin puree, egg, and vanilla extract until fully combined. The mixture might look a little curdled or separated at this point—don’t panic. That’s just the pumpkin’s water content reacting with the fat. It will come together once you add the dry ingredients. Scrape the bowl again to make sure everything is evenly mixed.
- Whisk the dry ingredients. In a separate medium bowl, whisk together the flour, cream of tartar, baking soda, salt, cinnamon, nutmeg, ginger, and cloves. Whisking ensures the leavening agents and spices are evenly distributed so you don’t end up with one cookie that tastes like pure cinnamon and another that tastes like nothing.
- Combine wet and dry. Gradually add the dry ingredients to the wet mixture, mixing on low speed or folding with a spatula until just combined. Stop as soon as you no longer see streaks of flour. Over-mixing develops gluten, which will make your cookies tough instead of tender. The dough will be soft and slightly sticky—that’s normal.
- Make the cinnamon-sugar coating. In a small shallow bowl, stir together the 1/4 cup granulated sugar and 2 tablespoons cinnamon. The ratio here is important—enough cinnamon to taste it clearly, but not so much that it overpowers the cookie itself.
- Shape and coat the cookies. Using a cookie scoop or spoon, portion out rounded tablespoons of dough (about 1.5 tablespoons each). Drop each portion into the cinnamon-sugar mixture and roll it around until fully coated. Place the coated dough balls onto the prepared baking sheets, spacing them about 2 inches apart. They will spread, but not dramatically.
- Bake. Bake one sheet at a time in the center of the oven for 10 to 12 minutes. The cookies are done when the edges are set and lightly golden, but the centers still look slightly soft and puffed. Don’t wait for the centers to look fully baked—they’ll continue cooking from residual heat on the sheet. Over-baking is the number one mistake people make with these cookies.
- Cool. Let the cookies rest on the baking sheet for 5 minutes. This allows them to firm up enough to transfer without breaking. Then move them to a wire cooling rack to cool completely. The crackly top will continue to develop as they cool.
A few notes from my kitchen to yours: If your dough feels excessively sticky (stickier than soft cookie dough should), you might have used a slightly wet pumpkin puree or a larger egg. Add one extra tablespoon of flour and mix gently. Conversely, if the dough feels dry and crumbly, add a teaspoon of milk or water. The first time I made these, I used a different brand of pumpkin puree that was unusually watery, and my cookies spread into flat, sad discs. Now I always pat the pumpkin puree with a paper towel if it looks loose—just a gentle press to absorb any excess moisture.
Cooking Tips & Techniques
After making these cookies more times than I care to count, I’ve gathered a few hard-won lessons that will save you from my early mistakes. Let me share them so you can skip straight to the good part.
Don’t over-bake. I cannot stress this enough. These cookies will look underdone in the center when you pull them out of the oven. That’s exactly what you want. The residual heat from the baking sheet finishes the job while the centers stay soft and tender. If you wait until the centers look fully set, you’ll end up with dry, cakey cookies that lose that signature snickerdoodle texture. Set a timer for 10 minutes and check them. If the edges are golden and the tops are crackled, they’re done.
Use a light-colored baking sheet. Dark baking sheets absorb more heat and can cause the bottoms of your cookies to brown too quickly while the tops remain pale. I learned this the hard way when I used my only available dark sheet and ended up with cookies that had burnt bottoms and underdone centers. If you only have dark sheets, reduce the oven temperature to 325°F (163°C) and add a minute or two to the baking time.
Let the dough rest if it’s too sticky. Sometimes, depending on the humidity or the specific brand of pumpkin puree, the dough can be stickier than ideal. If you’re having trouble rolling the dough into balls without it sticking to your hands, pop the bowl in the refrigerator for 15 to 20 minutes. The chilling firms up the butter and makes the dough much easier to handle. Just don’t chill it for hours, or the cookies won’t spread as nicely.
Rotate your baking sheet halfway through. Ovens have hot spots—it’s just a fact of life. Halfway through the baking time, rotate the sheet 180 degrees to ensure even browning. This small step makes a noticeable difference, especially if you’re baking two sheets at once (though I recommend baking one at a time for best results).
Use a cookie scoop for uniform size. Evenly sized cookies bake evenly. A scoop takes the guesswork out and ensures every cookie gets the same amount of time in the oven. Plus, it makes the whole process faster and less messy. Worth the few dollars it costs.
Double the cinnamon-sugar coating if you’re generous. The recipe as written gives you just enough coating for all the cookies. If you like a thick, crunchy sugar crust (I do), make one and a half times the coating mixture. You’ll have extra, but that’s not a problem I’ve ever complained about.
Variations & Adaptations
One of the best things about this recipe is how adaptable it is. I’ve experimented with several variations over the past year, and here are the ones that actually worked—along with a couple that didn’t (looking at you, chocolate chip version that turned into a soggy mess).
Gluten-Free Version: Substitute the all-purpose flour with a 1:1 gluten-free baking flour blend that contains xanthan gum. I’ve used Bob’s Red Mill 1-to-1 Baking Flour with excellent results. The cookies will be slightly more tender and delicate, so handle them gently when transferring to the cooling rack. No other adjustments needed.
Vegan Version: Replace the butter with a high-quality vegan butter stick (I like Miyoko’s or Country Crock Plant Butter) and use a flax egg (1 tablespoon ground flaxseed mixed with 3 tablespoons water, let sit for 5 minutes). The texture will be slightly less tender, but the flavor is still fantastic. Make sure your sugar is vegan-friendly as well—most granulated sugar is, but some brands use bone char in processing.
Extra Spicy Version: If you’re like me and believe there’s no such thing as too much cinnamon, increase the cinnamon in the dough to 2 teaspoons and add an extra 1/2 teaspoon of ground ginger. For the coating, mix in a pinch of cardamom or allspice. The result is a cookie that tastes like autumn in every bite.
Pumpkin Chocolate Chip Snickerdoodles: After my failed attempt at adding chocolate chips directly to the dough (they sank and made the cookies greasy), I found a better approach. Press a few dark chocolate chips onto the tops of the dough balls right after coating them in the cinnamon sugar. The chips stay visible and add pockets of melted chocolate without disrupting the texture. Use about 5 chips per cookie.
Maple Glaze Variation: For an extra-decadent version, skip the cinnamon-sugar coating and instead drizzle the cooled cookies with a simple maple glaze. Whisk together 1 cup powdered sugar, 2 tablespoons maple syrup, and 1 tablespoon milk until smooth. The glaze adds a glossy finish and a sweet maple flavor that pairs beautifully with the pumpkin.
Low-Sugar Option: You can reduce the granulated sugar in the dough to 1/2 cup and the brown sugar to 2 tablespoons without sacrificing too much texture. Use a sugar-free sweetener like monk fruit for the coating. The cookies won’t be as soft, but they’ll still satisfy that fall cookie craving.
Serving & Storage Suggestions
These cookies are at their absolute best when served warm, about 10 minutes after they come out of the oven. The edges are still slightly crisp, the center is soft and pillowy, and the cinnamon-sugar coating is perfectly crackled. Pair them with a hot cup of coffee, a mug of spiced chai, or a tall glass of cold milk. They also make a lovely addition to any fall dessert board alongside apple slices, caramel dip, and a wedge of sharp cheddar cheese.
For a more indulgent presentation, sandwich two cookies with a spread of cream cheese frosting or a scoop of vanilla ice cream. Yes, it’s over the top. No, I don’t regret it. I served these at a small gathering last Thanksgiving and watched my cousin assemble a cookie ice cream sandwich that drew actual applause from the table.
Storage: Keep the cookies in an airtight container at room temperature for up to 5 days. Place a slice of bread in the container with the cookies—it absorbs excess moisture and helps keep them soft. Replace the bread slice every other day if the cookies last that long (they won’t). Do not refrigerate the cookies, as the cold air will dry them out and make them stale faster.
Freezing: These cookies freeze beautifully. You have two options. First, freeze the baked cookies in a single layer on a baking sheet, then transfer them to a freezer-safe bag or container. They’ll keep for up to 3 months. Thaw at room temperature for about 30 minutes, then warm them in a 300°F oven for 5 minutes to revive that fresh-baked texture. Second, freeze the unbaked dough balls after coating them in cinnamon sugar. Place them on a baking sheet in the freezer until solid, then transfer to a freezer bag. Bake directly from frozen, adding 2 to 3 minutes to the baking time. This is my preferred method because it means fresh cookies on demand with almost no effort.
Flavor development: Here’s something interesting—these cookies actually taste better on day two. The spices have time to meld and mellow, and the texture becomes even softer and more cohesive. If you can resist eating them all on day one, you’re in for a treat. Not that I’ve ever managed that, but theoretically.
Nutritional Information & Benefits
Per cookie (based on 24 cookies per batch):
- Calories: 142
- Total Fat: 6g
- Saturated Fat: 4g
- Cholesterol: 22mg
- Sodium: 78mg
- Total Carbohydrates: 21g
- Dietary Fiber: 1g
- Sugars: 13g
- Protein: 2g
- Vitamin A: 15% of Daily Value
These numbers are estimates and will vary based on specific brands and any substitutions you make. For more accurate information, I recommend using a nutritional calculator with your exact ingredients.
From a health perspective, these cookies offer a few surprising benefits. The pumpkin puree is rich in vitamin A, which supports eye health and immune function. The cinnamon has anti-inflammatory properties and may help regulate blood sugar levels—though, let’s be honest, the sugar content in these cookies probably cancels out that benefit. Still, it’s nice to know there’s something vaguely virtuous hiding in there. The small amount of fiber from the pumpkin and flour helps slow down sugar absorption, which means you won’t experience the same blood sugar spike you might get from a regular cookie.
If you’re watching your sugar intake, the low-sugar variation mentioned earlier is a solid option. And for anyone with gluten sensitivities, the gluten-free version works beautifully without sacrificing flavor. These cookies are not what I’d call health food, but they’re a far cry from the preservative-laden packaged stuff. Made with real butter, real pumpkin, and real spices, they’re a treat you can feel good about enjoying in moderation.
Conclusion
These cozy pumpkin snickerdoodle cookies for fall baking have officially converted me from a pumpkin cookie skeptic to a full-blown enthusiast. They have everything you want in a fall cookie—warm spices, a tender crumb, that iconic crackly cinnamon-sugar top—without any of the texture issues that plague so many pumpkin recipes. They come together quickly, use simple ingredients, and fill your kitchen with the kind of smell that makes everyone wander in asking, “What are you baking?”
What I love most about this recipe is how forgiving it is. You can customize the spices, adjust the sweetness, or add chocolate chips if that’s your thing, and the cookies will still turn out beautifully. They’re the kind of recipe you’ll make for a fall potluck, a Thanksgiving dessert table, or just a random Tuesday when you need a little extra coziness. They’re the kind of cookie you’ll find yourself craving in August, counting down the days until pumpkin season officially begins.
I’d love to hear how these turn out for you. Did you stick with the classic version or try one of the variations? Did you manage to resist eating the entire batch in one sitting? Drop a comment below and let me know—I read every single one. And if you have your own twist on these cookies, please share it. The best recipes are the ones that keep evolving. Happy fall baking, friends. Go make some cookies and enjoy every single bite.
Frequently Asked Questions
Can I use pumpkin pie filling instead of pumpkin puree?
No, please don’t. Pumpkin pie filling is pre-sweetened and spiced, which will throw off the sugar and spice balance in this recipe. It also contains additives that can affect the texture. Stick with 100% pure pumpkin puree for best results. Libby’s is my go-to brand because it’s consistently thick and not watery.
Why did my cookies turn out flat and spread too much?
This usually happens for one of three reasons: your butter was too soft or melted, you used a wetter brand of pumpkin puree, or your baking sheet was too hot. Next time, make sure your butter is softened but still cool to the touch, gently pat your pumpkin puree with a paper towel to remove excess moisture, and use a light-colored baking sheet. Chilling the dough for 15 minutes before baking can also help.
Can I make the dough ahead of time and bake later?
Absolutely. You can refrigerate the dough (before coating in cinnamon sugar) for up to 48 hours. Let it sit at room temperature for about 10 minutes to soften slightly before rolling and coating. You can also freeze the coated dough balls for up to 3 months and bake directly from frozen, adding 2 to 3 minutes to the baking time.
Do I have to use cream of tartar?
You can skip it, but the texture won’t be quite the same. Cream of tartar gives snickerdoodles their signature tangy flavor and helps create that soft, chewy texture. If you don’t have it, you can substitute 1/2 teaspoon of lemon juice or white vinegar added to the wet ingredients, but the result will be slightly different. I recommend buying cream of tartar—it’s cheap and lasts forever in your pantry.
How do I get that perfect crackly top?
The crackly top comes from two things: rolling the dough balls generously in cinnamon sugar, and not over-baking the cookies. Make sure each dough ball is fully coated, and pull the cookies out of the oven when the edges are set but the centers still look soft and slightly puffed. The tops will continue to crackle as they cool on the baking sheet. Also, using room-temperature ingredients helps the dough spread evenly, which contributes to that beautiful cracked surface.
Pin This Recipe!
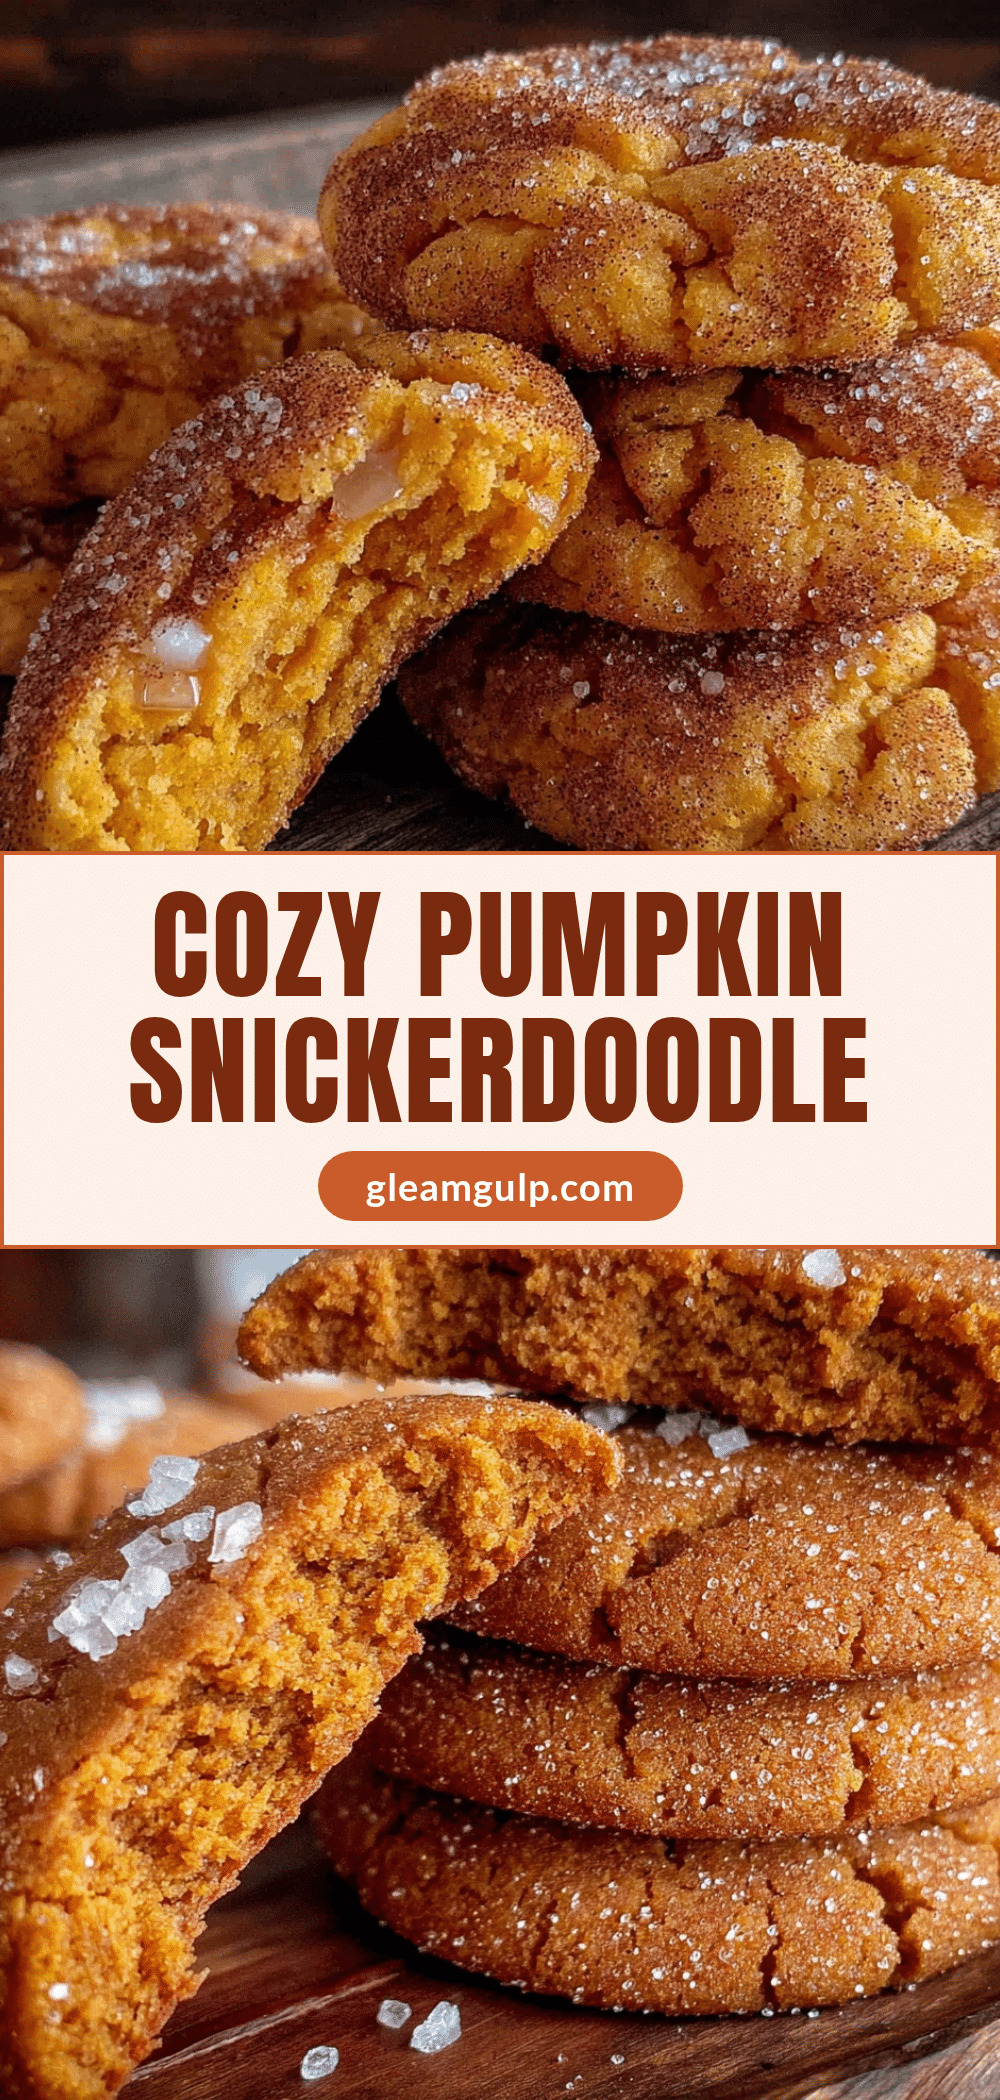
Cozy Pumpkin Snickerdoodle Cookies: Best Fall Baking Recipe
These cozy pumpkin snickerdoodle cookies are the perfect fall baking recipe, featuring a crackly cinnamon-sugar crust and a soft, pillowy center. They come together in under 30 minutes with simple ingredients and are sure to convert even the biggest pumpkin skeptics.
- Prep Time: 15 minutes
- Cook Time: 12 minutes
- Total Time: 27 minutes
- Yield: 24 cookies 1x
- Category: Dessert
- Cuisine: American
Ingredients
- 1/2 cup (113g) unsalted butter, softened
- 3/4 cup (150g) granulated sugar
- 1/4 cup (50g) packed brown sugar (light or dark)
- 1/3 cup (80g) pumpkin puree (not pumpkin pie filling)
- 1 large egg, room temperature
- 1 teaspoon vanilla extract
- 1 and 3/4 cups (218g) all-purpose flour
- 1 teaspoon cream of tartar
- 1/2 teaspoon baking soda
- 1/4 teaspoon salt
- 1 teaspoon ground cinnamon
- 1/4 teaspoon ground nutmeg
- 1/4 teaspoon ground ginger
- 1/8 teaspoon ground cloves
- For the cinnamon-sugar coating:
- 1/4 cup (50g) granulated sugar
- 2 tablespoons ground cinnamon
Instructions
- Preheat oven to 350°F (175°C). Line two baking sheets with parchment paper or silicone mats.
- In a large mixing bowl, beat the softened butter, granulated sugar, and brown sugar together on medium speed until light and fluffy, about 2 to 3 minutes. Scrape down the sides of the bowl halfway through.
- Beat in the pumpkin puree, egg, and vanilla extract until fully combined. The mixture may look slightly curdled; this is normal.
- In a separate medium bowl, whisk together the flour, cream of tartar, baking soda, salt, cinnamon, nutmeg, ginger, and cloves.
- Gradually add the dry ingredients to the wet mixture, mixing on low speed or folding with a spatula until just combined. Do not over-mix. The dough will be soft and slightly sticky.
- In a small shallow bowl, stir together the 1/4 cup granulated sugar and 2 tablespoons cinnamon for the coating.
- Using a cookie scoop or spoon, portion out rounded tablespoons of dough (about 1.5 tablespoons each). Drop each portion into the cinnamon-sugar mixture and roll to coat fully. Place coated dough balls onto prepared baking sheets, spacing them about 2 inches apart.
- Bake one sheet at a time in the center of the oven for 10 to 12 minutes. The cookies are done when the edges are set and lightly golden, but the centers still look slightly soft and puffed.
- Let the cookies rest on the baking sheet for 5 minutes, then transfer to a wire cooling rack to cool completely.
Notes
For best results, use a light-colored baking sheet. If dough is too sticky, refrigerate for 15-20 minutes before shaping. Do not over-bake; cookies will continue to set as they cool. For a thicker sugar crust, make 1.5 times the cinnamon-sugar coating. Cookies stay soft for up to 5 days in an airtight container at room temperature.
Nutrition
- Serving Size: 1 cookie
- Calories: 142
- Sugar: 13
- Sodium: 78
- Fat: 6
- Saturated Fat: 4
- Carbohydrates: 21
- Fiber: 1
- Protein: 2
Keywords: pumpkin snickerdoodle cookies, fall baking, pumpkin cookies, snickerdoodle recipe, easy pumpkin cookies


