Love this? Save it for later!
Share the inspiration with your friends
I was standing in the checkout line at Target last Saturday—you know, the one that snakes past the seasonal aisle—when a bag of red and blue M&Ms caught my eye. And just like that, I was twelve years old again, sitting on a splintery bleacher in the gymnasium of my hometown rec center. The air smelled like popcorn and floor wax, and my mom was pulling a warm skillet cookie out of a beat-up cooler she’d lined with newspaper. She’d wrapped it in foil, and when she peeled it back, the steam carried the scent of butter and sugar across the entire row of folding chairs. The M&Ms on top had melted just enough to leave little trails of color through the golden dough.
I honestly hadn’t thought about those games in years. We weren’t a big sports family, but every few months, my mom would decide we needed some “team spirit” and drag us to a local basketball game. I mostly remember being bored until halftime—that’s when the cookie came out. She’d tear off pieces and pass them down the row, and for those ten minutes, everything felt right. The team could be losing by thirty points and nobody cared. We had a skillet cookie.
That’s the thing about this best team spirit M&M skillet cookie. It’s not fancy. It’s not complicated. But it has this weird power to turn an ordinary Tuesday night into something that feels like a celebration. Maybe you’ve had that experience—where a single bite of something warm and chocolatey just makes everything better. That’s what I’m chasing here.
I’ve been making this cookie for years now, tweaking it here and there. I’ve burned the bottom more times than I want to admit, and I once forgot the vanilla entirely (still got eaten, honestly). But this version? This is the one that finally captures that bleacher memory. The crispy edges, the gooey center, the way the M&Ms get all jammy and soft. It’s the kind of cookie that makes you want to high-five someone.
Why You’ll Love This Recipe
Let me tell you why this particular skillet cookie has earned a permanent spot in my rotation. I’ve tested it six times—yes, six—to get the texture just right. My neighbor, who’s a pastry chef, gave me the tip about using a cast iron skillet for the perfect edge-to-center ratio. So you’re getting professional advice wrapped up in a totally approachable recipe.
- Quick & Easy: You’re looking at about 30 minutes from start to finish. Mix the dough, press it into the skillet, bake it while you’re cleaning up. Perfect for those “I need dessert in my life right now” moments.
- Simple Ingredients: Butter, sugar, eggs, flour, vanilla, and M&Ms. That’s it. No weird extracts or hard-to-find specialty items. You probably have everything except the M&Ms already.
- Perfect for Game Day: Whether it’s the Super Bowl, a birthday party, or just a random Wednesday when your team is playing, this cookie brings the energy. It’s shareable, scoopable, and impossible to resist.
- Crowd-Pleaser: I’ve brought this to potlucks, family dinners, and even a book club meeting (we were discussing a very sad novel and needed comfort). Every single time, people ask for the recipe. Kids especially love picking out their favorite M&M colors.
- Unbelievably Delicious: The texture is the real star here. The edges get all crispy and caramelized while the center stays soft and almost underbaked. It’s like getting the best part of a chocolate chip cookie in every single bite.
What makes this different from every other skillet cookie recipe out there? It’s the ratio. I use a little more butter than most recipes call for, and I chill the dough for exactly 15 minutes before baking. That short rest lets the flavors meld without making the dough too firm. The result is a cookie that’s richer, more tender, and somehow more satisfying. It’s not just another version—it’s the version I’d serve to anyone who told me they didn’t like skillet cookies.
This is the kind of dessert that makes people close their eyes after the first bite. I’ve seen it happen. It’s comfort food at its finest—warm, sweet, and full of those colorful M&Ms that somehow make everything feel more festive. Perfect for impressing guests without any stress, or turning a simple family dinner into something memorable.
What Ingredients You Will Need
This recipe uses simple, everyday ingredients that come together to create something truly special. The magic is in how they work together—the butter creates that rich flavor, the sugars balance chewiness and crispness, and the M&Ms add pops of color and chocolate in every bite.
- Unsalted butter, melted and slightly cooled (1 cup / 2 sticks / 226g) — I use Kerrygold for the best flavor, but any good-quality butter works. Melting the butter gives the cookie a denser, chewier texture compared to creaming it with sugar.
- Granulated sugar (¾ cup / 150g) — Adds sweetness and helps create those crispy edges. Don’t reduce this or the texture will suffer.
- Light brown sugar, packed (¾ cup / 165g) — This is what gives the cookie its soft, chewy center. The molasses in brown sugar adds depth and moisture. I prefer Domino brand for consistent results.
- Large egg, room temperature (1) — Bring it to room temperature by setting it on the counter for 30 minutes, or place it in a bowl of warm water for 5 minutes. A cold egg will seize the melted butter.
- Vanilla extract (2 teaspoons / 10ml) — Pure vanilla extract is worth the splurge here. Imitation vanilla can taste artificial. I’m partial to Nielsen-Massey.
- All-purpose flour (2 cups / 240g) — Spoon and level your flour for accuracy. Scooping directly from the bag can pack in too much flour and make the cookie dry.
- Baking soda (1 teaspoon) — Make sure it’s fresh. Test it by dropping a bit into vinegar—if it fizzes vigorously, you’re good.
- Salt (½ teaspoon) — I use fine sea salt. It balances the sweetness and enhances the chocolate flavor. Don’t skip it.
- M&Ms (1½ cups / 270g) — Use the “Team Spirit” mix for red, white, and blue colors, or any variety you like. I’ve used peanut M&Ms for extra crunch and mini M&Ms for a more even distribution. For the best visual effect, press a few extra M&Ms into the top of the dough right before baking.
Optional Add-Ins:
- ½ cup semi-sweet chocolate chips (for double chocolate action)
- Flaky sea salt for sprinkling on top right after baking (trust me on this one)
- ¼ cup chopped pecans or walnuts for crunch
Equipment Needed
You don’t need a lot of fancy gear for this recipe, which is part of why I love it. Here’s what you’ll need:
- 10-inch cast iron skillet — This is the ideal vessel. The heavy cast iron heats evenly and creates that perfect crispy edge. If you don’t have one, a 10-inch oven-safe nonstick skillet works, though the edges won’t get quite as crisp. I found my Lodge skillet at a thrift store for $12, so keep an eye out.
- Mixing bowls — One large, one medium. I use glass or stainless steel. Nothing fancy needed.
- Whisk — For combining the wet ingredients. A fork works in a pinch.
- Rubber spatula — For folding in the M&Ms and scraping the bowl clean. The silicone ones are great because they don’t scratch your skillet.
- Measuring cups and spoons — For accuracy. I prefer metal measuring cups for dry ingredients and glass for liquids.
- Cooling rack — Optional but helpful. It lets air circulate under the skillet so the cookie doesn’t continue cooking from the residual heat of the pan.
One tip: if you’re using a new cast iron skillet, make sure it’s well-seasoned. A dry or rusty skillet can affect the flavor and cause sticking. I season mine with a thin layer of vegetable oil and bake it upside down at 375°F for an hour. Do that once and you’re set for years.
Preparation Method
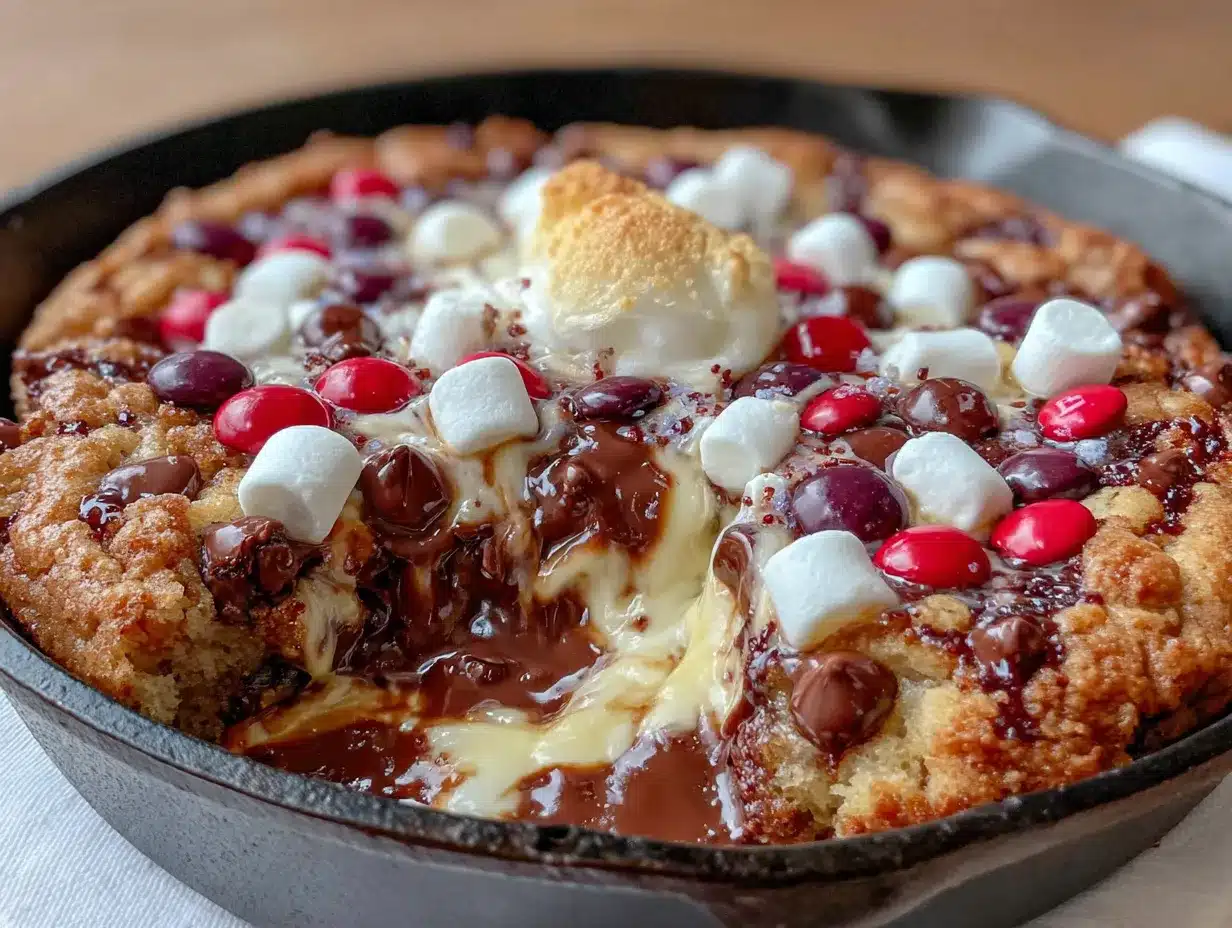
- Preheat your oven to 350°F (175°C). Place your cast iron skillet inside while it preheats. This helps the skillet get nice and hot, which will give you those gorgeous crispy edges. I forgot to do this once and the bottom of the cookie came out pale and sad. Learn from my mistake.
- Melt the butter. In a microwave-safe bowl, melt the butter in 30-second bursts until just melted. Don’t let it boil—you want it melted, not hot. Set it aside to cool for about 5 minutes. If it’s too hot when you add the egg, you’ll end up with scrambled egg bits in your cookie. Not ideal.
- Combine the sugars and butter. In your large mixing bowl, whisk together the melted butter, granulated sugar, and brown sugar. Whisk vigorously for about 1 minute until the mixture looks like wet sand and has lightened slightly in color. This step incorporates a little air and helps with texture.
- Add the egg and vanilla. Crack the egg into the butter-sugar mixture and add the vanilla extract. Whisk until everything is smooth and glossy, about 30 seconds. The mixture should look almost like caramel sauce at this point. If it looks separated or greasy, you whisked too long or the butter was too hot. Don’t panic—just keep whisking and it will come together.
- Mix the dry ingredients. In your medium bowl, whisk together the flour, baking soda, and salt. This distributes the leavening agent evenly so you don’t end up with a pocket of baking soda in one bite (trust me, it’s not pleasant).
- Combine wet and dry. Add the flour mixture to the wet ingredients. Use your rubber spatula to fold everything together gently. Stir just until you no longer see streaks of flour—overmixing develops gluten and makes the cookie tough. About 15-20 folds should do it. The dough will be thick and slightly sticky.
- Fold in the M&Ms. Add 1¼ cups of the M&Ms to the dough. Reserve the remaining ¼ cup for topping. Fold gently until the candies are evenly distributed. Try not to crush them—they’ll bleed color into the dough if you’re too aggressive. Not the end of the world, but it looks prettier when the colors stay separate.
- Chill the dough. This is my secret step. Cover the bowl and pop it in the fridge for exactly 15 minutes. This allows the flour to fully hydrate and the flavors to meld. It also prevents the cookie from spreading too much in the skillet. Set a timer—I’ve forgotten and left it for an hour, and the dough gets too firm to press evenly.
- Press the dough into the skillet. Carefully remove the hot skillet from the oven (use oven mitts!). Transfer the chilled dough into the skillet. Use your fingers or the back of a spoon to press it into an even layer. It should reach all the way to the edges. The heat from the skillet will start melting the butter in the dough immediately—that’s exactly what you want.
- Top with remaining M&Ms. Press the reserved M&Ms into the top of the dough. This ensures they stay visible after baking instead of sinking into the cookie. Arrange them in a pattern if you’re feeling fancy, or just scatter them randomly like I usually do.
- Bake. Place the skillet in the oven and bake for 18-22 minutes. At 18 minutes, start checking. The edges should be golden brown and the center should look slightly underbaked—puffy, pale, and a little jiggly. A toothpick inserted in the center should come out with a few moist crumbs, not clean. The cookie will continue cooking from the residual heat of the skillet after you take it out.
- Cool and serve. Place the skillet on a cooling rack and let it rest for at least 10 minutes. This is the hardest part, I know. But if you dig in too soon, the cookie will fall apart and you’ll burn your mouth. After 10 minutes, it’s perfectly scoopable. Serve warm with a scoop of vanilla ice cream if you’re feeling extra.
Cooking Tips & Techniques
After six rounds of testing, here’s what I’ve learned about making this cookie absolutely perfect:
The skillet temperature trick. Preheating the skillet is non-negotiable. I learned this the hard way when I made the cookie in a cold skillet and ended up with a pale, cakey mess. The hot skillet gives you that immediate sizzle that creates the crispy edge. Just be careful when handling it—that thing gets hot enough to fry an egg.
Don’t overbake. This is the number one mistake people make with skillet cookies. You want to pull it out when the center still looks slightly underdone. It should be puffed up and golden around the edges, but the middle should still be soft and a little jiggly. I once left mine in for 25 minutes because I got distracted by a phone call, and it came out more like a cookie cake—still delicious, but not the gooey experience I was going for.
Room temperature ingredients matter. I know, I know, nobody has time to wait for eggs to come to room temperature. But here’s the thing: a cold egg seizes the melted butter, making the dough lumpy and harder to mix. Just 5 minutes in a bowl of warm water does the trick. Your future self will thank you.
Use a cookie scoop for serving. This is a small thing, but it makes a difference. A #20 cookie scoop (about 3 tablespoons) creates perfect portions that look beautiful on a plate. Plus, you get the crispy edge and gooey center in every scoop.
Variations & Adaptations
One of the best things about this recipe is how adaptable it is. Here are some variations I’ve tried and loved:
- Holiday Edition: Swap the red, white, and blue M&Ms for seasonal colors. I’ve done this for Christmas (red and green), Halloween (orange and purple), and Valentine’s Day (pink and red). The recipe works exactly the same—just change the candy colors.
- Gluten-Free Version: Substitute the all-purpose flour with a 1:1 gluten-free baking flour. I’ve had good results with King Arthur Measure for Measure. Add an extra tablespoon of milk to the dough since gluten-free flours tend to be more absorbent.
- Double Chocolate: Replace ¼ cup of the flour with unsweetened cocoa powder. Use chocolate M&Ms or a mix of regular and chocolate. This version is dangerously good—I ate half the skillet myself once.
- Peanut Butter Swirl: Drop spoonfuls of peanut butter on top of the dough before baking and swirl it in with a knife. Use peanut M&Ms for extra crunch. My husband says this is his favorite version.
- Vegan Adaptation: Use melted coconut oil instead of butter, a flax egg (1 tablespoon ground flaxseed + 3 tablespoons water), and vegan M&Ms or chocolate chips. The texture is slightly different—a bit more cakey—but still delicious.
Serving & Storage Suggestions
This cookie is best served warm, straight from the skillet. The contrast between the warm, gooey center and the cold ice cream is absolutely magical. I recommend vanilla bean ice cream, but caramel or salted caramel work beautifully too. For a non-dairy option, coconut milk ice cream is surprisingly good.
If you’re serving a crowd, set the skillet on a trivet in the middle of the table with a stack of small plates and forks. Let everyone dig in family-style. It’s messy and fun and exactly right for game day.
Storage: Leftover cookie (if you have any) can be covered tightly with foil and stored at room temperature for up to 2 days. The texture will soften, but it’s still delicious. To reheat, place the skillet in a 300°F oven for 5-7 minutes, or microwave individual portions for 15-20 seconds. The microwave is faster but won’t restore the crispy edges.
Freezing: You can freeze the unbaked dough right in the skillet. Wrap the entire skillet tightly in plastic wrap, then foil, and freeze for up to 3 months. Bake straight from frozen, adding 5-7 minutes to the baking time. This is my secret weapon for surprise guests.
One thing I’ve noticed: the cookie actually gets better after a few hours. The flavors meld and the texture evens out. So if you can resist eating it immediately, it’s worth the wait. I’ve never managed to, but theoretically it’s a good idea.
Nutritional Information & Benefits
Let’s be real—this is a dessert, not a health food. But here’s the estimated nutrition per serving (based on 8 servings):
Calories: 485 | Fat: 24g | Carbohydrates: 62g | Protein: 6g | Fiber: 2g | Sugar: 42g
The M&Ms do add some antioxidants from the cocoa, and the butter provides vitamin A and healthy fats. The brown sugar contains molasses, which has small amounts of minerals like calcium and iron. But honestly? This cookie is about joy, not nutrition. It’s the kind of treat you make on a Friday night when you’ve had a long week and you just need something that makes you smile.
If you’re looking to lighten it up, you could reduce the M&Ms to 1 cup or use mini M&Ms for more even distribution with less total chocolate. But I wouldn’t recommend messing with the butter or sugar—that’s where the magic lives.
Allergen note: This recipe contains wheat (gluten), dairy, and eggs. It can be made vegan and gluten-free using the substitutions listed above.
Conclusion
This best team spirit M&M skillet cookie is more than just a dessert. It’s a memory maker, a crowd pleaser, and the easiest way to turn an ordinary night into something special. Whether you’re watching the big game, celebrating a birthday, or just need a little comfort on a Tuesday, this cookie delivers every single time.
I love that it’s forgiving—you can mess up the measurements, forget an ingredient, and it still comes out delicious. I love that it brings people together, passing spoons and forks around the skillet, everyone talking and laughing with chocolate on their faces. And I love that it reminds me of my mom, pulling a foil-wrapped cookie out of a cooler on a cold gymnasium bleacher.
Now it’s your turn. Make this cookie. Customize it with your team’s colors. Serve it warm with ice cream. And then come back and tell me about it—I want to hear about your game day traditions, your favorite M&M color combos, and whether you managed to save any for the next day (I never do). Drop a comment below or tag me in your photos. Let’s spread a little team spirit, one skillet cookie at a time.
Frequently Asked Questions
Can I use a different size skillet?
Yes, but the baking time will change. For an 8-inch skillet, increase the baking time by 3-5 minutes and expect a thicker cookie. For a 12-inch skillet, reduce the baking time by 2-3 minutes and expect a thinner, crispier cookie. Keep an eye on it and use the visual cues (golden edges, slightly jiggly center) rather than relying solely on time.
Can I use regular chocolate chips instead of M&Ms?
Absolutely. Use 1½ cups of semi-sweet or milk chocolate chips. The texture will be slightly different—chocolate chips melt more smoothly than M&Ms—but it’s still delicious. I’ve done this when I couldn’t find team-colored M&Ms and nobody complained.
Why did my cookie turn out cakey instead of chewy?
This usually happens for one of three reasons: too much flour, overmixing, or overbaking. Make sure you’re spooning and leveling your flour, mix just until combined, and pull the cookie out when the center is still slightly underdone. A cakey texture can also happen if you use a cold skillet instead of preheating it.
Can I make this cookie ahead of time?
Yes! You can prepare the dough, press it into the skillet, cover it, and refrigerate for up to 24 hours before baking. You may need to add 2-3 minutes to the baking time since the dough will be cold. You can also freeze the unbaked dough for up to 3 months.
How do I prevent the M&Ms from sinking to the bottom?
This happens when the dough is too thin or warm. Chilling the dough for 15 minutes before baking helps firm it up so the M&Ms stay suspended. Also, pressing a few extra M&Ms into the top of the dough right before baking ensures you’ll have visible color on top.
Pin This Recipe!
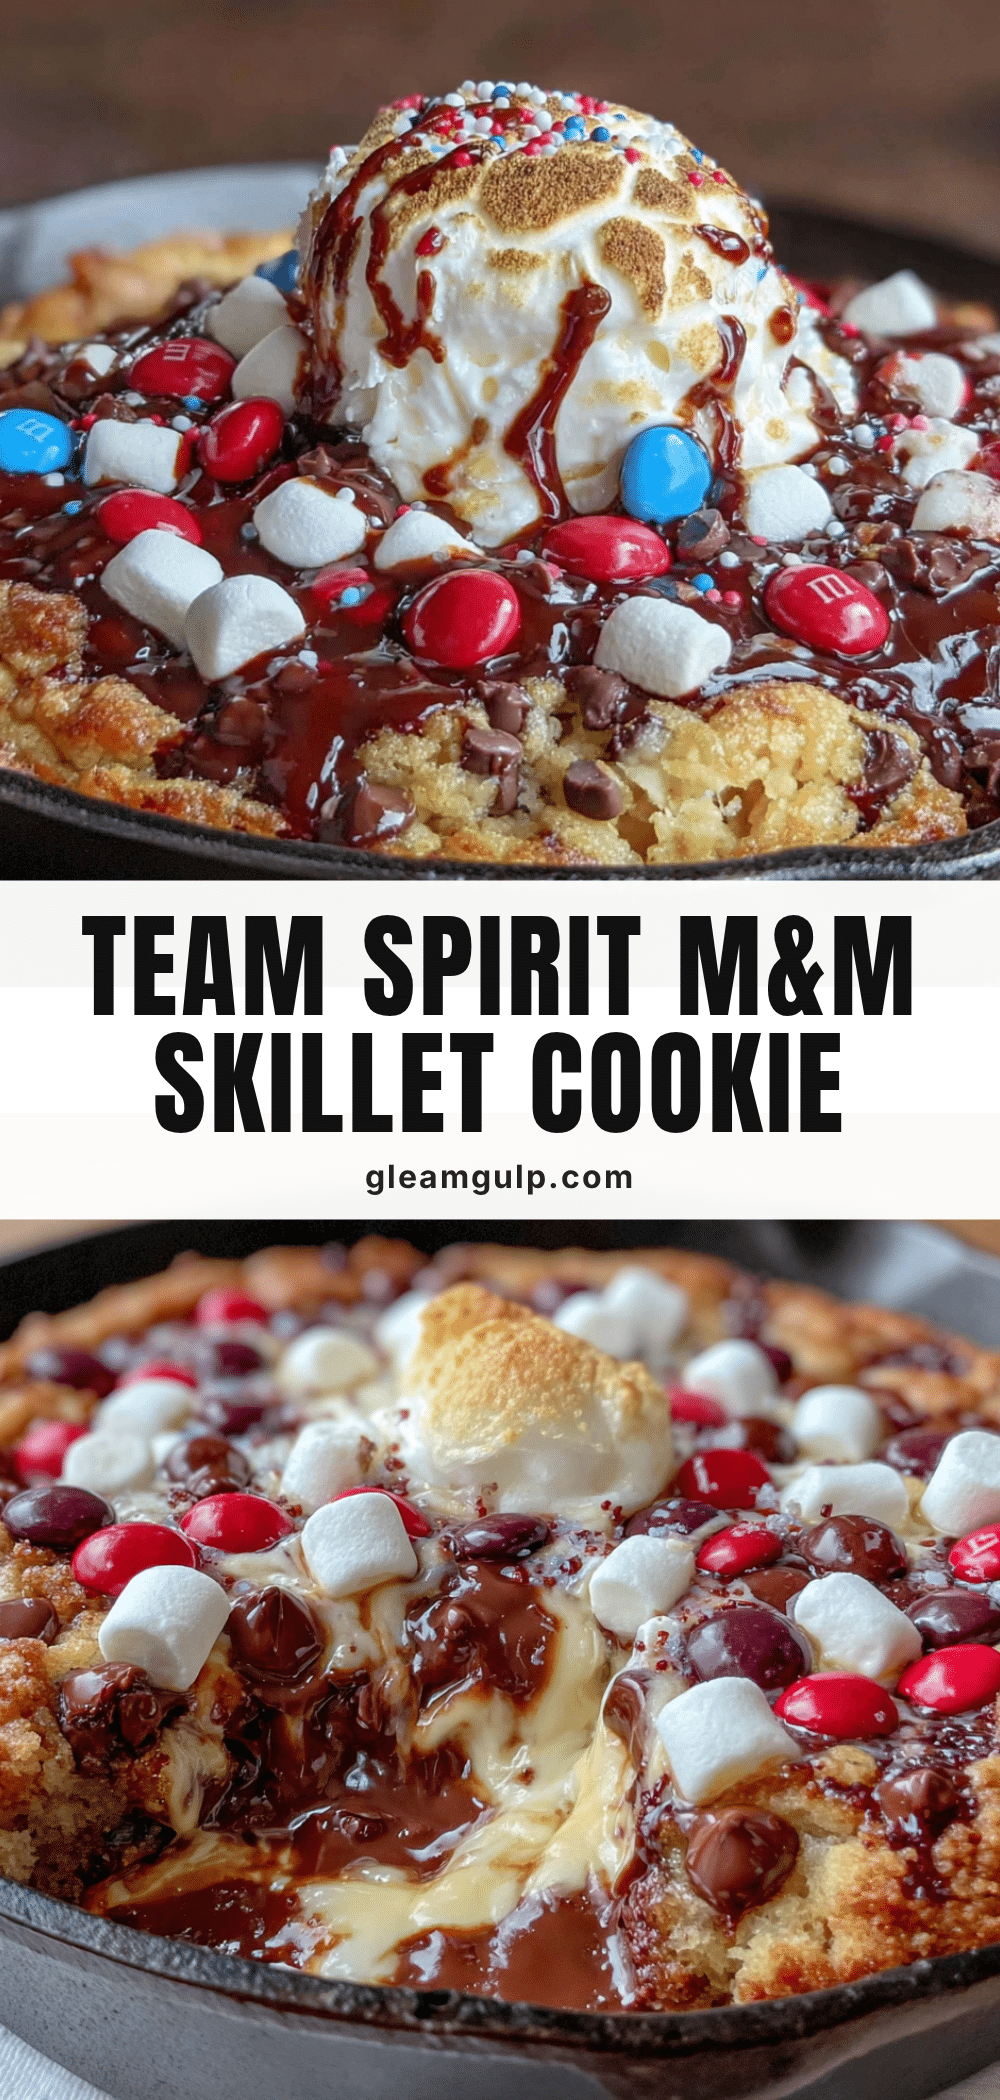
Best Team Spirit M&M Skillet Cookie Recipe

A warm, gooey skillet cookie loaded with colorful M&Ms, perfect for game day or any celebration. This easy recipe delivers crispy edges and a soft, chewy center in just 30 minutes.
- Prep Time: 15 minutes
- Cook Time: 20 minutes
- Total Time: 35 minutes
- Yield: 8 servings 1x
- Category: Dessert
- Cuisine: American
Ingredients
- 1 cup (2 sticks / 226g) unsalted butter, melted and slightly cooled
- 3/4 cup (150g) granulated sugar
- 3/4 cup (165g) light brown sugar, packed
- 1 large egg, room temperature
- 2 teaspoons (10ml) vanilla extract
- 2 cups (240g) all-purpose flour
- 1 teaspoon baking soda
- 1/2 teaspoon fine sea salt
- 1 1/2 cups (270g) M&Ms (team spirit mix or any variety)
Instructions
- Preheat your oven to 350°F (175°C). Place your cast iron skillet inside while it preheats.
- Melt the butter in a microwave-safe bowl in 30-second bursts until just melted. Set aside to cool for about 5 minutes.
- In a large mixing bowl, whisk together the melted butter, granulated sugar, and brown sugar for about 1 minute until the mixture looks like wet sand and has lightened slightly.
- Add the egg and vanilla extract, whisk until smooth and glossy, about 30 seconds.
- In a medium bowl, whisk together the flour, baking soda, and salt.
- Add the flour mixture to the wet ingredients. Fold gently with a rubber spatula just until no streaks of flour remain (about 15-20 folds).
- Fold in 1 1/4 cups of the M&Ms, reserving the remaining 1/4 cup for topping.
- Cover the bowl and chill the dough in the fridge for exactly 15 minutes.
- Carefully remove the hot skillet from the oven. Transfer the chilled dough into the skillet and press it into an even layer, reaching all the way to the edges.
- Press the reserved M&Ms into the top of the dough.
- Bake for 18-22 minutes, until the edges are golden brown and the center looks slightly underbaked (puffy, pale, and a little jiggly).
- Place the skillet on a cooling rack and let it rest for at least 10 minutes before serving. Serve warm.
Notes
Preheating the skillet is key for crispy edges. Don’t overbake; the center should look slightly underdone. Chilling the dough for exactly 15 minutes helps prevent spreading and keeps M&Ms from sinking. For best results, serve warm with vanilla ice cream.
Nutrition
- Serving Size: 1/8 of skillet
- Calories: 485
- Sugar: 42
- Sodium: 320
- Fat: 24
- Saturated Fat: 14
- Carbohydrates: 62
- Fiber: 2
- Protein: 6
Keywords: skillet cookie, M&M cookie, team spirit, game day dessert, easy cookie recipe, cast iron cookie


