Love this? Save it for later!
Share the inspiration with your friends
I wasn’t expecting cooking advice from a taxi driver, but there I was, stuck in Friday evening traffic on I-35, listening to a man named Dmitri describe exactly how to make the best chicken thighs of my life. I’d been complaining to my friend in the passenger seat about how my weeknight chicken always came out dry, and Dmitri—who had apparently been a line cook in a former life—just turned around and said, “You need butter. Lots of butter. And garlic. And one pan. That’s it.” He scribbled the basic idea on a receipt from his glove compartment. Honestly, I thought I’d toss it as soon as I got home. But I didn’t. That crumpled piece of paper sat on my counter for three days before I gave it a shot, and let me tell you—that first bite of these one-pan garlic butter chicken thighs made me want to call Dmitri and thank him personally.
The magic is in the simplicity. You’ve got crispy, golden skin on top of meat so tender it practically falls apart, all swimming in a garlic butter sauce that you’ll want to drink with a spoon. And the best part? It all happens in one pan. No juggling multiple skillets, no transferring things to the oven, no sink full of dishes. I’ve made this for dinner parties where guests literally scraped the pan clean, and for quiet Tuesday nights when I needed something comforting but couldn’t be bothered with a complicated recipe. Maybe you’ve been there—standing in your kitchen, staring at a pack of chicken thighs, wondering how to make them taste like something special without spending two hours cooking. That’s exactly why this recipe stuck with me.
The first time I made it for guests, I’ll admit I was nervous. I’d only tested it twice, and the second time I forgot to pat the chicken dry, which meant the skin didn’t crisp up the way it should. But I learned from that mistake (always pat dry, people), and now this is my go-to when I want to impress without breaking a sweat. It’s the kind of dish that makes you look like you spent hours in the kitchen when really, you just let butter and garlic do all the heavy lifting. And honestly, isn’t that the kind of recipe we all need?
Why You’ll Love This Recipe
Let’s be real—there are a million chicken thigh recipes out there. But this one? It’s different. I’ve tested this recipe at least a dozen times, tweaking the garlic-to-butter ratio, adjusting the heat levels, and figuring out exactly how long to let that skin get crispy without burning the butter. What I landed on is the version I’d serve to my harshest critic (my mom, if you’re wondering) without blinking. Here’s why this one stands out:
- Quick & Easy: From start to finish, you’re looking at about 30 minutes. That’s less time than it takes to decide what to order for delivery.
- Simple Ingredients: Chicken thighs, butter, garlic, a few herbs, and salt. That’s it. You probably have everything right now.
- Perfect for Hosting: This dish was made for dinner parties. It looks fancy, smells incredible, and frees you up to actually talk to your guests instead of hovering over the stove.
- Crowd-Pleaser: I’ve served this to picky eaters, health-conscious friends, and “I don’t really like chicken” people. Every single one of them asked for seconds.
- Unbelievably Delicious: The skin gets crackly-crisp, the meat stays juicy, and that garlic butter sauce is pure gold. Close-your-eyes-after-the-first-bite good.
What makes this recipe different from the hundreds of other garlic butter chicken recipes out there is the technique. Most recipes either sear the chicken and call it done, or they drown it in sauce and lose the crispy skin. This method gives you both—a perfect sear followed by a gentle finish in the pan that keeps the meat tender without steaming the skin. I spent a whole weekend testing different approaches (my poor husband was a very willing taste tester), and this is the version that delivers every single time.
This isn’t just good chicken. It’s the kind of dish that makes you look like a hero at your own dinner party. It’s comfort food that feels special, simple enough for a Tuesday but impressive enough for a celebration. And when you watch your friends fight over the last piece, you’ll know exactly why I keep coming back to this recipe.
What Ingredients You Will Need
This recipe uses simple, honest ingredients to create something truly special. No weird specialty items, no trips to three different stores—just good food that works together beautifully. Here’s what you’ll need:
- Bone-in, skin-on chicken thighs (4-6 thighs, about 2 pounds total) — This is non-negotiable for best results. The bone keeps the meat juicy, and the skin gets that incredible crispy texture we’re after. If you use boneless, skinless thighs, you’ll lose both the crispiness and the flavor. Trust me on this one.
- Unsalted butter (4 tablespoons, divided) — I use unsalted so I can control the salt level. Kerrygold is my go-to for the best flavor, but any good quality butter works. You’ll use some for searing and some for the sauce.
- Garlic (8-10 cloves, smashed) — Fresh garlic only here. The pre-minced stuff in a jar will burn and turn bitter. Smash the cloves with the flat side of your knife to release their flavor without mincing them too fine.
- Fresh thyme sprigs (4-5 sprigs) — Thyme and chicken are a match made in heaven. The woodsy, slightly floral notes cut through the richness of the butter. If you only have dried thyme, use about 1 teaspoon.
- Fresh rosemary (1 small sprig, or 1/2 teaspoon dried) — Optional but highly recommended. Rosemary adds that “fancy restaurant” aroma that fills your whole kitchen.
- Salt (1 1/2 teaspoons, or to taste) — I use kosher salt. Diamond Crystal is my preference because it’s easier to control, but any kosher salt works.
- Black pepper (1/2 teaspoon, freshly ground) — Freshly ground makes a real difference here. Pre-ground pepper just doesn’t have the same punch.
- Lemon juice (1 tablespoon, fresh) — This brightens up the sauce at the end and balances all that rich butter. Don’t skip it—it’s the secret to making the dish feel light instead of heavy.
- Chicken broth (1/4 cup) — For deglazing the pan and creating the sauce. Low-sodium is best so you don’t end up with salty sauce.
- Red pepper flakes (1/4 teaspoon, optional) — For a tiny kick of heat. I add this about half the time, depending on my mood and who I’m serving.
Ingredient Selection Tips: When buying chicken thighs, look for ones that are roughly the same size so they cook evenly. The skin should be intact and not torn. If you’re feeding a crowd, you can easily double this recipe—just use a larger pan or work in batches. For the garlic, bigger cloves are easier to smash and peel. And if you’re anything like me, you’ll probably add an extra clove or two because more garlic is almost always the answer.
Substitution Guidance: If you’re dairy-free, you can substitute the butter with a high-quality vegan butter or ghee (which is lactose-free). For a lower-fat option, you can use olive oil, but you’ll lose some of that rich flavor. Fresh herbs really do make a difference here, but in a pinch, dried work fine—just use about half the amount.
Equipment Needed
One of the best things about this recipe is how little equipment you need. Here’s what you’ll want to have on hand:
- Large skillet or frying pan (12-inch, preferably cast iron or stainless steel) — Cast iron is my top choice because it holds heat beautifully and gives you that perfect sear. My Lodge skillet has seen years of use and just gets better with age. If you don’t have cast iron, a heavy stainless steel pan works great too. Avoid non-stick for this recipe—you won’t get the same crispy skin.
- Tongs — For flipping the chicken without piercing the skin and losing those precious juices. A good pair of spring-loaded tongs is worth every penny.
- Meat thermometer — Not strictly necessary, but it takes the guesswork out of cooking. Chicken thighs are done at 165°F, but I pull mine at 170°F for the most tender texture. An instant-read thermometer is my favorite tool.
- Cutting board — For smashing garlic and resting the chicken. Wooden boards are gentler on your knives.
- Small bowl — For holding the smashed garlic and herbs while you prep.
Budget-Friendly Options: Don’t have a cast iron skillet? No problem. A heavy-bottomed stainless steel pan from IKEA or Target will work just fine. You can even use a non-stick pan in a pinch—just be aware you won’t get quite as crispy skin. And if you don’t have a meat thermometer, you can test for doneness by cutting into the thickest part of the thigh—the juices should run clear and the meat should no longer be pink.
Preparation Method
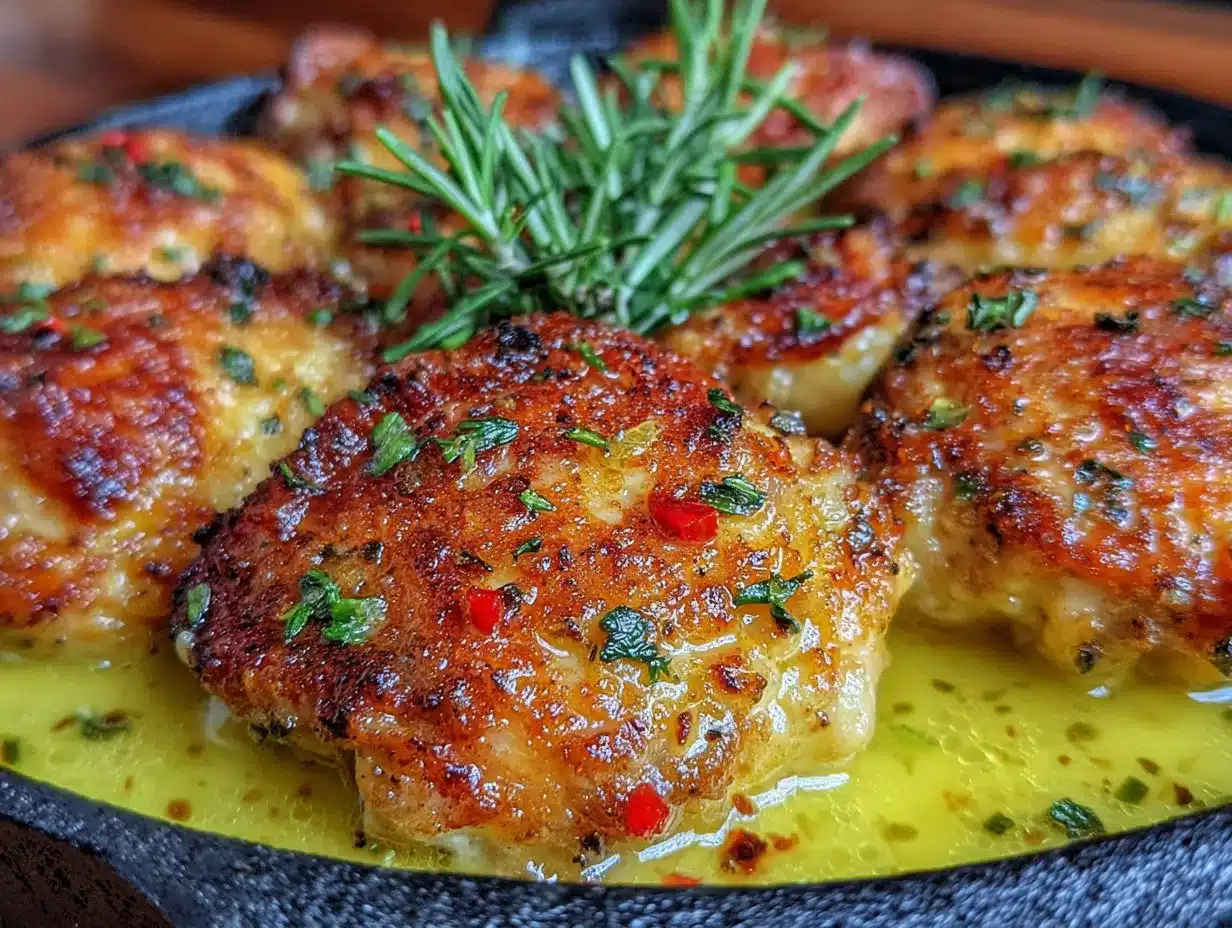
Alright, let’s get cooking. This comes together fast, so have everything prepped and ready to go before you start. Set a timer, pour yourself a glass of wine, and let’s make some magic happen.
- Prep the chicken (5 minutes): Pat the chicken thighs completely dry with paper towels. This is crucial—wet skin won’t crisp up. Season both sides generously with salt and pepper. Let them sit at room temperature for 10 minutes while you prep the garlic and herbs. This takes the chill off the meat and helps it cook more evenly.
- Heat the pan (2 minutes): Place your skillet over medium-high heat and add 2 tablespoons of butter. Let it melt and start to foam. Swirl the pan to coat the bottom. The butter should be sizzling but not browning—if it starts to turn brown, your heat is too high.
- Sear the chicken (8-10 minutes): Place the chicken thighs skin-side down in the hot pan. Don’t crowd them—leave a little space between each piece so they sear instead of steam. If your pan is too small, work in batches. Let them cook undisturbed for 5-6 minutes. I know it’s tempting to peek, but resist! The skin needs that time to develop a deep golden crust. After 5 minutes, use your tongs to gently lift one corner and check the color. If it’s a beautiful golden brown, flip them over. Cook for another 3-4 minutes on the second side.
- Add the aromatics (1 minute): Reduce the heat to medium-low. Push the chicken to one side of the pan and add the remaining 2 tablespoons of butter, the smashed garlic cloves, thyme sprigs, and rosemary (if using). Let the butter melt and the garlic sizzle for about 30 seconds—just until it’s fragrant. Don’t let the garlic burn, or it will turn bitter.
- Baste the chicken (2 minutes): Tilt the pan slightly so the butter pools at the bottom, and use a spoon to baste the chicken with the garlic butter. Do this for about 1-2 minutes, spooning the butter over each thigh several times. This is where the magic happens—the butter soaks into the crispy skin and infuses every bite with garlic flavor.
- Deglaze and finish (3-4 minutes): Pour in the chicken broth and lemon juice. It will sizzle and steam—that’s good! Use a wooden spoon to scrape up any browned bits from the bottom of the pan. Those bits are pure flavor. Let the sauce simmer for 2-3 minutes, basting the chicken once more. The sauce should reduce slightly and thicken. If you’re using red pepper flakes, sprinkle them in now.
- Check doneness (1 minute): Insert your meat thermometer into the thickest part of a thigh, avoiding the bone. You’re looking for 165°F minimum, but 170°F is my sweet spot. If it’s not quite there, let it cook another minute or two. The sauce should be slightly thickened and the chicken should be glistening.
- Rest and serve (5 minutes): Remove the pan from heat. Let the chicken rest in the pan for 5 minutes—this lets the juices redistribute so every bite is tender. During this time, the garlic cloves will soften and become sweet and spreadable. Spoon the sauce over the chicken before serving. Garnish with fresh thyme or parsley if you’re feeling fancy.
Sensory Cues: At every stage, use your senses. The sizzle when the chicken hits the pan should be loud and energetic—if it’s quiet, your pan isn’t hot enough. The skin should be deep golden, almost amber-colored, when you flip it. The garlic should smell sweet and nutty, not sharp or burnt. And when you baste, listen for that gentle bubbling sound that tells you the butter is doing its job.
Troubleshooting: If your skin isn’t getting crispy, your pan might not be hot enough, or you might have too much moisture on the chicken. Next time, pat it even drier. If the butter is burning, your heat is too high—turn it down and start fresh. And if the sauce isn’t thickening, let it simmer a minute longer uncovered.
Cooking Tips & Techniques
After making this recipe more times than I can count (and messing it up plenty along the way), I’ve picked up a few tricks that make all the difference. Here’s what I wish someone had told me before my first attempt:
Patience is everything. The biggest mistake I see people make is moving the chicken too soon. When you first put the thighs in the pan, they will stick. That’s normal. Let them cook until they naturally release—usually around 5 minutes. If you try to flip them too early, you’ll tear the skin and lose all that crispy goodness. I learned this the hard way when I ruined a beautiful batch because I got impatient.
Don’t crowd the pan. If you’re cooking for a crowd, work in batches. When you overcrowd the pan, the temperature drops and the chicken steams instead of searing. You’ll end up with pale, rubbery skin instead of that gorgeous golden crust. I’ve made this mistake at dinner parties when I was trying to save time—trust me, it’s not worth it.
Use the right fat. Butter adds incredible flavor, but it burns faster than oil. That’s why I use a combination approach—sear in butter, then add more butter for basting. If you want an extra safety net, you can mix a little olive oil with the butter for the searing stage. The oil raises the smoke point and gives you more leeway.
Let the garlic shine. Smashing the garlic cloves instead of mincing them is intentional. Whole cloves won’t burn as easily, and they soften into sweet, buttery morsels that are delicious spread on bread or eaten alongside the chicken. If you prefer a stronger garlic flavor, you can add a couple of minced cloves along with the smashed ones—just watch them carefully so they don’t burn.
Baste like you mean it. That basting step isn’t just for show. Each time you spoon butter over the chicken, you’re adding another layer of flavor and helping the skin stay crispy while the meat finishes cooking. I usually baste each thigh about 4-5 times during that 2-minute window. It feels a little extra, but the results speak for themselves.
Rest before serving. I know you’re hungry, and the kitchen smells incredible, but let that chicken rest. Five minutes is all it takes, and it makes a noticeable difference in texture. The juices need time to redistribute, or they’ll run out as soon as you cut into the meat. Use those five minutes to set the table, pour the wine, or just take a deep breath and enjoy the moment.
Variations & Adaptations
One of the things I love about this recipe is how adaptable it is. I’ve played around with different flavors and techniques, and here are some of my favorite variations:
Lemon Herb Version: Add the zest of one lemon along with the juice, and throw in a few extra sprigs of fresh oregano along with the thyme. The citrus brightens everything up and makes it feel lighter—perfect for spring dinners or when you’re serving something rich on the side.
Spicy Honey Garlic: After basting, drizzle about 2 tablespoons of honey over the chicken and sprinkle with 1/2 teaspoon of cayenne pepper. The sweetness balances the heat beautifully, and it creates a sticky, caramelized glaze that’s absolutely addictive. I made this version for a game day gathering once, and people were fighting over the pan.
Creamy Garlic Butter: After removing the chicken, stir in 1/4 cup of heavy cream into the pan sauce. Let it simmer for 2 minutes until thickened, then spoon it over the chicken. This turns the dish into something truly decadent—perfect for special occasions or when you need serious comfort food.
Dairy-Free Adaptation: Substitute the butter with a high-quality vegan butter or ghee (if you can tolerate lactose). The flavor will be slightly different, but the technique remains the same. I’ve tested this with Miyoko’s vegan butter and was pleasantly surprised at how well it worked.
Oven-Finished Method: For extra-crispy skin without any fuss, sear the chicken on the stovetop as directed, then transfer the entire pan to a 400°F oven for 10-12 minutes to finish cooking. This is my go-to when I’m making a larger batch for a party—it frees up stovetop space and ensures everything cooks evenly.
Vegetable Add-Ins: Toss in some halved mushrooms, green beans, or cherry tomatoes during the last 5 minutes of cooking. They’ll soak up all that garlic butter goodness and make the dish a complete one-pan meal. I love adding asparagus spears in the spring—they cook in about 4 minutes and taste incredible.
Serving & Storage Suggestions
This dish is incredibly versatile when it comes to serving. Here’s how I like to present it and what to do with leftovers:
Serving Temperature and Presentation: Serve the chicken hot, straight from the pan to the table. I love bringing the whole skillet to the table—it makes a statement and keeps everything warm. Spoon the garlic butter sauce over each thigh, and garnish with fresh thyme or chopped parsley. The garlic cloves that cooked in the pan are a hidden gem—serve them alongside for spreading on bread or potatoes.
What to Serve Alongside: This chicken pairs beautifully with so many sides. For a dinner party, I usually go with creamy mashed potatoes (the garlic butter sauce is incredible over them) or a simple risotto. For a lighter option, roasted asparagus or a crisp green salad with lemon vinaigrette cuts through the richness. Crusty bread is non-negotiable—you’ll want something to soak up every last drop of that sauce. If you’re hosting, I love serving this with creamy lemon risotto for a restaurant-quality meal that looks way harder than it is.
Storage Instructions: Leftovers keep beautifully in the refrigerator for up to 4 days. Store the chicken and sauce together in an airtight container. The flavors actually deepen overnight, so don’t be surprised if it tastes even better the next day. I’ve been known to make a double batch just for leftovers.
Reheating Tips: The best way to reheat is in a skillet over medium-low heat with a splash of chicken broth or water to loosen the sauce. Cover the pan and let it warm through for 5-7 minutes. This method keeps the skin reasonably crispy and the meat moist. Avoid the microwave—it will steam the skin and turn it rubbery. If you’re in a hurry, you can use the microwave, but remove the skin first and reheat it separately in a toaster oven.
Freezer Instructions: This dish freezes surprisingly well. Let the chicken cool completely, then transfer to a freezer-safe container with the sauce. It will keep for up to 3 months. Thaw overnight in the refrigerator, then reheat in a skillet as directed above. The texture won’t be quite as perfect as fresh, but it’s still delicious—especially if you’re meal prepping for busy weeks.
Flavor Development: One thing I’ve noticed is that the garlic flavor mellows and becomes sweeter after a day in the fridge. The herbs also infuse more deeply into the meat. If you’re planning ahead, making this a day before you serve it can actually be a smart move—just reheat gently before your guests arrive.
Nutritional Information & Benefits
While this isn’t a health food per se, chicken thighs do offer some surprising nutritional benefits. Here’s a rough breakdown per serving (based on 4 servings with skin on):
- Calories: Approximately 450-500 per serving
- Protein: 32-35 grams
- Fat: 35-38 grams (including healthy fats from butter)
- Carbohydrates: 2-3 grams
- Iron: 8% of daily value
- Vitamin B6: 15% of daily value
- Zinc: 10% of daily value
Health Benefits: Chicken thighs are actually more nutrient-dense than chicken breasts in some ways. They contain more iron and zinc, which support immune function and energy levels. The dark meat also has a higher fat content, but don’t let that scare you—healthy fats are essential for absorbing fat-soluble vitamins. Garlic, meanwhile, is packed with antioxidants and has been shown to support heart health. I’m not saying this is a health food, but it’s certainly not something to feel guilty about.
Dietary Considerations: This recipe is naturally low-carb and keto-friendly (about 3 grams of carbs per serving). It’s also gluten-free and can be made dairy-free with substitutions. If you’re watching your sodium, use low-sodium chicken broth and go easy on the salt. For a lighter version, you can remove the skin before eating (but honestly, that’s the best part).
My Take: Look, I’m a firm believer that food should be enjoyed. This dish is rich and indulgent, and that’s okay. Balance comes from what you eat the rest of the day, not from one meal. I serve this with a big green salad or roasted vegetables, and I don’t think twice about the butter. Life’s too short for bland chicken.
Conclusion
If you take one thing away from this post, let it be this: good food doesn’t have to be complicated. This one-pan garlic butter chicken thighs recipe proves that with just a few quality ingredients and a little bit of technique, you can create something truly memorable. It’s the dish I turn to when I want to impress without stress, when I need comfort food fast, and when I just want to enjoy a really good meal with people I love.
I hope you give this recipe a try—and I hope you make it your own. Maybe you’ll add extra garlic (I always do), or throw in some mushrooms, or serve it over creamy polenta. However you make it, I’d love to hear about it. Drop a comment below and let me know how it turned out, or share your own twist on the recipe. Did your family fight over the last piece? Did you discover a new favorite side dish? Tell me all about it.
Cooking is about connection—to the food, to the people we share it with, and to the little moments that make life good. This recipe, born from a crumpled receipt and a chat with a taxi driver, has become one of those moments for me. I hope it becomes one for you too. Now go make some magic in that kitchen. You’ve got this.
Frequently Asked Questions
Can I use chicken breasts instead of thighs?
You can, but the results won’t be the same. Chicken breasts cook faster and have less fat, which means they’re more likely to dry out. If you do use breasts, reduce the cooking time by about 5 minutes and check the temperature early. Boneless, skinless breasts will only need about 12-15 minutes total.
How do I know when the chicken is fully cooked?
The most reliable way is with a meat thermometer. Insert it into the thickest part of the thigh, avoiding the bone. You’re looking for 165°F at minimum, but I prefer 170°F for thighs because the extra fat keeps them tender. If you don’t have a thermometer, cut into the thickest part—the juices should run clear and the meat should no longer be pink.
Can I make this recipe ahead of time for a party?
Absolutely! You can cook the chicken completely, then reheat it gently before serving. I actually think the flavors deepen overnight. Just store the chicken and sauce together in the fridge, then reheat in a skillet over medium-low heat with a splash of broth. The skin won’t be quite as crispy as fresh, but it’s still delicious.
What’s the best pan to use for this recipe?
Cast iron is my top choice because it holds heat evenly and gives you that perfect sear. A heavy stainless steel pan is a great second option. Avoid non-stick pans if possible—they don’t get hot enough for a proper sear, and you won’t get that beautiful crispy skin.
Can I freeze the leftovers?
Yes! Let the chicken cool completely, then transfer to a freezer-safe container with the sauce. It will keep for up to 3 months. Thaw overnight in the refrigerator, then reheat in a skillet. The texture won’t be quite as perfect as fresh, but it’s still a fantastic meal for busy nights.
Pin This Recipe!
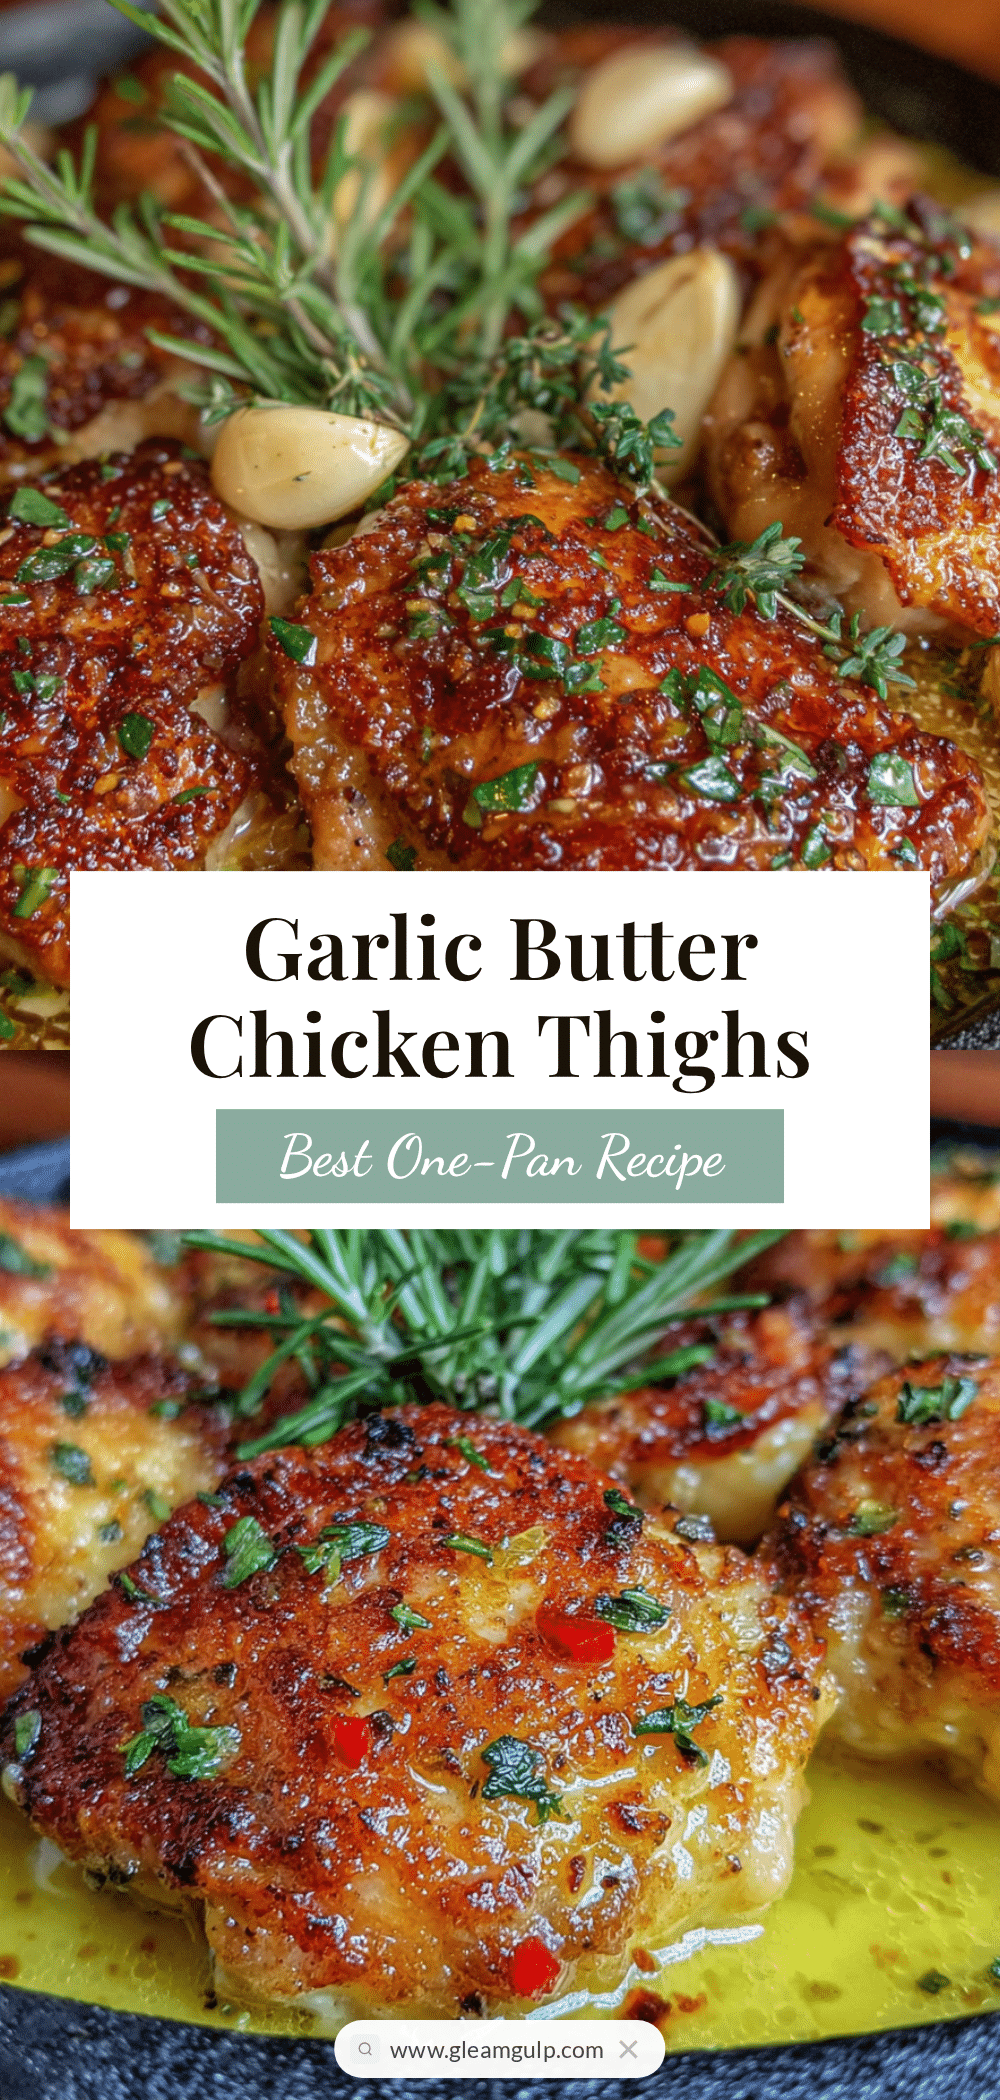
Best One-Pan Garlic Butter Chicken Thighs (Easy 30-Minute Recipe)

Crispy, golden chicken thighs with tender, juicy meat swimming in a rich garlic butter sauce, all made in one pan in just 30 minutes. Perfect for weeknight dinners or impressing guests with minimal effort.
- Prep Time: 10 minutes
- Cook Time: 20 minutes
- Total Time: 30 minutes
- Yield: 4 servings 1x
- Category: Main Course
- Cuisine: American
Ingredients
- 4–6 bone-in, skin-on chicken thighs (about 2 pounds total)
- 4 tablespoons unsalted butter, divided
- 8–10 garlic cloves, smashed
- 4–5 fresh thyme sprigs (or 1 teaspoon dried thyme)
- 1 small sprig fresh rosemary (or 1/2 teaspoon dried rosemary)
- 1 1/2 teaspoons kosher salt (or to taste)
- 1/2 teaspoon freshly ground black pepper
- 1 tablespoon fresh lemon juice
- 1/4 cup low-sodium chicken broth
- 1/4 teaspoon red pepper flakes (optional)
Instructions
- Prep the chicken (5 minutes): Pat the chicken thighs completely dry with paper towels. Season both sides generously with salt and pepper. Let them sit at room temperature for 10 minutes while you prep the garlic and herbs.
- Heat the pan (2 minutes): Place your skillet over medium-high heat and add 2 tablespoons of butter. Let it melt and start to foam. Swirl the pan to coat the bottom. The butter should be sizzling but not browning.
- Sear the chicken (8-10 minutes): Place the chicken thighs skin-side down in the hot pan. Don’t crowd them. Let them cook undisturbed for 5-6 minutes until deep golden brown. Flip and cook for another 3-4 minutes on the second side.
- Add the aromatics (1 minute): Reduce heat to medium-low. Push chicken to one side, add remaining 2 tablespoons butter, smashed garlic cloves, thyme sprigs, and rosemary. Let garlic sizzle for about 30 seconds until fragrant.
- Baste the chicken (2 minutes): Tilt the pan slightly and spoon the garlic butter over each thigh for 1-2 minutes, basting each thigh 4-5 times.
- Deglaze and finish (3-4 minutes): Pour in chicken broth and lemon juice. Scrape up browned bits from pan bottom. Let simmer for 2-3 minutes, basting once more. Add red pepper flakes if using.
- Check doneness (1 minute): Insert meat thermometer into thickest part of thigh (avoid bone). Cook to 165°F minimum, ideally 170°F.
- Rest and serve (5 minutes): Remove pan from heat. Let chicken rest in pan for 5 minutes. Spoon sauce over chicken before serving. Garnish with fresh thyme or parsley if desired.
Notes
Pat chicken completely dry for crispy skin. Don’t crowd the pan—work in batches if needed. Smash garlic cloves instead of mincing to prevent burning. Let chicken rest 5 minutes before serving. For extra-crispy skin, finish in a 400°F oven for 10-12 minutes after searing.
Nutrition
- Serving Size: 1 chicken thigh with
- Calories: 475
- Sugar: 1
- Sodium: 680
- Fat: 36
- Saturated Fat: 14
- Carbohydrates: 3
- Protein: 34
Keywords: one-pan chicken, garlic butter chicken, crispy chicken thighs, easy chicken recipe, 30-minute meal, weeknight dinner, dinner party chicken


