Love this? Save it for later!
Share the inspiration with your friends
It was 11:47 PM on a completely unremarkable Tuesday, and I had a craving for chicken parmesan that felt almost urgent. I didn’t have the energy for the traditional breading and frying routine—the mess, the oil splatters, the guilt—but I had a package of chicken breasts in the fridge and a block of Parmesan that was staring at me from the cheese drawer. And then the idea arrived, half-formed and probably a little reckless: what if I just baked them until they were stupidly crispy, no deep fryer required?
Honestly, I was skeptical. I mean, baked chicken cutlets have a reputation for being a little sad, right? Dry, bland, missing that satisfying crunch that makes you close your eyes and forget your problems for a second. But I was too tired to care about perfection, so I grabbed my food processor, tossed in some panko and Parmesan, and just went for it. Maybe you’ve been there—standing in your kitchen at an ungodly hour, willing a meal to work because you don’t have a backup plan.
The result surprised me so much I actually texted my sister a photo at midnight. She replied with a single word: “Recipe?” These crispy baked Parmesan chicken cutlets were golden, shatteringly crunchy on the outside, and impossibly juicy on the inside. The cheese had melted into the breading, creating these little crispy edges that were honestly better than anything I’d ever fried. It was one of those rare kitchen victories that feels like you cheated the system.
I’ve made these cutlets at least a dozen times since that late-night experiment, and they’ve never let me down. They’re the kind of recipe that makes you feel like a genius with very little effort. And let me tell you—once you try this method, you’ll never look at chicken parmesan the same way again.
Why You’ll Love This Recipe
After testing this recipe more times than I care to admit (and making my neighbors very happy with the leftovers), I can confidently say these are the best crispy baked Parmesan chicken cutlets you’ll make at home. Here’s why they work so well:
- Quick & Easy: From start to finish, these cutlets come together in about 30 minutes. Perfect for those weeknights when you need dinner on the table fast without sacrificing flavor.
- Simple Ingredients: You probably have everything in your kitchen right now. No fancy grocery runs, no obscure spices—just chicken, cheese, breadcrumbs, and a few pantry staples.
- Perfect for Busy Nights: Whether it’s a Tuesday dinner, a last-minute gathering, or meal prep for the week, these cutlets deliver every single time.
- Crowd-Pleaser: I’ve served these to picky kids, skeptical in-laws, and foodie friends—everyone goes back for seconds. The crunchy Parmesan crust is basically irresistible.
- Unbelievably Delicious: The texture is what gets me every time. That golden, crispy exterior gives way to tender, juicy chicken that’s packed with savory Parmesan flavor. It’s comfort food at its finest.
What makes this recipe different from the dozens of others out there? It’s the technique. Instead of a wet batter or a complicated breading station, we’re using a simple Parmesan-and-panko coating that bakes up impossibly crunchy without a drop of oil. The secret is in how we prep the chicken and the ratio of cheese to breadcrumbs. Trust me, this isn’t just another baked chicken recipe—it’s the one you’ll keep coming back to.
What Ingredients You Will Need
This recipe relies on a handful of simple, high-quality ingredients to deliver maximum flavor and texture. Each component plays a specific role in creating that perfect crispy crust and tender interior.
- Chicken Breasts: 1.5 pounds (about 3 large breasts), boneless and skinless. Look for evenly sized breasts so they cook at the same rate. If they’re huge, you’ll want to butterfly them or pound them thin.
- Panko Breadcrumbs: 1 cup. These are non-negotiable for maximum crunch. Regular breadcrumbs won’t give you the same shatteringly crispy texture. I prefer the Japanese-style panko for their light, flaky consistency.
- Freshly Grated Parmesan Cheese: 1 cup. Please, for the love of all things crispy, grate it yourself. The pre-shredded stuff in the green can has anti-caking agents that prevent melting and browning. Fresh Parmesan melts into the panko and creates those irresistible golden edges.
- Eggs: 2 large, beaten. These help the coating stick to the chicken and create that beautiful golden crust.
- All-Purpose Flour: 1/2 cup. A light dusting helps the egg wash adhere better and creates a barrier that keeps the chicken juicy.
- Garlic Powder: 1 teaspoon. Adds savory depth without overwhelming the Parmesan.
- Onion Powder: 1/2 teaspoon. A subtle background note that rounds out the flavor.
- Dried Italian Seasoning: 1 teaspoon. Oregano, basil, and thyme work beautifully here. You can also use a dried herb blend of your choice.
- Salt and Black Pepper: To taste. Don’t be shy—seasoning the chicken and the coating is key.
- Olive Oil Spray: Optional but recommended. A light mist over the top helps the panko brown evenly without deep frying.
- Fresh Parsley: For garnish. Adds a pop of color and freshness.
Ingredient Tips: For the best results, use room-temperature eggs—they incorporate more smoothly into the coating. If you’re out of panko, you can crush regular breadcrumbs or even cornflakes for a different texture. And if you want a gluten-free version, use gluten-free panko and substitute the flour with almond flour or cornstarch.
Equipment Needed
You don’t need a professional kitchen to make these crispy baked Parmesan chicken cutlets. Here’s what you’ll need:
- Baking Sheet: A rimmed baking sheet works best. The rim catches any melted cheese that might drip off.
- Wire Rack: This is the secret weapon. Placing a wire rack on your baking sheet allows hot air to circulate around the chicken, ensuring even browning and maximum crispiness on all sides.
- Meat Mallet or Rolling Pin: For pounding the chicken to an even thickness. If you don’t have one, a heavy skillet or even a wine bottle works in a pinch.
- Three Shallow Bowls: For the flour, egg wash, and panko mixture. Pie plates or wide soup bowls work perfectly.
- Tongs: For coating and transferring the chicken without making a mess.
- Box Grater or Microplane: For grating fresh Parmesan. A microplane gives you the finest texture, but a box grater works too.
- Food Processor (Optional): If you want to make your own panko from bread, or if you need to grind the Parmesan finer.
I’ve made these cutlets without a wire rack before, and they still turned out good—but not great. The bottom got a little soggy. Spending a few dollars on a basic wire rack is totally worth it for that all-around crunch. If you’re on a budget, you can flip the cutlets halfway through baking to get both sides crispy.
Preparation Method
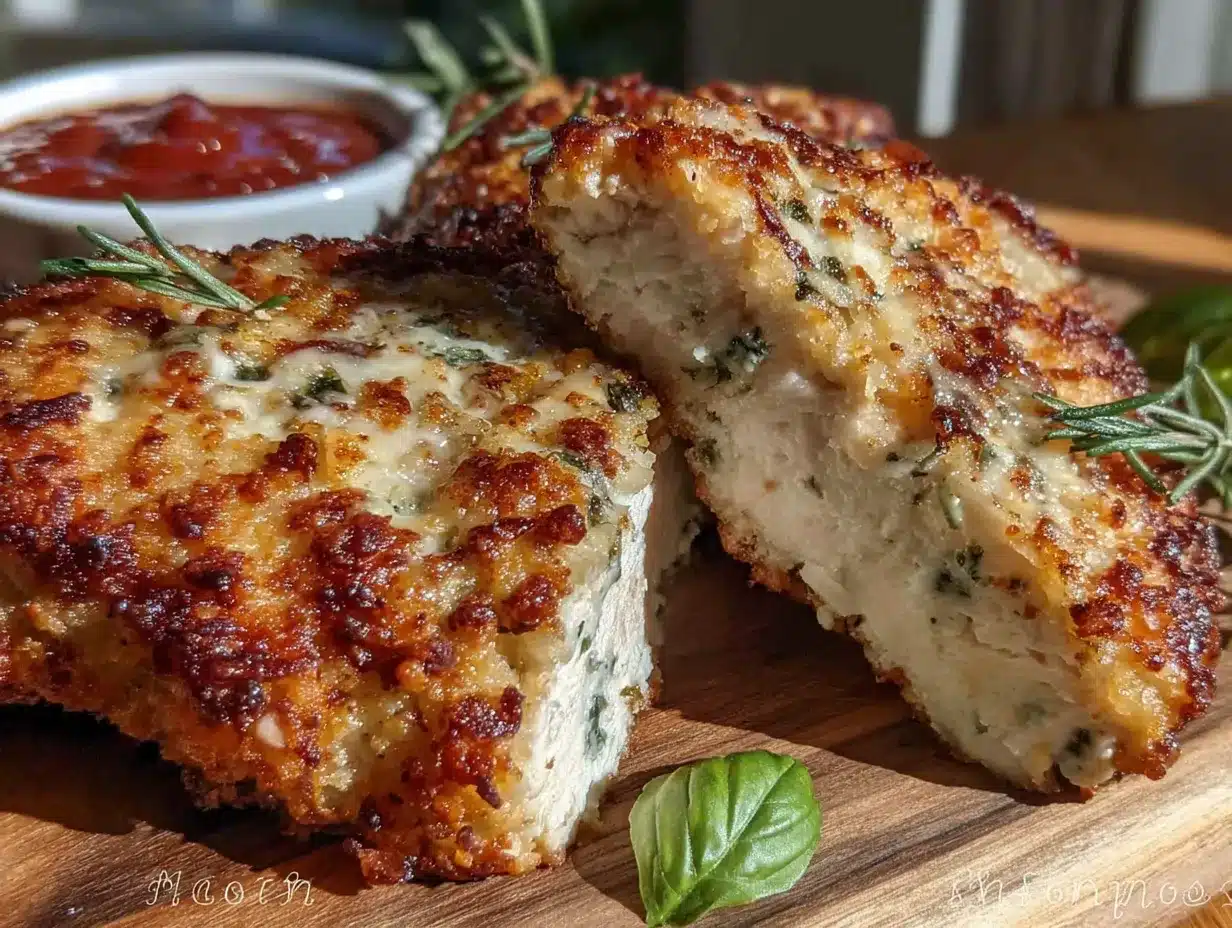
Let’s get cooking! Follow these steps carefully, and you’ll have the crispiest, juiciest chicken cutlets of your life.
- Preheat the Oven: Set your oven to 400°F (200°C). Place a wire rack on a rimmed baking sheet and spray it lightly with olive oil to prevent sticking. This step is crucial for that all-over crispiness.
- Prep the Chicken: Place your chicken breasts on a cutting board. Cover them with plastic wrap or parchment paper. Using a meat mallet or rolling pin, pound them to an even thickness of about 1/2 inch (1.25 cm). This ensures they cook evenly and stay tender. Season both sides generously with salt and pepper.
- Set Up the Breading Station: Get three shallow bowls ready. In the first bowl, mix the flour with 1/2 teaspoon each of garlic powder and onion powder. In the second bowl, beat the eggs with a splash of water (about 1 tablespoon) until smooth. In the third bowl, combine the panko, grated Parmesan, Italian seasoning, remaining garlic powder, onion powder, and a pinch of salt and pepper. Mix well with a fork.
- Coat the Chicken: Working with one piece at a time, dredge the chicken in the flour mixture, shaking off any excess. Dip it into the egg wash, letting any excess drip off. Finally, press it firmly into the panko-Parmesan mixture, making sure it’s completely coated on all sides. Don’t be shy—really press that coating on so it sticks.
- Arrange on the Rack: Place the coated chicken cutlets on the prepared wire rack, leaving a little space between each piece. This allows hot air to circulate and crisp up every surface. Lightly spray the tops with olive oil—this is what gives you that golden, crunchy finish.
- Bake to Perfection: Bake for 15-18 minutes, or until the internal temperature reaches 165°F (74°C). The coating should be deep golden brown and crispy. If you want extra crunch, you can flip the cutlets halfway through, but I find the wire rack does the job perfectly on its own.
- Rest and Serve: Let the cutlets rest on the rack for 2-3 minutes before serving. This helps the juices redistribute and keeps the coating from getting soggy. Garnish with fresh parsley if you like.
Pro Tip: If you’re making a larger batch, keep the cooked cutlets warm on a separate baking sheet in a 200°F (90°C) oven while you finish the rest. They’ll stay crispy for up to 30 minutes.
Cooking Tips & Techniques
After making these cutlets more times than I can count, I’ve learned a few tricks that make a real difference. Here’s what I wish I’d known from the start:
- Don’t Skip the Flour: I know it’s tempting to skip a step, but the flour creates a dry surface that helps the egg wash stick. Without it, the coating tends to slide off during baking. Trust me, I learned this the hard way.
- Pound Evenly: Uneven chicken thickness means some parts will be overcooked while others are underdone. Take the extra minute to pound them to an even thickness—your taste buds will thank you.
- Use Freshly Grated Parmesan: This is non-negotiable. Pre-grated cheese doesn’t melt properly and can make the coating greasy instead of crispy. Fresh Parmesan creates those beautiful, crunchy edges that are the best part.
- Don’t Overcrowd the Rack: If the cutlets are touching, they’ll steam instead of crisp. Leave at least an inch of space between each piece. If you’re making a double batch, use two baking sheets.
- Check Temperature Early: Ovens vary, so start checking the internal temperature at the 12-minute mark. You want 165°F, but don’t let them go much higher or they’ll dry out.
- Let Them Rest: I know it’s hard to wait, but those 2-3 minutes of resting time are crucial. The coating firms up and the juices settle, giving you a much better eating experience.
One of my biggest failures? I once forgot to spray the tops with oil, and they came out pale and sad. That little mist of oil is what gives you that beautiful golden color and extra crunch. Don’t skip it!
Variations & Adaptations
This recipe is incredibly versatile. Here are some of my favorite ways to switch it up:
- Spicy Buffalo Version: Add 1 tablespoon of hot sauce to the egg wash and mix 1/2 teaspoon of cayenne pepper into the panko mixture. Serve with ranch or blue cheese dressing for dipping. It’s my go-to game day snack.
- Gluten-Free Option: Use gluten-free panko (I like the Ian’s brand) and substitute the flour with almond flour or cornstarch. The texture is slightly different but still incredibly crispy.
- Herb-Crusted Variation: Add 2 tablespoons of finely chopped fresh herbs—parsley, basil, or thyme—to the panko mixture. It adds a beautiful freshness that’s perfect for spring and summer.
- Lemon Parmesan: Add the zest of one lemon to the panko mixture and squeeze fresh lemon juice over the cutlets right before serving. The brightness cuts through the richness beautifully.
- Air Fryer Adaptation: Cook at 375°F (190°C) for 10-12 minutes, flipping halfway through. The air fryer gives you an even crispier exterior in less time. Just don’t overcrowd the basket.
- Dairy-Free Version: Use nutritional yeast or a dairy-free Parmesan alternative. The texture won’t be exactly the same, but it’s still delicious and satisfying.
I once made a Mediterranean version with oregano, lemon zest, and crumbled feta mixed into the panko. It was honestly incredible—the salty feta created these amazing crispy bits. Don’t be afraid to experiment!
Serving & Storage Suggestions
These crispy baked Parmesan chicken cutlets are incredibly versatile when it comes to serving. Here’s how I like to enjoy them:
- Serving Temperature: Serve them hot and fresh from the oven for maximum crunch. They’re also delicious at room temperature on a salad or in a sandwich.
- Classic Pairings: Serve with a side of spaghetti marinara or a simple green salad with lemon vinaigrette. The acidity cuts through the richness of the cheese.
- Sandwich Style: Slice the cutlets and serve on a crusty roll with marinara sauce and melted mozzarella for an incredible chicken Parmesan sandwich. Add some fresh basil for extra flavor.
- Over Pasta: Slice the cutlets and serve over your favorite pasta with extra Parmesan and a sprinkle of red pepper flakes.
- Storage: Store leftovers in an airtight container in the refrigerator for up to 3 days. The coating will soften slightly, but they’re still delicious.
- Reheating: The best way to reheat is in a 375°F (190°C) oven or air fryer for 5-7 minutes. The microwave will make them soggy, so avoid it if you can. To refresh the crunch, give them a quick spray of oil before reheating.
- Freezing: You can freeze the baked cutlets in a single layer on a baking sheet, then transfer to a freezer bag. They’ll keep for up to 3 months. Reheat directly from frozen in a 400°F (200°C) oven for 12-15 minutes.
I’ve found that the flavors actually develop beautifully overnight. Leftover cutlets are amazing chopped up on a Caesar salad or tucked into a wrap with some fresh veggies and ranch dressing.
Nutritional Information & Benefits
Here’s the nutritional breakdown per serving (one cutlet, based on 6 servings):
| Nutrient | Amount |
|---|---|
| Calories | 320 |
| Protein | 35g |
| Fat | 12g |
| Saturated Fat | 5g |
| Carbohydrates | 18g |
| Fiber | 1g |
| Sugar | 1g |
| Sodium | 480mg |
These cutlets are a great source of lean protein, which helps keep you full and satisfied. The Parmesan adds calcium and a good dose of umami flavor without needing much salt. The panko provides quick energy, and by baking instead of frying, you’re saving a significant amount of fat and calories compared to traditional chicken Parmesan.
If you’re watching your sodium, you can reduce the salt in the coating and rely on the natural saltiness of the Parmesan. For a lower-carb option, you can substitute the panko with crushed pork rinds or almond flour—it won’t be quite as crispy, but it’s still delicious and satisfying.
Frequently Asked Questions
Can I use chicken thighs instead of breasts?
Absolutely! Boneless, skinless chicken thighs work beautifully in this recipe. They’re actually more forgiving and stay juicier than breasts. Just adjust the cooking time slightly—thighs may need an extra 2-3 minutes to reach 165°F (74°C).
Why is my coating falling off?
This usually happens for one of three reasons: the chicken wasn’t patted dry before flouring, the coating wasn’t pressed on firmly enough, or the chicken wasn’t pounded to an even thickness. Make sure to press the panko mixture into the chicken with a little force, and let the coated cutlets rest for 5 minutes before baking to help the coating set.
Can I make these ahead of time?
You can prep the breaded chicken up to 24 hours in advance. Just place the coated cutlets on a wire rack on a baking sheet, cover loosely with plastic wrap, and refrigerate. When you’re ready to bake, add an extra 2-3 minutes to the cooking time since they’ll be cold from the fridge.
How do I get the coating extra crispy?
Three things make a huge difference: using panko instead of regular breadcrumbs, not skipping the olive oil spray, and baking on a wire rack. If you want even more crunch, you can double-coat the chicken by doing the egg wash and panko mixture twice.
Can I freeze the uncooked breaded cutlets?
Yes! Place the breaded cutlets on a baking sheet in a single layer and freeze until solid (about 2 hours). Transfer to a freezer bag and store for up to 3 months. Bake directly from frozen, adding 5-7 minutes to the cooking time. No need to thaw—just add a few extra minutes in the oven.
Conclusion
These crispy baked Parmesan chicken cutlets have honestly become a staple in my kitchen, and I have a feeling they’ll become one in yours too. They’re proof that you don’t need a deep fryer or a complicated technique to get that satisfying, shatteringly crunchy texture we all crave. The combination of simple ingredients, smart technique, and a little bit of patience gives you a meal that feels indulgent but comes together in under 30 minutes.
What I love most about this recipe is how adaptable it is. You can dress it up for a dinner party, keep it simple for a weeknight, or transform it into sandwiches, salads, or pasta dishes throughout the week. It’s the kind of recipe that makes you feel like you’ve got a secret weapon in your cooking arsenal.
I’d love to hear how these turn out for you! Did you try any of the variations? Did you discover a new favorite way to serve them? Drop a comment below and let me know—I read every single one, and your feedback helps me create even better recipes for you. And if you loved these cutlets, share this recipe with a friend who needs a little crispy comfort in their life. Happy cooking!
Pin This Recipe!
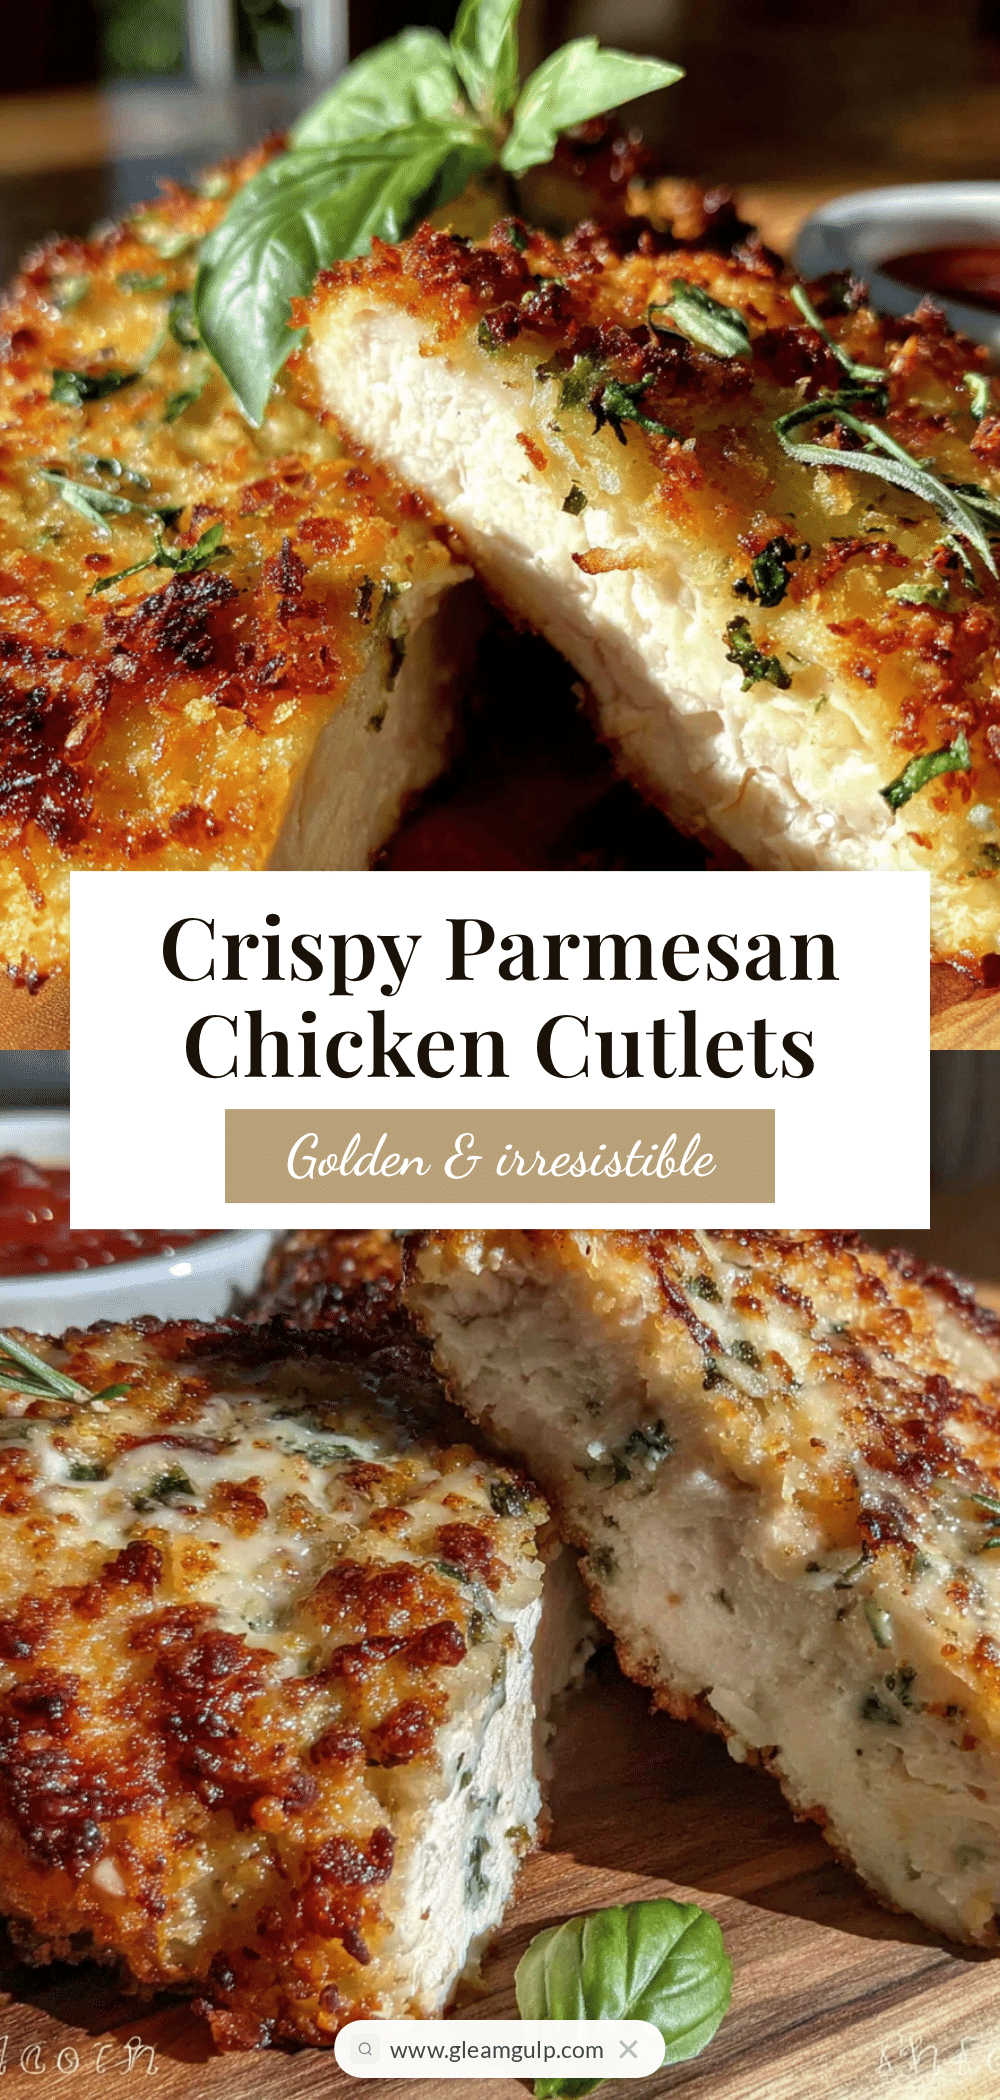
Best Easy Crispy Baked Parmesan Chicken Cutlets Recipe

These crispy baked Parmesan chicken cutlets are golden, shatteringly crunchy on the outside, and impossibly juicy on the inside. Made with simple ingredients and ready in about 30 minutes, they’re the perfect weeknight dinner that feels like a cheat meal without the guilt.
- Prep Time: 15 minutes
- Cook Time: 18 minutes
- Total Time: 33 minutes
- Yield: 6 servings 1x
- Category: Main Course
- Cuisine: Italian-American
Ingredients
- 1.5 pounds boneless, skinless chicken breasts (about 3 large)
- 1 cup panko breadcrumbs
- 1 cup freshly grated Parmesan cheese
- 2 large eggs, beaten
- 1/2 cup all-purpose flour
- 1 teaspoon garlic powder
- 1/2 teaspoon onion powder
- 1 teaspoon dried Italian seasoning
- Salt and black pepper to taste
- Olive oil spray (optional but recommended)
- Fresh parsley for garnish
Instructions
- Preheat the oven to 400°F (200°C). Place a wire rack on a rimmed baking sheet and spray lightly with olive oil.
- Place chicken breasts on a cutting board, cover with plastic wrap, and pound to an even thickness of about 1/2 inch (1.25 cm). Season both sides with salt and pepper.
- Set up a breading station with three shallow bowls. In the first bowl, mix flour with 1/2 teaspoon each of garlic powder and onion powder. In the second bowl, beat eggs with 1 tablespoon water. In the third bowl, combine panko, grated Parmesan, Italian seasoning, remaining garlic powder and onion powder, and a pinch of salt and pepper.
- Working one piece at a time, dredge chicken in flour mixture, shaking off excess. Dip into egg wash, letting excess drip off. Press firmly into panko-Parmesan mixture, coating completely on all sides.
- Place coated cutlets on the prepared wire rack, leaving space between each piece. Lightly spray tops with olive oil.
- Bake for 15-18 minutes, until internal temperature reaches 165°F (74°C) and coating is deep golden brown and crispy.
- Let cutlets rest on the rack for 2-3 minutes before serving. Garnish with fresh parsley if desired.
Notes
For best results, use freshly grated Parmesan—pre-shredded cheese contains anti-caking agents that prevent proper melting. Don’t skip the flour step as it helps the coating adhere. If you don’t have a wire rack, flip cutlets halfway through baking. For extra crunch, double-coat by repeating the egg wash and panko steps. Leftovers can be stored in the refrigerator for up to 3 days and reheated in a 375°F oven or air fryer for 5-7 minutes.
Nutrition
- Serving Size: 1 cutlet
- Calories: 320
- Sugar: 1
- Sodium: 480
- Fat: 12
- Saturated Fat: 5
- Carbohydrates: 18
- Fiber: 1
- Protein: 35
Keywords: crispy baked chicken cutlets, Parmesan chicken, baked chicken Parmesan, easy chicken recipe, weeknight dinner, crispy chicken, panko chicken


