Love this? Save it for later!
Share the inspiration with your friends
The Halloween bake sale was in six hours and I’d completely forgotten. Everyone else would be bringing elaborate spiderweb cakes and hand-piped ghost cookies — the kind of stuff that looks like it took three days and a pastry degree. I had a box of instant pudding mix, a sleeve of Oreos, and about twenty minutes before I needed to pick up my kid from school. Honestly, I almost just grabbed a bag of candy from the gas station and called it a day.
But then I remembered these little cups I’d seen somewhere — layers of crushed cookies, creamy chocolate pudding, and a few gummy worms peeking out. It looked so simple I almost didn’t believe it would work. I mean, could something this easy actually look good enough for a bake sale table? Let me tell you, I was skeptical right up until the moment I set them down next to the fancy stuff.
Here’s the thing about these quick graveyard dirt pudding cups with Oreo crumble — they’re the underdog that wins every time. The mom who brought the sugar cookies with royal icing actually asked me for the recipe. The kids grabbed them first, before the cupcakes, before the brownies. And I stood there trying to look modest while internally screaming that I literally threw them together in the time it takes to watch one episode of a sitcom. Maybe you’ve been there — needing something that looks like you tried way harder than you actually did. These dirt pudding cups are your secret weapon.
Why You’ll Love This Recipe
Let me be real with you — I’ve tested this recipe about a dozen times now, tweaking the pudding-to-crumb ratio and figuring out the best way to get that graveyard look without any fancy tools. It’s become my go-to for every last-minute event, and here’s why it should be yours too.
- Quick & Easy : Comes together in under 20 minutes, perfect for busy weeknights or last-minute Halloween party panic.
- Simple Ingredients : No fancy grocery trips needed; you likely already have everything in your kitchen except maybe the gummy worms.
- Perfect for Halloween : Great for classroom parties, bake sales, spooky movie nights, or just a fun after-school treat.
- Crowd-Pleaser : Always gets rave reviews from kids and adults alike — even the picky eaters devour these.
- Unbelievably Delicious : The creamy pudding against that crunchy Oreo crumble is next-level comfort food.
What makes this different from every other dirt pudding recipe? It’s the texture. I spent way too long figuring out the perfect crumble consistency — not too fine, not too chunky — so every spoonful gives you that satisfying crunch. Plus, I add a tiny pinch of salt to the crumble that makes the chocolate flavor pop in a way you won’t expect.
This recipe isn’t just good — it’s the kind that makes you close your eyes after the first bite. It’s comfort food reimagined for the Halloween season, faster than you’d believe, but with the same soul-soothing satisfaction. Perfect for impressing other parents without stress, or turning a simple Tuesday night into something memorable.
What Ingredients You Will Need
This recipe uses simple, everyday ingredients to deliver bold chocolate flavor and satisfying texture without the fuss. Most of these are pantry staples you probably already have hanging around.
- Instant chocolate pudding mix (two 3.9-ounce boxes) — I recommend Jell-O brand for the creamiest texture, but any brand works fine. Make sure it’s the instant kind, not cook-and-serve, or your timing will be all wrong.
- Cold whole milk (3 cups) — Whole milk gives the richest, creamiest pudding. If you use 2% or skim, it’ll still work but won’t be quite as luscious. For a dairy-free version, oat milk is your best bet here.
- Oreo cookies (one regular 15.35-ounce package) — You’ll use the whole cookie, filling and all. The filling helps the crumble stick together a bit. Don’t bother with double-stuff for this; regular Oreos give the perfect crumb-to-cream ratio.
- Gummy worms (about 24 worms) — Get the colorful sour ones for maximum visual impact. I’ve found the brand matters less than making sure they’re soft and bendy, not the hard, stale kind.
- Halloween sprinkles (optional, for garnish) — Little ghosts, pumpkins, or just orange and black jimmies add a fun touch.
- Crushed graham crackers (optional, 1/4 cup) — I sometimes mix these in with the Oreo crumble for extra texture variation, but this is totally optional.
A few ingredient notes from my personal trials: I once tried making this with homemade pudding from scratch, thinking it would taste better. You know what happened? It took forever, and honestly, nobody could tell the difference. The instant pudding is perfect here. Also, if you can find the Halloween-themed Oreos with orange filling, grab those — they make the crumble look extra festive without any extra effort.
For the gummy worms, I recommend checking the texture before you buy. Squeeze the bag gently — they should be soft, not rock-hard. Stale gummy worms ruin the whole experience, trust me on that one.
Equipment Needed
The beauty of this recipe is that you don’t need anything fancy. Here’s what you’ll need:
- Large mixing bowl — For making the pudding. Any big bowl works; I use my grandmother’s old Pyrex one with the chipped edge.
- Whisk — A balloon whisk works best, but a fork in a pinch will get the job done (I’ve done it, it’s not ideal but it works).
- Food processor or zip-top bag — For crushing the Oreos. The food processor gives the most consistent crumble, but a zip-top bag and a rolling pin (or even a heavy can) works beautifully.
- Small bowl — For holding your crushed Oreos while you assemble.
- 8-10 small cups or jars — Clear plastic cups let you see the layers, which is half the fun. I use 6-ounce clear plastic cups from the party store. Mason jars work great too if you want something reusable.
- Measuring cups — For the milk. A liquid measuring cup with a spout makes pouring easier.
- Small spoon or offset spatula — For layering the crumble neatly without making a mess.
If you don’t have a food processor, don’t sweat it. I’ve crushed Oreos with a meat tenderizer, a wine bottle, and once, in a moment of desperation, a clean brick from the garden. The bag-and-rolling-pin method is actually my favorite now — it’s oddly satisfying and gives you more control over the crumb size.
Preparation Method
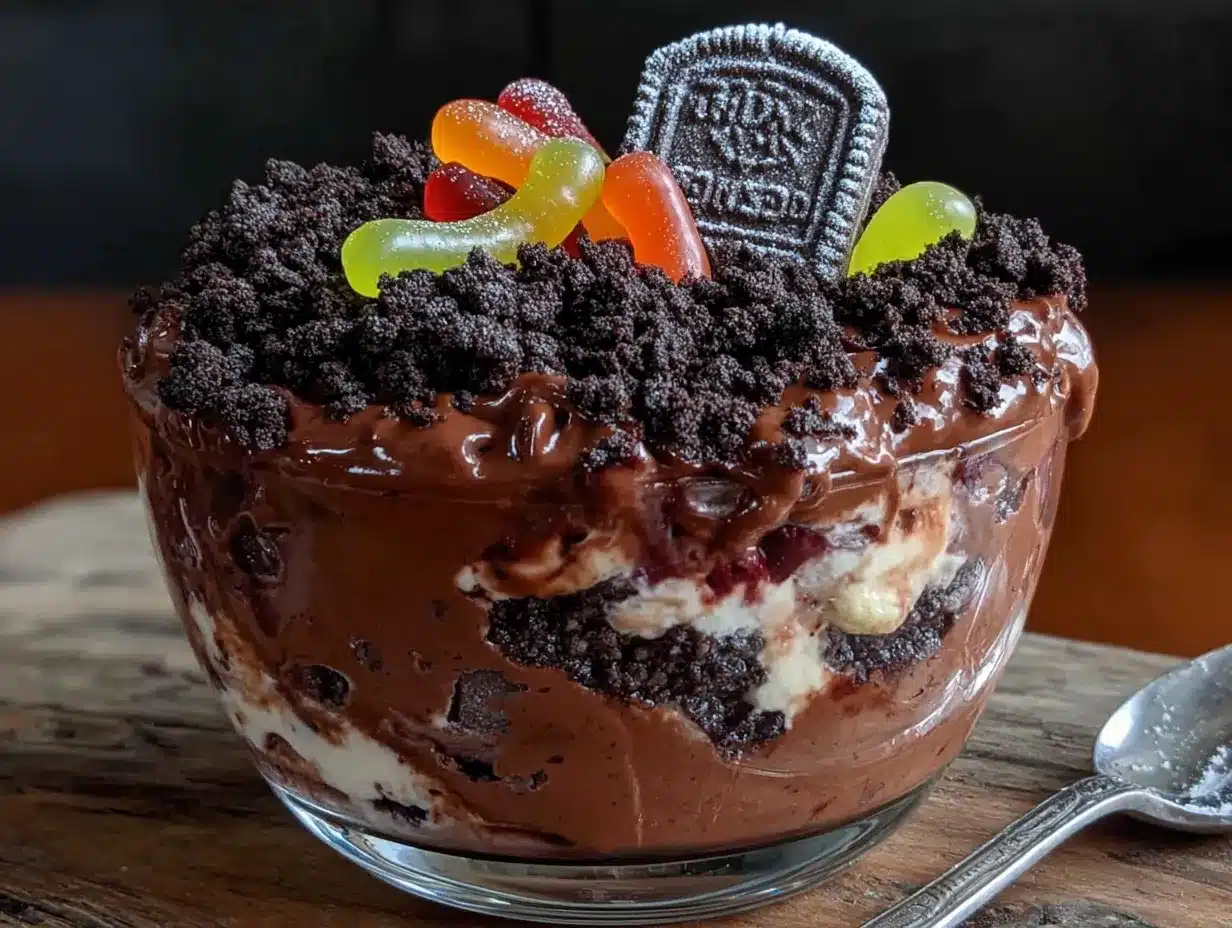
Alright, let’s get these graveyard dirt pudding cups made. I’ve timed this out so you can go from zero to done in about 20 minutes flat.
- Crush the Oreos (5 minutes) — Open your package of Oreos and dump the whole thing into your food processor. Pulse about 10-12 times until you get a mixture of fine crumbs and small chunks. You want some texture here — not powder, not boulder-sized pieces. If you’re using the bag method, put the cookies in a gallon-sized zip-top bag, squeeze out the air, and go to town with a rolling pin. Aim for mostly fine crumbs with a few pea-sized pieces for texture. Set aside in a small bowl.
- Make the pudding (5 minutes) — In your large mixing bowl, pour in the 3 cups of cold milk. Add both boxes of instant chocolate pudding mix. Whisk vigorously for about 2 minutes. You’ll feel it start to thicken as you go. The mixture should be smooth with no lumps. Pro tip: start with cold milk straight from the fridge — room temperature milk won’t set up properly and you’ll end up with soup.
- Let the pudding set (5 minutes) — Let the pudding sit for about 5 minutes. It should be thick but still spoonable, like a thick milkshake. Don’t let it go longer than 10 minutes or it’ll be too stiff to layer nicely. I usually set a timer on my phone because I’ve definitely forgotten and ended up with pudding that was practically solid.
- Layer the cups (5 minutes) — Grab your cups or jars. Start with a generous spoonful of crushed Oreos in the bottom of each cup — about 2 tablespoons. Press it down gently with the back of your spoon. This creates the “dirt” base. Next, spoon or pipe in the chocolate pudding, filling each cup about halfway. Tap the cup gently on the counter to settle the pudding and remove any air pockets.
- Add the gummy worms — Take 2-3 gummy worms and press them gently into the pudding layer so they look like they’re crawling out. Leave a bit of each worm sticking up above the surface. This is where the “graveyard” look really comes to life. Don’t push them all the way in — you want them visible.
- Top with more Oreo crumble (2 minutes) — Add another generous layer of crushed Oreos on top, covering the pudding completely. You want about 2-3 tablespoons per cup. This is your “dirt” surface. Use your fingers or a small spoon to create little mounds and dips — real dirt isn’t perfectly flat, and neither should this be.
- Garnish and chill (optional, but recommended) — Sprinkle a few Halloween sprinkles on top if you’re using them. Add one more gummy worm on top for good measure. For best results, refrigerate for at least 30 minutes before serving. This lets the flavors meld and the crumble soften just slightly against the pudding. If you’re in a rush, they’re still delicious immediately — I’ve eaten many a “warm” dirt cup straight from the counter.
A few visual cues to watch for: Your pudding should be thick enough that it doesn’t immediately run into the crumble layer. Your Oreo crumble should look like dark, rich soil — not too pale, not too dark. And your gummy worms should look like they’re genuinely trying to escape from the dirt. That’s the whole charm of this dessert.
Cooking Tips & Techniques
After making these dirt pudding cups for every Halloween event, classroom party, and spooky movie night for the past three years, I’ve collected a few tricks that make the process smoother.
The biggest mistake I see people make? Over-mixing the pudding. I did it myself the first time — I kept whisking, thinking it needed to be thicker. Then it set up into this dense, almost rubbery texture. Stop whisking as soon as it’s smooth and starting to thicken. Trust the process. The pudding will continue to set as it sits.
Another lesson I learned the hard way: Don’t crush your Oreos too far in advance. I made the mistake of crushing them the night before, and by morning they’d absorbed moisture from the air and gone slightly soft. The crunch is what makes these cups special. Crush them right before you assemble, or at most an hour ahead.
For the perfect crumble texture, here’s my technique: Pulse the Oreos in short bursts rather than running the food processor continuously. Continuous processing turns them into dust. You want a mix of fine crumbs and small chunks — think garden soil, not beach sand. I usually do 5-6 pulses, check the texture, then do a few more if needed.
Timing strategy for busy nights: Make the pudding and crush the Oreos during naptime or while dinner is cooking. Store the pudding in the fridge and the crumbs in an airtight container. Then assembly takes about 5 minutes flat when you’re ready. This is my go-to move for classroom party mornings when I’m already running late.
One more pro tip: If you’re making these for a party, assemble them in the cups but don’t add the top layer of Oreo crumble until right before serving. The crumble stays crunchier that way. I learned this after a sad batch of soggy dirt cups at my niece’s birthday party. Nobody said anything, but I knew.
Variations & Adaptations
Over the years, I’ve played around with this recipe more times than I can count. Here are some of my favorite twists:
Peanut Butter Dirt Cups: Swap one box of chocolate pudding for instant vanilla pudding and add 1/4 cup of creamy peanut butter when you whisk it in. The peanut butter-chocolate combo with the Oreo crumble is absolutely ridiculous. My husband requests this version for his birthday every year.
Vegan Version: Use your favorite plant-based milk — I’ve had great success with oat milk and almond milk. Just make sure it’s cold. Also check that your Oreos are vegan-friendly (they are, by the way — Oreos are accidentally vegan). Skip the gummy worms or find vegan-friendly ones at a natural foods store.
Gluten-Free Option: Use gluten-free chocolate sandwich cookies instead of regular Oreos. I’ve tested this with a few brands, and the texture is slightly different but still delicious. Just make sure your pudding mix is also gluten-free (most are, but always check the label).
Spiced Pumpkin Dirt Cups: For a fall twist, use one box of vanilla pudding mixed with 1/2 cup of pumpkin puree and a teaspoon of pumpkin pie spice. Layer it with the chocolate Oreo crumble and watch people’s eyes light up. I stumbled onto this variation when I had leftover pumpkin puree and it turned out amazing.
Individual Trifle Version: Layer the ingredients in a large glass bowl instead of individual cups for a party-centerpiece trifle. Double the recipe, add an extra layer of pudding and crumble, and top with extra gummy worms crawling up the sides of the bowl. It’s dramatic and impressive, and still takes almost no extra effort.
Serving & Storage Suggestions
These dirt pudding cups are best served cold, straight from the fridge. The contrast between the cool, creamy pudding and the crunchy Oreo crumble is the whole point. I like to pull them out about 5 minutes before serving — just enough to take the chill off without losing the texture.
For presentation: Arrange the cups on a platter or tray with a few extra gummy worms scattered around the base. If you’re feeling fancy, stick a small plastic tombstone or a candy skull into each cup. I found a pack of 12 mini tombstones at the dollar store last year and they were a huge hit with the kids.
What to serve alongside: These pair beautifully with warm apple cider or a pumpkin spice latte for the adults. For a Halloween party spread, set them next to a bowl of popcorn tossed with orange food coloring or a plate of mummy hot dogs. The sweet-and-savory combo always works.
Storage: Cover each cup with plastic wrap or a lid and refrigerate for up to 3 days. The crumble will soften over time — that’s just physics — but they’re still delicious. I actually prefer them on day two when the Oreo crumbs have softened slightly against the pudding, almost like a cookie crust.
Freezer option: You can freeze these for up to a month, but honestly, I don’t recommend it. The texture of the pudding changes when frozen and thawed — it gets a little grainy. If you absolutely must freeze them, leave off the top layer of Oreo crumble and add it fresh after thawing in the fridge overnight.
Reheating: Don’t. These are meant to be served cold. If someone insists on warm chocolate pudding, make a separate batch of stovetop pudding and serve it in a mug with a few crushed Oreos on top.
Nutritional Information & Benefits
Let’s be honest — these are a treat, not a health food. But here’s what you’re looking at per serving (based on 8 servings using whole milk and regular Oreos):
- Calories: Approximately 380-420 per cup
- Fat: 16-18 grams
- Carbohydrates: 55-60 grams
- Protein: 6-8 grams
- Sugar: 38-42 grams
- Calcium: About 15% of daily value (from the milk and pudding)
Dietary considerations: As mentioned, these can be made vegan and gluten-free with simple substitutions. They contain dairy and wheat in their standard form, so keep that in mind for allergies. The gummy worms often contain gelatin, so check labels if you’re serving vegetarians.
A small wellness perspective: I’m not going to pretend these are good for you in any meaningful way. But I will say this — there’s something genuinely good for the soul about sitting down with your kids after a long day, each of you with a little cup of chocolate dirt, giggling at the gummy worms poking out. Sometimes that counts for more than the numbers on a nutrition label.
Conclusion
These quick graveyard dirt pudding cups with Oreo crumble have saved my bacon more times than I can count. They’ve been my last-minute classroom party hero, my “oh no, the in-laws are coming over” secret weapon, and my “I just need something fun for Tuesday” go-to. Every single time, people act like I spent hours on them. Every single time, I smile and nod and don’t mention the 20-minute timeline.
The best part? You can make them your own. Add extra gummy worms, swap in different cookie flavors, experiment with pudding varieties — the basic formula is forgiving and flexible. I’d love to hear how yours turn out. Did you try the peanut butter version? Did your kids help crush the Oreos? Did anyone at your party actually believe you made them from scratch? Drop a comment below and let me know — I read every single one, and your stories honestly make my day.
Now go make some dirt. Your inner child (and your actual children) will thank you.
Frequently Asked Questions
Can I make these dirt pudding cups ahead of time?
Absolutely! You can assemble them up to 24 hours in advance. Just hold off on the top layer of Oreo crumble until right before serving to keep it crunchy. The pudding actually benefits from sitting overnight — the flavors meld together beautifully.
How many cups does this recipe make?
This recipe makes about 8-10 servings depending on the size of your cups. I use 6-ounce clear plastic cups and get exactly 8 generous portions. If you’re using smaller cups, like 4-ounce shot glasses for a party, you’ll get closer to 12-14 servings.
Can I use homemade pudding instead of instant?
You can, but I honestly don’t recommend it. Homemade pudding is thinner and takes much longer to set. The instant pudding has stabilizers that give you that perfect spoonable texture in minutes. If you really want to go homemade, make it a day ahead and let it set overnight in the fridge.
What if I don’t have a food processor for crushing the Oreos?
No problem at all! Put the Oreos in a large zip-top bag, squeeze out the air, and crush them with a rolling pin, a heavy can, or even the bottom of a sturdy pan. I’ve also used a meat tenderizer in a pinch. It takes a few extra minutes and it’s a great way to get out some frustration.
Can I use a different type of cookie for the crumble?
Definitely! Chocolate wafer cookies, gluten-free chocolate sandwich cookies, or even crushed chocolate graham crackers all work great. I’ve even made a version with crushed Biscoff cookies and it was amazing — the spiced flavor paired beautifully with the chocolate pudding.
Pin This Recipe!
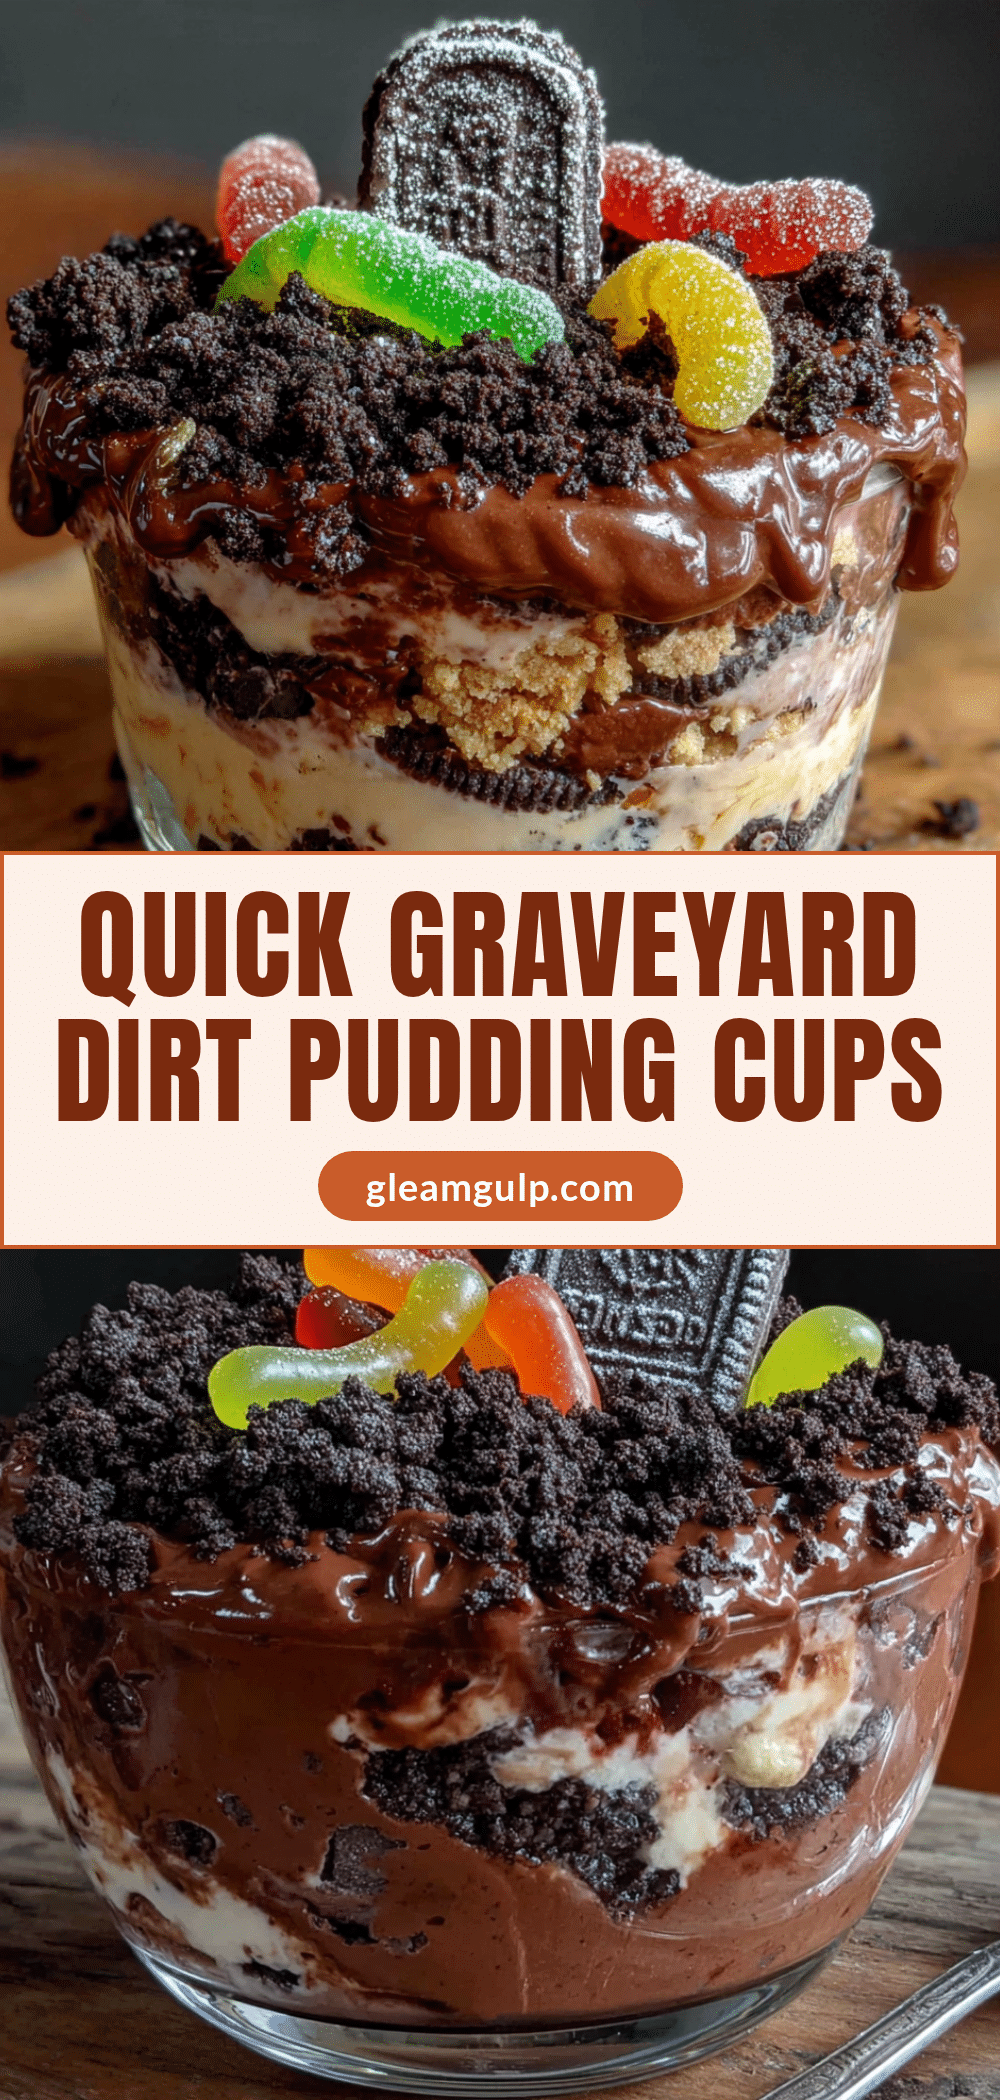
Best Easy Graveyard Dirt Pudding Cups with Oreo Crumble

Quick and easy Halloween dessert cups made with layers of creamy chocolate pudding, crushed Oreo crumble, and gummy worms. Ready in under 20 minutes with simple ingredients, these spooky treats are perfect for last-minute parties and bake sales.
- Prep Time: 15 minutes
- Cook Time: 0 minutes
- Total Time: 20 minutes
- Yield: 8 servings 1x
- Category: Dessert
- Cuisine: American
Ingredients
- 2 (3.9-ounce) boxes instant chocolate pudding mix
- 3 cups cold whole milk
- 1 (15.35-ounce) package regular Oreo cookies
- 24 gummy worms
- Halloween sprinkles (optional, for garnish)
- 1/4 cup crushed graham crackers (optional)
Instructions
- Crush the Oreos: Open the package of Oreos and dump the whole thing into a food processor. Pulse about 10-12 times until you get a mixture of fine crumbs and small chunks. Alternatively, put the cookies in a gallon-sized zip-top bag, squeeze out the air, and crush with a rolling pin. Set aside in a small bowl.
- Make the pudding: In a large mixing bowl, pour in the 3 cups of cold milk. Add both boxes of instant chocolate pudding mix. Whisk vigorously for about 2 minutes until smooth and starting to thicken.
- Let the pudding set: Let the pudding sit for about 5 minutes until it is thick but still spoonable, like a thick milkshake.
- Layer the cups: Start with a generous spoonful of crushed Oreos in the bottom of each cup (about 2 tablespoons). Press it down gently. Next, spoon or pipe in the chocolate pudding, filling each cup about halfway. Tap the cup gently on the counter to settle the pudding.
- Add the gummy worms: Take 2-3 gummy worms and press them gently into the pudding layer so they look like they’re crawling out, leaving a bit of each worm sticking up above the surface.
- Top with more Oreo crumble: Add another generous layer of crushed Oreos on top (about 2-3 tablespoons per cup), covering the pudding completely. Use your fingers or a small spoon to create little mounds and dips.
- Garnish and chill: Sprinkle a few Halloween sprinkles on top if using. Add one more gummy worm on top. Refrigerate for at least 30 minutes before serving for best results.
Notes
For best results, use cold whole milk for the richest pudding. Crush Oreos right before assembling to keep them crunchy. If making ahead, add the top layer of Oreo crumble just before serving to maintain crunch. The pudding will continue to set as it sits, so don’t over-mix. For a dairy-free version, use oat milk and check that Oreos are vegan-friendly (they are).
Nutrition
- Serving Size: 1 cup
- Calories: 400
- Sugar: 40
- Sodium: 480
- Fat: 17
- Saturated Fat: 6
- Carbohydrates: 58
- Fiber: 2
- Protein: 7
Keywords: Halloween dessert, dirt pudding cups, Oreo crumble, chocolate pudding, gummy worms, easy dessert, no-bake dessert, kid-friendly, party dessert


