Love this? Save it for later!
Share the inspiration with your friends
I wasn’t expecting to get a banana bread recipe from a taxi driver, but there I was, stuck in traffic on a rainy Tuesday afternoon, listening to a man named Carlos describe exactly how to make the most perfect, tender loaf I’ve ever pulled out of my oven. He was telling me about his grandmother’s method while we sat at a dead stop on the highway, and honestly, I was so captivated I almost missed my exit. He said she never used a mixer because “the bowl doesn’t need all that noise,” and something about that stuck with me.
The rain was coming down in sheets, and I’d been having one of those days where nothing goes right. I’d spilled coffee on my shirt, forgotten my grocery list at home, and now I was running late. But Carlos, this total stranger, was telling me about the secret to his grandmother’s banana bread with such warmth in his voice that the traffic jam suddenly felt like a gift. He said the secret was in how you mash the bananas—not too smooth, with a few chunky bits left—and how you fold the flour in with your hand, just until it disappears. No overmixing, no fancy equipment, just a bowl and a spoon and a little patience.
I scribbled his instructions on a napkin I found in my glove compartment. I mean, who does that? But I got home that night, had three overripe bananas sitting on my counter (you know that feeling when they’re staring at you, begging to be used), and I decided to try it. That first loaf came out so good I actually called my mom to tell her about it. The texture was soft and tender, the top had that perfect crack down the middle, and the whole apartment smelled like the coziest bakery you’ve ever walked into. I’ve been making it ever since, and it’s never let me down.
Why You’ll Love This Recipe
This isn’t just another banana bread recipe floating around the internet. This is the one you’ll come back to again and again, and here’s why it’s different from the rest.
- No Mixer Required : You don’t need a stand mixer, hand mixer, or any fancy gadget. Just a bowl, a fork, and a wooden spoon. That’s it.
- One Bowl Cleanup : Everything comes together in a single bowl. Less dishes means more time enjoying your warm slice of heaven.
- Simple Pantry Ingredients : You probably already have everything you need. No trips to the specialty grocery store or hunting down obscure ingredients.
- Perfectly Moist Every Time : The texture is consistently soft, tender, and never dry. I’ve tested this more times than I care to admit, and it works every single time.
- Comfort Food at Its Finest : There’s something about the smell of banana bread baking that makes everything feel right in the world. It’s like a warm hug for your kitchen.
- Flexible and Forgiving : You can swap ingredients, add mix-ins, and make it your own without worrying about ruining the recipe. It’s practically foolproof.
I’ve made this for brunches, for neighbors who needed a pick-me-up, and for those quiet Sunday mornings when all I want is a slice of something good with my coffee. It’s the kind of recipe that feels like coming home. And honestly? The first time you pull that golden loaf out of the oven, you’ll understand why Carlos’s grandmother never bothered with a mixer.
What Ingredients You Will Need
This recipe uses simple, wholesome ingredients to deliver that classic banana bread flavor and perfect texture. Most of these are pantry staples you probably already have on hand, which makes this the perfect last-minute bake when those bananas on your counter start looking a little too speckled.
For the Banana Bread
- 3 ripe bananas, mashed (about 1 ½ cups or 340g) — The riper the better! Those spotty, almost-black bananas are exactly what you want. They’re sweeter and easier to mash. I always keep a stash of overripe bananas in my freezer for this exact reason.
- ⅓ cup (75g) unsalted butter, melted — Use real butter for the best flavor. You can melt it in the microwave or on the stovetop. Let it cool slightly before mixing so it doesn’t cook the eggs.
- ¾ cup (150g) granulated sugar — Regular white sugar works perfectly. You can also use coconut sugar for a deeper flavor, but the texture will be slightly denser.
- 1 large egg, room temperature — Room temperature egg incorporates more smoothly into the batter. If you forgot to take it out ahead of time, place it in a bowl of warm water for 5 minutes.
- 1 teaspoon vanilla extract — Pure vanilla extract adds warmth and depth. I recommend Nielsen-Massey or simply store-brand pure vanilla—both work beautifully.
- 1 ½ cups (190g) all-purpose flour — Spoon and level your flour for the most accurate measurement. Scooping directly from the bag can pack in too much flour and make your bread dry.
- 1 teaspoon baking soda — This is your leavening agent. Make sure it’s fresh! Test it by dropping a little into vinegar—if it fizzes, it’s good to go.
- ½ teaspoon salt — Fine sea salt or table salt works best. It balances the sweetness and enhances all the flavors.
- Optional: ½ cup (60g) chopped walnuts or pecans — Adds a lovely crunch. Toast them lightly first for even more flavor.
- Optional: ½ cup (90g) chocolate chips — Because chocolate makes everything better. Semi-sweet or dark chocolate is my go-to.
Ingredient Selection Tips
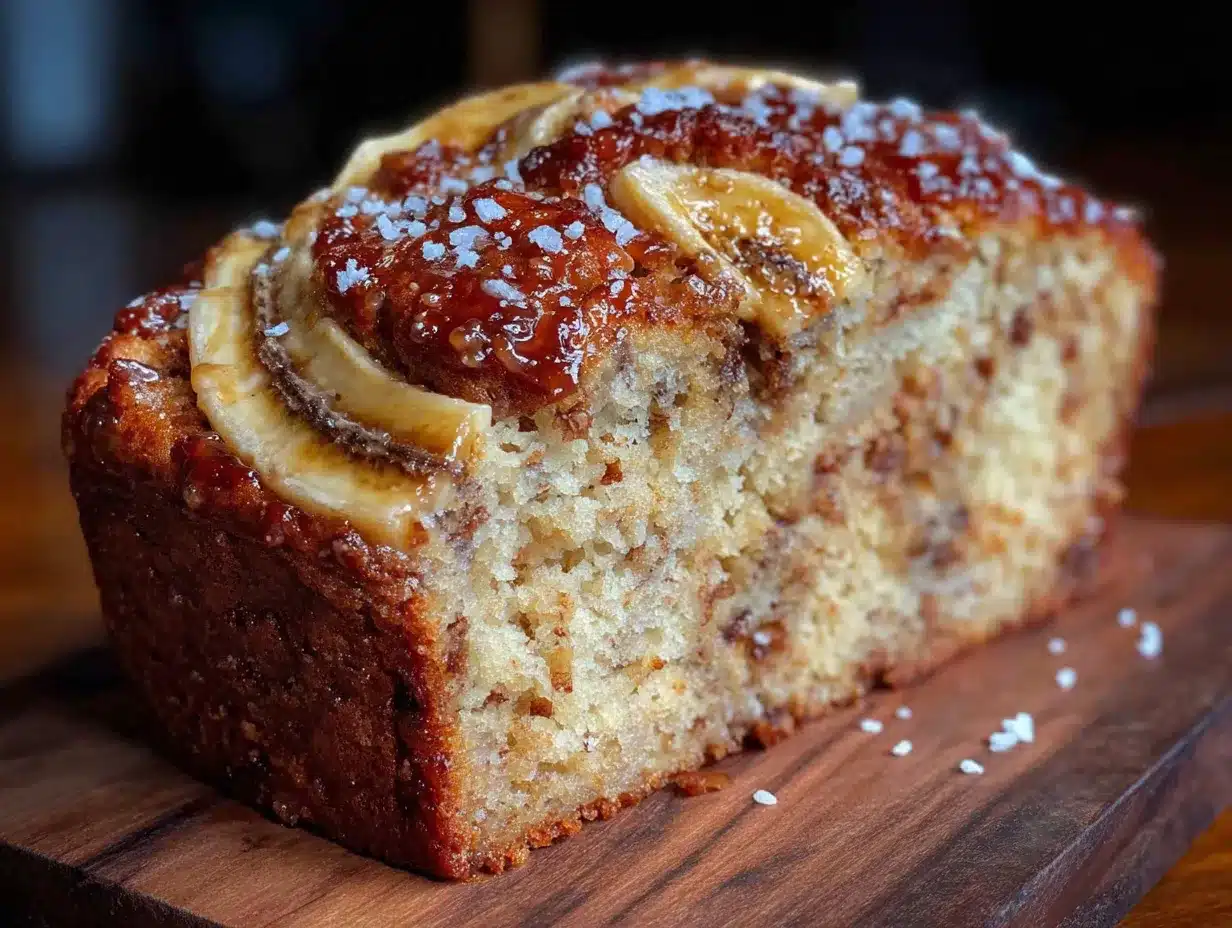
For the best results, use bananas that are heavily speckled with brown spots or even completely black. They should be soft to the touch and smell intensely sweet. If your bananas aren’t ripe enough, you can speed things up by placing them on a baking sheet in a 300°F (150°C) oven for 15-20 minutes until the skins turn black. Let them cool before mashing.
I prefer using unsalted butter so I can control the salt level, but salted butter works in a pinch—just reduce the added salt to ¼ teaspoon. For a dairy-free version, swap the butter with melted coconut oil or a good quality vegan butter like Earth Balance.
Equipment Needed
The beauty of this recipe is that you probably already own everything you need. No fancy gadgets required, which is exactly how Carlos’s grandmother intended it.
- Large mixing bowl — Any medium-to-large bowl will do. I use a ceramic one because it feels nice and sturdy, but glass or metal works just fine.
- Fork or potato masher — For mashing those bananas. A fork works perfectly, but a potato masher makes it even faster.
- Wooden spoon or rubber spatula — For mixing the batter. A wooden spoon is traditional and gets the job done without overmixing.
- 9×5-inch (23x13cm) loaf pan — Standard size for banana bread. If you only have an 8×4-inch pan, your bread will be taller and可能需要 bake a few minutes longer.
- Parchment paper — Optional but highly recommended. It makes lifting the bread out of the pan so much easier. I learned this the hard way after a few stuck loaves.
- Cooling rack — Allows air to circulate around the loaf so it cools evenly and doesn’t get soggy on the bottom.
- Measuring cups and spoons — For accurate ingredient measurements. A kitchen scale is even better for precision.
If you don’t have a loaf pan, you can bake this in an 8×8-inch square pan or even a muffin tin. Just adjust the baking time accordingly—muffins will be done in about 18-22 minutes.
Preparation Method
Let’s get baking! This comes together so quickly you’ll have batter in the pan before you know it. Preheat your oven to 350°F (175°C) first so it’s ready when you are.
- Preheat and prepare your pan. Preheat your oven to 350°F (175°C). Grease your 9×5-inch loaf pan with butter or non-stick spray, or line it with parchment paper leaving a little overhang on the sides for easy lifting.
- Mash the bananas. In your large mixing bowl, add the three ripe bananas. Mash them with a fork or potato masher until they’re mostly smooth with a few small lumps remaining. You want some texture here—completely smooth banana puree can make the bread dense. It should look like a chunky puree with some small banana pieces scattered throughout.
- Add the wet ingredients. Pour in the melted butter (make sure it’s cooled slightly), granulated sugar, egg, and vanilla extract. Stir everything together with your wooden spoon or spatula until well combined. The mixture will look a little grainy from the sugar, and that’s totally fine. Don’t worry if it doesn’t look perfectly smooth.
- Add the dry ingredients. Sprinkle the flour, baking soda, and salt over the wet mixture. Stir gently, just until you can’t see any more streaks of flour. This is the most important step: do not overmix! Overmixing develops the gluten and makes your banana bread tough and rubbery. You want to mix about 15-20 strokes, maybe less. A few small lumps are perfectly okay.
- Fold in mix-ins (optional). If you’re adding walnuts, pecans, or chocolate chips, gently fold them in now with a few more stirs. Don’t go crazy—just until they’re evenly distributed.
- Pour into the pan. Scrape the batter into your prepared loaf pan and spread it evenly with your spatula. The batter will be thick and somewhat lumpy, which is exactly what you want.
- Bake. Place the pan in the center of your preheated oven and bake for 50-60 minutes. Start checking at the 50-minute mark. The bread is done when a toothpick inserted into the center comes out clean or with just a few moist crumbs attached. The top should be golden brown and cracked beautifully down the middle.
- Cool. Let the bread cool in the pan for about 10 minutes. Then, if you used parchment paper, lift it out and transfer to a cooling rack. If not, run a knife around the edges and turn it out onto the rack. Let it cool completely before slicing—about 1 hour. I know it’s tempting to cut into it warm, but it will be much easier to slice cleanly when cooled.
A quick note: if the top of your bread is browning too quickly but the center isn’t done yet, tent the pan loosely with aluminum foil for the last 15-20 minutes of baking. This prevents the top from burning while the inside finishes cooking.
Cooking Tips & Techniques
I’ve made this banana bread more times than I can count, and I’ve learned a few things along the way. Here are my best tips to make sure yours turns out perfect every time.
Don’t overmix the batter. This is the number one mistake people make with banana bread. Mix just until the flour disappears. Overmixing creates a tough, dense loaf instead of that soft, tender crumb we’re after. I’ve done it myself—I got distracted once and kept stirring, and that loaf came out like a brick. Learn from my mistake!
Use room temperature ingredients. Cold eggs and butter can seize up when mixed, leading to a lumpy batter. Let your egg sit out for 30 minutes before starting. If you’re in a hurry, place the egg in a bowl of warm water for 5 minutes.
Measure your flour correctly. Spoon the flour into your measuring cup and level it off with a knife. Scooping directly from the bag can pack in up to 25% more flour, which will dry out your bread. If you have a kitchen scale, 190 grams is the sweet spot.
Check for doneness with a toothpick. Insert it into the center of the loaf—not the crack on top, but into the thickest part. If it comes out clean or with a few moist crumbs, it’s done. If it’s wet with batter, give it another 5 minutes and check again.
Let it cool completely. I know, I know. The smell is intoxicating and you want a slice immediately. But cutting into hot banana bread will make it crumble and fall apart. Patience pays off with clean, perfect slices. If you absolutely can’t wait, at least let it cool for 30 minutes.
Toast leftover slices. Day-old banana bread is amazing when toasted. Pop a slice in the toaster or under the broiler for a minute or two. The edges get slightly crispy while the inside stays soft and warm. It’s a whole new experience.
Variations & Adaptations
This recipe is wonderfully forgiving and adaptable. Here are some of my favorite ways to change it up depending on what I have on hand or what I’m craving.
Gluten-Free Version : Swap the all-purpose flour with a 1:1 gluten-free baking flour blend. I’ve used Bob’s Red Mill and King Arthur with great results. The texture will be slightly more delicate, so be gentle when mixing. Add an extra tablespoon of flour if the batter seems too wet.
Vegan Banana Bread : Replace the butter with melted coconut oil or vegan butter. Use a flax egg (1 tablespoon ground flaxseed mixed with 3 tablespoons water, let sit for 5 minutes) instead of the regular egg. The texture will be a bit denser but still delicious. I’ve made this for vegan friends and they always ask for the recipe.
Lower Sugar Option : Reduce the sugar to ½ cup (100g) if you prefer a less sweet bread. You can also use ¼ cup maple syrup or honey, but reduce the butter by 2 tablespoons to account for the extra liquid. The bread will be slightly more moist and have a deeper flavor.
Seasonal Twists : In the fall, add 1 teaspoon of cinnamon, ½ teaspoon of nutmeg, and ¼ teaspoon of cloves to the dry ingredients. In the summer, fold in ½ cup of fresh blueberries or raspberries for a fruity pop. I made a pumpkin spice version last October that disappeared in two days.
Chocolate Lover’s Version : Add ½ cup of cocoa powder to the dry ingredients and increase the sugar to 1 cup. Fold in ½ cup of chocolate chips. It’s basically dessert masquerading as breakfast, and I’m not mad about it.
Nut-Free Option : Simply omit the walnuts or pecans, or replace them with sunflower seeds or pumpkin seeds for a similar crunch without the allergens.
Serving & Storage Suggestions
This banana bread is delicious on its own, but here are a few ways to take it to the next level.
Serving Ideas : Serve slices warm or at room temperature. For an extra treat, spread a pat of butter on a warm slice and watch it melt into the bread. A drizzle of honey or a smear of cream cheese is also incredible. For dessert, top a slice with a scoop of vanilla ice cream and a drizzle of caramel sauce—trust me on this one.
What to Drink With It : A hot cup of coffee is the classic pairing, but it’s also wonderful with a chai latte, a glass of cold milk, or even a cup of herbal tea. For brunch, serve it alongside fresh fruit and yogurt for a complete meal.
Storage Instructions : Store leftover banana bread tightly wrapped in plastic wrap or in an airtight container at room temperature for up to 4 days. The moisture actually improves over the first day or two, making it even more tender. Do not refrigerate—it will dry out the bread faster.
Freezing Instructions : This bread freezes beautifully. Wrap the completely cooled loaf (or individual slices) tightly in plastic wrap, then in aluminum foil. Freeze for up to 3 months. To thaw, leave it on the counter for a few hours or pop individual slices in the toaster straight from the freezer. I always keep a loaf in my freezer for unexpected guests or those days when I need a little comfort.
Reheating Tips : For that fresh-from-the-oven taste, warm individual slices in the microwave for 10-15 seconds or in a 300°F (150°C) oven for 5-10 minutes. Toasting is my preferred method—it gives the edges a lovely crunch.
Nutritional Information & Benefits
While banana bread is definitely a treat, it does have some redeeming qualities. Here’s the estimated nutritional breakdown for one slice (based on 10 slices per loaf, without mix-ins).
| Nutrient | Amount Per Slice |
|---|---|
| Calories | 210 |
| Total Fat | 8g |
| Saturated Fat | 4.5g |
| Cholesterol | 35mg |
| Sodium | 220mg |
| Total Carbohydrates | 33g |
| Dietary Fiber | 1.5g |
| Sugars | 17g |
| Protein | 3g |
Bananas are a great source of potassium, vitamin B6, and vitamin C. They also contain fiber, which aids digestion and helps you feel fuller longer. The walnuts or pecans, if you add them, provide healthy omega-3 fatty acids and protein.
This recipe can be made lower in sugar or dairy-free to fit various dietary needs. It’s also naturally nut-free if you skip the optional nuts, making it safe for school lunches and gatherings. As always, check your ingredients for any potential allergens, especially if you’re serving someone with dietary restrictions.
Conclusion
This cozy one-bowl banana bread has become a staple in my kitchen for a reason. It’s simple, forgiving, and always delivers that warm, comforting feeling that only homemade banana bread can. Every time I make it, I think about Carlos and his grandmother, and how a random conversation in a taxi cab turned into one of my most cherished recipes.
I hope you give this recipe a try and make it your own. Add your favorite mix-ins, adjust the sweetness to your liking, and don’t be afraid to experiment. The best recipes are the ones that evolve with you. And honestly? There’s nothing quite like the smell of banana bread baking on a rainy day or a quiet Sunday morning.
I’d love to hear how yours turns out! Leave a comment below and let me know what variations you tried, or tag me in your photos on social media. Happy baking, friends!
Frequently Asked Questions
Can I use frozen bananas for this recipe?
Absolutely! Frozen bananas work perfectly. Thaw them completely at room temperature, then drain off any excess liquid before mashing. They’ll be very soft and almost syrupy, which makes for an incredibly moist banana bread.
Why did my banana bread sink in the middle?
This usually happens when the bread is underbaked or the oven temperature is too low. Make sure your oven is fully preheated to 350°F (175°C) and bake until a toothpick inserted in the center comes out clean. Also, avoid opening the oven door too often during baking, as the temperature fluctuations can cause sinking.
Can I make this into muffins instead of a loaf?
Yes! Grease a 12-cup muffin tin or line with paper liners. Fill each cup about ¾ full and bake at 350°F (175°C) for 18-22 minutes, or until a toothpick inserted in the center comes out clean. You’ll get about 12 muffins.
How do I know when my bananas are ripe enough?
Look for bananas that are heavily speckled with brown spots or even completely black. They should be soft to the touch and smell sweet. If they’re still yellow with green tips, they’re not ready. You can speed up ripening by placing them in a paper bag with an apple overnight.
Can I add sour cream or yogurt to make it more moist?
You can! Add ¼ cup of plain Greek yogurt or sour cream to the wet ingredients for an even more tender crumb. If you do this, reduce the butter to ¼ cup (4 tablespoons) to keep the batter from getting too wet. I’ve tried this and it adds a lovely tangy flavor.
Pin This Recipe!
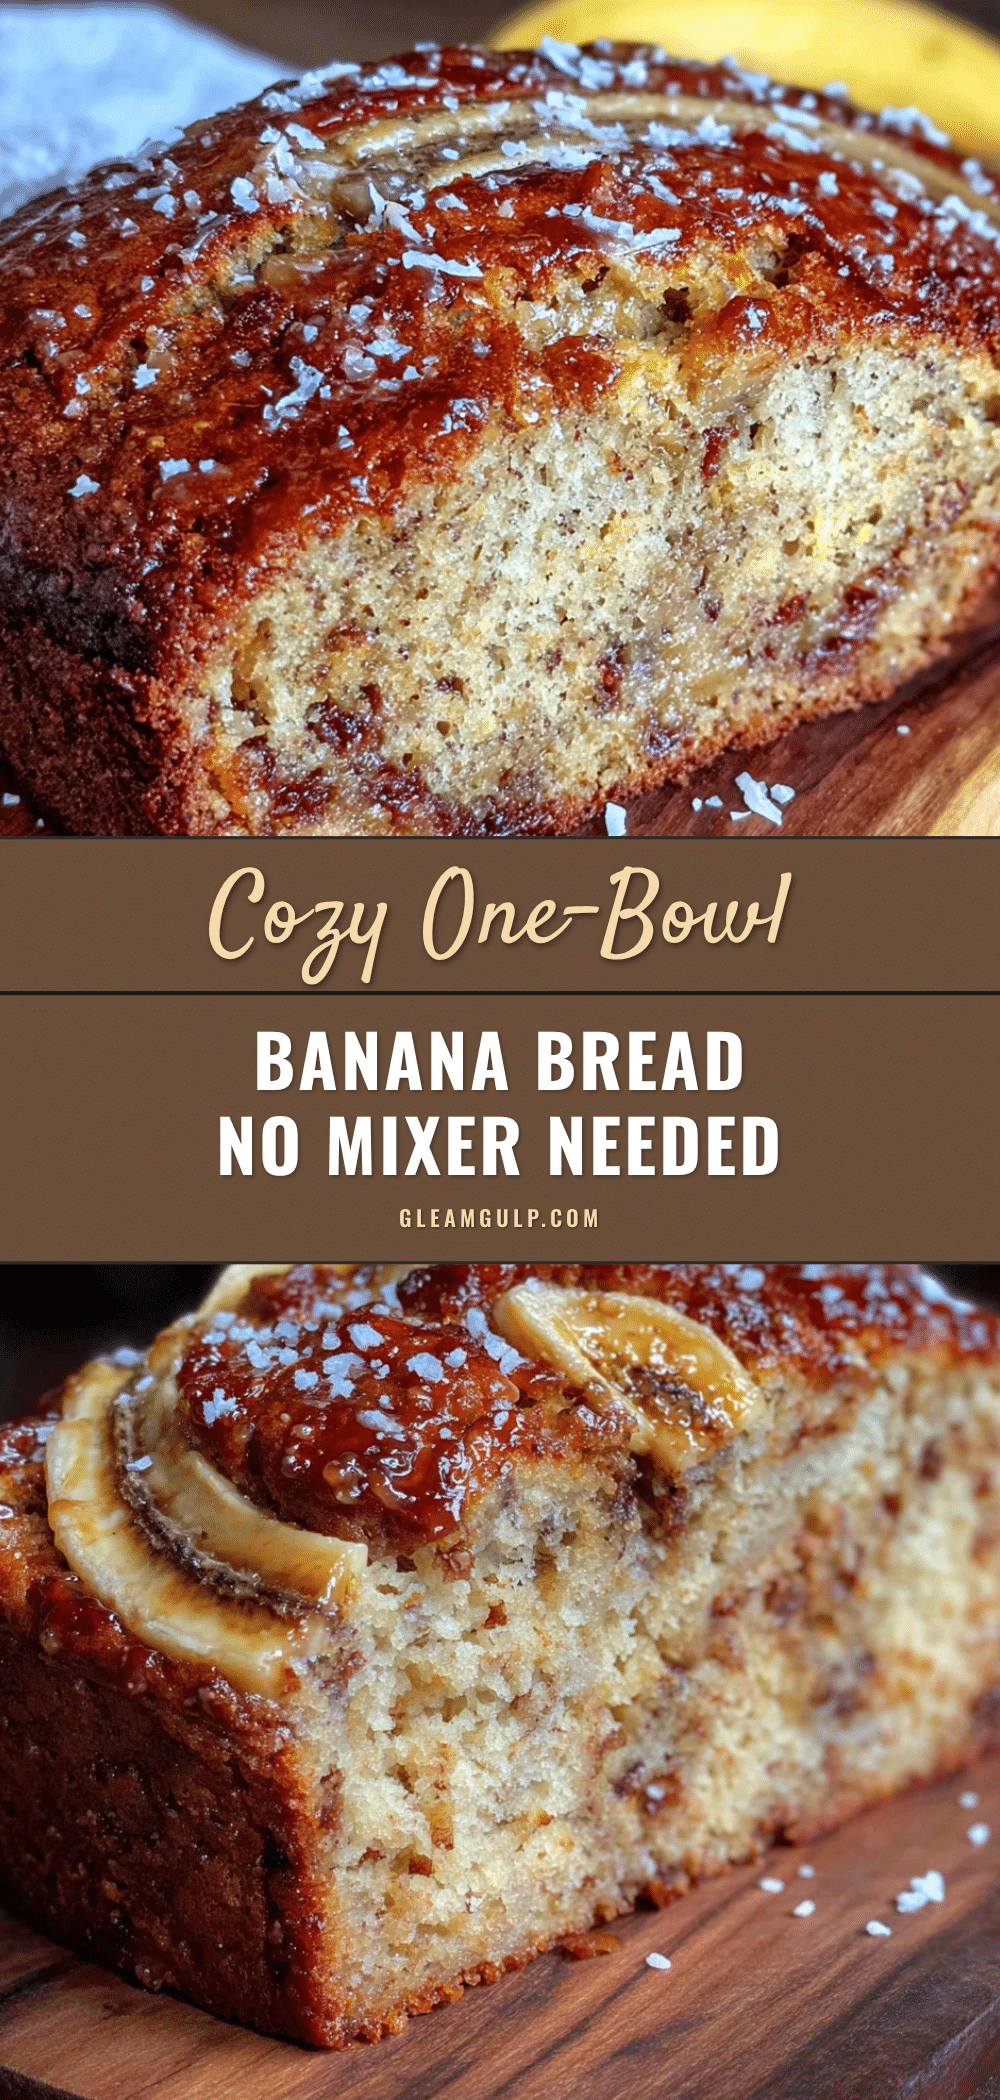
Cozy One-Bowl Banana Bread (No Mixer Needed)
This easy one-bowl banana bread requires no mixer and delivers a perfectly moist, tender loaf every time. Inspired by a taxi driver’s grandmother’s method, it’s simple comfort food at its finest.
- Prep Time: 15 minutes
- Cook Time: 55 minutes
- Total Time: 1 hour 10 minutes
- Yield: 10 servings 1x
- Category: Dessert
- Cuisine: American
Ingredients
- 3 ripe bananas, mashed (about 1 ½ cups or 340g)
- ⅓ cup (75g) unsalted butter, melted
- ¾ cup (150g) granulated sugar
- 1 large egg, room temperature
- 1 teaspoon vanilla extract
- 1 ½ cups (190g) all-purpose flour
- 1 teaspoon baking soda
- ½ teaspoon salt
- ½ cup (60g) chopped walnuts or pecans (optional)
- ½ cup (90g) chocolate chips (optional)
Instructions
- Preheat your oven to 350°F (175°C). Grease a 9×5-inch loaf pan with butter or non-stick spray, or line with parchment paper leaving overhang on the sides.
- In a large mixing bowl, mash the bananas with a fork or potato masher until mostly smooth with a few small lumps remaining.
- Add the melted butter (cooled slightly), granulated sugar, egg, and vanilla extract. Stir until well combined.
- Sprinkle the flour, baking soda, and salt over the wet mixture. Stir gently just until no streaks of flour remain. Do not overmix.
- If using, gently fold in walnuts, pecans, or chocolate chips.
- Pour the batter into the prepared loaf pan and spread evenly.
- Bake for 50-60 minutes, until a toothpick inserted in the center comes out clean or with a few moist crumbs. If browning too quickly, tent with foil for the last 15-20 minutes.
- Let cool in the pan for 10 minutes, then transfer to a cooling rack. Cool completely before slicing (about 1 hour).
Notes
For best results, use very ripe bananas with brown spots. Do not overmix the batter. Let the bread cool completely before slicing for clean cuts. Store at room temperature for up to 4 days or freeze for up to 3 months.
Nutrition
- Serving Size: 1 slice
- Calories: 210
- Sugar: 17
- Sodium: 220
- Fat: 8
- Saturated Fat: 4.5
- Carbohydrates: 33
- Fiber: 1.5
- Protein: 3
Keywords: banana bread, one-bowl, no mixer, easy, moist, comfort food


