Love this? Save it for later!
Share the inspiration with your friends
Someone asked me last week why I always volunteer to bring treats to Halloween parties when I’m not even that into baking. Honestly, I’m not sure I had a good answer. Maybe it’s the challenge of making something that looks disgusting but tastes amazing. Maybe I just like watching people’s faces when they realize the creepy finger on their napkin is actually a buttery, almond-flavored shortbread cookie.
But here’s the thing—I wasn’t always a Halloween baking person. For years, I bought those bags of pre-packaged Halloween cookies from the grocery store and called it a day. They were fine. Nothing special. Then my niece announced she was having a Halloween party and asked if I could bring “something really gross-looking.” I couldn’t exactly show up with store-bought pumpkin shapes, could I?
I found a witch’s finger cookies recipe online and figured I’d give it a shot. The first batch was a disaster. The fingers were too thick, the almond “fingernails” kept falling off, and they looked more like sad little sausages than actual witch fingers. But the taste? Pure buttery perfection. So I kept tweaking. I made batch after batch until I got it right.
Now this easy witch’s finger cookies recipe is my Halloween secret weapon. Every year, without fail, people ask for the recipe. And honestly? I love watching someone take that first bite. The hesitation, the grimace, then the surprised look when they realize it’s actually delicious. If you’ve never made Halloween cookies before, let me tell you—this is the one to start with. It’s simpler than you think, and the payoff is huge.
Why You’ll Love This Recipe
Let me be straight with you. This easy witch’s finger cookies recipe checks every box for a Halloween treat that actually delivers.
- Surprisingly Simple : The dough comes together in about 10 minutes with basic ingredients. No stand mixer required. No chilling overnight. You can have these creepy cookies from start to finish in under an hour.
- Perfectly Creepy : These look genuinely disturbing—in the best way possible. The almond fingernails, the knuckle indentations, the slightly green tint from food coloring. They’ll be the talk of any Halloween party.
- Kid-Friendly Fun : Kids absolutely love making these. Shaping the fingers, pressing in the almonds, adding the “wrinkles.” It’s messy, creative, and they feel so proud of their gross creations.
- Naturally Gluten-Free Adaptable : Swap in a good 1:1 gluten-free flour blend, and you’ve got a gluten-free Halloween treat that nobody will guess is GF.
- Make-Ahead Magic : These freeze beautifully. Bake them up to a month ahead, and just pull them out when you need them. The flavor actually gets better after a day or two.
What makes this version different from all the others out there? I spent three Halloweens testing and tweaking until I got the texture exactly right. These cookies hold their shape perfectly during baking—no spreading, no losing those creepy finger contours. The almond extract gives them that authentic marzipan-like flavor that makes witch finger cookies so iconic.
I’ve tried versions with too much flour that tasted dry and crumbly. I’ve tried versions with too little that spread into blobs. This recipe hits that sweet spot: crisp on the outside, tender on the inside, with just enough structure to stay finger-shaped. You deserve a recipe that actually works the first time, not one that leaves you frustrated with a pan of deformed cookies at midnight.
What Ingredients You Will Need
This easy witch’s finger cookies recipe uses simple pantry staples. Nothing fancy, nothing hard to find. Here’s what you need and why each ingredient matters.
- 1 cup (226g) unsalted butter, softened : Butter is the backbone here. It gives the cookies their rich flavor and tender texture. Make sure it’s truly softened—leave it on the counter for at least an hour. Cold butter won’t cream properly, and you’ll end up with dense cookies.
- 1 cup (200g) granulated sugar : Regular white sugar works best. It creams beautifully with the butter and gives the cookies that slight crispness on the edges. Don’t substitute brown sugar here—it changes the texture and color too much.
- 1 large egg : This binds everything together. Room temperature egg blends more smoothly into the creamed butter and sugar. If you forgot to take it out early, place it in a bowl of warm water for 5 minutes.
- 1 teaspoon almond extract : This is non-negotiable. Almond extract gives these cookies their signature flavor and that unmistakable marzipan taste. I prefer McCormick brand for consistent quality, but any pure almond extract works.
- 1 teaspoon vanilla extract : Adds depth and rounds out the almond flavor. Use pure vanilla extract if you can—imitation vanilla has a harsh aftertaste that stands out in simple cookies.
- 2 ½ cups (312g) all-purpose flour : All-purpose flour gives these cookies the right structure. Spoon and level your flour—scooping directly from the bag packs in too much flour and makes dry cookies.
- 1 teaspoon baking powder : Just enough to give them a slight lift without making them puffy. You want them to hold their finger shape, not spread into blobs.
- ½ teaspoon salt : Salt balances the sweetness and enhances all the other flavors. Don’t skip it—your cookies will taste flat without it.
- Green food coloring gel : Gel food coloring works way better than liquid drops. It gives you that creepy green witch color without thinning out your dough. Start with a small amount and add more until you get the shade you want. I use Wilton brand leaf green gel.
- Whole blanched almonds (about 30-36) : These become the fingernails. Blanched almonds have the skin removed, so they look more like actual nails. If you only have skin-on almonds, that works too—they just look a little different.
- Red jam or jelly (optional) : A dab of strawberry jam at the “cut” end of the finger adds a bloody effect. Totally optional, but it takes the creepiness to another level.
Ingredient Substitution Notes : For a dairy-free version, use plant-based butter sticks (not margarine in a tub—too much water). For gluten-free, swap in King Arthur Measure for Measure gluten-free flour. The texture will be slightly more delicate, but the flavor stays the same.
Equipment Needed
You don’t need anything fancy for this easy witch’s finger cookies recipe. Here’s what you’ll want on hand.
- Large mixing bowl : Any bowl works, but a wide one makes creaming the butter and sugar easier.
- Electric hand mixer or stand mixer : You can cream butter and sugar by hand with a wooden spoon, but it takes some elbow grease. A hand mixer makes it quick and easy.
- Baking sheets : Two standard baking sheets work perfectly. Line them with parchment paper for easy cleanup.
- Spatula : For scraping down the bowl and getting every bit of dough.
- Paring knife or butter knife : For making those knuckle indentations and fingernail creases.
- Small offset spatula (optional) : Helpful for transferring shaped cookies to the baking sheet without distorting them.
- Cooling rack : Lets air circulate around the cookies so they cool evenly and stay crisp.
I’ve made these with just a wooden spoon and a baking sheet, and they turned out fine. The mixer just saves time and arm fatigue. If you’re baking with kids, let them shape the fingers by hand—it’s half the fun.
Preparation Method
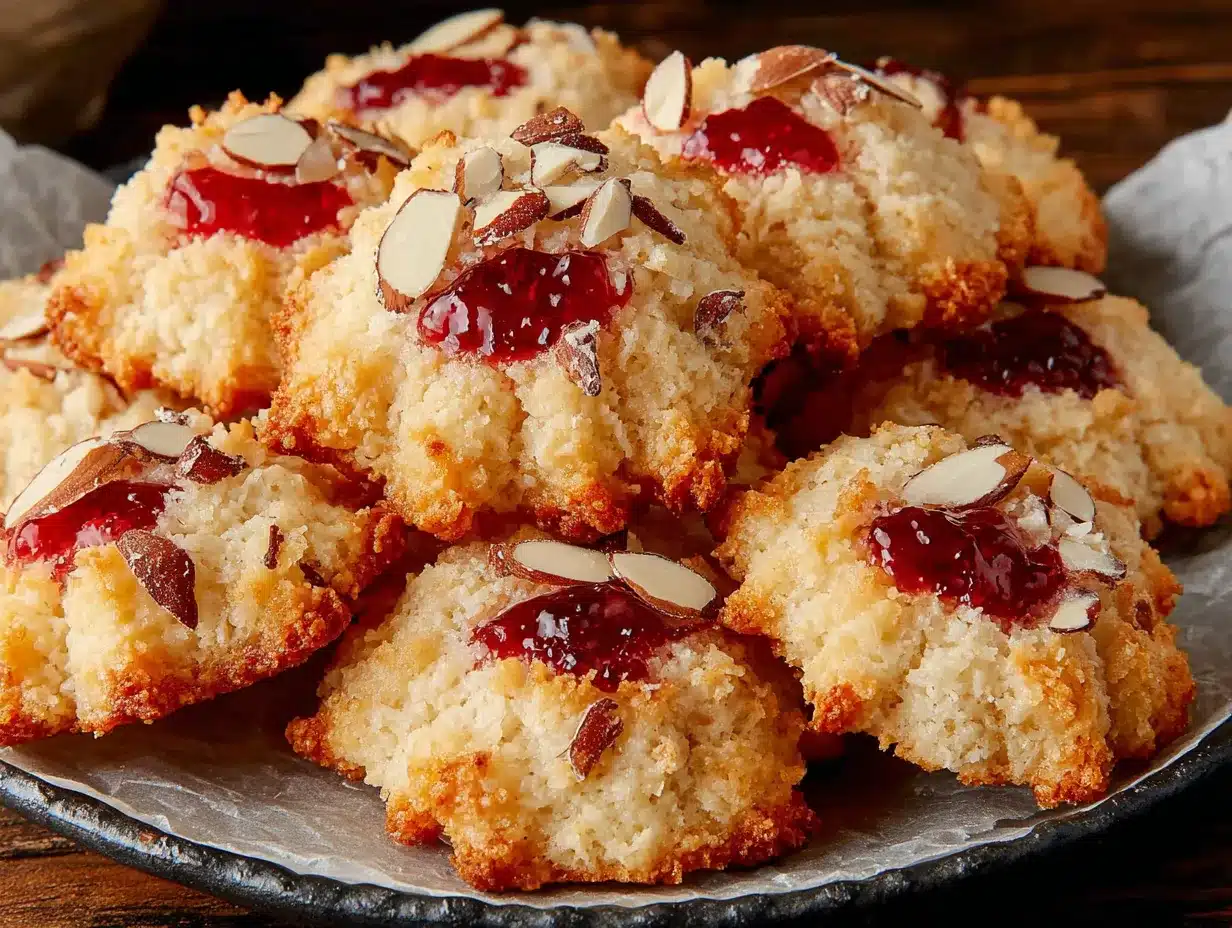
Let me walk you through this step by step. I’ve made enough batches to know where things can go wrong, so I’ll point those out along the way.
- Cream the butter and sugar. In your large mixing bowl, beat the softened butter and granulated sugar together until light and fluffy. This takes about 2-3 minutes with an electric mixer on medium speed. You’ll know it’s ready when the mixture looks pale yellow and has a smooth, airy texture. Scrape down the sides of the bowl halfway through.
- Add the wet ingredients. Beat in the egg, almond extract, and vanilla extract. Mix until just combined—don’t overbeat here or the cookies can get tough. The mixture might look slightly curdled at this point, especially if your egg was cold. That’s totally fine.
- Add the dry ingredients. In a separate bowl, whisk together the flour, baking powder, and salt. Gradually add this to the wet mixture, mixing on low speed until the dough comes together. It will be soft but not sticky. If it feels too sticky to handle, add an extra tablespoon of flour. If it seems dry and crumbly, add a teaspoon of milk.
- Add the green color. This is where it gets fun. Add a small amount of green gel food coloring—start with about ⅛ teaspoon—and mix until the color is evenly distributed. Add more until you get a pale, sickly green that screams “witch finger.” I usually end up using about ¼ teaspoon total. Remember, the color deepens slightly as the dough rests.
- Preheat and prep. Preheat your oven to 325°F (163°C). Line two baking sheets with parchment paper. While the oven heats, you can start shaping the cookies.
- Shape the fingers. Take a small piece of dough—about 1 tablespoon or 20 grams—and roll it into a log shape about 3-4 inches long. Gently taper one end to look like a fingertip. The cookie should be slightly thicker than your actual finger, since they spread just a tiny bit during baking. Place it on the prepared baking sheet. Repeat with the remaining dough, spacing the fingers about 2 inches apart.
- Add the fingernails. Press a whole blanched almond firmly into the tapered end of each finger. Make sure it’s pushed in securely—if it’s loose, it’ll fall off during baking. The almond should look like a fingernail growing out of the finger.
- Create the knuckles. Use the back of a paring knife or a butter knife to gently press 2-3 horizontal lines across each finger to create knuckle indentations. Press deeply enough to leave a clear mark, but not so deep that you cut through the dough. You can also gently squeeze the dough between the knuckles to make them look more realistic.
- Add the wrinkles. Use the tip of the knife to create a few tiny lines around the knuckles and the fingertip area. These little details make them look genuinely creepy. Don’t overdo it—a few subtle lines look more realistic than a bunch of deep gashes.
- Bake. Bake for 12-15 minutes, or until the cookies are set and just barely starting to brown on the bottom. The tops should remain pale and slightly soft. They’ll firm up as they cool. Rotate the baking sheets halfway through for even baking.
- Cool completely. Let the cookies cool on the baking sheet for 5 minutes, then transfer them to a cooling rack. Don’t move them too soon—they’re fragile when warm and the almonds might fall off.
- Optional bloody effect. Once completely cool, use a small brush or your finger to dab a tiny bit of red jam or jelly at the “cut” end of the finger where the nail meets the fingertip. It looks like blood. It’s gross. Your guests will love it.
Cooking Tips & Techniques
After making these easy witch’s finger cookies for three Halloweens straight, I’ve picked up some tricks that make a real difference.
Don’t skip the almond extract. I know it’s strong, and some people think they don’t like it. But trust me—almond extract is what makes these taste like those marzipan cookies you get at Christmas. Without it, they’re just plain shortbread. And plain shortbread shaped like fingers is weird, not creepy.
Watch your oven temperature. Every oven runs differently. I learned this the hard way when my first batch came out looking like toasted fingers instead of pale witch fingers. If your oven runs hot, reduce the temperature to 300°F (150°C) and bake a minute or two longer. You want them set but not brown.
Keep the dough cool. If your kitchen is warm and the dough starts getting soft and sticky, pop it in the fridge for 10-15 minutes. Cold dough is much easier to shape, and the fingers hold their shape better during baking.
Press the almonds firmly. This is probably the most common mistake I see. People gently place the almond on the dough, and it falls off during baking. Press it in until it’s about halfway embedded. The dough will grip it as it bakes, and it’ll stay put.
Make the knuckles deeper than you think. The dough spreads and puffs slightly in the oven, and those knuckle marks will fade. Press them deeper than you think you need to. If they look too pronounced before baking, they’ll look just right afterward.
Batch baking tip: If you’re making a double batch (and you probably should—these disappear fast), keep the shaped fingers in the fridge while the first batch bakes. This prevents the dough from getting too warm and losing its shape.
Variations & Adaptations
This easy witch’s finger cookies recipe is surprisingly versatile. Here are some ways to switch it up.
Different colors, different creatures. Skip the green food coloring, and you’ve got zombie fingers. Add a touch of purple for a more magical look. Leave them plain and add red jam at the tip for bloody severed fingers. Each color tells a different Halloween story.
Chocolate witch fingers. Replace ¼ cup of the flour with unsweetened cocoa powder. The chocolate version tastes amazing, and the dark brown color looks like dirt-covered witch fingers. Add a dab of white frosting under the almond for an even creepier nail effect.
Spiced version. Add 1 teaspoon of cinnamon, ½ teaspoon of nutmeg, and ¼ teaspoon of cloves to the dry ingredients. The warm spices give these a cozy fall flavor that’s perfect for Halloween parties. The color will be more tan than green, so add extra green gel if you want that witchy look.
Gluten-free adaptation. I’ve tested this with King Arthur Measure for Measure gluten-free flour, and it works beautifully. The dough is slightly more delicate, so handle it gently when shaping. Bake at the same temperature, but check them a minute or two earlier—GF cookies can overbake quickly.
Vegan version. Use plant-based butter sticks and a flax egg (1 tablespoon ground flaxseed mixed with 3 tablespoons water, let sit for 5 minutes). The texture is slightly less tender, but the flavor is still spot-on. Vegan butter tends to spread more, so chill the shaped fingers for 15 minutes before baking.
Extra creepy details. For a truly disturbing touch, press a slivered almond into the side of the finger to look like a bone sticking out. Or use a toothpick to create tiny hairline cracks in the dough before baking. The more details, the grosser they look—and the more people will love them.
Serving & Storage Suggestions
These easy witch’s finger cookies are best served at room temperature. Arrange them on a platter in a way that looks casually creepy—maybe scattered around like someone dropped them, or arranged in a hand shape. I like to place a few on a black plate with some fake spider webs for extra effect.
They pair perfectly with warm apple cider, hot chocolate, or a pumpkin spice latte. For an adults-only Halloween party, they’re fantastic with a glass of bourbon or a dark stout beer. The buttery sweetness balances the bitterness of dark drinks beautifully.
Storage: Store these in an airtight container at room temperature for up to 5 days. Layer them between sheets of parchment paper to prevent the almonds from getting knocked off. Don’t refrigerate them—the fridge dries out the cookies and makes them taste stale.
Freezer instructions: These freeze like a dream. Place the cooled cookies in a single layer on a baking sheet and freeze until solid, about 1 hour. Transfer to a freezer-safe container or zip-top bag, layered with parchment paper. They’ll keep for up to 3 months. Thaw at room temperature for about 20 minutes before serving. The flavor actually improves after freezing—the almond extract mellows and blends beautifully.
Make-ahead tip: You can shape the fingers and freeze them unbaked. Place them on a parchment-lined baking sheet, freeze until solid, then transfer to a freezer bag. Bake directly from frozen, adding 2-3 minutes to the baking time. This is my go-to strategy for Halloween parties—I shape them weeks ahead and bake fresh the day of.
Nutritional Information & Benefits
Let’s be honest—these are cookies, not health food. But here’s what you’re looking at per cookie (based on a batch of 30 cookies).
| Nutrient | Amount Per Cookie |
|---|---|
| Calories | 145 |
| Total Fat | 8g |
| Saturated Fat | 5g |
| Carbohydrates | 17g |
| Sugar | 7g |
| Protein | 2g |
Almonds are actually a pretty solid source of vitamin E, healthy fats, and magnesium. So there’s that. And making these from scratch means you control exactly what goes in—no preservatives, no artificial flavors, no weird stabilizers.
If you’re watching your sugar intake, you can reduce the sugar to ¾ cup without affecting the texture too much. The cookies won’t be quite as crisp, but they’ll still taste great. For a lower-fat version, you can substitute half the butter with applesauce—but honestly, the texture changes significantly, and they won’t hold their finger shape as well.
These cookies contain dairy, eggs, gluten, and tree nuts (almonds). If you’re serving a crowd with allergies, make sure to label them clearly. I always put a small sign next to the platter listing the allergens.
Conclusion
Look, I know Halloween baking can feel intimidating. There are so many elaborate recipes out there with fondant and piping bags and multiple steps that take all day. But this easy witch’s finger cookies recipe proves that you don’t need to be a professional baker to make something genuinely impressive and creepy.
What I love most about these cookies is how they bring people together. There’s something about handing someone a cookie that looks like a severed finger that makes everyone laugh. Kids love the gross factor. Adults love the nostalgia. And everyone loves the buttery, almond-flavored shortbread hiding underneath that creepy exterior.
Feel free to make these your own. Add more green color. Make them extra long and bony. Skip the almond fingernails and use sliced almonds for a different look. The beauty of this recipe is that it’s forgiving—even if your fingers don’t look perfect, they’ll still taste amazing.
I’d love to hear how yours turn out! Drop a comment below and tell me about your Halloween baking adventures. Did your kids help shape the fingers? Did your coworkers scream when they saw them? Did you come up with a creepy variation I haven’t tried? Share your photos and stories—I read every single comment, and nothing makes me happier than knowing this recipe brought some spooky joy to your Halloween.
Now go get your hands dirty. Those witch fingers aren’t going to shape themselves.
Frequently Asked Questions
Can I make these witch finger cookies without almond extract?
You can, but they won’t taste the same. Almond extract is what gives these cookies their signature marzipan flavor. If you really don’t like it, substitute with additional vanilla extract. They’ll taste like buttery shortbread fingers instead—still good, just less authentic.
Why did my cookies spread and lose their finger shape?
This usually happens for two reasons: your butter was too soft, or your oven wasn’t hot enough. Make sure your butter is softened but not melted. If your kitchen is warm, chill the shaped fingers for 15 minutes before baking. Also check your oven temperature with an oven thermometer—many ovens run cooler than the dial says.
How far ahead can I make these for a Halloween party?
You can bake these up to 5 days ahead and store them in an airtight container at room temperature. Even better, you can freeze the baked cookies for up to 3 months. I prefer to bake them 2-3 days ahead—the flavor actually improves as the almond extract mellows out.
My almonds keep falling off during baking. What am I doing wrong?
You need to press them in more firmly. The almond should be about halfway embedded in the dough. Also make sure you’re using whole blanched almonds, not slivers or chopped pieces. If they still fall off, dip the almond in a tiny bit of water before pressing it in—the moisture helps it stick.
Can I use liquid food coloring instead of gel?
You can, but you’ll need a lot more to get that creepy green color, and the extra liquid can make your dough sticky. Gel food coloring is much more concentrated and gives you better control over the shade. If liquid is all you have, add it with the egg and reduce the liquid by a teaspoon or two.
Pin This Recipe!

Easy Witch’s Finger Cookies: Best Halloween Treat

These buttery, almond-flavored shortbread cookies are shaped like creepy witch fingers with almond fingernails. They’re surprisingly simple to make and perfect for Halloween parties.
- Prep Time: 20 minutes
- Cook Time: 15 minutes
- Total Time: 35 minutes
- Yield: 30 cookies 1x
- Category: Dessert
- Cuisine: American
Ingredients
- 1 cup (226g) unsalted butter, softened
- 1 cup (200g) granulated sugar
- 1 large egg
- 1 teaspoon almond extract
- 1 teaspoon vanilla extract
- 2 ½ cups (312g) all-purpose flour
- 1 teaspoon baking powder
- ½ teaspoon salt
- Green food coloring gel
- Whole blanched almonds (about 30-36)
- Red jam or jelly (optional)
Instructions
- Cream the butter and sugar together until light and fluffy, about 2-3 minutes.
- Beat in the egg, almond extract, and vanilla extract until just combined.
- In a separate bowl, whisk together flour, baking powder, and salt. Gradually add to wet mixture, mixing on low until dough comes together.
- Add green gel food coloring until desired pale green color is achieved.
- Preheat oven to 325°F (163°C). Line baking sheets with parchment paper.
- Shape dough into logs about 3-4 inches long, tapering one end to look like a fingertip. Place on prepared baking sheets.
- Press a whole blanched almond firmly into the tapered end of each finger for the fingernail.
- Use a knife to press 2-3 horizontal lines across each finger for knuckles, and add tiny wrinkles around knuckles and fingertip.
- Bake for 12-15 minutes until set but not browned. Cool on baking sheet for 5 minutes, then transfer to a cooling rack.
- Optional: Once cool, dab a tiny bit of red jam at the cut end of the finger for a bloody effect.
Notes
Don’t skip the almond extract—it gives the cookies their signature marzipan flavor. Press the almonds firmly into the dough to prevent them from falling off during baking. Make knuckle indentations deeper than you think, as they will fade during baking. For best results, keep the dough cool if your kitchen is warm.
Nutrition
- Serving Size: 1 cookie
- Calories: 145
- Sugar: 7
- Sodium: 50
- Fat: 8
- Saturated Fat: 5
- Carbohydrates: 17
- Protein: 2
Keywords: witch finger cookies, Halloween cookies, shortbread cookies, almond cookies, creepy cookies, easy Halloween treat


