Love this? Save it for later!
Share the inspiration with your friends
My neighbor Carla watched me wrestling with a sticky jar of peanut butter one Tuesday afternoon. My toddler was screaming in the background, the bread was tearing, and I was about five seconds from giving up on lunch altogether. She didn’t say anything at first—just walked back into her kitchen and returned with a plate of perfect little sealed sandwiches, no crusts in sight.
“You need these in your life,” she said, and honestly, she wasn’t wrong. I stood there holding this perfect little pocket of peanut butter and jelly, wondering how something so simple had never occurred to me before. Carla had been making these for her kids for years, and she casually mentioned she kept a whole stash in her freezer for busy days. My mind was blown, I’m not gonna lie.
That afternoon, I went home and tried making my own version. The first batch was a mess—I used too much jelly, and it leaked everywhere during sealing. My kitchen looked like a jam explosion had gone off. But I kept tweaking, and now these homemade uncrustables have become my go-to solution for hectic mornings, hangry afternoons, and everything in between. Maybe you’ve been there too, standing in your kitchen wondering how to make lunchtime less chaotic.
These freezer-friendly PB&J pockets are the kind of recipe that makes you wonder why you didn’t think of it yourself. They’re quick, they’re simple, and they taste so much better than the store-bought version. Let me show you how to make them.
Why You’ll Love This Recipe
Let me tell you why these homemade uncrustables have completely changed my meal prep game. I’ve tested this recipe more times than I can count, tweaking the bread type, the filling ratio, and the sealing method until I got it just right.
- Quick & Easy: You can whip up a batch in under 15 minutes. Seriously, that’s faster than arguing with a toddler about eating crusts.
- Simple Ingredients: You probably already have everything you need in your pantry right now. No fancy grocery trips required.
- Perfect for Busy Mornings: Grab one from the freezer, toss it in a lunchbox, and by lunchtime it’s perfectly thawed. It’s like magic, but better because it involves peanut butter.
- Crowd-Pleaser: Kids love them, adults secretly love them, and nobody judges you for eating one at 10 PM. I speak from experience.
- Unbelievably Delicious: The texture is way better than store-bought. The bread stays soft, the filling stays put, and every bite tastes fresh.
What makes this recipe different from all the others? It’s the sealing technique. I learned the hard way that too much jelly makes a mess, but the perfect ratio creates a pocket that holds together beautifully. Plus, using the right bread makes all the difference—I’ll share my secrets below.
This isn’t just another lunch idea. It’s the kind of recipe that makes you feel like you’ve got your life together, even when you don’t. It’s comfort food that’s actually practical, and honestly, we all need more of that in our lives.
What Ingredients You Will Need
This recipe uses simple, pantry-friendly ingredients to create something that tastes way better than the sum of its parts. Here’s what you’ll need to gather.
- 8 slices of sandwich bread (white, whole wheat, or sourdough—I prefer Sara Lee or Pepperidge Farm for the best texture; avoid super thin bread that tears easily)
- 1/2 cup creamy peanut butter (I use Jif or Skippy for consistent texture; natural peanut butter works but can be oilier and may require stirring well before use)
- 1/4 cup strawberry jelly or jam (seedless works best to prevent leaking; Smucker’s or Bonne Maman are my go-to brands)
- Optional: 1 tablespoon honey (adds a touch of sweetness if you’re using a tart jam)
- Optional: 1/4 teaspoon cinnamon (for a warm flavor twist that pairs beautifully with apple jelly)
For the filling, you can absolutely mix things up. Grape jelly is a classic choice, and raspberry jam adds a nice tartness. If you’re feeling adventurous, try using Nutella instead of peanut butter for a chocolate-hazelnut version that kids go crazy for.
When it comes to bread selection, I’ve found that slightly thicker bread works best for sealing. Store-bought white bread is actually perfect for this because it’s soft enough to crimp without cracking. If you’re using homemade bread, let it sit out for a day so it’s not too fresh and fragile.
One thing I learned the hard way: don’t use chunky peanut butter for these. The chunks create gaps in the seal, and you’ll end up with jelly leaking everywhere. Save the crunchy stuff for toast.
Equipment Needed
You don’t need much to make these, which is part of the beauty. Here’s what you’ll want to have on hand.
- Uncrustables sandwich sealer (this is the easiest option; I got mine on Amazon for about $10, and it’s worth every penny)
- Alternatively: a round cookie cutter and a fork (if you don’t have the sealer, this works just fine—press the edges with a fork to seal)
- Small offset spatula or butter knife (for spreading the peanut butter evenly without tearing the bread)
- Baking sheet (for flash-freezing the sandwiches before bagging them up)
- Parchment paper (to prevent sticking during the flash-freeze step)
- Freezer-safe zip-top bags (gallon size works best for storing the finished uncrustables)
- Permanent marker (trust me, label everything—you won’t remember what’s in those bags in three weeks)
If you’re just starting out and don’t want to buy a special tool, the fork method works surprisingly well. Just make sure you press firmly around the edges to create a good seal. I used a fork for about six months before I finally caved and bought the sealer, and honestly, both methods get the job done.
Preparation Method
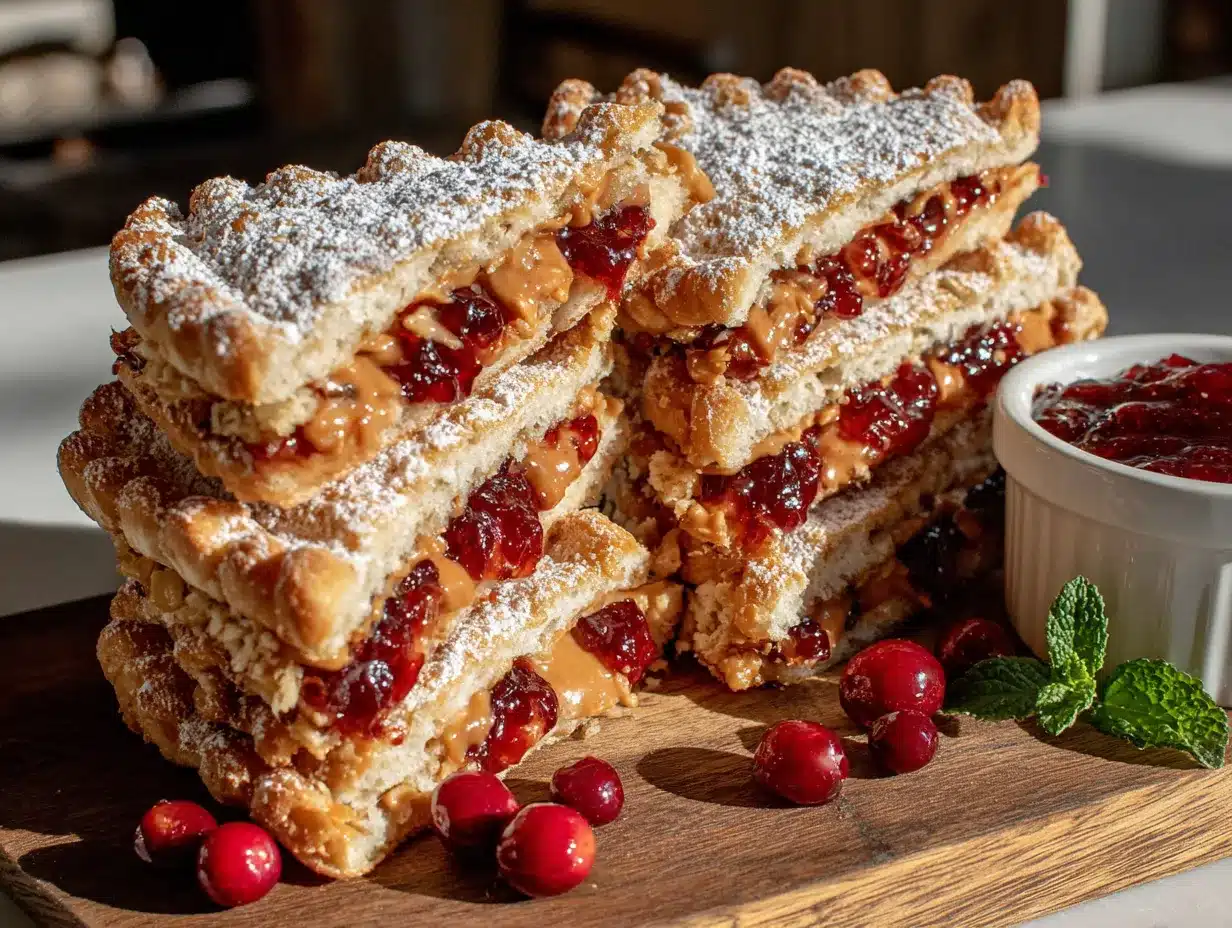
Let’s get down to business. Follow these steps, and you’ll have a freezer full of perfect little sandwiches in no time.
- Start by prepping your workspace. Clear off your counter and lay out all your ingredients. Line a baking sheet with parchment paper. This step sounds obvious, but I’ve definitely started making these only to realize I had no parchment paper left. Learn from my mistakes.
- Spread the peanut butter on four slices of bread. Use about 2 tablespoons per slice, spreading it all the way to the edges. This is important—the peanut butter acts as a barrier that keeps the jelly from soaking into the bread. I learned this trick after my first batch turned into soggy messes.
- Add the jelly on top of the peanut butter. Use about 1 tablespoon per sandwich, spreading it in the center. Don’t take it all the way to the edges—leave about a half-inch border. This prevents leakage during sealing. I cannot stress this enough: less is more with the jelly.
- Top with the remaining bread slices. Place them peanut butter side down, so the jelly is sandwiched between two layers of peanut butter. This creates a double barrier against sogginess. Genius, right?
- Use your sandwich sealer to cut and seal each sandwich. Center the sealer over the sandwich and press down firmly. You should hear a satisfying crunch as it cuts through the bread. If you’re using a cookie cutter and fork, cut out rounds first, then press the edges with the fork tines to seal.
- Place the sealed uncrustables on the parchment-lined baking sheet. Make sure they’re not touching each other—they need space to freeze individually. If they stick together, you’ll have a nightmare on your hands later.
- Flash-freeze for 1-2 hours. Pop the baking sheet in the freezer until the sandwiches are solid. This step is crucial because it prevents them from sticking together when you bag them up. I usually do this overnight, but an hour works fine in a pinch.
- Transfer to freezer bags. Once frozen solid, move the uncrustables to a labeled freezer bag. Squeeze out as much air as possible before sealing. I like to write the date and flavor on the bag so I know what I’m grabbing later.
- Store in the freezer for up to 3 months. That’s right—you can make a huge batch and forget about them until you need them. They’ll taste just as fresh on day 90 as they did on day one.
A quick note: if you’re making these for school lunches, you can pull one out in the morning and toss it in a lunchbox. By lunchtime, it’ll be perfectly thawed and ready to eat. No ice packs needed, though they don’t hurt if you want to be extra safe.
Cooking Tips & Techniques
After making hundreds of these things, I’ve picked up a few tricks that make a real difference. Let me share what I’ve learned the hard way so you don’t have to.
Don’t overfill the sandwiches. I know it’s tempting to pile on the jelly, but trust me on this one. Too much filling creates weak spots in the seal, and you’ll end up with sticky leaks. A thin, even layer is all you need. Think of it like frosting a cake—you want coverage, not mountains.
Use room-temperature ingredients. Cold peanut butter is a nightmare to spread. It tears the bread and creates uneven layers. Let your peanut butter sit out for 15 minutes before you start, or microwave it for 10 seconds to soften it up. Your bread will thank you.
Press firmly when sealing. Whether you’re using a sealer or a fork, you need to apply even, firm pressure. I made the mistake of being too gentle with my first batch, and half of them fell apart during thawing. You want to hear that satisfying crunch as the bread cuts cleanly.
Flash-freeze is non-negotiable. I know it adds an extra step, but skipping it leads to a frozen block of sandwiches that you’ll have to pry apart with a butter knife. Trust me, I’ve been there, and it’s not fun. Give them space on the baking sheet and let them get solid before bagging.
Label everything. You think you’ll remember what’s in that freezer bag, but in three weeks, you won’t. Trust me on this one. I’ve accidentally grabbed a batch of ham and cheese when I wanted PB&J, and let me tell you, that’s a disappointing lunch.
Toast them for a treat. If you’re eating these at home, try toasting one in a pan with a little butter. The outside gets crispy while the inside stays soft and warm. It’s a whole different experience, and honestly, it might be better than the cold version.
Variations & Adaptations
One of the best things about this recipe is how easy it is to customize. Here are some variations I’ve tried and loved.
Nut-Free Version: Swap the peanut butter for sunflower seed butter or WowButter. These work exactly the same way and taste surprisingly similar. Just be aware that sunflower seed butter can turn green when baked, but since we’re freezing these, you won’t have that issue.
Honey and Banana: Spread a thin layer of honey on the peanut butter and add a few thin slices of banana. These are best eaten within a week since the banana can get mushy, but they’re absolutely delicious. My kids call these “monkey sandwiches.”
Fluffernutter Style: Replace the jelly with marshmallow fluff. This creates a sweet, gooey filling that kids absolutely adore. Just be warned—these are messy if they thaw too much, so eat them slightly frozen for the best texture.
Low-Sugar Option: Use natural peanut butter (no added sugar) and sugar-free jam. You can also skip the jelly entirely and use mashed berries mixed with a little chia seeds. It’s not quite the same, but it works in a pinch.
Seasonal Twist: In the fall, try using apple butter instead of jelly. In the summer, fresh strawberry jam is incredible. I made a batch with pumpkin butter last October, and they were gone in a week. Seasonal flavors make these feel special.
Savory Version: Okay, this one’s a stretch, but hear me out. Use cream cheese and cucumber slices, or ham and cheese. The same sealing technique works for savory fillings, and they make great grab-and-go breakfasts or snacks.
Serving & Storage Suggestions
These homemade uncrustables are designed to be eaten straight from the lunchbox, but there are a few ways to serve them that make them even better.
For school lunches: Pull one from the freezer in the morning and pop it into a lunchbox. By lunchtime, it’ll be perfectly thawed. If your kid eats lunch early, you can thaw it in the fridge overnight instead. I’ve tested both methods, and they work equally well.
For snacks at home: Microwave a frozen uncrustable for 15-20 seconds for a slightly warm, soft center. Or pan-fry it in a little butter for a crispy exterior that’s absolutely divine. My husband prefers them this way, and I can’t blame him.
Storage tips: Keep them in a sealed freezer bag with as much air removed as possible. They’ll stay fresh for up to three months. I’ve kept some for four months in a pinch, and they were still fine—just a little freezer-burned on the edges. For best results, use them within eight weeks.
Thawing options: You can thaw them in the fridge overnight, on the counter for 30 minutes, or in a lunchbox for 2-3 hours. I don’t recommend microwaving them from frozen unless you want a hot center and cold edges. Trust me on this one.
Flavor development: Here’s something interesting—these actually taste better after a week in the freezer. The flavors meld together, and the bread somehow stays softer. I’m not sure why this happens, but it’s a happy accident I’ve come to rely on.
Nutritional Information & Benefits
Here’s a rough breakdown for one homemade uncrustable made with white bread, creamy peanut butter, and strawberry jelly.
| Nutrient | Amount |
|---|---|
| Calories | 280-320 |
| Protein | 10g |
| Carbohydrates | 35g |
| Fat | 14g |
| Fiber | 3g |
| Sugar | 12g |
| Sodium | 250mg |
Peanut butter is packed with protein and healthy fats that keep you full longer. It’s also a good source of vitamin E and magnesium. The whole wheat version adds extra fiber and B vitamins, making it an even healthier choice.
These are naturally vegetarian and can be made gluten-free by using gluten-free bread. Just be aware that gluten-free bread is often more fragile, so you might need to be extra gentle when sealing. I’ve tested this with Udi’s bread, and it works—just press more carefully.
One thing I love about making these at home is that I control the sugar content. Store-bought versions often have added preservatives and high-fructose corn syrup. By making your own, you can choose natural peanut butter and low-sugar jam, cutting the sugar by almost half.
Conclusion
These homemade uncrustables have honestly changed my relationship with meal prep. I used to dread making lunches every morning, but now I spend 15 minutes once a month and I’m set. The best part? They taste better than anything you can buy at the store, and you know exactly what’s in them.
I encourage you to make these your own. Try different breads, experiment with fillings, and find the combination that makes your family smile. Maybe you’ll discover that your kid loves them with almond butter and honey, or that your spouse prefers them with crunchy peanut butter despite my warnings. That’s the beauty of homemade food—you get to decide.
Honestly, every time I pull one of these from the freezer, I think about Carla standing in her kitchen that Tuesday afternoon. She didn’t just give me a recipe—she gave me a solution to a problem I didn’t even know I had. I hope this recipe does the same for you.
Have you tried making these? What’s your favorite filling combination? Drop a comment below and let me know—I’m always looking for new ideas to test out in my kitchen.
Frequently Asked Questions
Can I use whole wheat bread for these?
Absolutely. Whole wheat bread works great, though it can be a bit more prone to cracking. I recommend using a softer brand like Sara Lee whole wheat for best results. If your bread is too dense, it won’t seal as cleanly.
How long do these last in the freezer?
They’ll stay fresh for up to three months in a sealed freezer bag. I’ve pushed it to four months in a pinch, and they were still edible—just slightly freezer-burned on the edges. For best quality, use them within eight weeks.
Can I make these without a special sealer?
Yes! Use a round cookie cutter to cut out the sandwich, then press the edges with a fork to seal. It takes a little more effort, but the results are just as good. I used this method for months before buying the sealer.
Do I need to thaw them before eating?
Not necessarily. They’re designed to be eaten frozen or thawed. If you’re packing a lunch, just toss one in the lunchbox in the morning, and it’ll be thawed by lunchtime. For a quick snack, microwave for 15-20 seconds for a soft center.
Can I use natural peanut butter?
You can, but be aware that natural peanut butter tends to be oilier and can separate during freezing. Stir it really well before spreading, and consider adding a tiny bit of honey to help it stick together. I’ve tested this, and it works—it’s just a little messier.
Pin This Recipe!
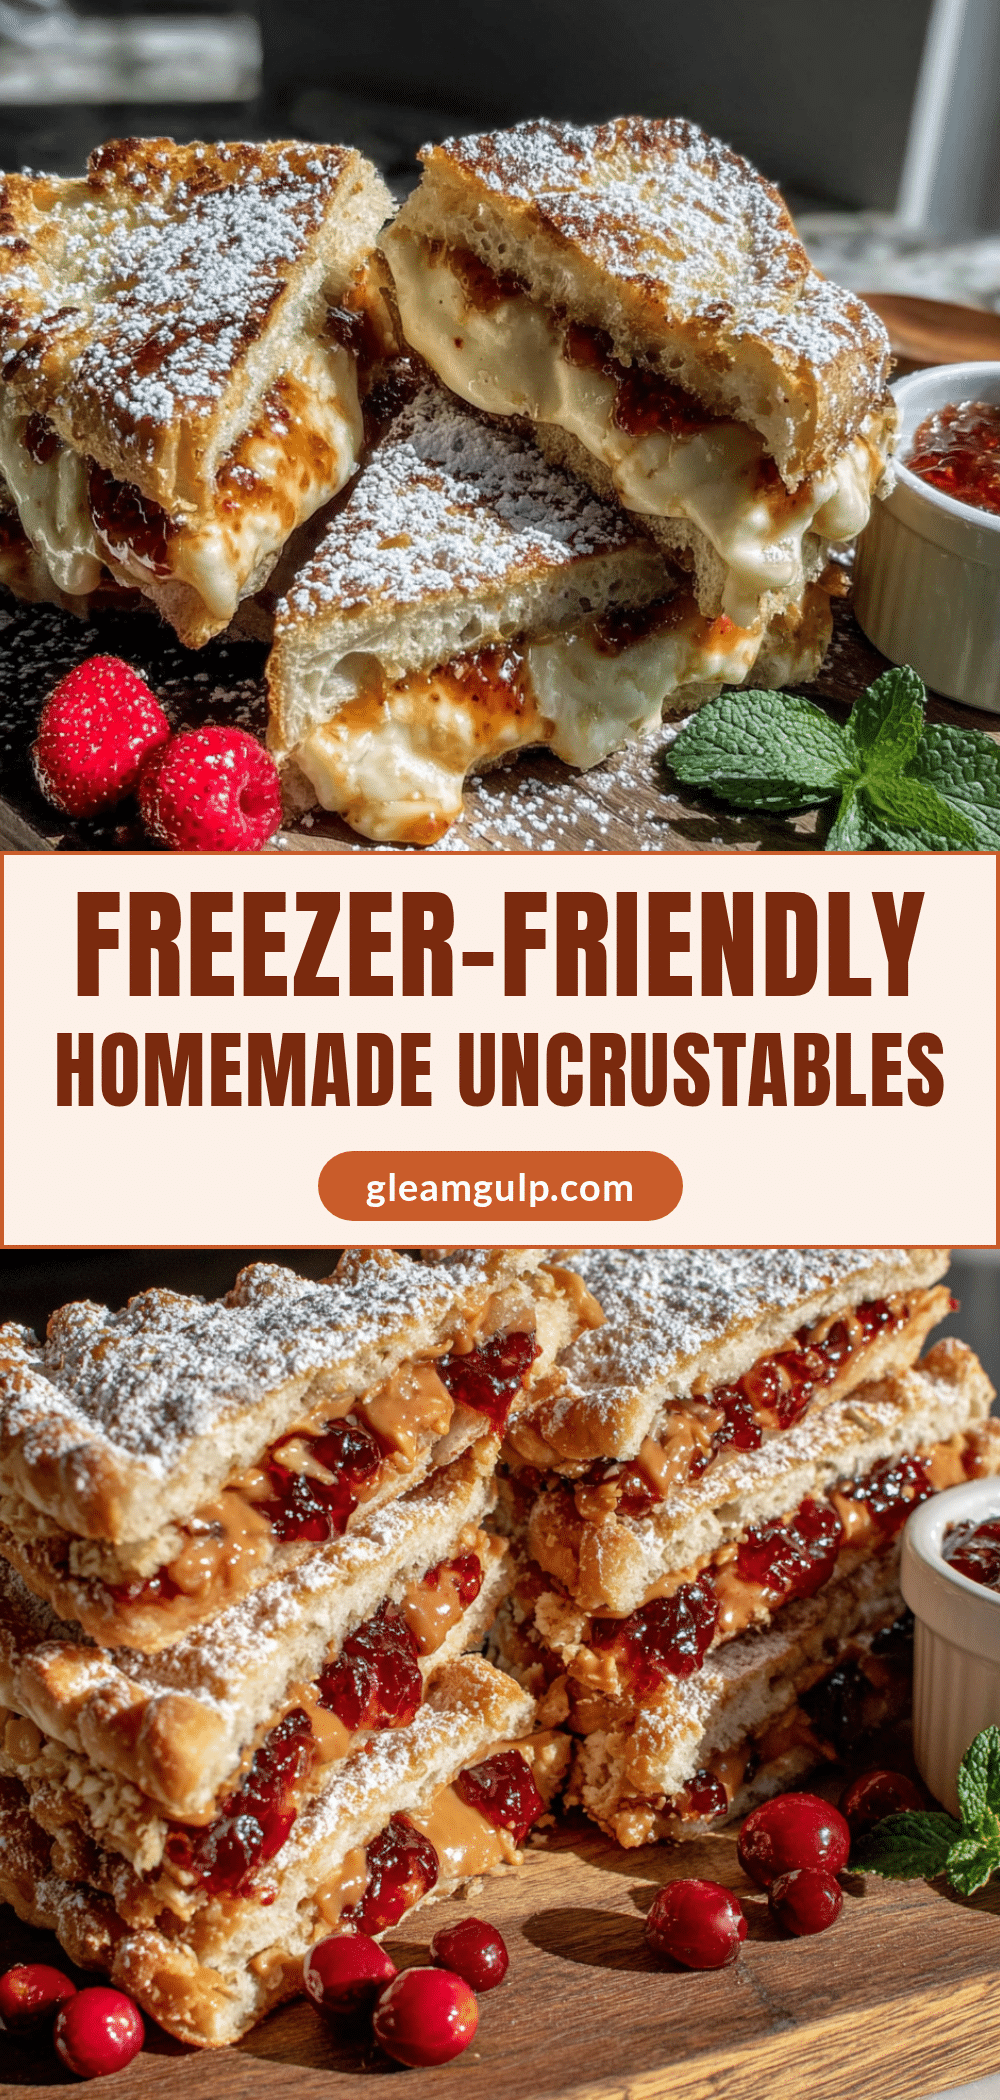
Easy Homemade Uncrustables: Freezer-Friendly PB&J Recipe

These freezer-friendly PB&J pockets are quick, simple, and taste so much better than the store-bought version. Perfect for busy mornings, hangry afternoons, and everything in between.
- Prep Time: 15 minutes
- Cook Time: 0 minutes
- Total Time: 15 minutes (plus 1-2 hours flash-freezing)
- Yield: 4 servings 1x
- Category: Snack
- Cuisine: American
Ingredients
- 8 slices of sandwich bread (white, whole wheat, or sourdough; avoid super thin bread)
- 1/2 cup creamy peanut butter (Jif or Skippy recommended)
- 1/4 cup strawberry jelly or jam (seedless works best)
- 1 tablespoon honey (optional, for added sweetness)
- 1/4 teaspoon cinnamon (optional, for a warm flavor twist)
Instructions
- Prep your workspace: Clear your counter, lay out all ingredients, and line a baking sheet with parchment paper.
- Spread peanut butter on four slices of bread: Use about 2 tablespoons per slice, spreading all the way to the edges to create a barrier against jelly.
- Add jelly on top of the peanut butter: Use about 1 tablespoon per sandwich, spreading it in the center, leaving a half-inch border to prevent leakage.
- Top with remaining bread slices: Place them peanut butter side down, so the jelly is sandwiched between two layers of peanut butter.
- Use a sandwich sealer to cut and seal each sandwich: Center the sealer over the sandwich and press down firmly. Alternatively, use a round cookie cutter and press edges with a fork to seal.
- Place sealed uncrustables on the parchment-lined baking sheet: Ensure they are not touching each other.
- Flash-freeze for 1-2 hours: Place the baking sheet in the freezer until the sandwiches are solid.
- Transfer to freezer bags: Once frozen, move uncrustables to a labeled freezer bag, squeezing out as much air as possible.
- Store in the freezer for up to 3 months: For best quality, use within 8 weeks.
Notes
Use room-temperature peanut butter for easier spreading. Don’t overfill with jelly to prevent leaks. Flash-freezing is essential to prevent sandwiches from sticking together. Label bags with date and flavor. For a treat, pan-fry in butter for a crispy exterior.
Nutrition
- Serving Size: 1 uncrustable
- Calories: 300
- Sugar: 12
- Sodium: 250
- Fat: 14
- Saturated Fat: 2.5
- Carbohydrates: 35
- Fiber: 3
- Protein: 10
Keywords: homemade uncrustables, freezer-friendly, PB&J, peanut butter and jelly, lunch ideas, meal prep, kid-friendly


