Love this? Save it for later!
Share the inspiration with your friends
Introduction
“Why can’t we just use browned butter instead of plain melted butter?” my neighbor’s teenager asked one hectic afternoon while I was showing her how to bake birthday cookies for her school party. I started to explain why that wouldn’t work — then stopped. Honestly, the idea seemed a little over the top at first. Brown butter? For school cookies? I mean, I was convinced plain butter was the classic and safest route. But curiosity won, and we gave it a go.
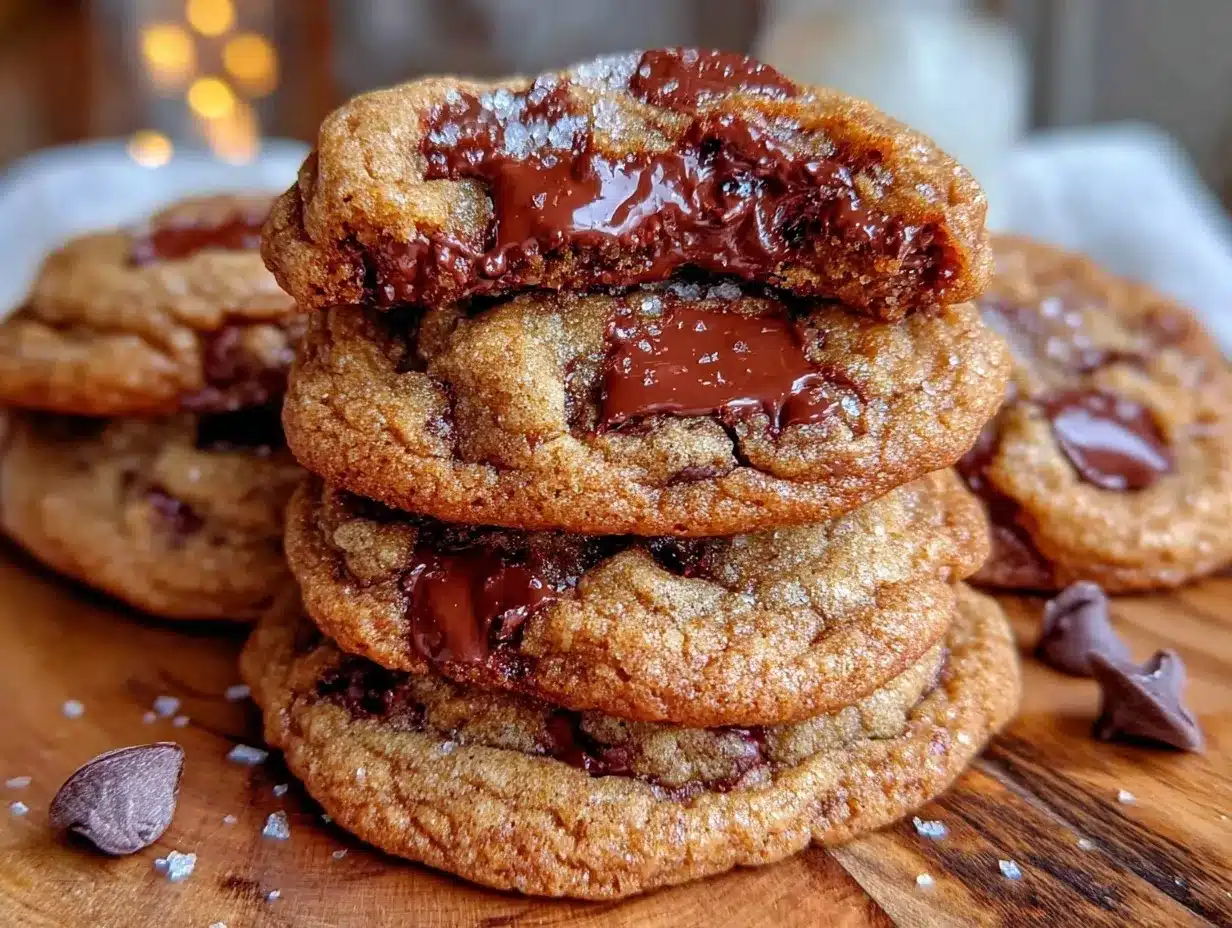
The moment those cookies came out of the oven, the kitchen filled with this warm, nutty aroma that immediately made us pause. The texture was chewier than I expected, and the flavor? Honestly, it completely changed the cookie game for me. I’d been teaching baking basics for years, but that afternoon reminded me that sometimes the beginner’s instinct is spot on.
Maybe you’ve been there—you think you know the best way to make a recipe, but someone suggests a twist that you initially resist. That little interruption can end up teaching you more than you planned. That batch of chewy brown butter chocolate chip school birthday cookies has since become my go-to treat for celebrations, and I keep making them because they just work so well. Let me tell you, this isn’t just another chocolate chip cookie recipe; it’s the kind that brings a smile to every kid (and adult) who tries it.
Why You’ll Love This Recipe
After testing and retesting this brown butter chocolate chip cookie recipe, I can honestly say it hits all the right notes. The chewy texture paired with the deep, caramelized butter flavor makes these cookies stand out. Here’s why you’ll want to keep this recipe on hand:
- Quick & Easy: Comes together in under 30 minutes, perfect for those last-minute school birthday parties or snack cravings.
- Simple Ingredients: Uses pantry staples you probably already have—no fancy or hard-to-find items needed.
- Perfect for Celebrations: Great for school birthdays, potlucks, or anytime you want a homemade treat that feels special.
- Crowd-Pleaser: Kids love the chewy texture, and adults appreciate the rich brown butter flavor.
- Unbelievably Delicious: The nutty aroma and balanced sweetness make these cookies utterly irresistible.
This recipe isn’t just another chocolate chip cookie — it’s a small twist on a classic that makes all the difference. Browning the butter adds this toasty, almost buttery caramel note that you don’t get with plain melted butter. Plus, the chewy texture means these cookies hold up well in lunchboxes without drying out. I’ve tried swapping in different flours and chips, but honestly, this version still wins every time.
What Ingredients You Will Need
This recipe uses simple, wholesome ingredients to deliver bold flavor and that perfect chewy texture without the fuss. Most of these should be easy to find in your pantry or local grocery store.
- Unsalted Butter (1 cup / 227g): Browned carefully for that nutty, rich flavor. I prefer using Plugrá for consistent results.
- Granulated Sugar (¾ cup / 150g): Provides sweetness and helps with the crisp edges.
- Brown Sugar (1 cup packed / 220g): Adds moisture and chewiness. Use light or dark brown sugar depending on your preference.
- Large Eggs (2, room temperature): Room temperature eggs blend better for a uniform dough.
- Vanilla Extract (2 teaspoons): Choose pure vanilla extract for best aroma.
- All-Purpose Flour (2 ¼ cups / 280g): Provides structure. For a gluten-free option, use a 1:1 gluten-free baking flour blend.
- Baking Soda (1 teaspoon): Helps the cookies rise.
- Salt (½ teaspoon): Balances sweetness and enhances flavor.
- Chocolate Chips (2 cups / 340g): Semi-sweet or milk chocolate, depending on your sweet tooth. I like Ghirardelli chips for melt quality.
- Optional: Chopped walnuts or pecans (½ cup / 60g): Adds crunch and depth (great for nut lovers).
Feel free to swap chocolate chips for chunks if you want bigger melty pockets. If you’re baking in summer, frozen chips work fine but avoid refrigerated dough to keep the texture just right.
Equipment Needed
- Heavy-bottomed skillet or saucepan: For browning the butter evenly without burning. I like using my cast iron skillet for this step.
- Mixing bowls: One large for dry ingredients, one medium for wet.
- Hand mixer or stand mixer: Makes creaming sugars and eggs easier, but a sturdy wooden spoon works too.
- Measuring cups and spoons: Precision is key for consistent results.
- Baking sheets: Use rimmed sheets lined with parchment paper or silicone mats to prevent sticking.
- Cooling racks: Essential for letting cookies cool evenly and keep their chewy texture.
If you don’t have a stand mixer, no worries—just mix with a sturdy spoon or spatula. I sometimes use a silicone spatula to scrape browned butter bits from the pan, which adds extra flavor to the dough. For budget-friendly options, basic measuring sets and parchment paper from any grocery store work just fine.
Preparation Method
- Brown the Butter (10 minutes): In a heavy-bottomed skillet over medium heat, melt the unsalted butter, stirring frequently. You’ll see it foam up, then the color will change to a golden brown with a nutty aroma. Remove from heat immediately to avoid burning. Pour into a heatproof bowl and let it cool slightly.
- Mix Sugars and Eggs (5 minutes): In a large bowl, combine granulated sugar and brown sugar. Add the slightly cooled brown butter and mix until combined. Then add eggs one at a time, beating well after each addition. Stir in vanilla extract. The dough will look glossy and rich.
- Combine Dry Ingredients (5 minutes): In a separate bowl, whisk together flour, baking soda, and salt. Slowly add the dry ingredients to the wet mixture, mixing gently until just combined. Overmixing can make the cookies tough, so stop when you no longer see flour.
- Add Chocolate Chips and Nuts (2 minutes): Fold in chocolate chips and nuts (if using) evenly throughout the dough. This step is where your cookie gets its character—make sure chips are well distributed.
- Shape and Bake (12-15 minutes): Preheat your oven to 350°F (175°C). Scoop dough using a tablespoon or cookie scoop onto prepared baking sheets, spacing them about 2 inches apart. Bake for 12 to 15 minutes until edges are golden but centers still look soft. Don’t overbake if you want that chewy texture.
Once out of the oven, let cookies rest on the tray for 5 minutes before transferring to a cooling rack. This helps them set without losing chewiness. If you notice your cookies spreading too much, chill the dough for 30 minutes before baking.
Cooking Tips & Techniques
- Brown Butter Timing: Watch the butter carefully while browning; it can go from perfect to burnt fast. Once you see small brown flecks and smell the nutty aroma, it’s time to remove it from heat.
- Room Temperature Eggs: These blend better and help the dough come together smoothly.
- Don’t Overmix: Overworking the dough develops gluten, which can make cookies dense and cakey instead of chewy.
- Chilling Dough: If your kitchen is warm or you want thicker cookies, chill the dough for 30-60 minutes before baking to prevent spreading.
- Use Parchment or Silicone Mats: Prevents sticking and helps cookies bake evenly.
- Batch Baking: If you’re baking multiple trays, rotate them halfway through for even cooking.
I once learned the hard way that brown butter cookies need a little patience cooling on the tray; rushing the transfer causes breakage and mess. Now I always wait the full five minutes, and it makes a world of difference.
Variations & Adaptations
- Gluten-Free Version: Substitute all-purpose flour with a gluten-free blend like Bob’s Red Mill 1:1 baking flour, and make sure your chocolate chips are gluten-free.
- Seasonal Twist: Swap half the chocolate chips for dried cranberries or chopped dried apricots during fall or winter for a fruity pop.
- Nut-Free Option: Simply omit nuts or replace with sunflower seeds for crunch without allergy worries.
- Double Chocolate: Add ¼ cup unsweetened cocoa powder to the dry ingredients and use white chocolate chips instead for a rich twist.
- Personal Favorite: I sometimes fold in a teaspoon of espresso powder to the dry mix for an unexpected mocha hint that pairs beautifully with the brown butter.
Serving & Storage Suggestions
Serve these chewy brown butter chocolate chip school birthday cookies slightly warm or at room temperature. They’re perfect on their own or paired with a cold glass of milk or a cup of coffee. For a birthday party, consider stacking them on a pretty platter or wrapping individually for easy grab-and-go treats.
Store cookies in an airtight container at room temperature for up to 5 days. They keep their chewiness best when layered between sheets of parchment paper. For longer storage, freeze the baked cookies in a sealed container for up to 3 months. To reheat, pop them in a 300°F (150°C) oven for 5 minutes or microwave for 10-15 seconds to bring back that fresh-baked warmth.
Flavors actually deepen after a day or two, so if you can wait, that’s when they hit their peak deliciousness.
Nutritional Information & Benefits
Each cookie (based on 24 cookies per batch) contains approximately:
| Calories | Fat | Carbohydrates | Protein | Sugar |
|---|---|---|---|---|
| 180 kcal | 9g | 24g | 2g | 15g |
Brown butter adds depth without extra sugar, and using a mix of granulated and brown sugar helps balance chewiness and sweetness. The recipe can be adapted to lower sugar or gluten-free versions as needed. Be mindful of allergens like nuts and eggs if serving to sensitive eaters.
Personally, I appreciate that these cookies feel indulgent but come from simple, real ingredients. They’re a great treat to share without guilt, especially when made fresh at home.
Conclusion
If you’re looking for a chocolate chip cookie recipe that’s a little different but still super approachable, these chewy brown butter chocolate chip school birthday cookies are your answer. The browned butter adds a richness that feels special, while the chewy texture makes them perfect for lunchboxes and parties alike.
Don’t hesitate to tweak the add-ins or chilling time to suit your taste. I love how this recipe lets you customize without losing that classic cookie soul. Honestly, after all these years of baking, this recipe still surprises me with how reliably good it is.
Give it a try, and let me know how your batch turns out! I’d love to hear your adaptations or tips for making these treats your own. Happy baking, and here’s to many joyful school birthday celebrations with cookies that everyone remembers.
FAQs
- Can I skip browning the butter? Yes, but browning adds a nutty flavor and richer taste that plain melted butter doesn’t provide.
- How do I keep the cookies chewy? Don’t overbake, and let them cool on the baking sheet for a few minutes before moving to a rack.
- Can I make the dough ahead of time? Absolutely! Refrigerate the dough for up to 48 hours or freeze for up to 3 months.
- What’s the best way to store leftovers? Airtight container at room temperature for up to 5 days or freeze for longer storage.
- Can I use different chocolate types? Yes, dark, milk, or white chocolate chips all work well. Mixing types makes it fun too!
Pin This Recipe!
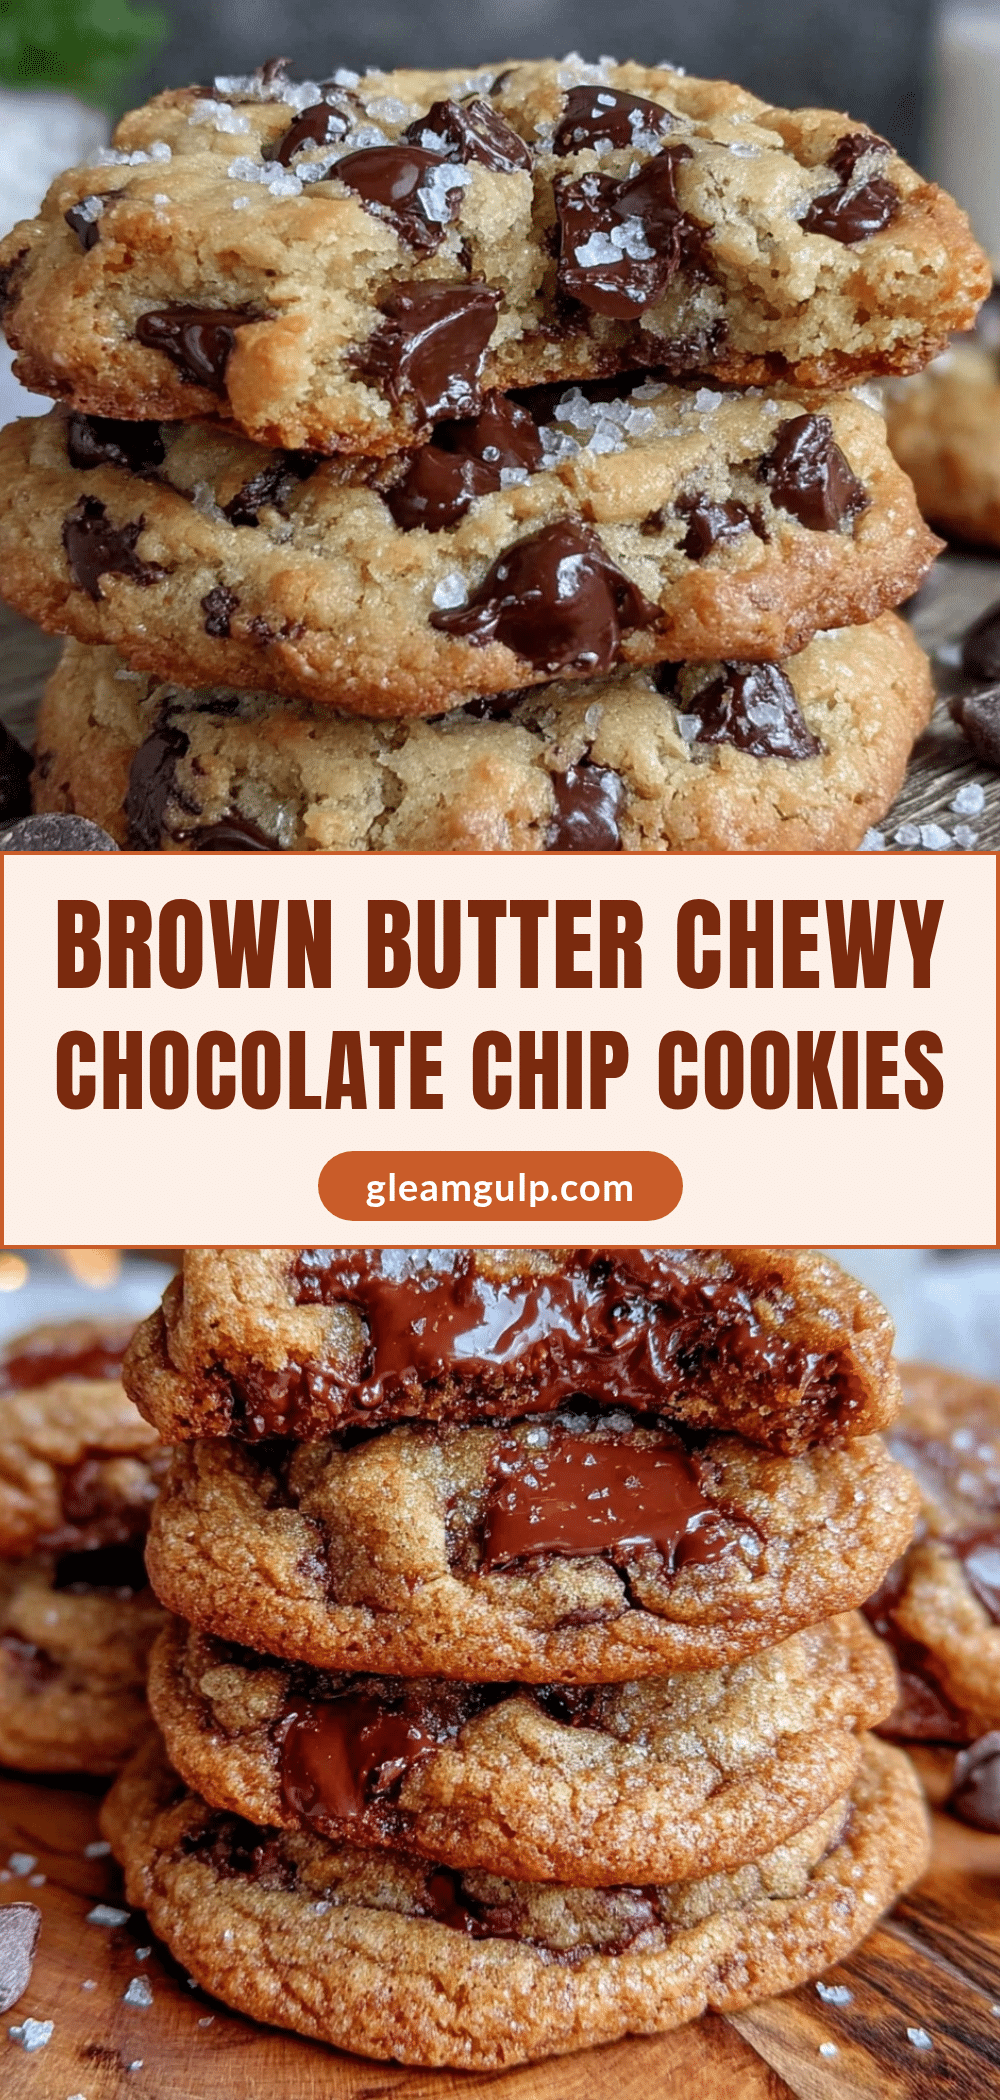
Chewy Brown Butter Chocolate Chip School Birthday Cookies

These chewy brown butter chocolate chip cookies offer a rich, nutty flavor and perfect chewy texture, ideal for school birthday parties and celebrations.
- Prep Time: 22 minutes
- Cook Time: 12-15 minutes
- Total Time: 34-37 minutes
- Yield: 24 cookies 1x
- Category: Dessert
- Cuisine: American
Ingredients
- 1 cup (227g) unsalted butter, browned
- 3/4 cup (150g) granulated sugar
- 1 cup packed (220g) brown sugar
- 2 large eggs, room temperature
- 2 teaspoons vanilla extract
- 2 1/4 cups (280g) all-purpose flour
- 1 teaspoon baking soda
- 1/2 teaspoon salt
- 2 cups (340g) semi-sweet or milk chocolate chips
- Optional: 1/2 cup (60g) chopped walnuts or pecans
Instructions
- Brown the butter: In a heavy-bottomed skillet over medium heat, melt the unsalted butter, stirring frequently until it foams and turns golden brown with a nutty aroma. Remove from heat and pour into a heatproof bowl to cool slightly.
- Mix sugars and eggs: In a large bowl, combine granulated sugar and brown sugar. Add the slightly cooled brown butter and mix until combined. Add eggs one at a time, beating well after each addition. Stir in vanilla extract.
- Combine dry ingredients: In a separate bowl, whisk together flour, baking soda, and salt. Slowly add dry ingredients to the wet mixture, mixing gently until just combined. Avoid overmixing.
- Add chocolate chips and nuts: Fold in chocolate chips and nuts (if using) evenly throughout the dough.
- Shape and bake: Preheat oven to 350°F (175°C). Scoop dough onto prepared baking sheets lined with parchment paper or silicone mats, spacing about 2 inches apart. Bake for 12 to 15 minutes until edges are golden but centers remain soft. Let cookies rest on the tray for 5 minutes before transferring to a cooling rack.
Notes
Watch the butter carefully while browning to avoid burning. Use room temperature eggs for better dough consistency. Do not overmix the dough to keep cookies chewy. Chill dough for 30-60 minutes if kitchen is warm or to prevent spreading. Let cookies cool on the baking sheet for 5 minutes before transferring to rack to maintain chewiness.
Nutrition
- Serving Size: 1 cookie
- Calories: 180
- Sugar: 15
- Fat: 9
- Carbohydrates: 24
- Protein: 2
Keywords: brown butter cookies, chocolate chip cookies, chewy cookies, school birthday treats, easy cookies, homemade cookies