Love this? Save it for later!
Share the inspiration with your friends
“Why can’t we just skip the royal icing and use store-bought frosting?” my friend asked during our Halloween cookie-baking session last October. I started to explain why that wouldn’t work — then stopped. Sometimes, you just have to trust the simple magic of royal icing. Honestly, I’d been certain that the intricate piping and shimmering glitter would be too much fuss for a casual baking afternoon. But as it turned out, my friend’s suggestion to try a quick homemade royal icing with edible glitter was exactly right — and the results were stunning.
That day, my kitchen was a delightful mess of flour, sugar, and a few too many spilled sprinkles (thanks to a curious cat who decided to investigate). The cookies baked up soft and just sweet enough, while the icing dried crisp with a sparkling finish that caught the light perfectly. Maybe you’ve been there — skeptical about a complicated decorating step only to find it’s surprisingly doable and totally worth it.
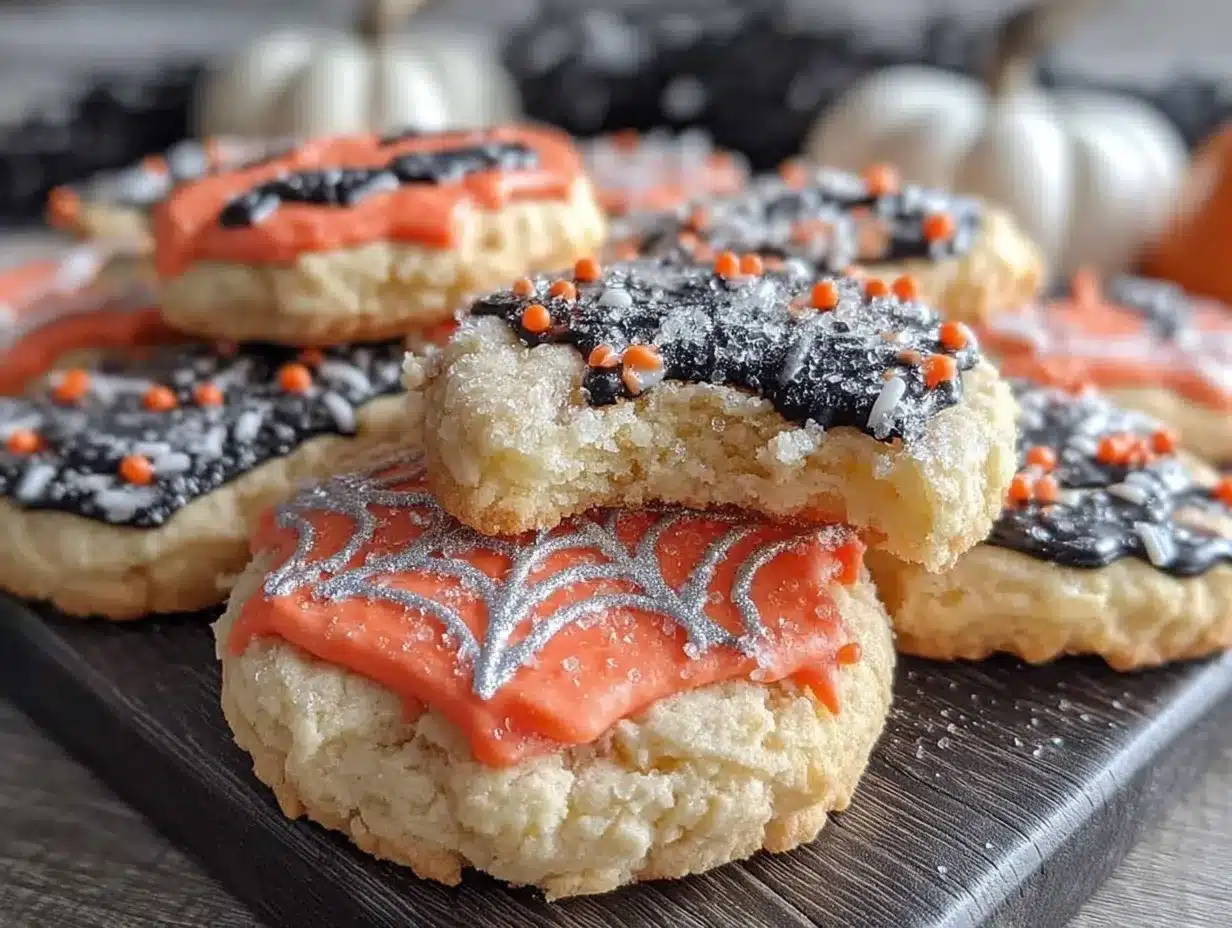
These Perfect Spooky Halloween Sugar Cookies with Glittery Royal Icing aren’t just about looking good. They taste like that comforting, buttery classic with a festive twist that makes you want to share them around a flickering jack-o’-lantern. I keep coming back to this recipe every fall because it nails that balance of spooky fun and simple elegance, plus it’s a joy to make — even if you’re not a pro decorator. Let me tell you, this one changed how I think about Halloween treats for good.
Why You’ll Love This Recipe
After many cookie trials and decorating experiments, I’ve learned a thing or two about what makes these spooky sugar cookies stand out. This isn’t just another Halloween recipe; it’s a little celebration on a plate. Here’s why you’ll want to bake these cookies ASAP:
- Quick & Easy: The dough comes together in about 15 minutes, and the royal icing dries fast enough to decorate and enjoy on the same day — perfect for last-minute Halloween plans.
- Simple Ingredients: No weird spooky powders or specialty flours here. You probably have everything you need in your pantry right now.
- Perfect for Halloween Parties: Whether you’re hosting or bringing treats to a potluck, these sugar cookies impress with their classic flavor and eye-catching glittery finish.
- Crowd-Pleaser: Kids and adults alike love these — the cookie’s buttery texture pairs beautifully with sweet, slightly tangy royal icing.
- Unbelievably Delicious: The balance of just enough sweetness with that melt-in-your-mouth texture keeps everyone sneaking another cookie when they think no one’s looking.
What makes this recipe different? The royal icing here isn’t just for looks. I use a simple technique that creates an icing that’s glossy, smooth, and sets with a satisfying crunch. Plus, the edible glitter adds just the right touch of festive sparkle without overwhelming the flavor. Honestly, it’s the kind of recipe that makes you close your eyes after the first bite, savoring a moment of pure seasonal joy.
What Ingredients You Will Need
This recipe uses straightforward, wholesome ingredients that work together to create a cookie that’s tender yet sturdy enough for decorating. The royal icing ingredients are just as simple but magically transform to a beautiful finish with a little patience.
- For the Sugar Cookies:
- All-purpose flour – 3 cups (360 grams), sifted for a tender crumb
- Baking powder – 1 teaspoon (4 grams) to give a slight lift
- Salt – ½ teaspoon (3 grams), balances the sweetness
- Unsalted butter – 1 cup (227 grams), softened for easy mixing
- Granulated sugar – 1 cup (200 grams), adds classic sweetness
- Large egg – 1, room temperature for binding and richness
- Pure vanilla extract – 2 teaspoons (10 ml), for warm flavor depth
- Almond extract – ½ teaspoon (2.5 ml), optional but recommended for a subtle, nutty aroma
- For the Glittery Royal Icing:
- Powdered sugar – 4 cups (480 grams), sifted for smoothness
- Egg whites or meringue powder – 3 tablespoons (21 grams), to create that perfect stiff peak texture
- Fresh lemon juice or water – 2–3 tablespoons (30–45 ml), to adjust consistency
- Pure vanilla extract – 1 teaspoon (5 ml), for subtle flavor (optional)
- Edible glitter – assorted colors (orange, purple, black), for spooky sparkle
When picking butter, I usually go with Plugrá for its higher fat content that makes cookies extra tender. For the royal icing, using pasteurized egg whites or meringue powder is safer and easier if you’re nervous about raw eggs, and brands like Wilton work great.
If you want a gluten-free twist, swap the all-purpose flour with a 1:1 gluten-free baking blend, though I recommend chilling the dough a little longer in that case. For the glitter, look for edible varieties labeled safe for baking — the shimmer really makes these cookies party-ready.
Equipment Needed
- Mixing bowls – at least two (one for dough, one for icing)
- Electric mixer – handheld or stand mixer makes creaming the butter effortless
- Measuring cups and spoons – for precise ingredient amounts
- Rolling pin – a smooth wooden or silicone one works best for even dough thickness
- Cookie cutters – Halloween-themed shapes like bats, pumpkins, ghosts, and cats
- Baking sheets – lined with parchment paper or silicone mats to prevent sticking
- Cooling racks – essential for letting cookies cool completely before decorating
- Piping bags and tips – small round tips (#1 or #2) for detailed royal icing work
- Small bowls or cups – for mixing and coloring royal icing
- Spatula or spoon – for folding ingredients and smoothing dough
I once tried decorating these cookies with plastic sandwich bags when I didn’t have piping bags handy — it’s doable in a pinch, but a real piping bag makes the precision so much easier. If you’re on a budget, reusable silicone piping bags are a good investment and easy to clean. Also, don’t skip the parchment paper; it saves you from scrubbing stuck-on bits later.
Preparation Method
- Mix the Dry Ingredients: In a medium bowl, whisk together 3 cups (360 g) of sifted all-purpose flour, 1 teaspoon (4 g) baking powder, and ½ teaspoon (3 g) salt. Set aside. This step ensures even leavening and prevents lumps in your dough. (5 minutes)
- Cream the Butter and Sugar: In a large bowl, beat 1 cup (227 g) softened unsalted butter with 1 cup (200 g) granulated sugar using an electric mixer on medium speed until light and fluffy — about 3-4 minutes. You’ll notice the mixture lighten in color and become airy, which means more tender cookies. (5 minutes)
- Add Egg and Extracts: Beat in 1 large egg, 2 teaspoons (10 ml) vanilla extract, and ½ teaspoon (2.5 ml) almond extract. Mix just until combined, avoiding overbeating to keep the dough tender. (2 minutes)
- Combine Wet and Dry: Gradually add the dry flour mixture to the butter mixture in 3 parts, mixing on low speed after each addition until the dough just comes together. If the dough feels sticky, pop it in the fridge for 15-20 minutes to firm up — this makes rolling easier and helps the cookies keep their shape. (8 minutes + chilling if needed)
- Roll and Cut: Lightly flour your surface and rolling pin. Roll dough to about ¼ inch (6 mm) thickness, keeping it even for uniform baking. Use your Halloween cookie cutters to cut shapes, then transfer them carefully to a parchment-lined baking sheet, spacing about 1 inch (2.5 cm) apart. (15 minutes)
- Bake: Preheat your oven to 350°F (175°C). Bake cookies for 8-10 minutes or until the edges are just turning golden. Don’t overbake — you want them soft and slightly chewy, not crisp. (10 minutes)
- Cool Completely: Let cookies cool on the baking sheet for 5 minutes before transferring to a wire rack. Completely cool before decorating to prevent royal icing from melting. (20-30 minutes)
- Prepare Royal Icing: In a clean bowl, beat 4 cups (480 g) sifted powdered sugar with 3 tablespoons (21 g) pasteurized egg whites or meringue powder. Add 2 tablespoons (30 ml) lemon juice or water gradually until you reach a thick but spreadable consistency. Add 1 teaspoon (5 ml) vanilla extract if desired. Divide icing into small bowls to mix in food coloring for your spooky palette. (10 minutes)
- Decorate: Using piping bags fitted with small round tips, outline and flood the cookies with icing. Work quickly but carefully. While the icing is still wet, sprinkle edible glitter for that signature sparkle. Let the icing dry completely — usually overnight or at least 4 hours. (30 minutes + drying time)
Pro tip: If your royal icing gets too stiff, add a few drops of water to loosen it. For thicker lines and details, use icing straight from the bowl without thinning. Also, keep a damp cloth over unused icing to prevent drying out between decorating sessions.
Cooking Tips & Techniques
Royal icing can be intimidating, but a few tricks make it easier. First, always sift your powdered sugar — lumps are the enemy of smooth icing. I’ve learned the hard way that rushing the drying process leads to cracks, so patience is key. Letting the cookies dry undisturbed overnight gives the best firm finish.
When mixing, avoid overbeating the egg whites or meringue powder — you want a glossy, thick consistency, not stiff peaks. For piping, steady hands come with practice; if you’re nervous, start with simple outlines before flooding the inside with thinner icing.
One mistake I made was not chilling the dough enough — the cookies spread too thin and lost their shape. A 20-minute chill helps maintain crisp edges. Also, don’t overcrowd the baking sheet; air circulation is important for even baking.
Timing-wise, bake one sheet at a time, so you can watch closely. While the first batch bakes, prepare your icing. Multitasking like this saves time and keeps everything fresh.
Lastly, when adding glitter, sprinkle it immediately after flooding while the icing is still wet — it sticks best and dries with a magical shimmer.
Variations & Adaptations
Want to switch things up? Here are some fun twists to make these sugar cookies your own:
- Vegan Version: Replace butter with coconut oil or vegan butter and use aquafaba (chickpea water) instead of egg whites for royal icing. The texture changes slightly but the flavor stays festive.
- Spiced Sugar Cookies: Add 1 teaspoon of ground cinnamon and ½ teaspoon of ground nutmeg to the dry ingredients for a cozy autumnal flavor.
- Alternative Flours: Swap half the all-purpose flour with almond flour for a nutty note and softer texture. Great if you want a little extra richness.
- Gluten-Free: Use a gluten-free baking blend and chill the dough longer to prevent spreading.
- Different Decorating Styles: Try using colored royal icing to create spiderweb patterns, ghost faces, or pumpkin details. I’ve even tried edible markers on dried icing for quick designs.
One of my favorite variations was adding a touch of natural beet juice to the icing for a subtle pinkish glow that looked spooky under dim light — a happy accident that guests loved!
Serving & Storage Suggestions
Serve these cookies at room temperature to enjoy the full buttery flavor and crisp icing texture. They make a charming centerpiece on a Halloween dessert table or a sweet gift packed in a festive box.
Pair them with warm apple cider, pumpkin spice latte, or a simple cup of black tea to balance the sweetness.
Store leftover cookies in an airtight container at room temperature for up to 5 days. If you want to keep them longer, freeze undecorated cookies wrapped tightly in plastic wrap and foil for up to 3 months. Decorated cookies freeze best after the icing has dried completely, but be mindful that humidity can soften the crisp icing.
To reheat, just bring frozen cookies to room temperature naturally; avoid microwaving as it softens the icing and changes texture. The flavors mellow beautifully over a day, making them even more delightful.
Nutritional Information & Benefits
Each sugar cookie contains approximately 150-180 calories, depending on size and icing amount. They provide a moderate source of energy from carbohydrates and fats.
Key ingredients like real butter contribute vitamin A and essential fatty acids, while the lemon juice in the icing adds a touch of vitamin C and brightness.
This recipe is naturally free from nuts unless you choose to add almond extract or almond flour. For gluten-free adaptations, using certified blends keeps it safe for sensitive eaters.
While these cookies are a treat, they’re made with simple, recognizable ingredients — no artificial colors or flavors required — which makes me feel better about sharing them with friends and family.
Conclusion
These Perfect Spooky Halloween Sugar Cookies with Glittery Royal Icing prove that sometimes, the old-school methods with a little sparkle are exactly what you need. They’re easy enough for a fun baking day, impressive enough to wow your guests, and delicious enough to keep coming back for more. I love how this recipe leaves room for creativity — whether you’re piping delicate spiderwebs or slathering on a thick layer of glittery icing, every batch feels special.
Give these cookies a try, and don’t hesitate to make them your own by changing up colors, shapes, or flavors. I’d love to hear how your spooky creations turn out — leave a comment or share your photos! Baking holidays treats can be messy, joyful, and surprisingly rewarding, so have fun and happy Halloween!
FAQs
Can I make the cookie dough ahead of time?
Yes! The dough can be wrapped tightly and refrigerated for up to 3 days or frozen for up to 3 months. Just thaw and roll as usual.
Is royal icing safe to eat raw?
Using pasteurized egg whites or meringue powder makes royal icing safe. Avoid raw egg whites to reduce risk.
How do I store decorated sugar cookies?
Store in an airtight container at room temperature for up to 5 days. Keep them in a single layer to protect the icing.
What if my royal icing is too runny or too thick?
Add small amounts of water to thin runny icing or powdered sugar to thicken too-thick icing until you reach your desired consistency.
Can I use gel food coloring for the royal icing?
Absolutely! Gel colors work great and won’t thin out your icing like liquid colors might.
Pin This Recipe!
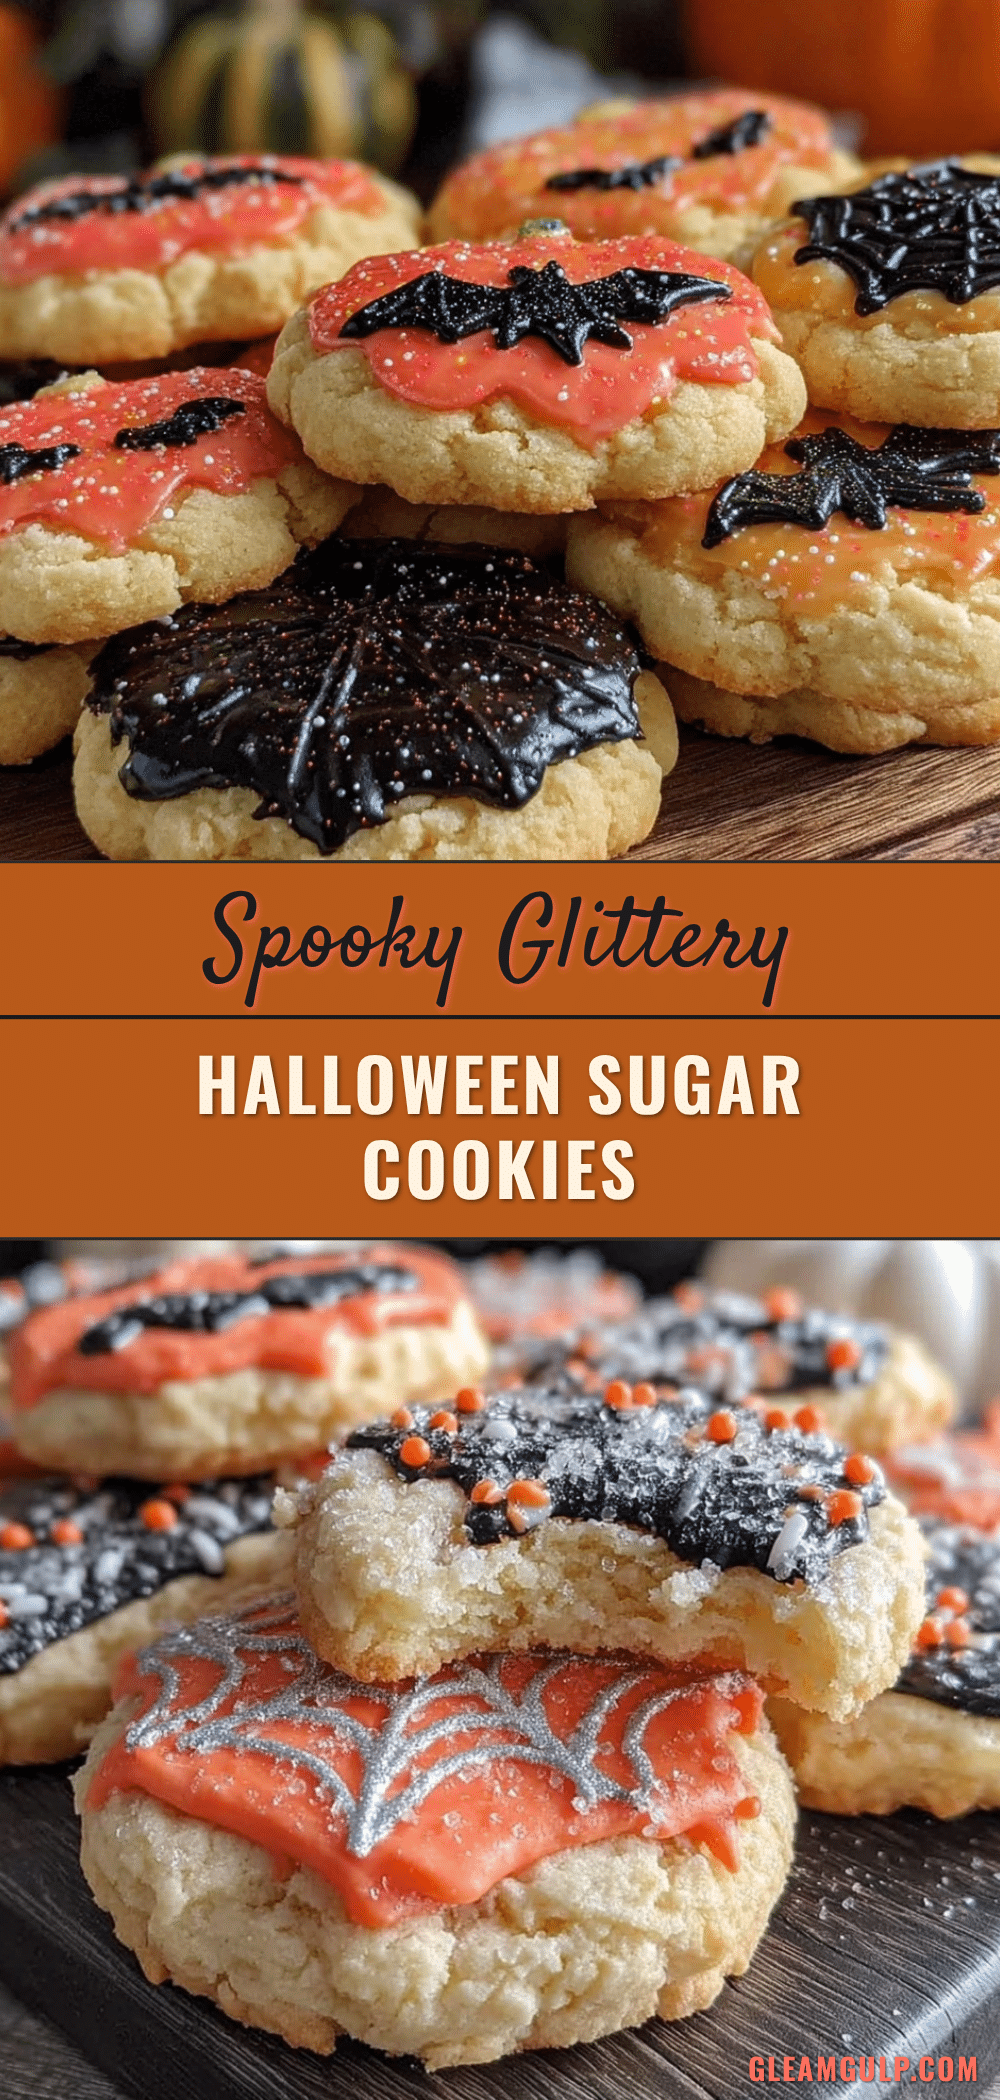
Perfect Spooky Halloween Sugar Cookies with 5 Easy Glittery Royal Icing Tips
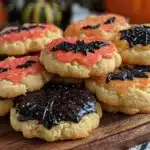
These spooky sugar cookies feature a tender, buttery texture topped with a glossy, glittery royal icing perfect for Halloween celebrations. Easy to make and decorate, they bring festive sparkle and classic flavor to any party.
- Prep Time: 15 minutes
- Cook Time: 10 minutes
- Total Time: 1 hour 30 minutes
- Yield: 24 cookies 1x
- Category: Dessert
- Cuisine: American
Ingredients
- 3 cups (360 grams) all-purpose flour, sifted
- 1 teaspoon (4 grams) baking powder
- ½ teaspoon (3 grams) salt
- 1 cup (227 grams) unsalted butter, softened
- 1 cup (200 grams) granulated sugar
- 1 large egg, room temperature
- 2 teaspoons (10 ml) pure vanilla extract
- ½ teaspoon (2.5 ml) almond extract (optional)
- 4 cups (480 grams) powdered sugar, sifted
- 3 tablespoons (21 grams) pasteurized egg whites or meringue powder
- 2–3 tablespoons (30–45 ml) fresh lemon juice or water
- 1 teaspoon (5 ml) pure vanilla extract (optional)
- Edible glitter in assorted colors (orange, purple, black)
Instructions
- Mix the dry ingredients: whisk together sifted all-purpose flour, baking powder, and salt in a medium bowl. Set aside.
- Cream the butter and sugar: beat softened unsalted butter with granulated sugar using an electric mixer on medium speed until light and fluffy, about 3-4 minutes.
- Add egg and extracts: beat in the large egg, vanilla extract, and almond extract until just combined.
- Combine wet and dry ingredients: gradually add the dry flour mixture to the butter mixture in three parts, mixing on low speed until dough just comes together. Chill dough for 15-20 minutes if sticky.
- Roll and cut: lightly flour surface and rolling pin, roll dough to ¼ inch thickness, cut shapes with Halloween cookie cutters, and place on parchment-lined baking sheets about 1 inch apart.
- Bake: preheat oven to 350°F (175°C) and bake cookies for 8-10 minutes until edges just turn golden. Avoid overbaking.
- Cool completely: let cookies cool on baking sheet for 5 minutes, then transfer to wire rack to cool fully before decorating.
- Prepare royal icing: beat sifted powdered sugar with pasteurized egg whites or meringue powder, gradually add lemon juice or water until thick but spreadable consistency is reached, add vanilla extract if desired, and divide into bowls for coloring.
- Decorate: outline and flood cookies with royal icing using piping bags fitted with small round tips. Sprinkle edible glitter immediately while icing is wet. Let icing dry completely, preferably overnight or at least 4 hours.
Notes
Use pasteurized egg whites or meringue powder for safe royal icing. Chill dough if sticky to maintain shape. Sift powdered sugar for smooth icing. Let icing dry overnight for best results. Add water to thin icing or powdered sugar to thicken. Sprinkle edible glitter immediately after flooding while icing is wet. Store cookies in airtight container at room temperature up to 5 days or freeze undecorated cookies up to 3 months.
Nutrition
- Serving Size: 1 cookie
- Calories: 165
- Sugar: 15
- Sodium: 90
- Fat: 7
- Saturated Fat: 4.5
- Carbohydrates: 24
- Fiber: 0.5
- Protein: 1.5
Keywords: Halloween sugar cookies, royal icing, glittery cookies, spooky cookies, easy Halloween treats, buttery sugar cookies, festive cookies