Love this? Save it for later!
Share the inspiration with your friends
“I wasn’t sure whether to cover the dish or leave it open,” my friend Lisa confessed one rainy Saturday afternoon as we stood in her tiny kitchen, both eyeballing a bubbling casserole that smelled like a cozy hug. It was one of those moments where baking feels more like a guessing game than a science, and honestly, I’ve been there too. There’s something about that question—“Should I cover this when baking?”—that can totally change the outcome, making the difference between a dry, overcooked mess and a perfectly moist, flavorful masterpiece.
That day, as the aroma filled the air and the rain tapped softly against the window, I realized how many times I’d been puzzled by this exact dilemma. Maybe you’ve been there, staring at your oven, wondering if the recipe really means what it says or if you should just trust your gut. The truth is, whether you cover or uncover your dish during baking often depends on the texture and flavor you want to achieve, and sometimes, a little trial and error (or a well-timed tip from a seasoned baker) is exactly what you need.
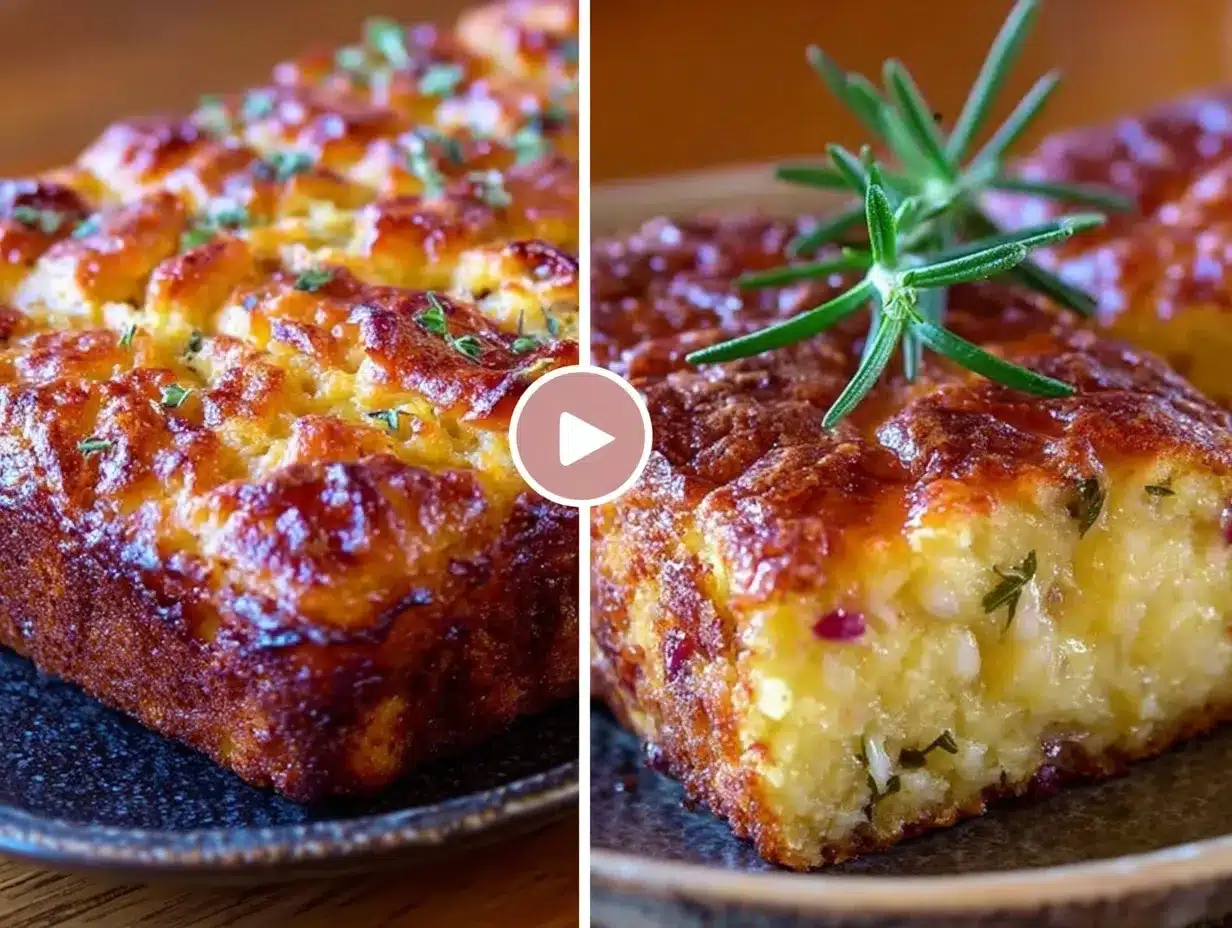
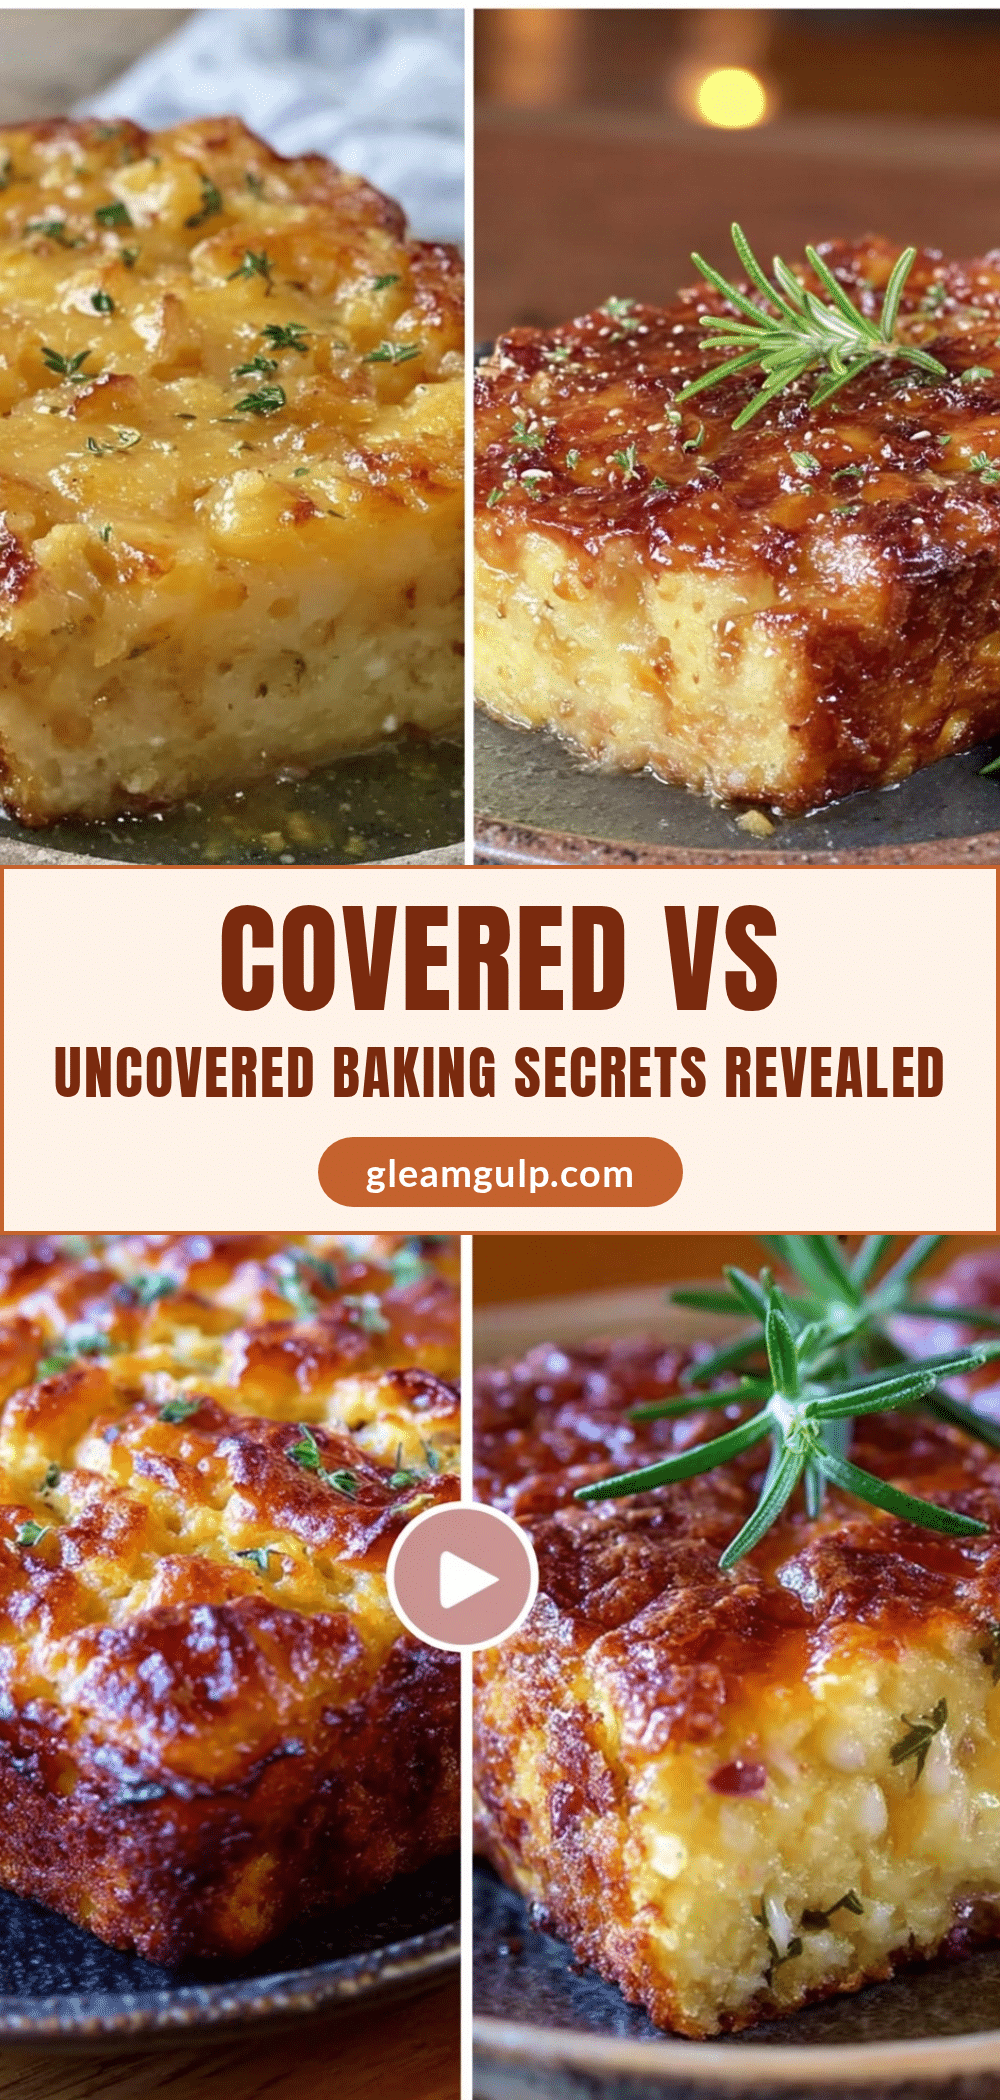
Lisa’s casserole turned out to be a revelation—not just because it was delicious but because of how the simple act of covering halfway through baking helped keep it moist without losing that golden top. I left her kitchen thinking, “I need to share these secrets.” So, here’s the scoop on when and why you should cover your baked dishes to get those flavorful results every time. Let me tell you, it’s a game changer for everything from casseroles to roasts, and yes, even for your favorite fruit crisps.
Why You’ll Love This Recipe
After many kitchen experiments and even more moments of second-guessing, I’ve nailed down some solid reasons why mastering the “should I cover this when baking” question will make your cooking life easier and tastier. Here’s why this approach stands out:
- Quick & Easy: Knowing when to cover saves time and stress, so you’re not hovering over the oven endlessly.
- Simple Ingredients: No need for fancy add-ons—just your trusty staples doing their thing perfectly.
- Perfect for Any Occasion: Whether it’s a weeknight dinner or a holiday feast, you’ll nail the texture and flavor every time.
- Crowd-Pleaser: Moist insides and crispy tops that get raves from everyone at the table.
- Unbelievably Delicious: You get that delightful contrast between tender, juicy bites and beautifully browned edges.
This isn’t just another baking tip; it’s about understanding how a simple covering technique can make your dishes sing. I remember when I first tested this method on a chicken bake—halfway through, I covered it to lock in juices, then uncovered for that final browning. It was like magic. This recipe approach honors that balance, helping you avoid dry or soggy results.
Honestly, it’s the difference between a meal you rush through and one where you pause, close your eyes, and savor every bite. So, if you’ve ever wondered about those baking secrets, keep reading—you’re about to get the scoop that took me years to perfect.
What Ingredients You Will Need
This guide focuses on a variety of dishes where covering during baking matters most, so the ingredient list is flexible. The key is using straightforward, wholesome ingredients that react well to either covered or uncovered baking. Most of these are pantry staples you probably have on hand. Here’s a breakdown:
- Proteins: Chicken thighs or breasts (bone-in or boneless), pork chops, or beef roasts (choose cuts suitable for baking)
- Vegetables: Root veggies like carrots and potatoes, plus onions and bell peppers for flavor layering
- Liquids: Broth (chicken, beef, or vegetable), white wine (optional, adds brightness), or water for moisture
- Fats: Olive oil or unsalted butter, softened (adds richness and promotes browning)
- Seasonings: Salt, black pepper, garlic powder, paprika, dried herbs like thyme or rosemary (fresh herbs can be added at the end)
- Toppings: Grated cheese (cheddar, parmesan), breadcrumbs, or crushed crackers (these get beautifully toasted when uncovered)
For casseroles or baked pasta dishes, you might want:
- Pasta (cooked al dente)
- Cottage cheese or ricotta (for creaminess)
- Tomato sauce or béchamel
Pro tip: For the best flavor, I recommend Swanson broth for moisture and Land O Lakes butter for that golden finish. If you’re aiming for a gluten-free option, swap regular breadcrumbs with almond flour or gluten-free panko.
And hey, if you’re baking fruit crisps or cobblers, fresh or frozen berries, a bit of sugar, and a crumbly topping work wonders—covered at first to keep juiciness, then uncovered for that crispy crown.
Equipment Needed
When it comes to this baking technique, the right tools make life easier but you don’t need a fancy kitchen setup. Here’s what I use and recommend:
- Baking Dish: A medium to large glass or ceramic casserole dish works great—you want something that heats evenly. I personally prefer Pyrex for its durability and clear sides that let you peek without opening the oven.
- Aluminum Foil: The classic covering tool. Heavy-duty foil lasts longer and won’t tear easily, which I learned the hard way during a messy lasagna bake.
- Oven Mitts: Essential for safe handling, especially when removing hot covers.
- Cooling Rack: For resting your dish after baking, so condensation doesn’t make the bottom soggy.
If you don’t have a casserole dish, a rimmed baking sheet with sides works for roasting meats and veggies. Cover with foil or an oven-safe lid if you have one. For budget-friendly options, thrift stores or discount kitchen shops often carry these basics at great prices.
Preparation Method
- Preheat your oven to 375°F (190°C). This temp works well for most baked dishes needing a balance of gentle cooking and browning.
- Prepare your ingredients. Pat proteins dry with paper towels to promote crisping, chop vegetables uniformly for even cooking, and season everything generously with salt, pepper, and herbs.
- Arrange your dish. Place proteins in the baking dish, nestle veggies around, and drizzle olive oil or dot butter over the top. For casseroles, layer pasta, sauce, and cheese in your desired order.
- Add liquids. Pour broth or wine around the edges—not over the top—to keep flavors moist without washing away seasonings.
- Cover the dish tightly with aluminum foil or a lid. This traps steam, preventing drying out during the initial baking phase. For example, if you’re baking chicken, cover for about 25-30 minutes to lock in juices.
- Bake covered for the initial time (usually two-thirds of total baking time). Check the recipe for exact timings; for a 45-minute bake, cover for the first 30 minutes.
- Remove the cover carefully—watch out for hot steam—and continue baking uncovered. This step lets the top brown and crisp beautifully. For casseroles, this is when you’d add breadcrumbs or cheese to toast.
- Check doneness. Use a meat thermometer (165°F/74°C for poultry) or check that veggies are tender with a fork. If the top browns too quickly, tent foil loosely and finish baking.
- Rest your dish. Let it sit uncovered for 5-10 minutes after removing from the oven. This helps juices redistribute and flavors meld.
Some personal notes: I once forgot to cover a roast and ended up with a dry crust that made me swear “never again.” But covering it first and uncovering only at the end? Game changer. Also, if you notice your dish isn’t browning enough, bump the oven to 400°F (205°C) for the last 5 minutes, but keep a close eye!
Cooking Tips & Techniques
Baking with or without a cover isn’t just about slapping foil on your dish. Here are some tips I’ve picked up:
- Timing is everything. Cover too long and you lose that golden crust; uncover too soon and your food might dry out.
- Use heavy-duty foil. Thin foil tears easily and lets steam escape prematurely.
- Tent loosely for delicate toppings. If you’re worried about burning breadcrumbs or cheese, tent foil instead of sealing it tight.
- Watch your oven’s quirks. Some ovens brown unevenly, so rotating the dish halfway can help.
- Don’t skip the resting step. It helps everything settle and makes slicing easier.
Once, I covered a dish completely but forgot to vent the foil, resulting in soggy veggies. Lesson learned: poke a few holes or leave a small gap for steam to escape if you want to avoid that. Also, multitasking tip—prepare your next dish or set the table during the covered baking phase to save time. Trust me, it makes dinners less frantic.
Variations & Adaptations
This method works beautifully across many dishes, and you can tweak it based on your needs:
- Dietary adjustments: Use dairy-free cheese or plant-based broths to keep things vegan-friendly.
- Seasonal twists: Swap root vegetables for summer squash or zucchini in warmer months, adjusting bake times accordingly.
- Flavor fusions: Add a splash of soy sauce or miso to the broth for an umami boost, or sprinkle smoked paprika for a hint of warmth.
For something I tried recently, covering a sweet potato and black bean bake halfway through and then uncovering for the last 10 minutes gave it a lovely caramelized edge without drying the beans. It’s a trick I’ll keep using for sure.
Serving & Storage Suggestions
Serve your baked dishes warm, right out of the oven, to enjoy that fresh-from-the-oven texture. For casseroles and roasts, slice into even portions and plate with a sprinkle of fresh herbs. Pair with simple sides like a crisp salad or buttered bread to round out the meal.
If you have leftovers, store them in an airtight container in the refrigerator for up to 3 days. For longer storage, freeze in portions—cover tightly to avoid freezer burn. When reheating, cover loosely with foil and warm in the oven at 350°F (175°C) until heated through, preserving moisture.
Fun fact: I’ve noticed that some baked dishes actually taste better the next day, as the flavors meld beautifully. So don’t be afraid to make ahead and enjoy later!
Nutritional Information & Benefits
This baking method supports healthy meals by retaining moisture and nutrients often lost during overcooking. For example, covering protein and vegetables traps steam, preserving vitamins and minerals.
A typical serving of a baked chicken and vegetable dish prepared this way contains approximately:
| Calories | 350-400 kcal |
|---|---|
| Protein | 30-35 grams |
| Fat | 15-20 grams (mostly healthy fats from olive oil) |
| Carbohydrates | 20-25 grams (mostly from veggies) |
This method is naturally gluten-free and low-carb friendly when using suitable ingredients. Just watch for potential allergens like dairy or gluten in toppings or sauces, and swap as needed.
Conclusion
Figuring out when to cover your baked dishes is a small step that makes a huge difference. This simple secret helps you get the perfect balance of moist, tender insides and beautifully browned tops every time you bake. I love this approach because it takes the guesswork out of baking and makes meals that much more satisfying.
Feel free to tweak the timing and ingredients based on your preferences—cooking is about what tastes good to you, after all. I’d love to hear how you try these tips in your kitchen. Share your experiences and any clever hacks you discover!
Remember, great food comes with a little patience and a bit of practice. Happy baking, and may your next dish be perfectly covered and irresistibly flavorful!
FAQs
When should I cover a dish when baking?
Cover dishes during the initial baking phase to retain moisture and prevent drying, especially for meats and casseroles. Uncover towards the end to allow browning and crisping.
Can I use plastic wrap instead of foil for covering?
No, plastic wrap is not oven-safe and will melt. Use aluminum foil or an oven-safe lid for covering when baking.
Does covering food affect cooking time?
Yes, covering traps steam and can slightly reduce cooking time by creating a moist environment. Always check for doneness with a thermometer or by testing texture.
What if my dish is too soggy after baking covered?
Remove the cover for the last 10-15 minutes of baking to let excess moisture evaporate and the top crisp up.
Is covering important for baked desserts?
For some desserts like fruit crisps, covering during the first part of baking keeps them juicy, then uncovering crisps the topping. However, delicate pastries usually bake uncovered to maintain texture.
Pin This Recipe!
Should I Cover This When Baking Secrets Revealed Easy Tips for Perfect Results

This guide reveals when and why to cover your baked dishes to achieve perfectly moist insides and crispy tops, applicable to casseroles, roasts, and fruit crisps.
- Prep Time: 15 minutes
- Cook Time: 45 minutes
- Total Time: 1 hour
- Yield: 4 servings
- Category: Main Course
- Cuisine: American
Ingredients
- Chicken thighs or breasts (bone-in or boneless)
- Pork chops or beef roasts (cuts suitable for baking)
- Root vegetables like carrots and potatoes
- Onions and bell peppers
- Broth (chicken, beef, or vegetable)
- White wine (optional)
- Water
- Olive oil or unsalted butter, softened
- Salt
- Black pepper
- Garlic powder
- Paprika
- Dried herbs like thyme or rosemary
- Grated cheese (cheddar, parmesan)
- Breadcrumbs or crushed crackers
- Pasta (cooked al dente) for casseroles or baked pasta dishes
- Cottage cheese or ricotta
- Tomato sauce or béchamel
- Fresh or frozen berries (for fruit crisps)
- Sugar (for fruit crisps)
- Almond flour or gluten-free panko (for gluten-free option)
Instructions
- Preheat your oven to 375°F (190°C).
- Pat proteins dry with paper towels, chop vegetables uniformly, and season everything generously with salt, pepper, and herbs.
- Place proteins in the baking dish, nestle veggies around, and drizzle olive oil or dot butter over the top. For casseroles, layer pasta, sauce, and cheese in your desired order.
- Pour broth or wine around the edges—not over the top—to keep flavors moist without washing away seasonings.
- Cover the dish tightly with aluminum foil or a lid to trap steam and prevent drying during the initial baking phase.
- Bake covered for the initial time (usually two-thirds of total baking time). For example, cover for 30 minutes if baking for 45 minutes total.
- Remove the cover carefully to avoid hot steam and continue baking uncovered to brown and crisp the top. Add breadcrumbs or cheese now if desired.
- Check doneness using a meat thermometer (165°F/74°C for poultry) or by testing that vegetables are tender with a fork. Tent foil loosely if the top browns too quickly.
- Let the dish rest uncovered for 5-10 minutes after baking to allow juices to redistribute and flavors to meld.
Notes
Use heavy-duty foil to prevent tearing. Tent foil loosely for delicate toppings like breadcrumbs or cheese to avoid burning. Rotate dish halfway through baking if your oven browns unevenly. Resting the dish after baking helps juices redistribute. For gluten-free, substitute breadcrumbs with almond flour or gluten-free panko. For vegan or dairy-free, use plant-based broths and dairy-free cheese.
Nutrition
- Serving Size: 1 serving (approxima
- Calories: 375
- Sugar: 5
- Sodium: 450
- Fat: 17
- Saturated Fat: 5
- Carbohydrates: 23
- Fiber: 4
- Protein: 32
Keywords: baking tips, cover when baking, casserole baking, roasting, moist baked dishes, crispy tops, baking secrets, foil baking technique


