Love this? Save it for later!
Share the inspiration with your friends
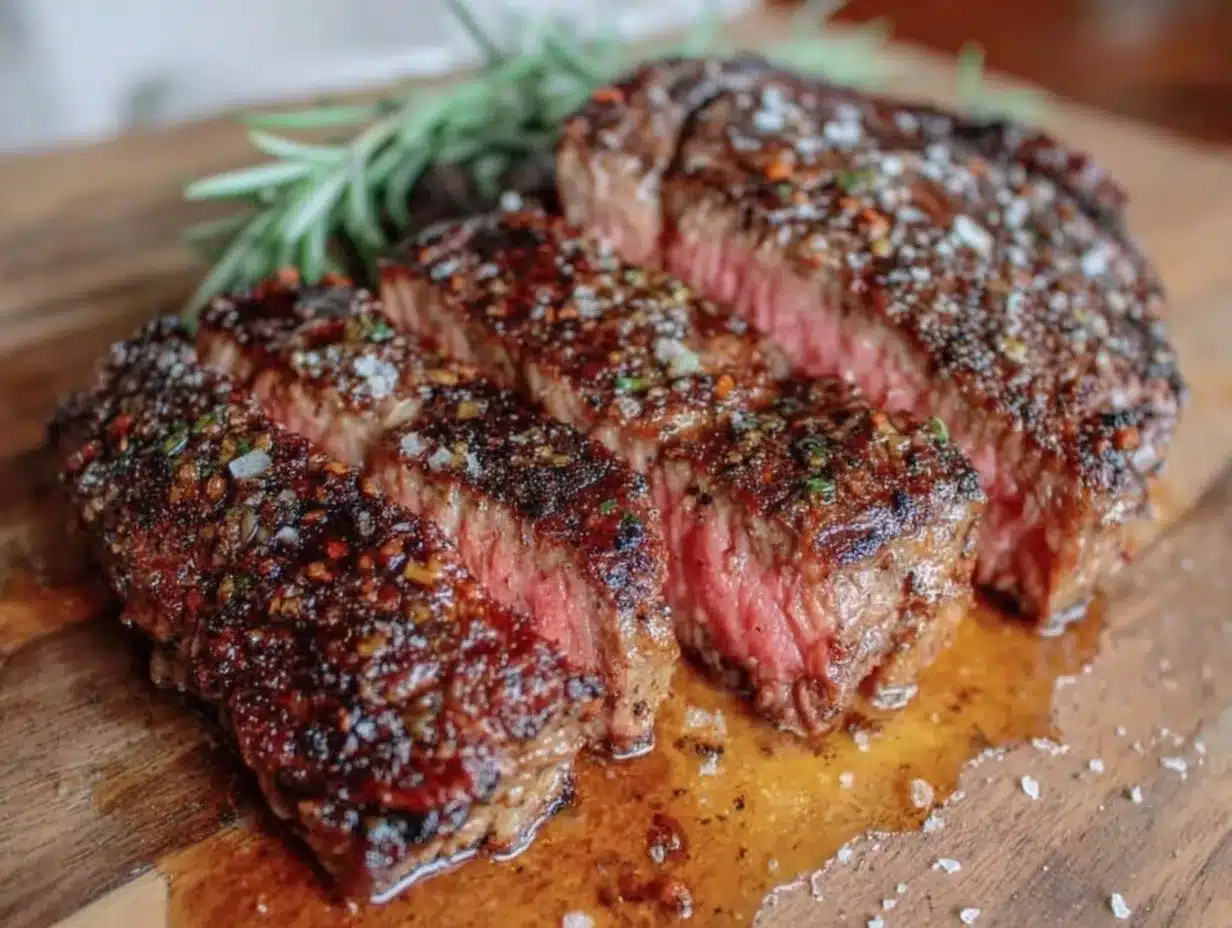
“You know that moment when you’ve just pulled a gorgeous roast out of the oven, and your mouth waters at the sight—only to slice into it and find it’s dry and tough? Yeah, I’ve been there more times than I care to admit.” It was a chilly fall evening when I first realized that cooking meat isn’t just about heat and seasoning. I was at my friend Marcus’s place, who’s notoriously casual about his cooking. He threw a thick steak on the grill, then, instead of cutting into it right away like I would have, he wrapped it loosely in foil and just walked away. I was skeptical, honestly. But when he finally sliced into that steak, it was juicy and tender—like something from a high-end steakhouse. That’s when I got curious about the perfect resting time for juicy meat every time.
Since that night, I’ve experimented with all sorts of cuts (and some kitchen mishaps), learning the subtle art of letting meat rest before carving. Let me tell you, it makes all the difference. Maybe you’ve been there too—rushing to serve, eager and impatient, only to regret it moments later. Well, this post is for you. I’m sharing simple, practical tips that will help you master resting meat, so every bite is as tender and flavorful as it should be. No fancy gadgets, no complicated steps—just smart timing and a bit of patience.
Trust me, once you start resting your meat properly, you’ll wonder why you ever rushed it. Plus, it’s one of those tricks that feels like a secret weapon in the kitchen, making even a weeknight dinner feel a little more special.
Why You’ll Love This Recipe
Getting the perfect resting time for juicy meat every time isn’t just a cooking tip; it’s a game changer. After countless trials and a few burnt fingers (don’t ask), I’ve nailed down what really works for different cuts and cooking methods. This method is chef-tested and family-approved, and honestly, it’s saved many meals from disappointment. Here’s why you’ll love it:
- Quick & Easy: It only takes a few extra minutes after cooking, and you don’t need any special equipment.
- Simple Ingredients: No additional ingredients needed—just your perfectly cooked meat and a bit of patience.
- Perfect for Any Occasion: Whether it’s a casual dinner, holiday feast, or barbecue, resting meat properly impresses every time.
- Crowd-Pleaser: Juicy, tender meat is always a hit with kids and adults alike, no matter their preferences.
- Unbelievably Delicious: The resting process locks in juices and flavors, giving you that melt-in-your-mouth experience.
What sets this approach apart is the focus on timing and temperature balance—no guesswork. For example, resting a thick-cut steak for about 10 minutes wrapped loosely in foil lets the juices redistribute without continuing to cook excessively. This careful balance means you get the perfect texture and flavor every time.
Honestly, this isn’t just about cooking meat; it’s about creating those moments where you close your eyes and savor every bite. It’s comfort food at its most satisfying, turning even simple meals into something memorable.
What Ingredients You Will Need
This guide is less about ingredients and more about technique, but understanding the meat you’re working with is key to mastering resting time. Here’s a quick rundown of what you’ll typically need for your juicy meat success:
- High-Quality Meat Cuts: Whether it’s a ribeye steak, pork loin, whole roast chicken, or brisket, fresh and well-marbled meat helps retain juices better.
- Salt and Pepper: Basic seasoning enhances flavor before cooking; no extra ingredients needed for resting.
- Aluminum Foil or a Clean Kitchen Towel: Used to tent the meat gently, keeping it warm without trapping steam, which can make the crust soggy.
- Optional: Meat Thermometer: While not mandatory, a thermometer can help you monitor internal temperature to avoid overcooking.
For those curious about substitutions or variations:
- Grass-fed or organic meats tend to have a richer flavor and sometimes require slightly different resting times due to leaner fat content.
- If you’re cooking poultry or fish, the resting time will be shorter (generally 5-10 minutes), so keep that in mind.
- For larger roasts, a longer rest (15-20 minutes) is beneficial.
Personally, I recommend investing in a reliable instant-read meat thermometer like ThermoWorks for a more precise cooking and resting experience. It’s saved me from cutting into meat too soon more than once!
Equipment Needed
- Oven or Grill: To cook your meat to the desired doneness.
- Instant-Read Meat Thermometer: Helps check internal temperature accurately; a great tool for beginners and pros alike.
- Aluminum Foil or Clean Kitchen Towel: For tenting the meat gently during resting.
- Cutting Board: A sturdy one with grooves to catch juices is ideal.
- Sharp Chef’s Knife: For clean, precise slicing after resting.
If you don’t have a meat thermometer, you can still nail resting time by feel and timing, but it’s definitely a helpful gadget. For budget-conscious cooks, kitchen towels work just as well as foil for tenting, and a simple carving knife can suffice if you keep it sharp.
Maintaining your tools is key—keep your knives sharp and clean your thermometer probe with warm soapy water after each use. Little things like that make cooking easier and more enjoyable.
Preparation Method
- Cook Your Meat: Follow your preferred cooking method until the meat reaches your target internal temperature. For example, a medium-rare steak should hit about 130°F (54°C). Use an instant-read thermometer to check this precisely. (Time: varies depending on cut and method, usually 10-30 minutes)
- Remove Meat from Heat: Once cooked, transfer the meat to a warm plate or cutting board. Avoid cold surfaces as they can cool the meat too quickly.
- Tent the Meat Loosely: Use a piece of aluminum foil or a clean kitchen towel to cover the meat gently. Don’t wrap it tight; you want to trap warmth but let steam escape to keep the crust crispy. This step is crucial to lock in juices. (Tip: a loosely tented foil creates a warm environment without steaming the meat.)
- Rest for the Appropriate Time: The resting time varies by cut and size:
- Steaks: 5-10 minutes
- Chicken breasts or thighs: 5-10 minutes
- Pork chops: 5-10 minutes
- Roasts (beef, pork, lamb): 15-20 minutes
- Whole poultry (turkey, chicken): 20-30 minutes
Timing it right lets the juices redistribute evenly, so when you slice, they don’t all run out onto the cutting board.
- Slice Against the Grain: After resting, carve your meat across the muscle fibers. This shortens the muscle strands and results in a more tender bite.
- Serve Immediately: Rested meat is best enjoyed straight away before it cools down too much. If you need to hold it longer, keep it tented on a warm surface.
One time, I forgot to tent a roast and sliced right away—the juices pooled on the plate, and the meat was dry. Lesson learned! Now, I always set a timer for resting and never skip the tenting.
Cooking Tips & Techniques
Resting meat sounds simple, but there are a few tricks that I’ve picked up along the way to make sure it’s foolproof every time. First, don’t rush it. I get it—waiting is hard, especially when you’re hungry! But trust me, those extra minutes make a world of difference.
Another common mistake is wrapping meat too tightly in foil. This traps steam and can ruin that beautiful crust you worked so hard to create. Loosely tenting is your friend here.
Using a meat thermometer helps you avoid the “carryover cooking” trap. Meat will continue to cook a few degrees after you take it off the heat, so plan your resting and cooking temperatures accordingly.
For larger roasts, resting on a cutting board with juice grooves helps catch any escaping liquid, which you can later use for sauces or gravies—don’t throw those precious juices away!
I also like to multitask during resting—while the meat rests, I prepare sides or sauces. It’s a small efficiency hack that keeps everything flowing smoothly.
Variations & Adaptations
Resting meat isn’t a one-size-fits-all, and you can tweak it depending on your preferences or dietary needs:
- Low & Slow Cuts: For brisket or pulled pork, resting can be longer (up to 30 minutes wrapped in foil) to let those tough fibers relax fully.
- Seafood: Fish rests for just a few minutes, mainly to settle the heat. Too long, and it cools off or loses texture.
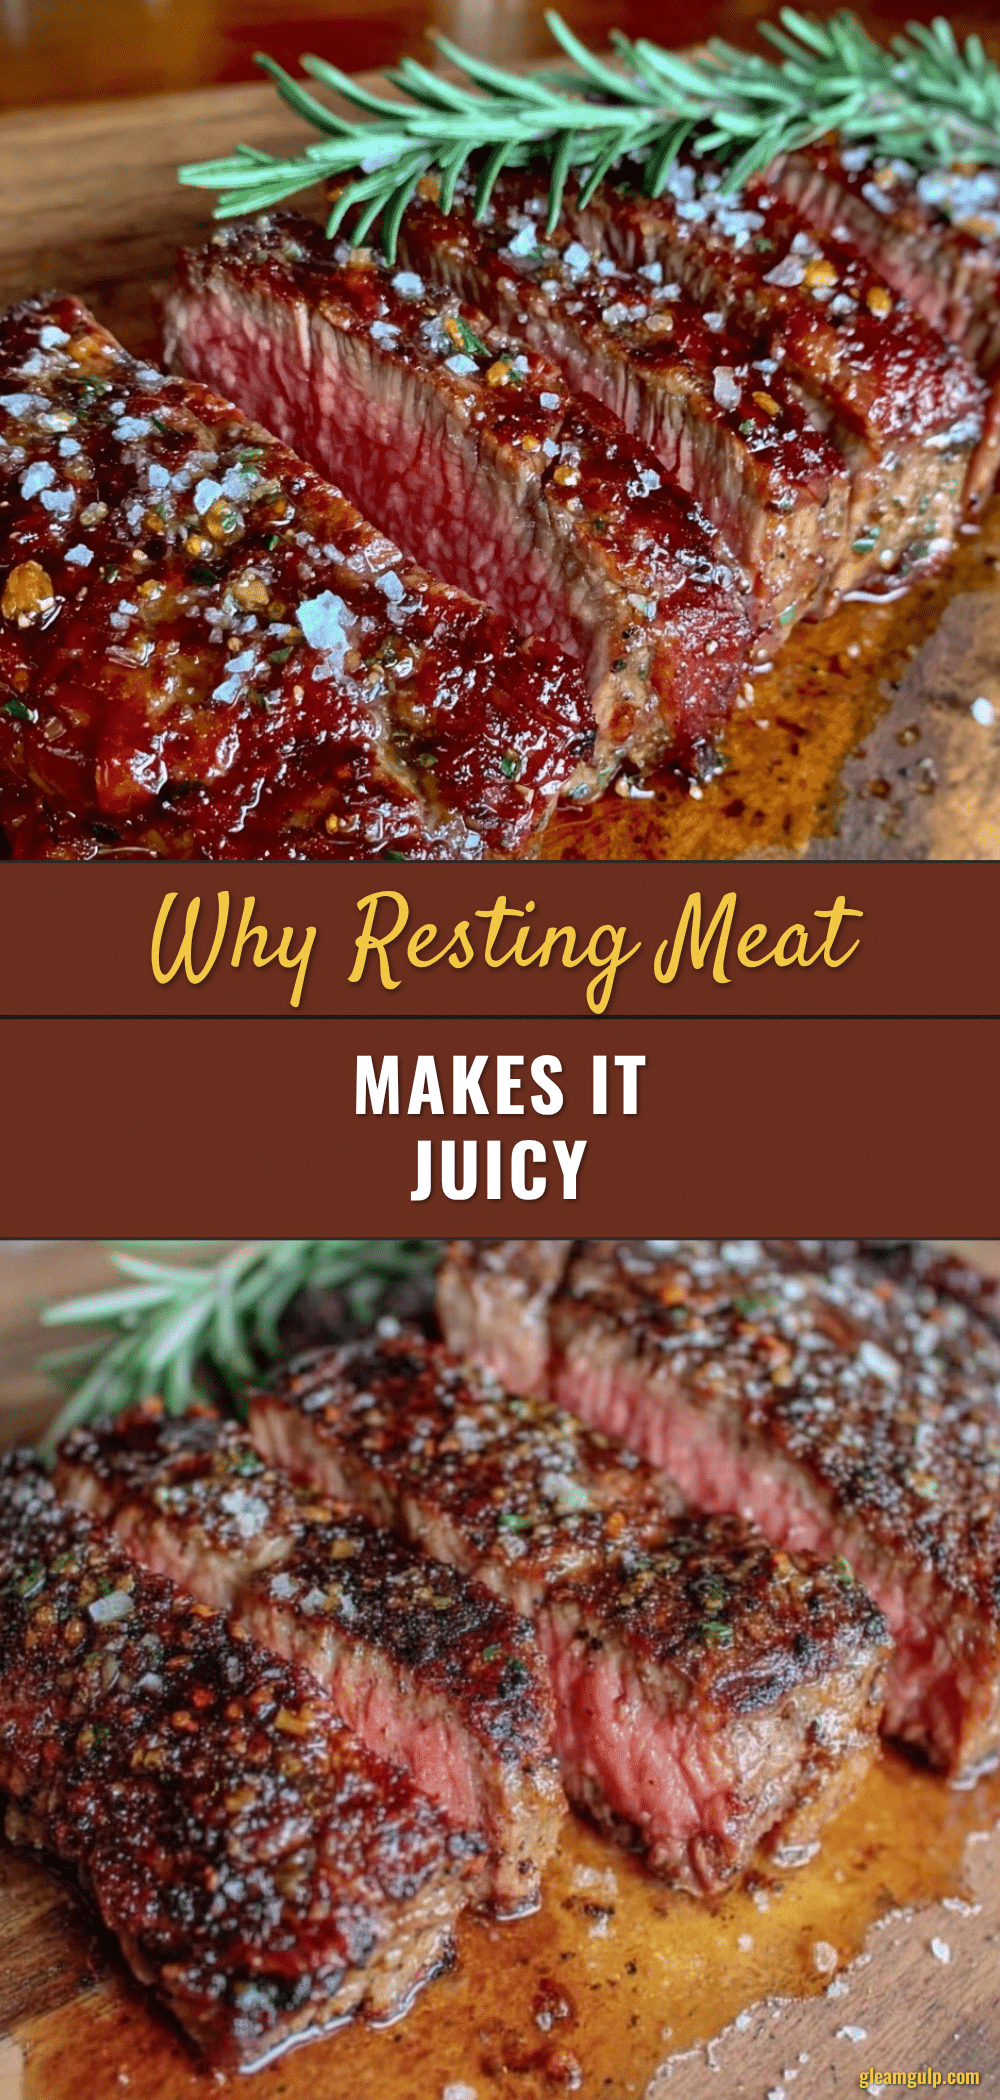
- Herb-Infused Resting: You can tent the meat with fresh herbs like rosemary or thyme under the foil to subtly infuse flavor while it rests.
- Allergy-Friendly: If you’re avoiding aluminum foil due to sensitivities, use a clean cotton towel instead. Just make sure it’s lint-free and fresh.
- Personal Variation: Once, I tried resting a thick lamb chop wrapped in parchment paper instead of foil. It kept the crust crisp and added a delicate aroma—definitely worth trying!
Serving & Storage Suggestions
Serve rested meat warm for the best texture and juiciness. Presentation-wise, slice just before serving and arrange neatly on a warmed plate. Pair with complementary sides like roasted vegetables, mashed potatoes, or a fresh salad to balance richness.
If you have leftovers, store meat in an airtight container in the refrigerator for up to 3 days. To reheat without drying out, gently warm in the oven at 250°F (120°C) wrapped in foil, or use a microwave with a damp paper towel to keep moisture.
Flavors often deepen after resting, especially with roasts—sometimes I slice cold leftovers thinly for sandwiches or salads, and the juiciness still shines through.
Nutritional Information & Benefits
While exact nutrition varies by meat type and cut, resting meat doesn’t change its basic profile but improves palatability, helping you enjoy every bite without needing extra sauces or salt for flavor.
High-quality cuts with good marbling provide protein, essential vitamins like B12, and iron. Resting helps preserve these nutrients by minimizing juice loss.
For those watching carbs or gluten, this method perfectly complements low-carb or paleo diets since it relies on technique rather than additives.
Keep allergens in mind—some marinades or rubs can contain nuts or gluten, so always check labels or opt for homemade seasoning blends.
Conclusion
Perfect resting time for juicy meat every time is truly one of those simple kitchen secrets that transforms your cooking. It’s not about rushing or complicated steps but about respecting the meat and giving it a moment to settle. I love this method because it turns ordinary meals into moments worth savoring, and honestly, it saved me from too many dry bites.
Try customizing resting times based on your favorite cuts and cooking style—you might find a sweet spot that suits your taste perfectly. I can’t wait to hear how it changes your cooking game!
If you’ve got tips or unique resting rituals, drop a comment below and share your experience. Let’s keep the juicy meat conversation going!
Remember, patience in the kitchen pays off in every tender, flavorful bite.
FAQs
- Why is resting meat important?
Resting allows juices to redistribute within the meat, preventing them from spilling out when cut, which keeps the meat juicy and tender. - How long should I rest different types of meat?
Steaks and chops usually need 5-10 minutes; larger roasts and whole poultry require 15-30 minutes depending on size. - Can I rest meat without foil?
Yes, you can use a clean kitchen towel or simply place the meat on a warm plate; just keep it loosely covered to retain heat. - Does resting meat continue to cook it?
Yes, carryover cooking happens during resting, usually increasing internal temperature by a few degrees, so take this into account when removing meat from heat. - What happens if I don’t rest meat?
Cutting meat immediately can cause juices to run out, resulting in drier, less flavorful meat.
Pin This Recipe!
Perfect Resting Time for Juicy Meat Every Time

Learn the essential technique of resting meat after cooking to ensure juicy, tender results every time. This simple method works for all cuts and cooking styles.
- Prep Time: 5 minutes
- Cook Time: 10-30 minutes (varies by cut and method)
- Total Time: 15-50 minutes (including resting time)
- Yield: Varies depending on meat cut and size
- Category: Main Course
- Cuisine: American
Ingredients
- High-quality meat cuts (ribeye steak, pork loin, whole roast chicken, brisket, etc.)
- Salt and pepper for seasoning
- Aluminum foil or a clean kitchen towel for tenting
- Optional: Instant-read meat thermometer
Instructions
- Cook your meat using your preferred method until it reaches the target internal temperature (e.g., 130°F for medium-rare steak).
- Remove the meat from heat and transfer it to a warm plate or cutting board.
- Loosely tent the meat with aluminum foil or a clean kitchen towel to keep it warm without trapping steam.
- Rest the meat for the appropriate time based on cut and size: steaks, chicken breasts/thighs, pork chops for 5-10 minutes; roasts (beef, pork, lamb) for 15-20 minutes; whole poultry for 20-30 minutes.
- Slice the meat against the grain to shorten muscle fibers and enhance tenderness.
- Serve immediately while warm. If holding longer, keep tented on a warm surface.
Notes
Do not wrap meat tightly in foil to avoid steaming and soggy crust. Use a meat thermometer to avoid overcooking and to time resting accurately. Resting times vary by meat type and size. Tent loosely to keep warm and allow juices to redistribute. Slice against the grain for maximum tenderness.
Nutrition
- Serving Size: One serving is appro
- Protein: 2535
Keywords: resting meat, juicy meat, tender meat, cooking tips, meat resting time, steak resting, roast resting, meat thermometer, foil tenting


