Love this? Save it for later!
Share the inspiration with your friends
“Last July, I was all set for a sunny afternoon picnic at the city park—just me, my tote bag, and a basket full of homemade goodies. But halfway there, my cooler gave out, and I realized I hadn’t packed ice packs properly. The sandwich bread got soggy, the salad wilted, and honestly, I was pretty bummed. Maybe you’ve been there too—when the dream of a perfect outdoor meal turns into a bit of a mess.”
This mishap nudged me into researching and testing everything about fresh safe summer picnic food transport. I mean, picnics are supposed to be carefree and fun, not a frantic race against the heat or a guessing game about food safety. Over the years, I’ve picked up tips from seasoned campers, catering pros, and even my local farmer’s market vendor who swears by a certain cooler trick.
Transporting food safely during hot summer days isn’t just about keeping things cold—it’s about timing, packaging, and smart choices that keep your meal fresh and delicious until you’re ready to eat. This guide isn’t just a list of rules; it’s a collection of real-life-tested tips that I rely on every time I pack a picnic. Whether you’re headed to a beach day, a backyard barbecue, or a hike with friends, these pointers will help you enjoy your meal without worrying about spoilage or foodborne germs.
Why You’ll Love This Recipe
Honestly, getting food safely to your picnic spot can be tricky, but these fresh safe summer picnic food transport tips take the headache out of it. I’ve tried and tested countless ways, and these are the ones that really work. Here’s why you’re going to appreciate this guide:
- Quick & Easy: Most tips can be applied in minutes, perfect for last-minute plans or busy mornings.
- Simple Ingredients: No fancy gadgets or obscure items—just things you probably already have at home.
- Perfect for Any Outdoor Occasion: Whether it’s a family outing, a romantic date, or a casual hangout, these tips keep your food fresh and safe.
- Crowd-Pleaser: Keeps everyone happy—no one wants warm potato salad or soggy sandwiches!
- Unbelievably Reliable: These are not just theoretical tips; they’ve been tried on scorching summer days and humid evenings with great success.
What sets this guide apart? It’s the balance between safety and simplicity. For example, I share how to pack layered ice packs and use airtight containers that don’t just keep food cold but prevent sogginess and cross-contamination. Plus, I include smart timing strategies to avoid leaving perishable foods out too long.
These tips turn your picnic from a gamble into a guaranteed good time. You won’t just be carrying food—you’ll be carrying peace of mind and delicious bites that taste as good as they look.
What Ingredients You Will Need
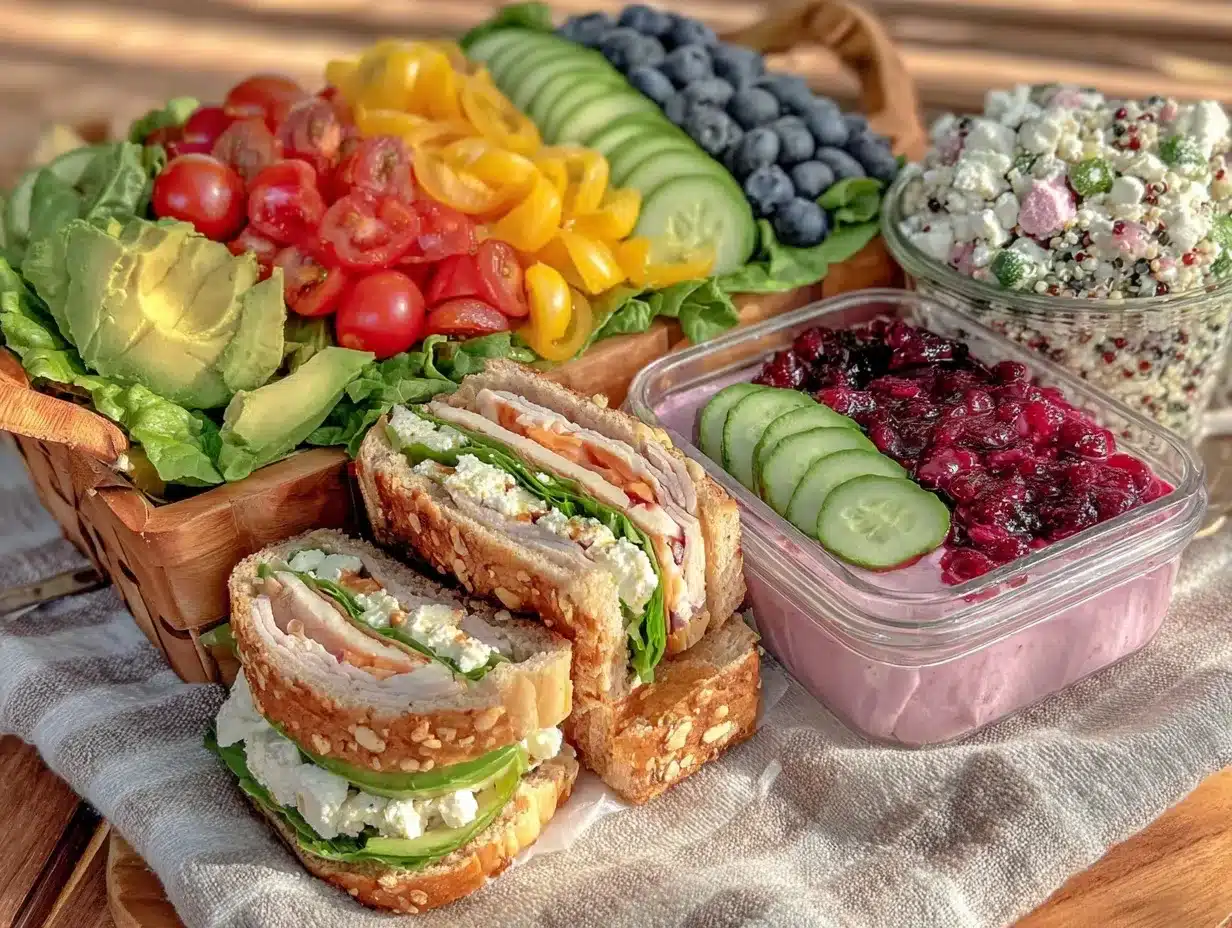
When preparing for a summer picnic, the ingredients you choose can make all the difference in how well your food travels. The right combination keeps flavors fresh and textures just right, even on the hottest days. Here’s a breakdown of what you’ll want to consider packing for your outdoor feast:
- Proteins: Think grilled chicken breasts (sliced and cooled), hard-boiled eggs, or cured meats like salami. These hold up well and pair beautifully with fresh veggies.
- Fresh Vegetables: Crisp cucumbers, cherry tomatoes, bell pepper strips, and carrots. These stay crunchy and vibrant without wilting.
- Fruits: Seasonal berries, apple slices (spritzed with lemon to prevent browning), and grapes work great. Avoid delicate fruits that bruise easily.
- Carbohydrates: Opt for sturdy bread like ciabatta or baguettes, or whole-grain crackers. Avoid delicate pastries that get soggy.
- Dips & Spreads: Hummus, guacamole (packed tightly and chilled), or pesto. Use small, sealable containers to keep things contained and fresh.
- Dairy: Hard cheeses like cheddar or gouda travel better than soft cheeses. If you’re bringing yogurt or cream-based salads, keep them chilled.
- Herbs & Seasonings: Fresh basil or mint leaves add a pop of freshness without bulk. Pack separately to add just before eating.
For packing, you’ll want airtight containers in various sizes. I personally recommend glass containers with locking lids from brands like Pyrex for durability and leak resistance. Reusable silicone bags are also great for sandwiches or snacks, especially when you want to save space.
Pro tip: If you’re using mayonnaise or dressings, keep them on the side until serving time to avoid soggy salads or sandwiches. And for beverage options, insulated bottles keep lemonade or iced tea refreshingly cool.
Equipment Needed
Getting your food safely to your outdoor destination means having the right gear. Here’s what I usually pack to keep everything fresh and organized:
- Insulated Cooler Bag or Hard-Sided Cooler: A good quality cooler is non-negotiable. I find that soft-sided bags are easier to carry, but a hard cooler holds ice longer.
- Ice Packs or Frozen Water Bottles: Frozen gel packs work great, but freezing water bottles doubles as both ice and a drink once melted.
- Airtight Containers: As mentioned, glass or BPA-free plastic containers with tight-fitting lids keep food safe and prevent leaks.
- Reusable Silicone Bags: Great for sandwiches and small snacks, they’re flexible and space-saving.
- Cooler Divider or Mesh Bags: These help keep cold and room temperature items separate inside the cooler.
- Thermometer: A small food thermometer is handy to check the temperature inside your cooler, especially on hot days.
- Reusable Utensils & Napkins: Don’t forget these small details—they make eating outdoors way easier.
If you’re on a budget, soft insulated bags paired with frozen soda cans are a good alternative to pricier ice packs. Also, I keep a small plastic cutting board and a sharp knife in my picnic kit for any last-minute prep.
Preparation Method
- Plan Your Menu: Choose foods that travel well and can withstand sitting in a cooler for a few hours. Avoid dishes with mayonnaise or dairy unless they will be kept cold.
- Pre-Chill Ingredients: Refrigerate or freeze ingredients the night before. For example, pre-freeze certain fruits like grapes; they’ll thaw to a perfect temperature by picnic time.
- Pack Smart Containers: Use airtight containers to prevent leaks and keep food separated. Layer heavier items at the bottom.
- Layer Ice Packs: Place a layer of ice packs at the bottom of your cooler, then add your chilled food containers. Top with more ice packs. This sandwiching of cold packs keeps temperatures low longer.
- Use Frozen Water Bottles: Fill reusable bottles with water and freeze them overnight. Use these as ice packs—they melt slowly and provide refreshing drinks later.
- Separate Hot and Cold Items: If you bring warm food, pack it separately in a thermos. Cold foods should stay cold in the cooler.
- Keep the Cooler Closed: Once packed, avoid opening the cooler frequently. Every time you open it, cold air escapes, and the temperature rises.
- Check Temperatures: Ideally, keep cold foods at or below 40°F (4°C). Use a thermometer to double-check if you’re unsure.
- Timing Your Transport: Pack your cooler as close to departure time as possible. This reduces the time food sits unrefrigerated before chilling.
- Set Up a Picnic Station: Once you arrive, set up your food in a shaded spot. Direct sunlight can quickly warm your containers, so keep them covered and out of the sun.
From experience, I’ve learned that layering ice packs both above and below your food is a game changer. Also, keeping drinks separate in their own cooler or bag means you won’t be constantly opening the main food cooler, which helps keep everything colder longer.
Cooking Tips & Techniques
When it comes to summer picnic food transport, technique matters as much as ingredients. Here are some tips I swear by:
- Chill Everything Thoroughly: I can’t stress this enough. If your food isn’t cold when it goes into the cooler, it takes longer to cool down and raises the overall temperature.
- Use the Right Containers: Glass containers keep odors out and don’t stain, but they’re heavier. Plastic containers are lighter but sometimes less airtight. Choose based on your needs.
- Pack Dense Foods First: Foods like cheese and meats should be packed at the bottom with ice packs around them since they need to stay colder longer.
- Don’t Overpack Your Cooler: You want cold air to circulate, so some space is good. Too full means less cold air movement, and food warms faster.
- Keep Raw and Ready-to-Eat Foods Separate: To avoid cross-contamination, pack these in different containers and sections of the cooler.
- Label Your Containers: If you’re bringing several dishes, labeling helps you grab what you need quickly without digging through the cooler.
- Bring a Small Trash Bag: It may seem obvious, but I once forgot it and ended up with a messy spot. Having one makes cleanup a breeze.
I once packed a picnic for a hike but underestimated how fast the sun would heat the cooler. After that, I started freezing a wet washcloth in a bag to place on top of food containers—it keeps things cooler and adds a handy wipe down for sticky hands.
Variations & Adaptations
Every picnic is unique, and you might want to adjust these tips to fit your style or dietary needs. Here are some ideas:
- Gluten-Free or Low-Carb: Swap regular bread for gluten-free wraps or lettuce leaves. Use almond flour crackers for crunch without the gluten.
- Vegan Adaptation: Pack hummus and roasted veggie wraps with vegan cheese alternatives. Use plant-based ice packs if you want to avoid plastic.
- Hot Weather Hacks: In extreme heat, consider using dry ice in a well-ventilated cooler for longer cooling, but handle with care and knowledge.
- Different Cooking Methods: Try assembling sandwiches or salads on site if you want to avoid sogginess during transport.
- Flavor Variations: Add fresh herbs or citrus zest just before serving to brighten flavors and make the meal feel special.
Personally, I’ve made a vegan picnic basket with grilled tofu skewers and packed the dressing separately to keep the salad crisp. It was a hit at a summer potluck and showed me how flexible these transport tips really are.
Serving & Storage Suggestions
Once you’ve arrived at your picnic spot, serving your food well can make all the difference:
- Serve Cold Items Chilled: Keep salads, cheeses, and dips on ice or in the cooler until serving time to maintain freshness.
- Presentation Matters: Bring along a colorful picnic blanket or bamboo plates and utensils to add charm without hassle.
- Complementary Beverages: I like to pair my picnic with iced herbal teas or sparkling water with fresh lemon slices.
- Storage: Leftovers should be packed back into airtight containers and chilled promptly. If you’re heading home immediately, transfer them to your fridge as soon as possible.
- Reheating Tips: For hot dishes, if you brought a thermos, preheat it with boiling water before adding the food to keep it warm longer.
Flavors tend to develop and meld beautifully if you let cold salads sit for a bit (as long as they stay chilled). So, if you’re in no rush, that can be a nice bonus.
Nutritional Information & Benefits
This approach to picnic food emphasizes fresh, minimally processed ingredients packed with nutrients. Lean proteins like grilled chicken and hard-boiled eggs provide sustained energy, while fresh fruits and vegetables offer fiber, vitamins, and antioxidants. Using whole-grain breads or crackers adds complex carbs for lasting fullness.
Opting for hard cheeses and plant-based dips can reduce saturated fat intake, and packing homemade dressings means you control sodium and sugar levels. This method supports balanced eating patterns, perfect for active summer days.
If you have allergies or dietary restrictions, the tips here make substitutions easy without compromising safety or taste. Just be mindful to keep allergen-containing foods separate to avoid cross-contact.
Conclusion
Fresh safe summer picnic food transport isn’t rocket science, but it does require a bit of planning and know-how. With these tips, you can leave behind soggy sandwiches and warm salads and instead enjoy meals that taste just as good outdoors as they do at home. I love this guide because it’s helped me turn every picnic into a relaxed, tasty adventure without the stress.
Feel free to tweak these suggestions to fit your style, and don’t hesitate to share your own hacks or questions below. After all, food tastes better when shared—not just on the plate but in conversation too!
So, next time you pack up for the park or beach, think of this guide as your trusty companion for fresh, safe, and delicious picnic meals.
FAQs
How long can picnic food stay safe without refrigeration?
Perishable foods should generally not be left out for more than two hours, or one hour if the temperature is above 90°F (32°C). Keeping food chilled in a cooler helps extend this safely.
What’s the best way to keep sandwiches from getting soggy?
Pack wet ingredients like tomatoes or pickles separately and add them just before eating. Use sturdy bread like ciabatta or baguettes, and layer with lettuce to create a moisture barrier.
Can I use regular ice instead of ice packs?
You can, but ice packs or frozen water bottles last longer and don’t create messy water as they melt. If using ice, pack food in waterproof containers to avoid sogginess.
Are there specific containers better for picnic food?
Glass containers with locking lids are great for keeping food fresh and preventing leaks, but they’re heavier. BPA-free plastic containers and reusable silicone bags are lighter and more portable options.
How do I keep hot foods warm during a picnic?
Use a preheated thermos or insulated container designed for hot foods. Wrap with a towel for extra insulation and avoid opening it frequently to retain heat longer.
Pin This Recipe!
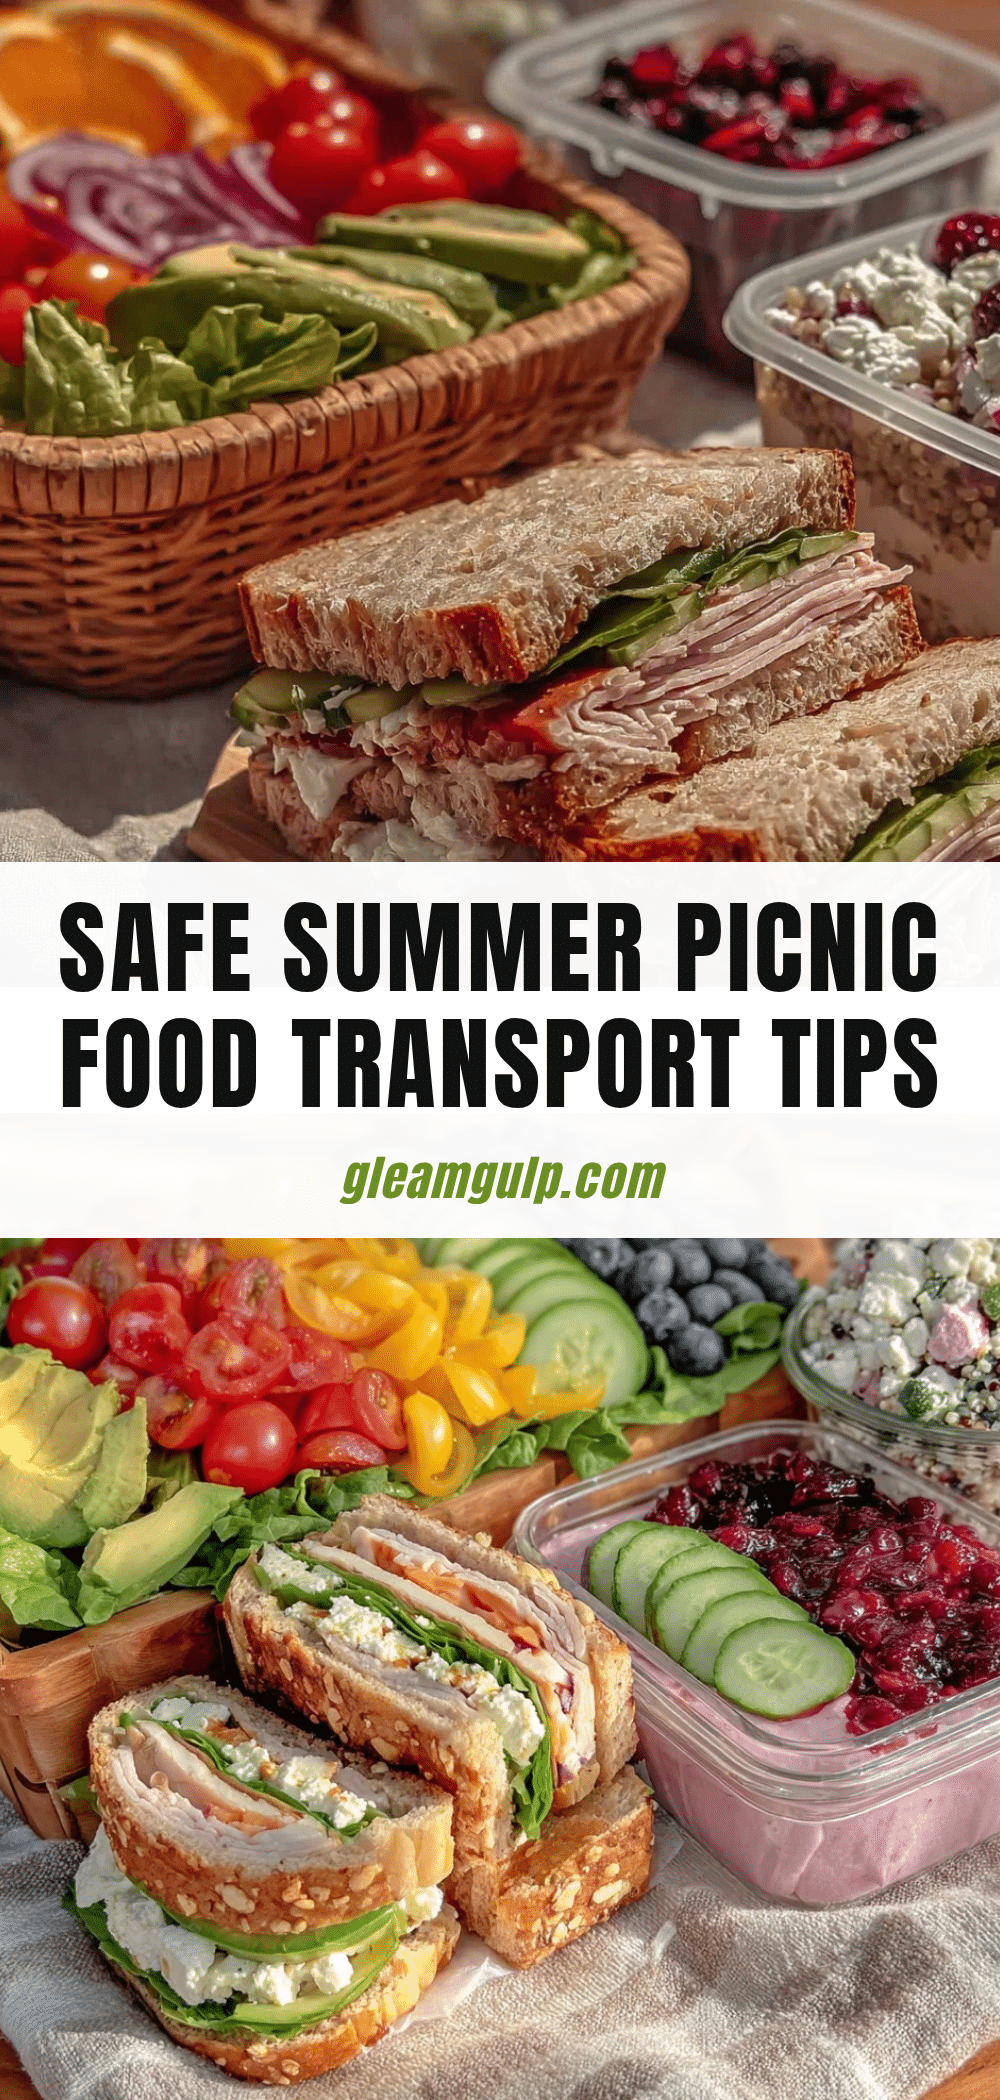
Fresh Safe Summer Picnic Food Transport Tips Easy Guide for Perfect Outdoor Meals

A comprehensive guide with tested tips and techniques to keep your summer picnic food fresh, safe, and delicious during transport.
- Prep Time: 15 minutes
- Cook Time: 0 minutes
- Total Time: 15 minutes
- Yield: 4 servings
- Category: Outdoor Picnic Guide
- Cuisine: American
Ingredients
- Grilled chicken breasts (sliced and cooled)
- Hard-boiled eggs
- Cured meats like salami
- Crisp cucumbers
- Cherry tomatoes
- Bell pepper strips
- Carrots
- Seasonal berries
- Apple slices (spritzed with lemon to prevent browning)
- Grapes
- Sturdy bread like ciabatta or baguettes
- Whole-grain crackers
- Hummus
- Guacamole (packed tightly and chilled)
- Pesto
- Hard cheeses like cheddar or gouda
- Fresh basil or mint leaves
Instructions
- Plan your menu with foods that travel well and can withstand sitting in a cooler for a few hours. Avoid dishes with mayonnaise or dairy unless kept cold.
- Pre-chill ingredients by refrigerating or freezing them the night before. Pre-freeze certain fruits like grapes.
- Pack food in airtight containers to prevent leaks and keep items separated. Layer heavier items at the bottom.
- Layer ice packs at the bottom of your cooler, add chilled food containers, then top with more ice packs to keep temperatures low longer.
- Use frozen water bottles as ice packs; they melt slowly and provide refreshing drinks later.
- Separate hot and cold items; pack warm food in a thermos and keep cold foods cold in the cooler.
- Keep the cooler closed as much as possible to maintain cold temperatures.
- Use a thermometer to ensure cold foods stay at or below 40°F (4°C).
- Pack your cooler as close to departure time as possible to reduce unrefrigerated time.
- Set up your picnic station in a shaded spot and keep food covered and out of direct sunlight.
Notes
Keep mayonnaise or dressings separate until serving to avoid sogginess. Layer ice packs both above and below food containers for best cooling. Use frozen wet washcloths on top of containers for extra cooling and handy wipes. Avoid overpacking the cooler to allow cold air circulation. Label containers for easy access. Bring a small trash bag for cleanup.
Nutrition
- Serving Size: One serving is appro
- Calories: 400
- Sugar: 8
- Sodium: 450
- Fat: 15
- Saturated Fat: 4
- Carbohydrates: 35
- Fiber: 5
- Protein: 25
Keywords: summer picnic, food transport, food safety, outdoor meals, picnic tips, cooler packing, fresh food, summer food


