Love this? Save it for later!
Share the inspiration with your friends
“I never thought a baking pan could cause such a debate,” I confessed to my friend Mia one rainy Saturday afternoon as we wrestled with two brownie trays—one glass, one metal—each promising the perfect batch. The kitchen was a mess, flour dusted the counter like the aftermath of a snowstorm, and my cat, Whiskers, was eyeing the chaos with what I swear was judgment. Honestly, I was just trying to whip up brownies for a casual get-together, but what I learned about glass pan vs metal pan brownie baking secrets turned into a mini obsession.
It all began when I inherited my grandmother’s old glass baking dish, the one with a tiny crack on the rim but a thousand memories baked into it. I was curious if this sentimental piece could hold its own against the sleek, shiny metal pans crowding my kitchen shelves. You know that feeling when you want your brownies to come out fudgy, rich, and with just the right edges? Yeah, me too. So, I set out with my trusty recipe and both pans to see what would happen.
What followed was a weekend of experiments, burnt edges, gooey middles, and a few accidental spills (I won’t mention the time I forgot to grease the glass pan). But the results? They taught me a few hard-earned lessons that anyone who’s ever wrestled with brownies will appreciate. Whether you’re team glass or team metal, these baking secrets will change how you approach your next batch.
Maybe you’ve been there—looking for that perfect brownie texture that’s just right. Well, let me tell you, this recipe and those pan secrets stayed with me because brownies aren’t just about chocolate and sugar; they’re about the little details we often overlook. So, grab your mixing bowl and let’s get into the flavorful glass pan brownie recipe and the 5 baking secrets that will have you baking like a pro in no time.
Why You’ll Love This Recipe
After testing this flavorful glass pan brownie recipe countless times (and yes, burning a few along the way), I can say it’s truly a game changer. The balance between fudgy center and those slightly crisp edges is where this recipe shines—and the choice of pan is crucial to that. Here’s why you’ll want to keep this recipe in your back pocket:
- Quick & Easy: From mixing to cooling, you’re looking at under 45 minutes total, perfect for busy evenings or last-minute sweet fixes.
- Simple Ingredients: No need for specialty items; just pantry basics you probably already have like cocoa powder, butter, and sugar.
- Perfect for Gatherings: Whether it’s a casual potluck or a cozy movie night, these brownies always get devoured fast.
- Crowd-Pleaser: Kids, adults, even the pickiest eaters tend to ask for seconds—always a good sign!
- Unbelievably Delicious: The magic happens in the texture and flavor combo that hits all the right notes: rich, chocolatey, and moist.
What sets this recipe apart is the way it embraces the pan as part of the baking process. Using a glass pan brings out a different texture and flavor profile compared to metal, and I’ll share why that matters. Plus, there’s a neat trick involving the way you preheat and cool the brownies to maximize that luscious fudginess.
Honestly, this isn’t just another brownie recipe—it’s one that makes you pause after the first bite, close your eyes, and savor. It’s comfort food that feels a little special, a little nostalgic, and always satisfying. Perfect if you want to impress without the stress.
What Ingredients You Will Need
This flavorful glass pan brownie recipe uses straightforward, wholesome ingredients that work together to create that rich, fudgy texture without fuss. Most are pantry staples, and I’ve included tips for easy substitutions if needed.
- Unsalted butter, 1 cup (227 g), melted (I prefer Kerrygold for its creamy richness)
- Granulated sugar, 2 cups (400 g)
- Large eggs, 3, room temperature (helps with even mixing)
- Pure vanilla extract, 2 teaspoons (use a quality brand like Nielsen-Massey for best flavor)
- Cocoa powder, 3/4 cup (75 g), unsweetened, sifted (Valrhona or Ghirardelli work well)
- All-purpose flour, 1 cup (125 g), sifted (can swap for gluten-free flour blend if needed)
- Salt, 1/2 teaspoon (balances sweetness)
- Chocolate chips, 1 cup (170 g), semi-sweet or dark (optional but adds extra gooey pockets)
- Espresso powder, 1 teaspoon (optional, enhances chocolate flavor without coffee taste)
If you’re looking for a dairy-free version, swap butter with coconut oil and use dairy-free chocolate chips. For a nuttier twist, add 1/2 cup chopped walnuts or pecans right before baking.
Equipment Needed
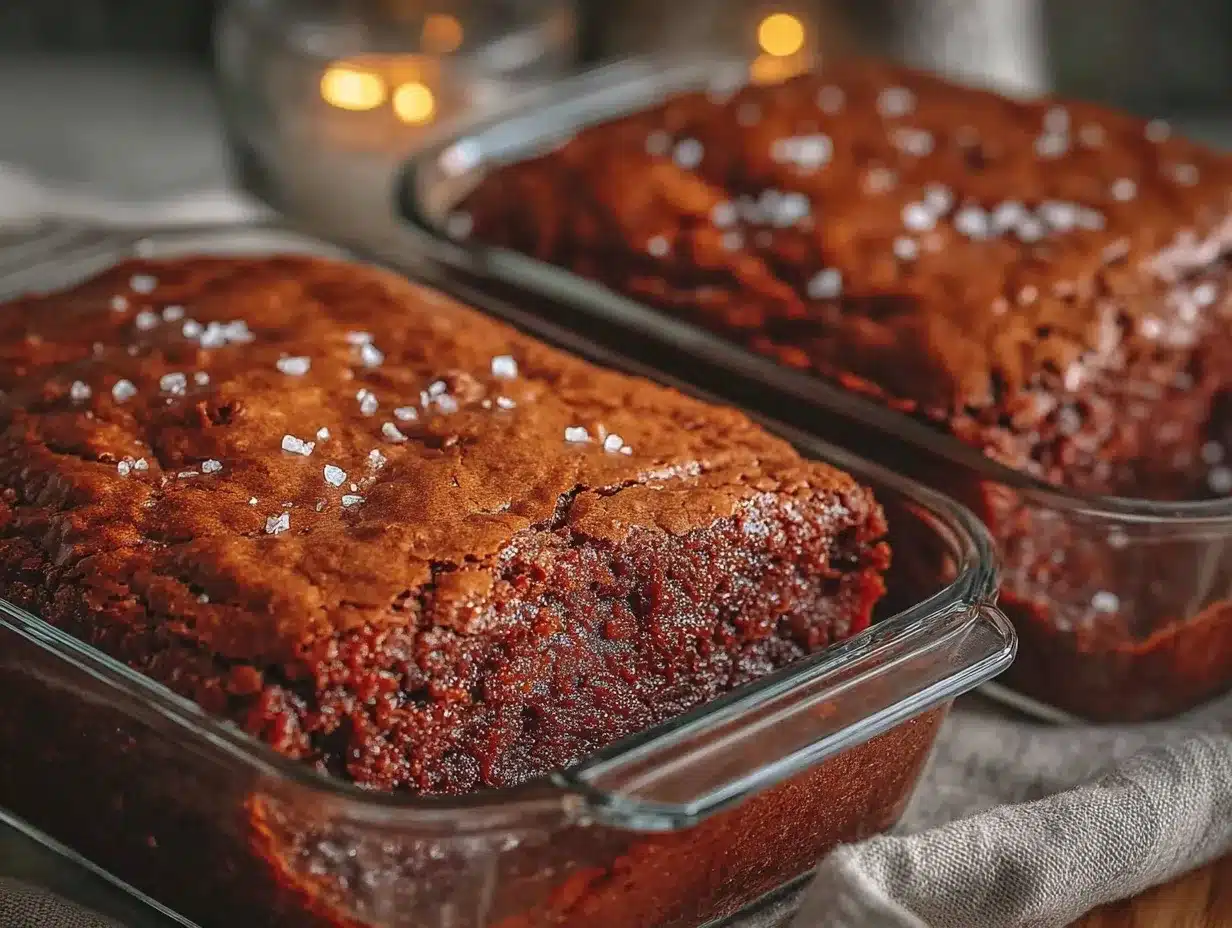
- Glass baking pan, 8×8 inches (20×20 cm) – the star of this recipe for that even heat distribution and glossy crust.
- Metal baking pan, same size (optional, for comparison or alternative baking)
- Mixing bowls – medium and large for wet and dry ingredients.
- Whisk and rubber spatula – whisk for mixing and spatula for folding ingredients gently.
- Measuring cups and spoons – accuracy matters for baking.
- Cooling rack – to let brownies rest without sogginess.
- Oven thermometer (optional but helpful) – ovens can be tricky, and knowing the exact temperature helps avoid over or under baking.
Honestly, you don’t need fancy gadgets. I remember once trying a silicone pan, and while it was flexible, the brownies didn’t develop that classic crust I crave. Glass pans, though, require a gentle hand greasing and maybe a sprinkle of flour to avoid sticking, but they really reward you with that perfect finish.
Preparation Method
- Preheat your oven to 350°F (175°C). Place your glass baking pan in the oven while it’s heating for about 5 minutes. This helps the pan warm evenly, avoiding uneven baking later.
- Prepare the pan: Carefully remove the hot glass pan (use oven mitts!) and lightly grease it with butter or non-stick spray. For extra insurance against sticking, dust it with a little flour, tapping out the excess.
- Mix the wet ingredients: In a large bowl, whisk together the melted butter and sugar until combined and glossy (about 1-2 minutes). Beat in the eggs one at a time, followed by the vanilla extract. The mixture should look smooth and shiny.
- Combine dry ingredients: In a separate bowl, sift the cocoa powder, flour, salt, and espresso powder. This step prevents lumps and ensures even distribution.
- Fold dry ingredients into wet: Gradually add the dry mix to the wet mix, folding gently with a spatula. Don’t overmix! Stop as soon as it’s combined—the batter will be thick and fudgy.
- Stir in chocolate chips: If using, fold in chocolate chips for those gooey pockets of melted chocolate in every bite.
- Pour batter into the prepared glass pan: Spread it evenly with a spatula, smoothing the top. Tap the pan gently on the counter to release air bubbles.
- Bake for 25-30 minutes: Check at 25 minutes by inserting a toothpick in the center. You want a few moist crumbs clinging to it, not wet batter. The edges should look set and slightly pulled away from the pan.
- Cool completely on a wire rack: This is key! Glass pans retain heat longer, so letting brownies cool fully prevents them from becoming mushy when cut.
- Cut and serve: Use a sharp knife wiped clean between cuts for neat squares.
Pro tip: If your brownies bake faster on the edges but stay underdone in the middle, try loosely covering the pan with foil halfway through baking. That prevents over-browning while the center catches up.
Cooking Tips & Techniques
Baking brownies isn’t rocket science, but the little things make a huge difference, especially when choosing between glass and metal pans.
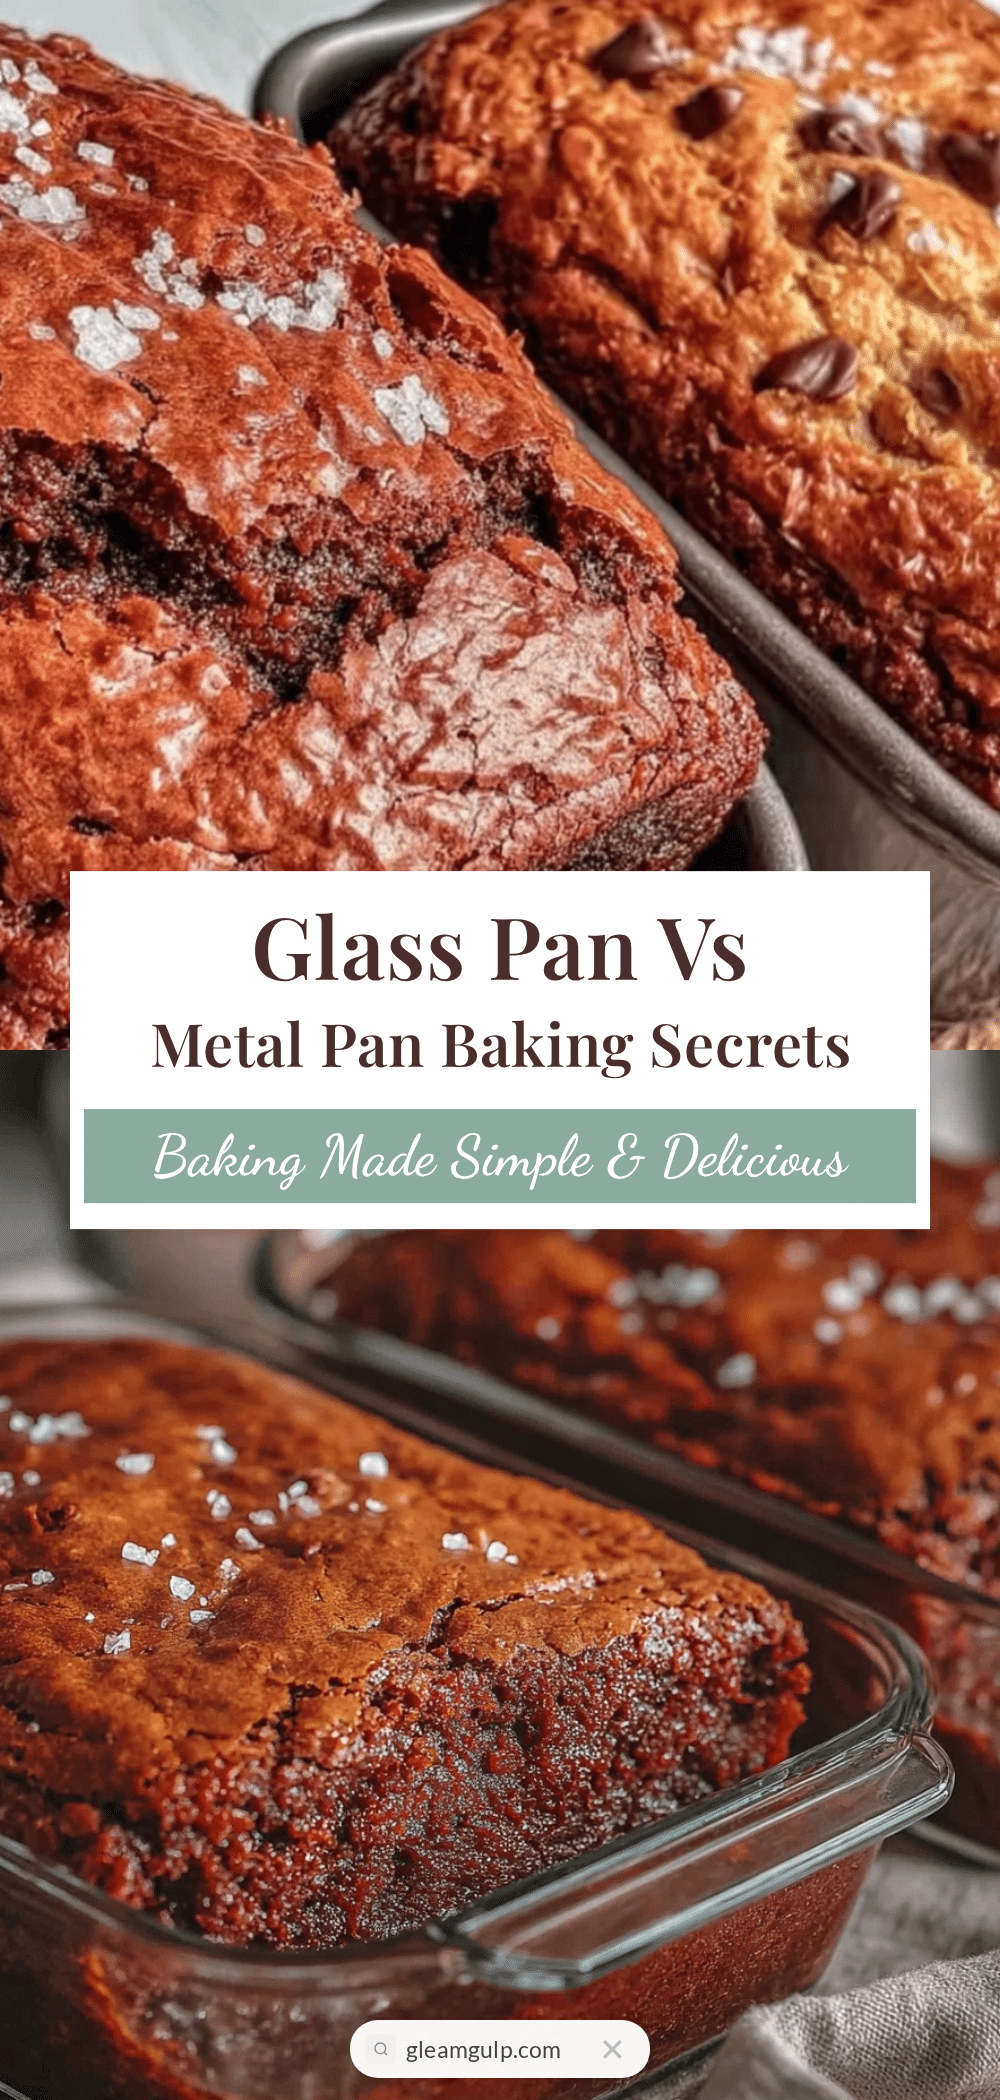
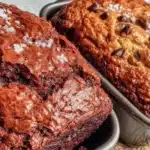
- Glass vs Metal Heat Conductivity: Glass heats more slowly but holds heat longer, which means brownies baked in glass tend to have more even cooking and thicker edges. Metal pans heat quicker, so watch for faster browning.
- Preheating the pan: Warming the glass pan before pouring batter helps prevent sticking and promotes an even bake—don’t skip this step, or you might end up with sad, stuck brownies.
- Don’t overmix: Overworking the batter introduces air, resulting in cakier, less fudgy brownies. Fold gently until just combined.
- Watch baking time closely: Glass pans can bake slower, so extend baking time by 3-5 minutes if needed but check often to avoid drying out.
- Use room temperature eggs: This helps the batter emulsify better, leading to a smoother texture.
- Cool fully in the pan: Cutting warm brownies can make a mess; patience pays off!
Once, I left a glass pan brownie in the oven a few minutes too long because I was distracted by a phone call. The edges turned crispy, but the center stayed fudge-like—surprisingly, that combo got rave reviews. Sometimes happy accidents teach you more than perfect timing.
Variations & Adaptations
This recipe is a solid base for many tasty twists. Here are some ideas I’ve tried or recommend:
- Nutty Boost: Add 1/2 cup chopped walnuts or pecans for crunch and earthiness.
- Fruit Infusion: Swirl in raspberry jam or top with fresh berries before baking for a fruity contrast.
- Vegan/Dairy-Free: Replace butter with coconut oil, use flax eggs (1 tbsp flaxseed meal + 3 tbsp water per egg), and swap chocolate chips for dairy-free versions.
- Spiced Brownies: Add 1/2 teaspoon cinnamon or a pinch of cayenne for warmth and subtle heat.
- Blondie Version: Use white chocolate chips and brown sugar instead of cocoa powder for a sweet, caramel-like twist.
If you prefer your brownies cakier, try baking in a metal pan and reduce the sugar slightly. For a gluten-free option, use almond flour but decrease baking time slightly as almond flour browns faster. When I made the fruit-infused version, I forgot to reduce sugar, making it a bit sweeter than intended, but it was deliciously unexpected.
Serving & Storage Suggestions
Serve these flavorful glass pan brownies slightly warm or at room temperature. They’re perfect on their own or paired with a scoop of vanilla ice cream, a drizzle of caramel sauce, or a dusting of powdered sugar.
For a cozy touch, I like to serve them with a cup of strong coffee or a glass of cold milk—both bring out the chocolate notes beautifully.
Store leftover brownies in an airtight container at room temperature for up to 3 days. If you want to keep them longer, wrap tightly and freeze for up to 3 months. To reheat, pop them in the microwave for 15-20 seconds or warm gently in a low oven.
Fun fact: letting brownies rest for several hours or overnight actually deepens their flavor and improves texture—something I always forget but appreciate when I remember.
Nutritional Information & Benefits
Estimated per serving (assuming 16 servings): 180 calories, 9g fat, 23g carbohydrates, 2g protein.
This recipe uses real butter and cocoa powder, providing antioxidants from the cocoa and healthy fats from butter. Cocoa also contains mood-boosting compounds, making these brownies a comforting treat both physically and mentally.
Gluten-free and dairy-free adaptations make this recipe accessible to many with dietary needs, and swapping in less sugar or alternative sweeteners can reduce overall carbs if desired.
Personally, I feel good about indulging in these brownies occasionally because they use simple ingredients without preservatives or artificial additives.
Conclusion
So there you have it—flavorful glass pan brownie recipe secrets that transform how you bake and enjoy brownies. Whether you pick glass or metal, these tips will help you get the right texture, flavor, and that little bit of magic we all crave in our brownies.
Feel free to tweak the recipe to your taste or dietary needs, and don’t be afraid to experiment with variations. I love this recipe because it reminds me that the best baking moments come from patience, a little trial and error, and a whole lot of love mixed in.
Now it’s your turn! Try these secrets, share your results, and don’t hesitate to leave a comment or tell me your favorite brownie twist. Happy baking!
FAQs
Can I use a metal pan instead of a glass pan for this brownie recipe?
Yes, you can use a metal pan. Just watch the baking time closely as metal pans heat faster and may brown the edges sooner. You might need to reduce baking time by a few minutes.
Why do brownies bake differently in glass pans compared to metal pans?
Glass pans heat more slowly and retain heat longer, which results in more even baking and thicker, chewier edges. Metal pans heat up quickly, often creating crisper edges but can sometimes bake unevenly.
How do I prevent brownies from sticking to a glass pan?
Grease the pan well with butter or cooking spray and sprinkle a light coating of flour. Warming the glass pan before adding batter also helps prevent sticking.
Can I make this brownie recipe gluten-free?
Absolutely! Substitute the all-purpose flour with a gluten-free flour blend. Almond flour works well but may require slight baking time adjustments.
What’s the best way to store brownies to keep them fresh?
Store brownies in an airtight container at room temperature for up to 3 days or freeze them wrapped tightly for up to 3 months. Reheat gently before serving.
Pin This Recipe!
Flavorful Glass Pan Brownie Recipe
This brownie recipe delivers a perfect balance of fudgy center and slightly crisp edges, enhanced by baking in a glass pan for even heat distribution and a glossy crust. Easy to make with simple pantry ingredients, it’s ideal for gatherings and satisfying any chocolate craving.
- Prep Time: 10 minutes
- Cook Time: 25-30 minutes
- Total Time: 35-40 minutes
- Yield: 16 servings 1x
- Category: Dessert
- Cuisine: American
Ingredients
- 1 cup (2 sticks, 227 g) unsalted butter, melted
- 2 cups (400 g) granulated sugar
- 3 large eggs, room temperature
- 2 teaspoons pure vanilla extract
- 3/4 cup (75 g) unsweetened cocoa powder, sifted
- 1 cup (125 g) all-purpose flour, sifted
- 1/2 teaspoon salt
- 1 cup (6 oz, 170 g) semi-sweet or dark chocolate chips (optional)
- 1 teaspoon espresso powder (optional)
Instructions
- Preheat your oven to 350°F (175°C). Place your glass baking pan in the oven while it’s heating for about 5 minutes to warm evenly.
- Carefully remove the hot glass pan using oven mitts and lightly grease it with butter or non-stick spray. Dust with a little flour and tap out the excess.
- In a large bowl, whisk together the melted butter and sugar until combined and glossy, about 1-2 minutes.
- Beat in the eggs one at a time, then add the vanilla extract. Mix until smooth and shiny.
- In a separate bowl, sift together the cocoa powder, flour, salt, and espresso powder.
- Gradually fold the dry ingredients into the wet ingredients gently with a spatula until just combined. Do not overmix.
- Fold in chocolate chips if using.
- Pour the batter into the prepared glass pan and spread evenly. Tap the pan gently on the counter to release air bubbles.
- Bake for 25-30 minutes. Check at 25 minutes by inserting a toothpick in the center; it should come out with a few moist crumbs but no wet batter.
- Cool completely on a wire rack before cutting to prevent mushiness.
- Cut into squares using a sharp knife wiped clean between cuts and serve.
Notes
Preheat the glass pan in the oven before adding batter to ensure even baking and prevent sticking. Grease and flour the pan well. Avoid overmixing the batter to keep brownies fudgy. Cool brownies completely in the pan before cutting to avoid mess. If edges bake faster than the center, loosely cover with foil halfway through baking.
Nutrition
- Serving Size: 1 brownie square (1/
- Calories: 180
- Fat: 9
- Carbohydrates: 23
- Protein: 2
Keywords: brownies, glass pan brownies, fudgy brownies, chocolate dessert, easy brownies, baking secrets, homemade brownies