Love this? Save it for later!
Share the inspiration with your friends
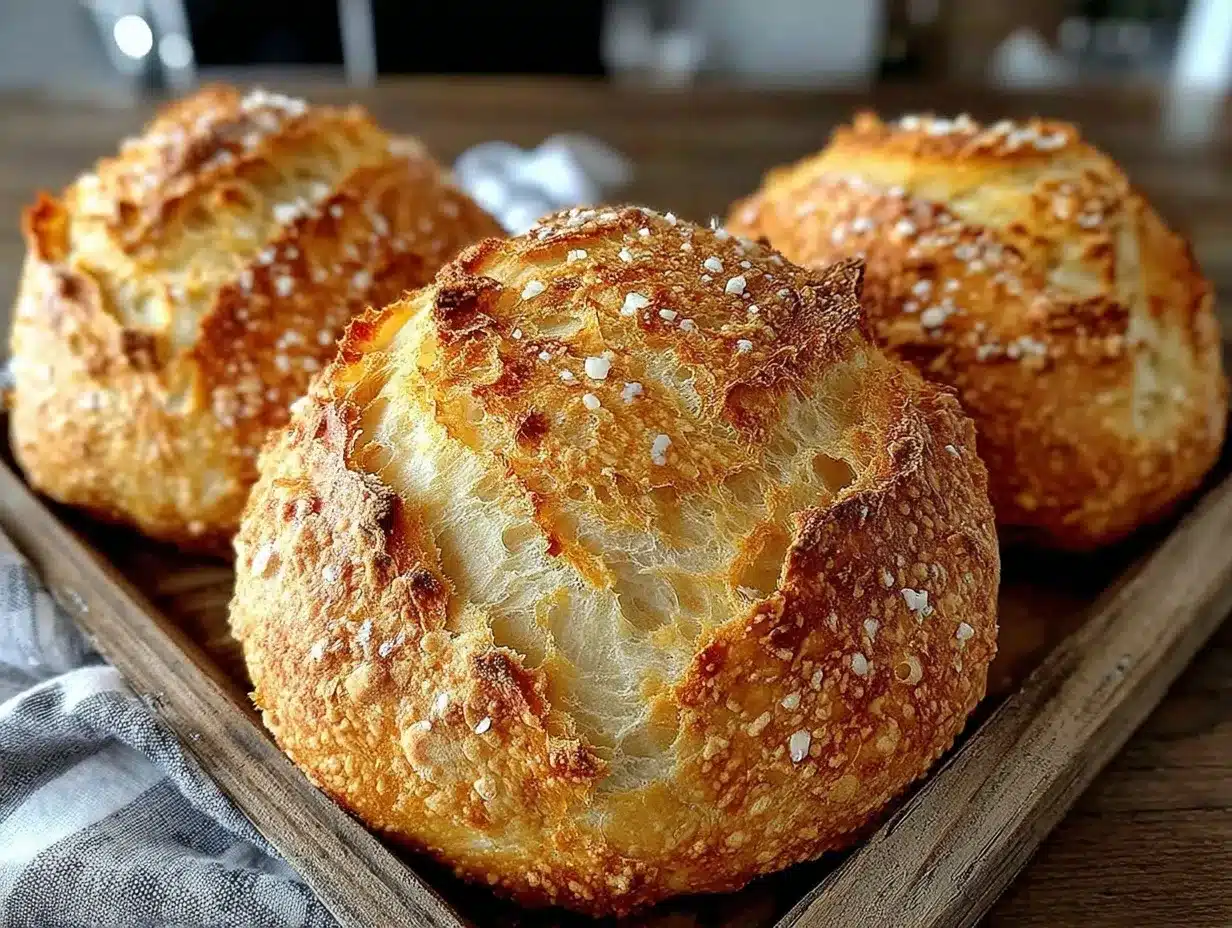
“I was never one to obsess over oven racks until the day my sourdough loaf came out looking like a lopsided pancake,” I confessed to my baking group last Thursday night. Honestly, I thought the secret to perfect artisan bread was all in the flour or the starter, but it turns out the humble oven rack plays a starring role too. That afternoon, I’d been juggling a million things—messing with my dough, forgetting to preheat the oven properly, and, well, placing my bread pan on the wrong rack. The kitchen smelled incredible, but the loaf? Not so much.
Maybe you’ve been there: you follow every recipe to a T, yet your bread just doesn’t get that perfect crust or rise the way you hoped. I sure did, until I started paying more attention to where exactly my bread bakes in the oven. I mean, who knew that moving the rack just a notch higher or lower could change everything? This discovery wasn’t from fancy baking school or an Instagram influencer but rather from the trial, error, and a little nudge from my neighbor who’s quite the bread wizard.
Since then, the oven rack has become my secret weapon for perfect artisan bread baking at home. I keep tweaking, testing, and yes, sometimes burning a loaf or two (or three), but the results are worth every crumb. Let me tell you, once you get this right, you’ll close your eyes after the first bite and savor that crusty, chewy, golden perfection that only comes from baking with intention — and the right oven rack placement.
Why You’ll Love This Recipe
I’ve tested countless artisan bread recipes, but what really transformed my baking was mastering the oven rack setup. It’s a game changer, honestly. Here’s why you’ll appreciate these oven rack tips for perfect artisan bread baking:
- Quick & Easy: Simple adjustments to your oven rack can improve your bake without extra ingredients or fuss.
- Simple Setup: No need for fancy equipment—just your regular oven and some know-how.
- Perfect for Every Occasion: Whether it’s a cozy weekend loaf or a special dinner centerpiece, your bread will impress.
- Crowd-Pleaser: Friends and family keep asking for more once they taste that perfect crust and crumb.
- Unbelievably Delicious: Achieve that bakery-style crust and chewy interior, right in your own kitchen.
What makes these oven rack tips stand out is the focus on heat distribution and steam circulation—two crucial factors often overlooked. Instead of guessing, I learned how to position the rack for the best heat exposure, plus when to switch racks mid-bake to get that golden finish. This isn’t just another baking hack; it’s a trusted method that’s saved me from countless bread fails and elevated every loaf I’ve made since. Honestly, it’s the kind of insight that makes you want to bake artisan bread more often because the results feel worth every minute.
What Ingredients You Will Need
While this post centers on oven rack tips, let’s quickly cover the basics for a classic artisan bread dough. These ingredients keep your bread simple, wholesome, and full of flavor:
- All-Purpose Flour: About 4 cups (480g), preferably unbleached for better gluten development.
- Active Dry Yeast: 2 ¼ teaspoons (one packet), or instant yeast if you prefer quicker rises.
- Warm Water: 1 ½ cups (355ml), around 105°F (40°C) to activate the yeast properly.
- Salt: 2 teaspoons (12g), essential for flavor and controlling fermentation.
- Olive Oil: 1 tablespoon (optional, adds richness but not necessary).
These pantry staples are all you need to get started. If you want to experiment, you can swap all-purpose flour with bread flour for a chewier texture or add a tablespoon of honey for subtle sweetness. For gluten-free options, a blend of gluten-free flours can work, but the oven rack tips still apply to get that crust just right.
Equipment Needed
- Oven with Adjustable Racks: Almost any home oven will do, but knowing how to move the racks is key.
- Baking Stone or Steel (Optional): Helps retain heat and create a crisp crust, though not absolutely necessary.
- Baking Sheet or Dutch Oven: Depending on your baking method; Dutch ovens trap steam for perfect crust.
- Oven Thermometer: Useful for checking your oven’s actual temperature—many ovens run hotter or cooler than they say.
- Mixing Bowls and Dough Scraper: For preparing your dough comfortably.
If you don’t have a baking stone, placing your bread on the middle rack with a pan of water below can mimic steam effects. For budget-friendly options, a cast iron skillet can substitute for a Dutch oven in a pinch. Personal tip: I keep a simple oven thermometer inside because it helped me realize my oven runs about 15°F hot, which changed how I time my bakes.
Preparation Method
- Mix the Dough: In a large bowl, combine 4 cups (480g) of all-purpose flour with 2 ¼ teaspoons active dry yeast and 2 teaspoons salt. Add 1 ½ cups (355ml) warm water and 1 tablespoon olive oil if using. Stir with a wooden spoon until a shaggy dough forms. This takes about 5 minutes.
- Knead the Dough: Turn the dough onto a floured surface and knead for 8 to 10 minutes until smooth and elastic. If you prefer, use a stand mixer with a dough hook for 6 to 7 minutes. Don’t rush this part; you want good gluten development for that chewy texture.
- First Rise: Place the dough in a lightly oiled bowl, cover with a damp towel or plastic wrap, and let it rise in a warm spot for 1 to 1 ½ hours until doubled in size.
- Shape the Loaf: Gently deflate the dough and shape it into a round or oval loaf, depending on your baking vessel. Place it on parchment paper if using a Dutch oven or on a baking sheet.
- Second Rise: Cover and let the shaped loaf rise for about 45 minutes to 1 hour until puffy but not doubled.
- Preheat the Oven and Position Racks: About 30 minutes before baking, preheat your oven to 450°F (232°C). Place your baking stone or steel on the middle rack if using. If not, position your oven rack in the lower-middle position to start.
- Create Steam: Place a shallow pan filled with hot water on the bottom rack or floor of the oven to generate steam. This helps develop a crispy crust.
- Bake the Bread: Slide your loaf onto the preheated stone or baking sheet. Bake for 20 minutes on the lower-middle rack to encourage oven spring and crust formation.
- Adjust Rack for Browning: After 20 minutes, carefully move the oven rack to the upper-middle position to brown the crust evenly. Continue baking for another 15 to 20 minutes until the crust is golden and the loaf sounds hollow when tapped.
- Cool Thoroughly: Remove the bread and cool completely on a wire rack for at least 1 hour before slicing. This step is crucial for the crumb to set properly.
Quick tip: If your oven doesn’t have adjustable racks, try using a baking sheet on the floor of the oven with water for steam and place your bread on the middle rack. Also, watch for visual cues—the crust should be deep golden, not burnt. I once left a loaf too low and it came out pale and chewy, so keep an eye on those rack heights!
Cooking Tips & Techniques
Artisan bread baking is as much about feel as it is about exact measurements, especially when it comes to oven racks. Here are some tips I’ve learned that make a real difference:
- Use the Middle Rack to Start: This area generally offers the most even heat. Starting your bread here helps the dough rise well before browning.
- Switch Racks Mid-Bake: Moving your bread to a higher rack during the last 15 minutes encourages a beautifully browned crust without burning the bottom.
- Steam Matters: Steam keeps the crust from forming too early and allows the loaf to expand fully. Use a pan of water or spritz the oven walls carefully with water.
- Don’t Open the Oven Too Often: Each time you open it, heat and steam escape, affecting the crust. Plan your timing so you can peek just once or twice.
- Learn Your Oven’s Hot Spots: Ovens can have uneven heat zones. Testing rack positions with a simple bread loaf helps you find the sweet spot.
One time, I forgot to place the water pan for steam, and the loaf crust hardened too soon, causing cracks. Lesson learned: steam is non-negotiable for great artisan bread. Also, if your bread starts browning too fast on top, lower the rack or cover loosely with foil. These small tweaks keep your bake consistent every time.
Variations & Adaptations
Depending on your taste and dietary needs, here are some ways to customize your artisan bread baking with rack tips in mind:
- Gluten-Free Version: Use a gluten-free flour blend and bake on the middle rack with steam to help mimic the moisture retention of gluten dough.
- Whole Wheat Twist: Swap half the all-purpose flour for whole wheat and bake on a lower rack to prevent the denser crumb from drying out too fast.
- Herb-Infused Bread: Add fresh rosemary or thyme to the dough. The rack placement stays the same, but try adding a splash of water to the pan with herbs for aromatic steam.
- Different Cooking Methods: If using a Dutch oven, start baking on the middle rack covered, then remove the lid and move the rack higher to brown.
- Personal Favorite: I once tried baking baguettes on the top rack with a tray of ice cubes below for steam. It gave a crisp crust but required close monitoring to avoid burning.
Serving & Storage Suggestions
Serve your artisan bread at room temperature to fully appreciate the crust’s crunch and the soft crumb inside. Slice it thick for sandwiches or thin to accompany soups and salads.
Complement with olive oil, herb butter, or your favorite cheese. A glass of red wine or a robust coffee pairs beautifully depending on the occasion.
For storage, keep bread in a paper bag or wrapped loosely in a kitchen towel at room temperature for up to two days. To preserve longer, slice and freeze it in an airtight bag for up to three months.
Reheat slices in a toaster or oven at 350°F (175°C) for 5-7 minutes to refresh the crust. Bread often tastes best the day after baking as flavors settle, so don’t rush to eat it all immediately!
Nutritional Information & Benefits
A typical slice of artisan bread (about 60g) provides roughly 150-180 calories, with 5-6g of protein and 30-35g carbohydrates. Using whole grain flours boosts fiber content and adds nutrients like iron and B vitamins.
The simple ingredients—flour, water, yeast, and salt—make this bread free from additives and preservatives. For those watching gluten intake, variations with gluten-free flours are available.
Homemade artisan bread lets you control salt and add healthy ingredients, making it a nourishing choice compared to many store-bought breads.
Conclusion
Mastering oven rack placement may seem like a small detail, but it truly transforms your artisan bread baking at home. With these tips, you’ll get that bakery-worthy crust and perfect crumb that makes each loaf feel special. Don’t be afraid to experiment with your oven’s quirks and develop your own rhythm—your future self (and taste buds) will thank you.
I love this recipe because it’s approachable but rewarding, blending science and a little kitchen magic. I hope you find it just as satisfying and maybe even share your own baking stories in the comments below. After all, isn’t that what makes food blogging so much fun?
Now, roll up your sleeves, adjust that oven rack, and bake something amazing!
FAQs
What is the best oven rack position for baking artisan bread?
The lower-middle rack is ideal for starting the bake to promote even heat, then moving the bread to the upper-middle rack during the last 15-20 minutes helps brown the crust perfectly.
Why does steam matter when baking artisan bread?
Steam prevents the crust from hardening too soon, allowing the bread to expand fully and develop a crispy, glossy crust.
Can I bake artisan bread without a baking stone?
Yes, you can bake on a regular baking sheet, but preheating it and adding a pan of water for steam helps mimic the effects of a baking stone.
How do I know when my artisan bread is done?
When the crust is deep golden brown and the loaf sounds hollow when tapped on the bottom, it’s a good indicator that it’s fully baked.
Can these oven rack tips be applied to gluten-free bread?
Absolutely! Adjust the rack to the middle position and use steam to help gluten-free bread retain moisture and develop a better crust.
Pin This Recipe!
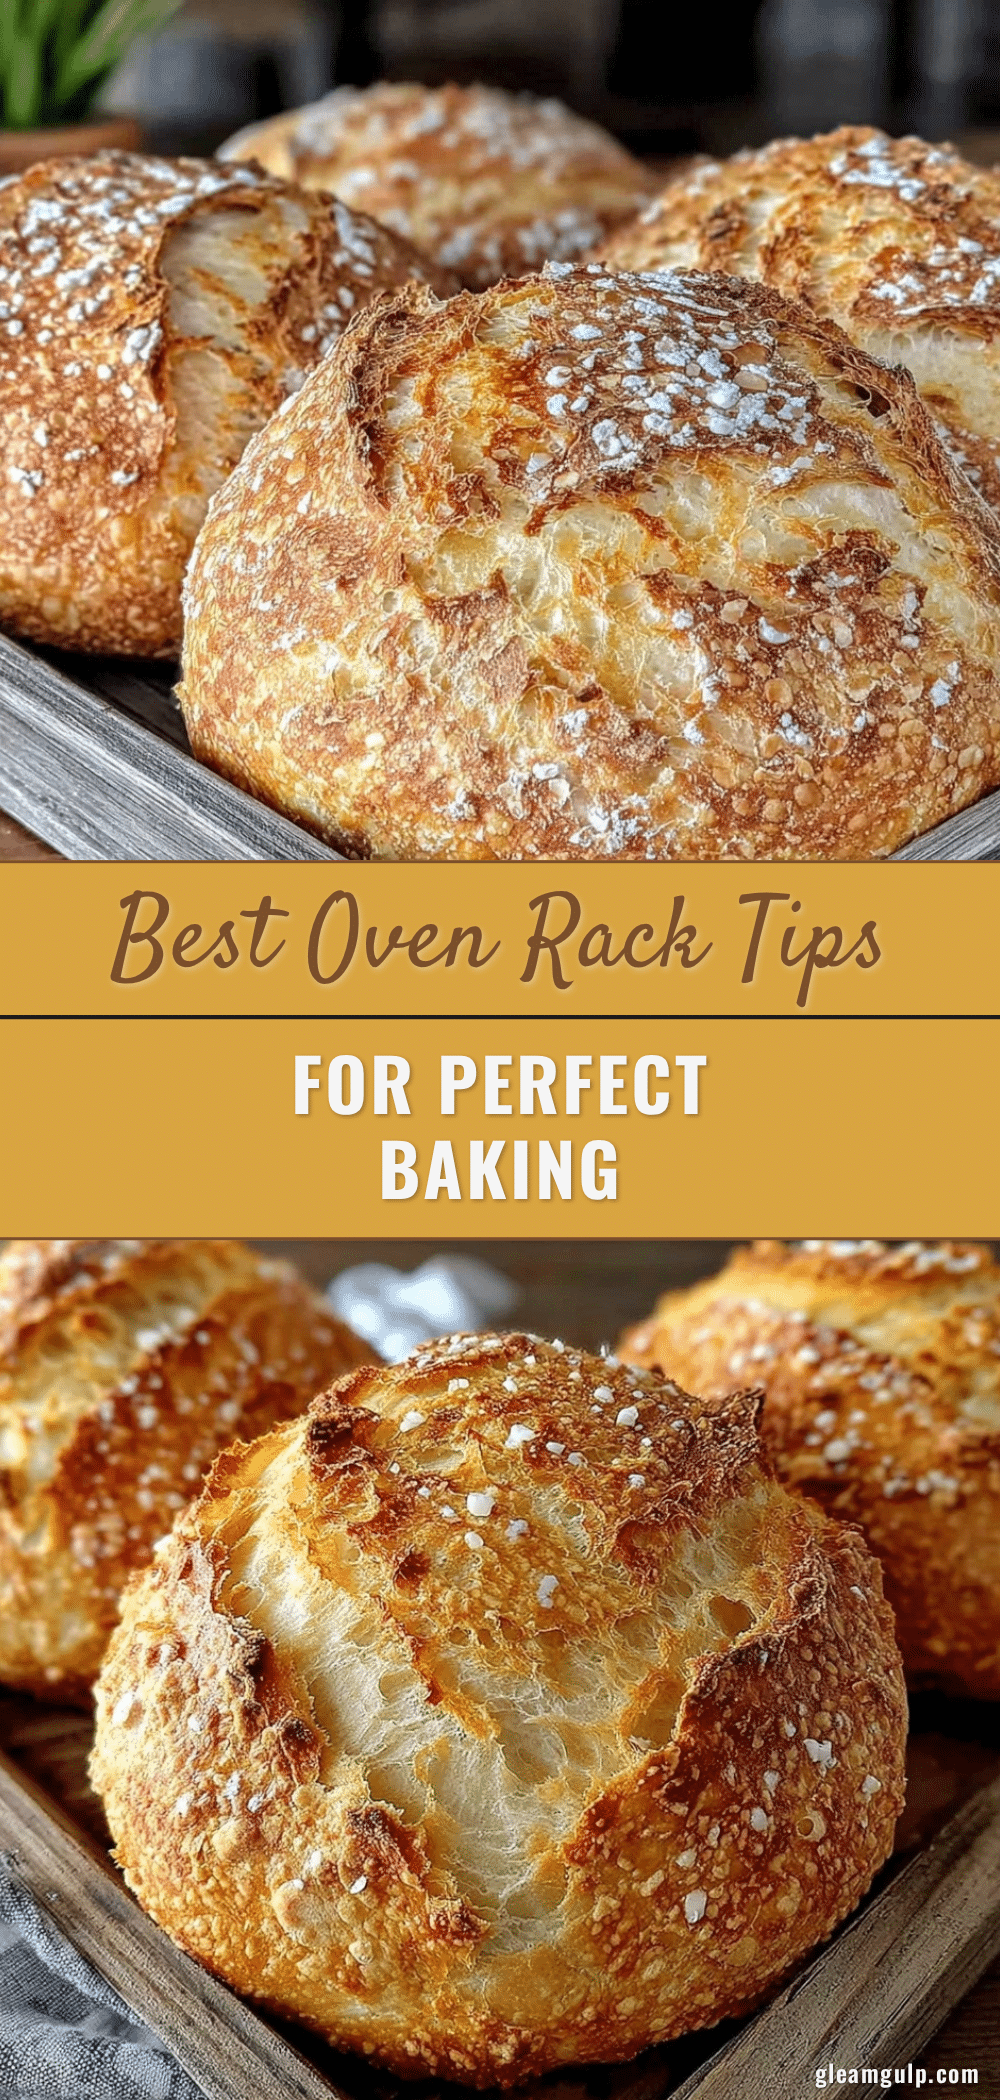
Best Oven Rack Tips for Perfect Artisan Bread Baking at Home
Master oven rack placement to bake perfect artisan bread with a crispy crust and chewy interior. Simple adjustments to your oven rack and steam creation can transform your homemade bread baking.
- Prep Time: 20 minutes
- Cook Time: 35-40 minutes
- Total Time: 2 hours 15 minutes
- Yield: 1 loaf (about 8 servings) 1x
- Category: Main Course
- Cuisine: American
Ingredients
- 4 cups (480g) all-purpose flour, preferably unbleached
- 2 ¼ teaspoons active dry yeast (one packet)
- 1 ½ cups (355ml) warm water, around 105°F (40°C)
- 2 teaspoons (12g) salt
- 1 tablespoon olive oil (optional)
Instructions
- Mix the dough: In a large bowl, combine flour, yeast, and salt. Add warm water and olive oil if using. Stir until a shaggy dough forms (about 5 minutes).
- Knead the dough: Turn dough onto a floured surface and knead for 8 to 10 minutes until smooth and elastic, or use a stand mixer with a dough hook for 6 to 7 minutes.
- First rise: Place dough in a lightly oiled bowl, cover, and let rise in a warm spot for 1 to 1 ½ hours until doubled in size.
- Shape the loaf: Deflate dough gently and shape into a round or oval loaf. Place on parchment paper if using a Dutch oven or on a baking sheet.
- Second rise: Cover and let the shaped loaf rise for 45 minutes to 1 hour until puffy but not doubled.
- Preheat oven and position racks: Preheat oven to 450°F (232°C) about 30 minutes before baking. Place baking stone or steel on middle rack if using, or position oven rack in lower-middle position.
- Create steam: Place a shallow pan filled with hot water on the bottom rack or oven floor to generate steam.
- Bake the bread: Slide loaf onto preheated stone or baking sheet. Bake for 20 minutes on the lower-middle rack.
- Adjust rack for browning: After 20 minutes, move oven rack to upper-middle position and continue baking for another 15 to 20 minutes until crust is golden and loaf sounds hollow when tapped.
- Cool thoroughly: Remove bread and cool completely on a wire rack for at least 1 hour before slicing.
Notes
If you don’t have adjustable racks, place a baking sheet with water on the oven floor and bake bread on the middle rack. Use steam to prevent early crust formation. Watch for visual cues to avoid burning. Cooling bread completely before slicing is crucial for crumb setting.
Nutrition
- Serving Size: One slice (about 60g
- Calories: 165
- Sugar: 0.5
- Sodium: 230
- Fat: 1.5
- Saturated Fat: 0.2
- Carbohydrates: 33
- Fiber: 1.5
- Protein: 5.5
Keywords: artisan bread, oven rack tips, bread baking, sourdough, homemade bread, baking steam, crusty bread, chewy bread


