Love this? Save it for later!
Share the inspiration with your friends
There used to be a tiny bakery on a side street in Portland, Oregon—the kind of place with a chalkboard menu that changed daily and a bell that jingled when you walked in. They made these peanut butter blossom cookies that were absolute perfection. Not the flat, crispy kind you see everywhere. These were thick, soft, almost pillowy, with a chocolate kiss pressed right in the center that stayed glossy and intact. When that bakery closed its doors three years ago—the owner retired, moved to the coast—I actually felt a little pang of loss. Honestly, I mourned those cookies.
After maybe a dozen attempts—some too crumbly, some that spread into sad little puddles—I finally cracked the code. The secret, I discovered, was in the ratio of butter to peanut butter and a specific chilling time that I’d been ignoring because I was impatient. Let me tell you, the first batch I pulled out that actually looked like *those* cookies? I almost cried. Maybe you’ve been there, chasing a taste from a place that no longer exists. It’s a specific kind of food obsession.
This is that recipe. The one that brings back the memory of that jingling bell and the smell of warm sugar. It’s the classic peanut butter blossom cookie you remember, but made intentionally soft and thick, just the way a perfect cookie should be.
Why You’ll Love This Recipe
These aren’t just any peanut butter blossoms. After all my trials—and let me tell you, there were some real flops—I landed on a version that nails everything. Here’s why this one is different and why you’ll keep coming back to it:
- Perfectly Soft & Thick: No thin, crispy edges here. These cookies stay thick and tender for days, thanks to a higher ratio of brown sugar and a crucial chilling step. They’re the kind of soft that makes you close your eyes on the first bite.
- Simple Pantry Ingredients: You probably have everything already. Peanut butter, sugar, butter, an egg, flour—no fancy extracts or hard-to-find items. It’s comfort food from what’s already in your cupboard.
- Kid-Approved & Crowd-Pleasing: I’ve brought these to potlucks and holiday parties, and they vanish every single time. Kids love the chocolate kiss in the middle, and adults appreciate that nostalgic, homemade quality. It’s a guaranteed hit.
- Foolproof Method: After my early failures (one batch spread so thin it looked like a peanut butter pancake), I refined the technique. The steps are clear, and I’ve included all the little warnings I wish I’d had. You can’t mess this up.
- Freezer-Friendly: You can freeze the dough or the baked cookies. Perfect for when you need a last-minute dessert or want to prep for the holidays without the stress. I always have a batch of dough balls in my freezer.
This recipe isn’t just good—it’s the kind that makes you feel like a hero baker, even if it’s a Tuesday night and you’re just craving something sweet. It’s comfort food, reimagined to be exactly what you want it to be.
What Ingredients You Will Need
This recipe uses simple, wholesome ingredients to deliver that signature soft texture and rich peanut butter flavor. Most of these are pantry staples, which is part of the beauty. Here’s what you need and why each one matters:
For the Cookie Dough
- 1/2 cup (113g) unsalted butter, softened: Butter gives the cookies richness and flavor. Make sure it’s truly softened to room temperature—if it’s too cold, the dough won’t cream properly. I use Kerrygold for its higher butterfat content, but any good brand works.
- 1/2 cup (100g) granulated sugar: This adds sweetness and helps with spreading. Don’t substitute with a liquid sweetener here; it changes the texture.
- 1/2 cup (100g) packed light brown sugar: This is the secret to the soft, thick texture. Brown sugar has molasses, which adds moisture and chewiness. Pack it firmly into the measuring cup for accuracy.
- 1 large egg, room temperature: The egg binds everything together. A cold egg can seize the butter mixture, so let it sit out for 30 minutes. (Trust me on this one—I learned the hard way.)
- 1 teaspoon vanilla extract: Pure vanilla adds depth. Imitation works in a pinch, but pure vanilla is worth the splurge here.
- 3/4 cup (180g) creamy peanut butter: Use a standard brand like Jif or Skippy—not natural peanut butter, which can separate and make the cookies greasy. The stabilizers in processed peanut butter help the cookies hold their shape.
- 1 1/2 cups (190g) all-purpose flour: Spoon and level the flour—don’t scoop directly from the bag, or you’ll end up with too much and dry cookies. This is a common mistake I see all the time.
- 1/2 teaspoon baking soda: This helps the cookies rise just slightly, keeping them thick. Don’t skip it.
- 1/2 teaspoon baking powder: Adds a little extra lift and tenderness. The combination of both leaveners is key for that soft texture.
- 1/4 teaspoon salt: Balances the sweetness. If you’re using salted butter, you can reduce this to a pinch.
For the Topping
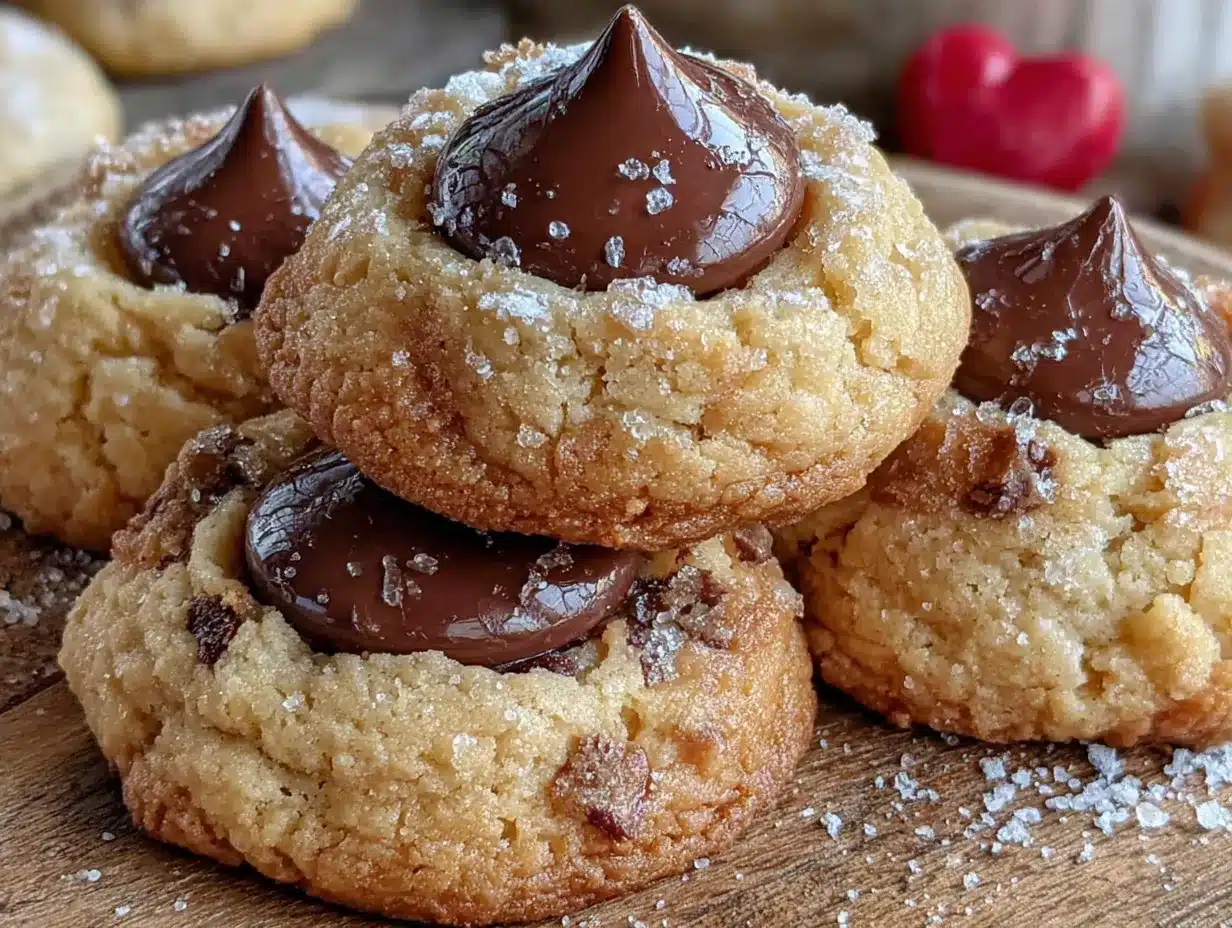
- 1/4 cup (50g) granulated sugar (for rolling): This gives the cookies that sparkly, slightly crunchy exterior. It’s non-negotiable for the classic look.
- 36-40 milk chocolate Hershey’s Kisses, unwrapped: The classic choice! Unwrap them while the dough chills. You can also use dark chocolate or caramel-filled kisses for a twist. Just make sure they’re at room temperature so they don’t crack when you press them in.
Substitution Note: For a gluten-free version, use a 1:1 gluten-free flour blend that contains xanthan gum. For a dairy-free option, swap the butter with a high-quality vegan butter stick (not the spreadable kind). The texture will be slightly different, but still delicious.
Equipment Needed
You don’t need a fancy bakery setup for these cookies. Here’s what I use and what you can swap in if needed:
- Electric hand mixer or stand mixer: Creaming the butter and sugars by hand is possible, but your arm will get tired. A hand mixer works perfectly and is easier to clean. I prefer my KitchenAid stand mixer, but honestly, a hand mixer does the job just fine.
- Large mixing bowl: Any bowl works, but a wide one makes mixing easier. I use a glass bowl so I can see if everything is incorporated.
- Measuring cups and spoons: For accuracy, especially with the flour. A kitchen scale is even better for consistent results, but not required.
- Baking sheets: Two or three standard 13×18 inch sheets. I like the ones with a light finish—dark pans can cause the bottoms to brown too quickly. If you only have dark pans, reduce the oven temperature by 25°F.
- Parchment paper or silicone baking mat: This prevents sticking and makes cleanup a breeze. Parchment is my go-to because it’s cheap and disposable.
- Cooling rack: Essential for letting the cookies cool properly so the chocolate sets. A wire rack is ideal.
- Cookie scoop (1.5 tablespoon size): Not required, but it ensures even-sized cookies. I use a #40 scoop, which is about 1.5 tablespoons. A regular tablespoon works too.
Budget tip: If you don’t have a cookie scoop, just use two spoons to portion the dough. It’s a little more work, but the cookies will still taste amazing. Also, skip the expensive silicone mats—parchment paper is cheap and effective.
Preparation Method
Now for the fun part. Follow these steps carefully, and you’ll have perfect soft and thick peanut butter blossom cookies every time. I’ve added little notes from my own mistakes so you can avoid them.
- Cream the butter and sugars: In a large bowl, beat the softened butter, granulated sugar, and brown sugar together on medium speed until light and fluffy, about 2-3 minutes. Scrape down the sides of the bowl once. You want it to look pale and airy—this is where the texture starts.
- Add the wet ingredients: Beat in the egg and vanilla extract until well combined, about 30 seconds. Then add the peanut butter and mix until smooth. The mixture will look thick and glossy. Don’t overmix here—just until it’s combined.
- Combine the dry ingredients: In a separate smaller bowl, whisk together the flour, baking soda, baking powder, and salt. This ensures the leaveners are evenly distributed. I once skipped this step and ended up with a cookie that had a bitter baking soda pocket—not fun.
- Mix dry into wet: Gradually add the dry ingredients to the wet mixture, mixing on low speed. Stop as soon as the flour disappears. Overmixing develops gluten, which makes cookies tough. The dough will be soft and slightly sticky—that’s perfect.
- Chill the dough (crucial step!): Cover the bowl with plastic wrap and refrigerate for at least 1 hour, or up to 3 days. This is the step I used to skip, and my cookies always spread into thin discs. Chilling solidifies the butter, which means the cookies hold their shape and stay thick. Don’t rush this—I promise it’s worth it.
- Preheat and prepare: About 15 minutes before you’re ready to bake, preheat your oven to 375°F (190°C). Line your baking sheets with parchment paper. While the oven heats, unwrap your Hershey’s Kisses and place them in a small bowl. Having everything ready makes the process smooth.
- Shape and roll: Scoop the chilled dough into 1.5-tablespoon balls (about the size of a walnut). Roll each ball between your palms until smooth. Then roll each ball in the granulated sugar until completely coated. Place them 2 inches apart on the prepared baking sheets—they will spread a little.
- Bake: Bake for 10-12 minutes, or until the edges are just set and lightly golden. The centers will look slightly puffy and soft—they’ll continue to set as they cool. Do not overbake! I take mine out at exactly 10 minutes for the softest texture. If you like them slightly firmer, go to 11 minutes.
- Add the kisses immediately: As soon as the cookies come out of the oven, press a Hershey’s Kiss gently into the center of each cookie. Press just until the cookie cracks slightly around the edges—don’t push all the way through. The heat will soften the chocolate slightly, which is perfect.
- Cool completely: Let the cookies cool on the baking sheet for 5 minutes. This allows the chocolate to set and the cookies to firm up. Then transfer them to a wire rack to cool completely. If you try to move them too soon, the chocolate will slide off. Patience, my friend.
Cooking Tips & Techniques
After making these cookies more times than I can count, I’ve picked up a few tricks that make a real difference. Here are my best tips, including some hard-learned lessons:
- Don’t skip the chill: I know, I know—it’s tempting to skip. But chilling the dough for at least an hour is non-negotiable for thick cookies. The cold butter doesn’t spread as fast, so you get that perfect domed shape. One time I was in a hurry and only chilled for 20 minutes. My cookies spread into sad, thin discs. Never again.
- Use a cookie scoop for even sizes: This ensures all your cookies bake evenly. If some are bigger and some are smaller, the small ones will overbake while the big ones are still raw. A #40 scoop (1.5 tablespoons) is perfect for this recipe.
- Room temperature ingredients matter: Cold butter won’t cream properly, and a cold egg can seize the mixture. Let your butter and egg sit out for 30 minutes before starting. It makes a noticeable difference in the texture.
- Watch the oven like a hawk: Ovens vary wildly. My oven runs hot, so I start checking at 9 minutes. You want the edges set and lightly golden, but the centers should still look soft. The cookies will continue to bake on the hot sheet after you take them out.
- Press the kisses gently: If you press too hard, the cookie will crack too much, and the kiss might fall out. Just a gentle push until the chocolate is nestled in. The residual heat will soften it just enough.
- Double up on baking sheets: If you only have one baking sheet, let it cool completely between batches. Placing dough on a hot sheet will cause the butter to melt immediately, leading to spread. I keep two sheets so I can rotate them.
Variations & Adaptations
This recipe is wonderfully versatile. Here are some of my favorite ways to switch it up:
Flavor Twists
- Dark Chocolate Lover’s Version: Swap the milk chocolate Kisses for dark chocolate ones. The bitterness pairs beautifully with the sweet peanut butter. I did this for a holiday party, and they were gone in minutes.
- Caramel-Filled Kisses: Hershey’s makes caramel-filled Kisses that are incredible in these cookies. The caramel gets slightly gooey from the heat—absolute heaven. Just be careful not to overbake, or the caramel can leak.
- Chocolate Peanut Butter Swirl: Use a combination of peanut butter and Nutella in the dough (reduce peanut butter to 1/2 cup and add 1/4 cup Nutella). Swirl it in gently for a marbled effect.
Dietary Adaptations
- Gluten-Free: Substitute the all-purpose flour with a 1:1 gluten-free baking flour blend that contains xanthan gum. I’ve used Bob’s Red Mill with great results. The cookies will be slightly more crumbly, but still delicious.
- Dairy-Free: Use a high-quality vegan butter stick (like Miyoko’s) and ensure your chocolate kisses are dairy-free. The texture will be a bit less tender, but the flavor is still spot-on.
- Lower Sugar: Reduce the granulated sugar to 1/3 cup and the brown sugar to 1/3 cup. The cookies will be less sweet, but still satisfying. You can also use a sugar-free chocolate kiss.
Seasonal Variations
- Holiday Blossoms: Use candy cane Kisses for Christmas or pastel-colored ones for Easter. The peppermint version is a family favorite in my house.
- Summer Berry Twist: Instead of a chocolate kiss, press a fresh raspberry or strawberry slice into the center. It’s a lighter, fruity version perfect for warm weather. Just know they’re best eaten the same day.
Serving & Storage Suggestions
These cookies are best served slightly warm, when the chocolate is still a little soft and the cookie is tender. But they’re also fantastic at room temperature—the flavor actually deepens after a day or two.
Serving: Arrange them on a pretty plate for a holiday cookie exchange, or just grab a couple with a glass of cold milk. They’re perfect for bake sales, school parties, or a cozy night in. I like to serve them with a small glass of milk or a cup of hot coffee—the contrast is perfect.
Storage: Store the baked cookies in an airtight container at room temperature for up to 5 days. Layer them with parchment paper to prevent the chocolate from sticking. I’ve found they actually taste better on day two—the flavors meld together beautifully.
Freezing: You can freeze the unbaked dough balls for up to 3 months. Just scoop and roll them, place them on a baking sheet, freeze until solid, then transfer to a freezer bag. When you’re ready to bake, roll them in sugar and bake straight from frozen, adding 1-2 minutes to the baking time. You can also freeze the baked cookies for up to 3 months—just thaw at room temperature before serving.
Reheating: If you want that just-baked warmth, pop a cookie in the microwave for 10-15 seconds. The chocolate will soften, and the cookie will be tender again. Or warm them in a 300°F oven for 5 minutes.
Nutritional Information & Benefits
While these are definitely a treat, I believe in enjoying food without guilt. Here’s a rough estimate per cookie (based on 36 cookies):
- Calories: ~140
- Fat: 8g
- Carbohydrates: 16g
- Protein: 3g
- Sugar: 10g
Peanut butter does provide some protein and healthy fats, which helps balance the sugar rush. Plus, there’s something to be said for the mental health benefits of a homemade cookie—baking is therapeutic, and sharing food is a form of connection. I always feel a little better after making a batch, even if I only eat one.
Dietary Considerations: This recipe contains gluten, dairy, eggs, and peanuts. For allergen-friendly versions, see the variations section above. Always check your chocolate kisses for potential cross-contamination if you have severe allergies.
Conclusion: Your Turn to Bake
These classic peanut butter blossom cookies are more than just a recipe—they’re a little piece of nostalgia, made soft and thick just the way you remember. I’ve spent years perfecting this version, and I’m so excited to share it with you. Whether you’re making them for a holiday party, a bake sale, or just because it’s Tuesday, I promise they’ll bring a smile to your face.
Don’t be afraid to make them your own. Try a different chocolate, add a sprinkle of sea salt, or experiment with the variations. The best recipes are the ones that evolve with you. And if you make a mess? That’s part of the fun. I still have flour on my counter from my last batch.
So go ahead—preheat that oven, unwrap those kisses, and bake some memories. I’d love to hear how they turn out! Drop a comment below, share your photos, or tell me about your own cookie memories. Happy baking, my friend.
Frequently Asked Questions
Why did my cookies spread too much?
The most common reason is that the dough wasn’t chilled long enough. Make sure you chill for at least 1 hour. Also, check that your butter was properly softened—if it was too warm, the dough will spread. Using a higher ratio of brown sugar to granulated sugar also helps keep them thick.
Can I use natural peanut butter?
I don’t recommend it. Natural peanut butter has oil that can separate, making the cookies greasy and causing them to spread. Stick with a standard processed peanut butter like Jif or Skippy for the best texture. If you must use natural, stir it very well and expect a slightly different result.
How do I keep the chocolate kisses from melting?
Press the kisses in immediately after baking, when the cookies are still hot but not molten. The residual heat will soften the chocolate slightly, but it won’t melt completely if you let the cookies cool for the full 5 minutes on the sheet. Also, make sure your kisses are at room temperature—cold ones can crack.
Can I make the dough ahead of time?
Absolutely! The dough can be refrigerated for up to 3 days in an airtight container. You can also freeze the dough balls for up to 3 months. Just roll them in sugar before baking straight from frozen, adding a minute or two to the bake time.
How do I get evenly sized cookies?
Use a cookie scoop—a #40 scoop (1.5 tablespoons) is perfect. If you don’t have one, use two spoons to portion the dough, then roll each ball between your palms. Weighing the dough balls on a kitchen scale ensures they’re exactly the same size, but it’s not necessary for delicious cookies.
Pin This Recipe!
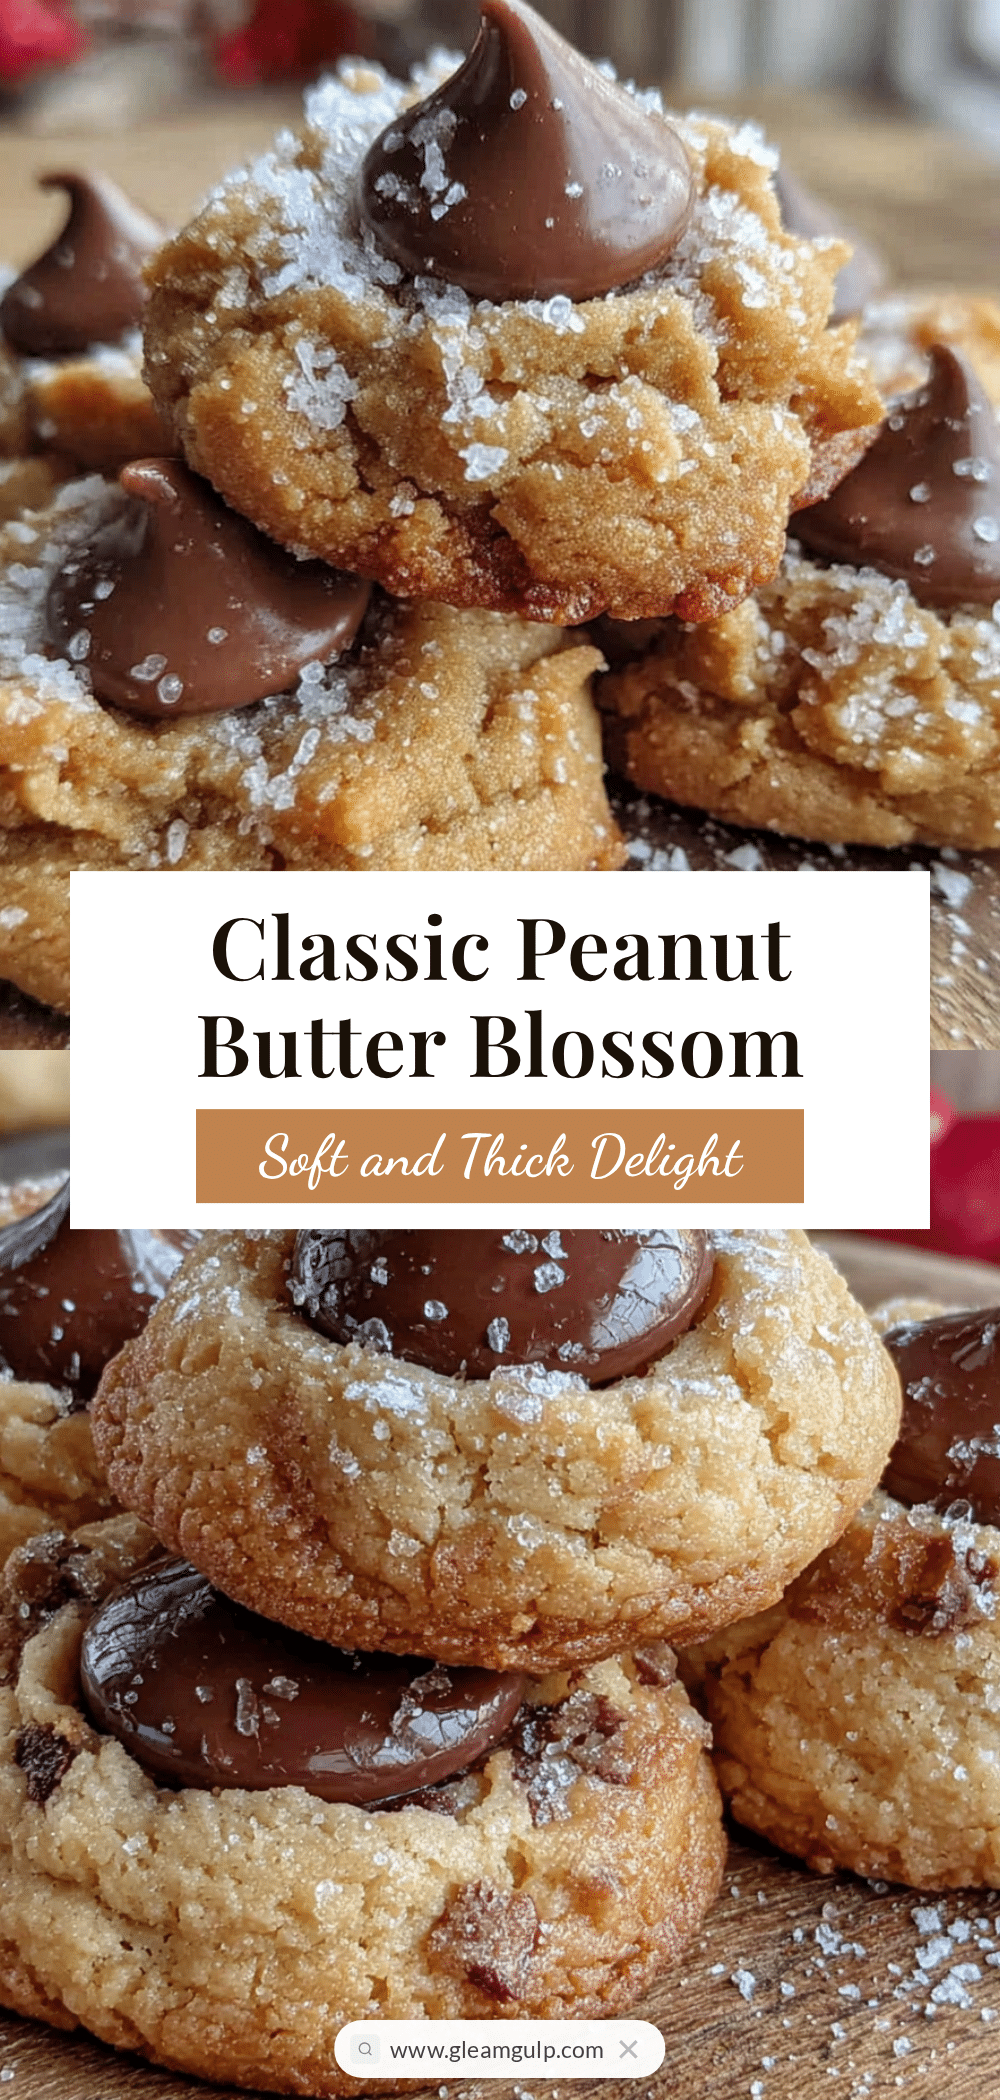
Classic Peanut Butter Blossom Cookies: Easy Soft & Thick Recipe

These thick, soft, and pillowy peanut butter blossom cookies feature a chocolate kiss pressed right in the center. They are the perfect nostalgic treat, made with simple pantry ingredients and a foolproof method.
- Prep Time: 15 minutes
- Cook Time: 10 minutes
- Total Time: 1 hour 25 minutes
- Yield: 36 cookies 1x
- Category: Dessert
- Cuisine: American
Ingredients
- 1/2 cup (113g) unsalted butter, softened
- 1/2 cup (100g) granulated sugar
- 1/2 cup (100g) packed light brown sugar
- 1 large egg, room temperature
- 1 teaspoon vanilla extract
- 3/4 cup (180g) creamy peanut butter (like Jif or Skippy)
- 1 1/2 cups (190g) all-purpose flour
- 1/2 teaspoon baking soda
- 1/2 teaspoon baking powder
- 1/4 teaspoon salt
- 1/4 cup (50g) granulated sugar (for rolling)
- 36–40 milk chocolate Hershey’s Kisses, unwrapped
Instructions
- Cream the butter and sugars: In a large bowl, beat the softened butter, granulated sugar, and brown sugar together on medium speed until light and fluffy, about 2-3 minutes. Scrape down the sides of the bowl once.
- Add the wet ingredients: Beat in the egg and vanilla extract until well combined, about 30 seconds. Then add the peanut butter and mix until smooth.
- Combine the dry ingredients: In a separate smaller bowl, whisk together the flour, baking soda, baking powder, and salt.
- Mix dry into wet: Gradually add the dry ingredients to the wet mixture, mixing on low speed. Stop as soon as the flour disappears.
- Chill the dough: Cover the bowl with plastic wrap and refrigerate for at least 1 hour, or up to 3 days.
- Preheat and prepare: About 15 minutes before baking, preheat oven to 375°F (190°C). Line baking sheets with parchment paper. Unwrap Hershey’s Kisses.
- Shape and roll: Scoop the chilled dough into 1.5-tablespoon balls. Roll each ball between your palms until smooth, then roll in granulated sugar until completely coated. Place 2 inches apart on prepared baking sheets.
- Bake: Bake for 10-12 minutes, or until edges are just set and lightly golden. Centers will look slightly puffy and soft.
- Add the kisses immediately: As soon as cookies come out of the oven, press a Hershey’s Kiss gently into the center of each cookie.
- Cool completely: Let cookies cool on baking sheet for 5 minutes, then transfer to a wire rack to cool completely.
Notes
Chilling the dough is crucial for thick cookies. Use standard processed peanut butter, not natural, for best texture. Press kisses gently to avoid cracking. Cookies can be stored in an airtight container at room temperature for up to 5 days. Dough can be frozen for up to 3 months.
Nutrition
- Serving Size: 1 cookie
- Calories: 140
- Sugar: 10
- Sodium: 85
- Fat: 8
- Saturated Fat: 3
- Carbohydrates: 16
- Fiber: 1
- Protein: 3
Keywords: peanut butter blossom cookies, soft peanut butter cookies, thick peanut butter cookies, chocolate kiss cookies, classic cookies, easy cookie recipe


