Love this? Save it for later!
Share the inspiration with your friends
I was standing in line at the hardware store last December, mentally composing my Christmas shopping list, when the plumber in front of me turned around and started talking about cookies. Not pipes, not leaky faucets—cookies. He was picking up a roll of duct tape and muttering about how his grandmother’s spritz cookies were the only thing that made the holidays bearable. I almost laughed. Here was a guy covered in sawdust, holding a wrench, and he was about to give me the best baking advice I’d ever heard. He told me the secret was almond extract and real butter, and that most people ruin them by using margarine or skipping the chill time. I scribbled his instructions on the back of a receipt while the cashier rang up my lightbulbs. Honestly, I was skeptical. But let me tell you—I made a batch that night, and my kitchen smelled like a bakery in a Hallmark movie. Maybe you’ve been there, taking recipe advice from the most unlikely person and ending up with something magical. That’s how these Light & Buttery Spritz Cookies with Almond Extract came into my life, and I haven’t stopped making them since. They’re the cookies that make you close your eyes after the first bite, and the reason I look forward to December all year long.
Why You’ll Love This Recipe
Let me be real with you—I’ve tested a lot of spritz cookie recipes over the years. Some were too dry, some spread into blobs, and others just tasted like sweetened flour. But this one? It’s the gold standard. I’ve tweaked it over three holiday seasons, and I can confidently say it’s foolproof. Here’s why you’re going to fall hard for these cookies:
- Quick & Easy: From start to finish, you’re looking at about 30 minutes. The dough comes together in one bowl, and there’s no rolling or cutting involved. Perfect for when you need a last-minute cookie fix or a batch for a cookie swap.
- Simple Ingredients: You probably have everything in your pantry right now. Butter, sugar, flour, eggs, almond extract—nothing fancy, nothing hard to find. No trips to a specialty baking store required.
- Perfect for Christmas: These are the quintessential holiday cookie. They hold their shape beautifully when pressed through a cookie press, making them ideal for trees, wreaths, and snowflakes. They’re the star of any cookie platter.
- Crowd-Pleaser: I’ve brought these to office parties, family gatherings, and neighbor gifts. They disappear faster than anything else. Kids love the shapes, and adults love the buttery, almond flavor.
- Unbelievably Delicious: The texture is what gets me every time. They’re light, tender, and melt-in-your-mouth soft—not dense or crumbly. The almond extract gives them a subtle, almost floral sweetness that sets them apart from plain vanilla cookies.
What makes this recipe different from the rest is the technique. Most spritz cookie recipes tell you to bake the dough immediately, but I’ve found that a quick chill in the fridge for 10 minutes after piping helps them hold their shape perfectly. Plus, using room-temperature butter and eggs makes the dough silky and easy to press. This isn’t just another version of spritz cookies—it’s the one you’ll come back to year after year. Trust me, I’ve made the mistakes so you don’t have to.
What Ingredients You Will Need
This recipe uses simple, wholesome ingredients that come together to create something truly special. Each one plays a specific role in the texture and flavor, so I’ll walk you through what to look for and why it matters. Most of these are pantry staples, but a few tips will help you get the best results.
- Unsalted butter, softened (1 cup, or 2 sticks): This is non-negotiable. Use real butter, not margarine or spread. I prefer unsalted so I can control the salt level. Let it sit at room temperature for about 30 minutes—it should be soft but not melted. Land O’Lakes or Kerrygold are my go-to brands.
- Granulated sugar (¾ cup, 150g): Regular white sugar gives these cookies their delicate sweetness and helps them spread just enough. Don’t substitute with brown sugar—it changes the texture and color.
- Large egg (1, room temperature): The egg binds everything together and adds richness. Take it out of the fridge at the same time as your butter so it warms up. Cold egg can make the dough seize up.
- Almond extract (1 teaspoon): This is the star of the show. Use pure almond extract, not imitation, for the best flavor. It’s strong, so don’t be tempted to add more—it can turn bitter. I use McCormick or Nielsen-Massey.
- Vanilla extract (½ teaspoon): A little vanilla rounds out the almond flavor and adds depth. It’s not overpowering, just a subtle background note.
- All-purpose flour (2 cups, 250g): Standard AP flour works perfectly here. Spoon it into your measuring cup and level it off with a knife—don’t scoop directly, or you’ll pack in too much flour and end up with dry cookies.
- Salt (¼ teaspoon): Just a pinch balances the sweetness and enhances the buttery flavor. If you use salted butter, skip this.
Optional add-ins: If you want to dress them up, you can add food coloring to the dough (gel works best) or sprinkle the tops with colored sugar or sprinkles before baking. I sometimes add a drop of red gel food coloring for Christmas trees.
Substitution note: For a dairy-free version, you can try using a high-quality plant-based butter like Miyoko’s. The texture will be slightly different, but the flavor is still great. I haven’t tested this with gluten-free flour, but a 1:1 gluten-free baking blend should work—just note the cookies may be a bit more fragile.
Equipment Needed
You don’t need a ton of fancy tools for this recipe, but a few key items will make your life easier. Here’s what I use and what you can substitute if needed.
- Cookie press: This is the one specialized tool you’ll need. I use a Wilton cookie press, and it’s been reliable for years. If you don’t have one, you can pipe the dough through a piping bag fitted with a large star tip, or even roll it into small balls and flatten them with a fork. But honestly, the press is worth it for the shapes alone.
- Baking sheets: Use light-colored, rimmed baking sheets for even baking. Dark pans can cause the bottoms to brown too quickly. I line mine with parchment paper for easy cleanup—no greasing needed.
- Electric mixer: A stand mixer with the paddle attachment is ideal, but a hand mixer works just fine. You’ll need to cream the butter and sugar until light and fluffy, which takes about 3 minutes. Doing it by hand is possible but tiring.
- Cooling rack: A wire rack lets the cookies cool evenly and prevents them from getting soggy. If you don’t have one, you can transfer them to a plate, but they might take longer to cool.
- Measuring cups and spoons: Accurate measurements matter here. Use dry measuring cups for flour and sugar, and liquid measuring cups for extracts. A kitchen scale is even better for precision—I weigh my flour for consistent results.
Budget tip: If you’re new to cookie presses, check thrift stores or online marketplaces. I found my first one for $5 at a garage sale, and it worked perfectly.
Preparation Method
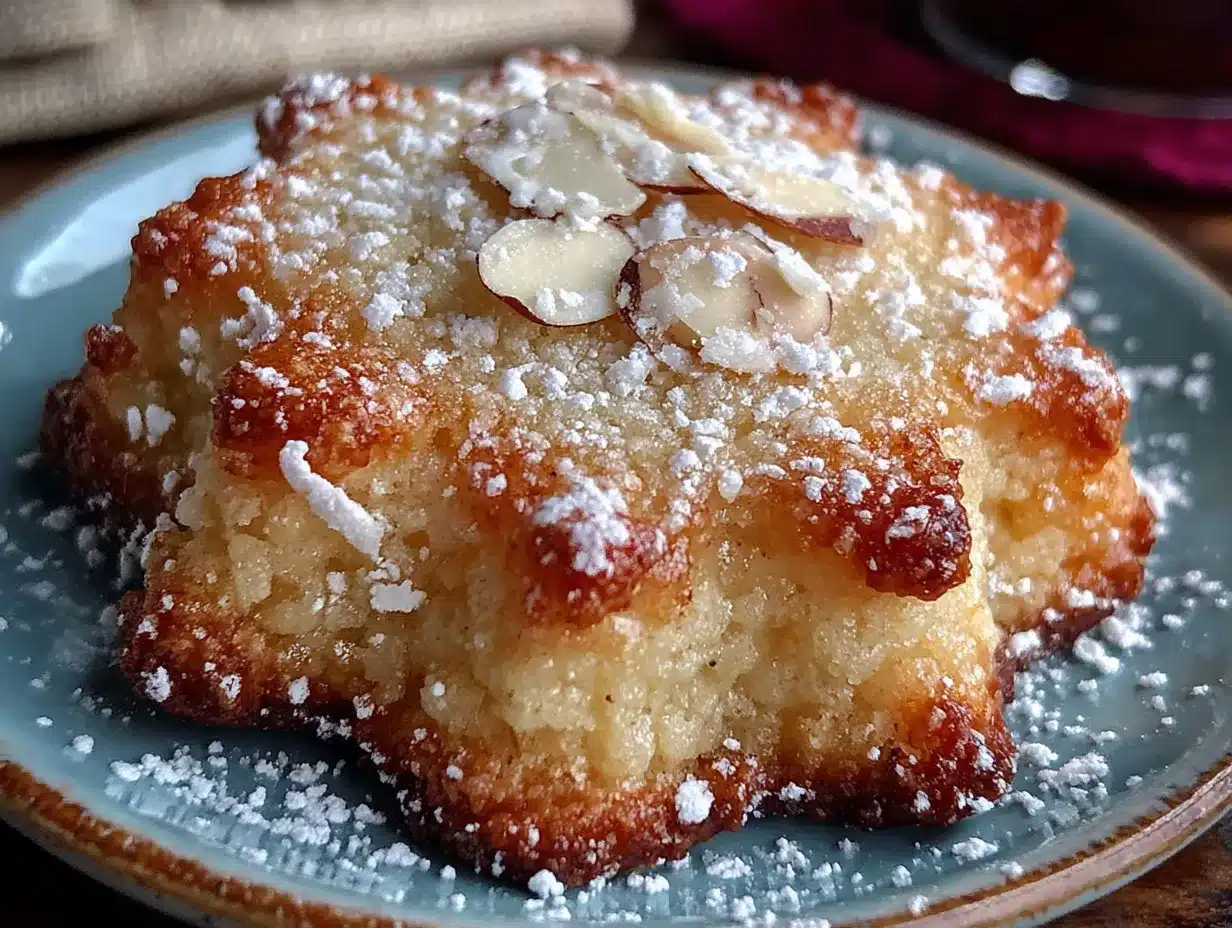
Alright, let’s get baking. I’ll walk you through every step, including what to look for and how to fix common issues. Take your time with the first batch—once you get the hang of it, these come together in no time.
- Preheat your oven to 375°F (190°C). Position the racks in the upper and lower thirds of the oven if you’re baking multiple sheets. Line two baking sheets with parchment paper—don’t use silicone mats, as they can cause the cookies to spread too much.
- Cream the butter and sugar. In a large mixing bowl, beat the softened butter and granulated sugar together on medium speed until light and fluffy, about 3 minutes. Scrape down the sides of the bowl halfway through. The mixture should look pale and slightly increased in volume. If it looks greasy, your butter was too soft—pop it in the fridge for 5 minutes.
- Add the egg and extracts. Beat in the egg, almond extract, and vanilla extract on low speed until just combined. Don’t overmix here—you don’t want to incorporate too much air. The mixture might look a little curdled at this point, and that’s totally fine. It will come together when you add the flour.
- Mix in the dry ingredients. In a separate bowl, whisk together the flour and salt. Gradually add the flour mixture to the butter mixture, mixing on low speed until just combined. Stop as soon as you don’t see any more streaks of flour. Overmixing will make the cookies tough. The dough should be soft but not sticky—if it sticks to your fingers, chill it for 10 minutes.
- Load the cookie press. Fit your cookie press with the disc of your choice. I love the Christmas tree shape for the holidays, but a simple star or wreath works too. Fill the press with dough, making sure there are no air pockets. Press a test cookie onto the baking sheet—if it doesn’t release cleanly, the dough might be too warm. Chill it for 5-10 minutes and try again.
- Press the cookies. Hold the press perpendicular to the baking sheet and press firmly, then lift straight up. Space the cookies about 1 inch apart—they don’t spread much, but you want a little breathing room. If the dough sticks to the press, wipe the disc clean and lightly flour it. This happens to me every now and then, and a quick wipe solves it.
- Chill the pressed cookies. Here’s my secret trick: pop the baking sheet with the pressed cookies into the fridge for 10 minutes before baking. This firms up the butter and helps the cookies hold their shape perfectly. I learned this after a batch of blobby Christmas trees—never again.
- Bake. Bake for 8-10 minutes, or until the edges are just barely golden. The centers should still look pale and slightly soft. Rotate the pans halfway through if your oven runs hot. Let them cool on the baking sheet for 2 minutes, then transfer to a wire rack to cool completely. They will firm up as they cool.
- Repeat. Let the baking sheets cool completely between batches—if you put dough on a hot sheet, it will start melting before it hits the oven. I keep two sheets in rotation to speed things up.
Sensory cue: When they’re done, your kitchen will smell like butter and almonds—warm, cozy, and absolutely irresistible. The cookies should be light golden on the bottom and pale on top, with a delicate, crumbly texture when you bite into them.
Cooking Tips & Techniques
I’ve made every mistake in the book with spritz cookies, so let me save you the trouble. Here are my tried-and-true tips for perfect results every time.
- Temperature matters more than you think. If your butter is too cold, the dough will be stiff and hard to press. Too warm, and the cookies will spread into puddles. Aim for butter that’s soft enough to leave a fingerprint but not shiny or greasy. Same goes for the egg—room temperature is key.
- Don’t skip the chill. I know it’s tempting to bake right away, but that 10-minute chill in the fridge is the difference between perfect shapes and melted blobs. I once skipped it because I was in a rush, and my snowflakes looked more like abstract art. Lesson learned.
- Press firmly and lift straight up. When using the cookie press, apply even pressure and lift straight up without twisting. If you twist, the cookie will smear. It takes a few tries to get the hang of it, so don’t worry if the first few are wonky. Just re-roll the dough and try again.
- Watch the bake time. These cookies go from perfect to overdone in about 30 seconds. Start checking at 8 minutes. The edges should be just barely golden—if they’re brown, they’re overbaked. They’ll continue to set on the baking sheet after you pull them out.
- Use parchment paper every time. Greasing the baking sheet can cause the cookies to spread too much. Parchment paper gives them a non-stick surface without affecting the shape. Plus, cleanup is a breeze.
One more thing—if your dough feels too soft after mixing, don’t panic. Just cover the bowl and refrigerate it for 15-20 minutes. It will firm up and be much easier to work with. I’ve done this more times than I can count, and it always saves the day.
Variations & Adaptations
One of the best things about this recipe is how versatile it is. You can change up the flavors, colors, and shapes to suit any occasion. Here are a few of my favorite variations.
- Chocolate Spritz: Replace ¼ cup of the flour with unsweetened cocoa powder. Sift it together with the flour to avoid lumps. The chocolate version pairs beautifully with the almond extract—it’s like a chocolate-almond dream.
- Lemon Spritz: Swap the almond extract for lemon extract and add 1 tablespoon of lemon zest. These are perfect for spring or summer gatherings. I made them for Easter last year, and they were a hit with the lemon lovers in my family.
- Peppermint Spritz: Replace the almond extract with peppermint extract and crush some candy canes to sprinkle on top before baking. These are great for Christmas cookie swaps and have a festive, minty crunch.
- Gluten-Free Option: Use a 1:1 gluten-free baking flour blend. I’ve tested this with Bob’s Red Mill, and the cookies turned out tender and delicious. Just note that they may be a bit more fragile, so handle them gently.
- Vegan Option: Substitute the butter with a high-quality vegan butter (like Miyoko’s) and use a flax egg (1 tablespoon ground flaxseed mixed with 3 tablespoons water, let sit for 5 minutes). The texture is slightly different, but the flavor is still amazing.
I’ve tried the lemon variation myself, and honestly, it’s my go-to for bridal showers and baby showers. The bright citrus flavor cuts through the butteriness and makes them feel lighter. Give it a shot if you’re feeling adventurous!
Serving & Storage Suggestions
These cookies are best served at room temperature, and they’re perfect for sharing. Here’s how to serve and store them for maximum enjoyment.
- Serving temperature: Let the cookies cool completely before serving. They’re delicate when warm and need time to set. I usually bake them the day before I plan to serve them—they actually taste better the next day as the flavors meld.
- Presentation ideas: Arrange them on a festive platter or in a tin lined with parchment paper. For Christmas, I like to stack them in a holiday tin with layers of wax paper between them. They make beautiful gifts for neighbors, teachers, and coworkers.
- Complementary dishes: These cookies pair wonderfully with a cup of hot tea, coffee, or a glass of cold milk. For a dessert spread, serve them alongside brownies, fudge, or shortbread. They’re also great with a scoop of vanilla ice cream for a simple but elegant dessert.
- Storage: Store the cookies in an airtight container at room temperature for up to 1 week. Layer them with parchment paper to prevent sticking. Do not refrigerate—the fridge can dry them out and make them lose their delicate texture.
- Freezing: You can freeze the baked cookies for up to 3 months. Place them in a single layer on a baking sheet and freeze until solid, then transfer to a freezer-safe bag or container. Thaw at room temperature for about 30 minutes before serving. You can also freeze the unbaked dough—shape it into a log, wrap it tightly in plastic wrap, and freeze for up to 3 months. Slice and bake as needed.
Flavor development note: These cookies actually get better after a day or two. The almond flavor mellows and blends with the butter, creating a more rounded taste. So don’t be afraid to make them ahead of time!
Nutritional Information & Benefits
While these are definitely a treat, they’re not as heavy as some holiday cookies. Here’s a rough estimate per cookie (based on 48 cookies per batch):
- Calories: 65
- Fat: 4g
- Carbohydrates: 7g
- Protein: 1g
- Sugar: 3g
These cookies are relatively low in sugar compared to many holiday recipes, and the butter provides a small amount of vitamin A. The almond extract adds a lovely flavor without any extra calories or sugar. If you’re watching your intake, you can enjoy one or two without derailing your goals—they’re light and satisfying without being overly rich.
Dietary considerations: This recipe contains dairy, eggs, and gluten. For a dairy-free or gluten-free option, check the variations section above. The almond extract is naturally gluten-free, so no worries there. If you have a nut allergy, you can substitute the almond extract with more vanilla extract or another flavor like lemon or peppermint.
From a wellness perspective, I love that these cookies feel indulgent without being heavy. They’re the kind of treat you can enjoy with a cup of tea and feel good about—not guilty, just satisfied. That’s the balance I aim for in my baking.
Conclusion
These Light & Buttery Spritz Cookies with Almond Extract have become a staple in my holiday baking rotation, and I have a feeling they’ll become one in yours too. They’re simple enough for a beginner baker but impressive enough to wow a crowd. The almond flavor, the tender texture, the perfect little shapes—everything about them just works.
I encourage you to make them your own. Try the lemon version for spring, add sprinkles for a birthday party, or keep them classic for Christmas. Play around with the shapes and colors, and don’t be afraid to make a few mistakes—that’s how you learn. Honestly, some of my best baking discoveries came from happy accidents.
I’d love to hear how yours turn out! Drop a comment below and let me know which variation you tried, or share a photo of your cookie press creations. Tag me on social media if you post them—I’m always looking for inspiration. And if you have a favorite holiday cookie recipe, share that too. Happy baking, friends!
Frequently Asked Questions
Can I use salted butter instead of unsalted?
Yes, you can. Just reduce or omit the added salt in the recipe. I recommend starting with ⅛ teaspoon of salt and adjusting to taste. Salted butter can vary in saltiness, so it’s better to err on the side of less.
Why did my cookies spread into blobs?
This usually happens when the dough is too warm. Make sure your butter is softened but not melted, and don’t skip the 10-minute chill after pressing the cookies. Also, avoid greasing the baking sheet—parchment paper is your best friend here.
Can I make the dough ahead of time?
Absolutely. You can refrigerate the dough for up to 3 days or freeze it for up to 3 months. If refrigerating, let it sit at room temperature for about 10 minutes before pressing, as it will be very firm. If freezing, thaw overnight in the fridge and then let it soften slightly.
How do I clean my cookie press?
Most cookie presses have removable discs that are dishwasher-safe. I prefer to hand-wash mine with warm, soapy water and a soft brush to avoid scratching. Make sure it’s completely dry before storing to prevent rust.
Can I use a different extract?
Yes! This recipe is very adaptable. Try lemon, peppermint, or even orange extract for a different flavor profile. Just use the same amount—1 teaspoon—and adjust to taste. Keep in mind that some extracts are stronger than others, so start with less if you’re unsure.
Pin This Recipe!
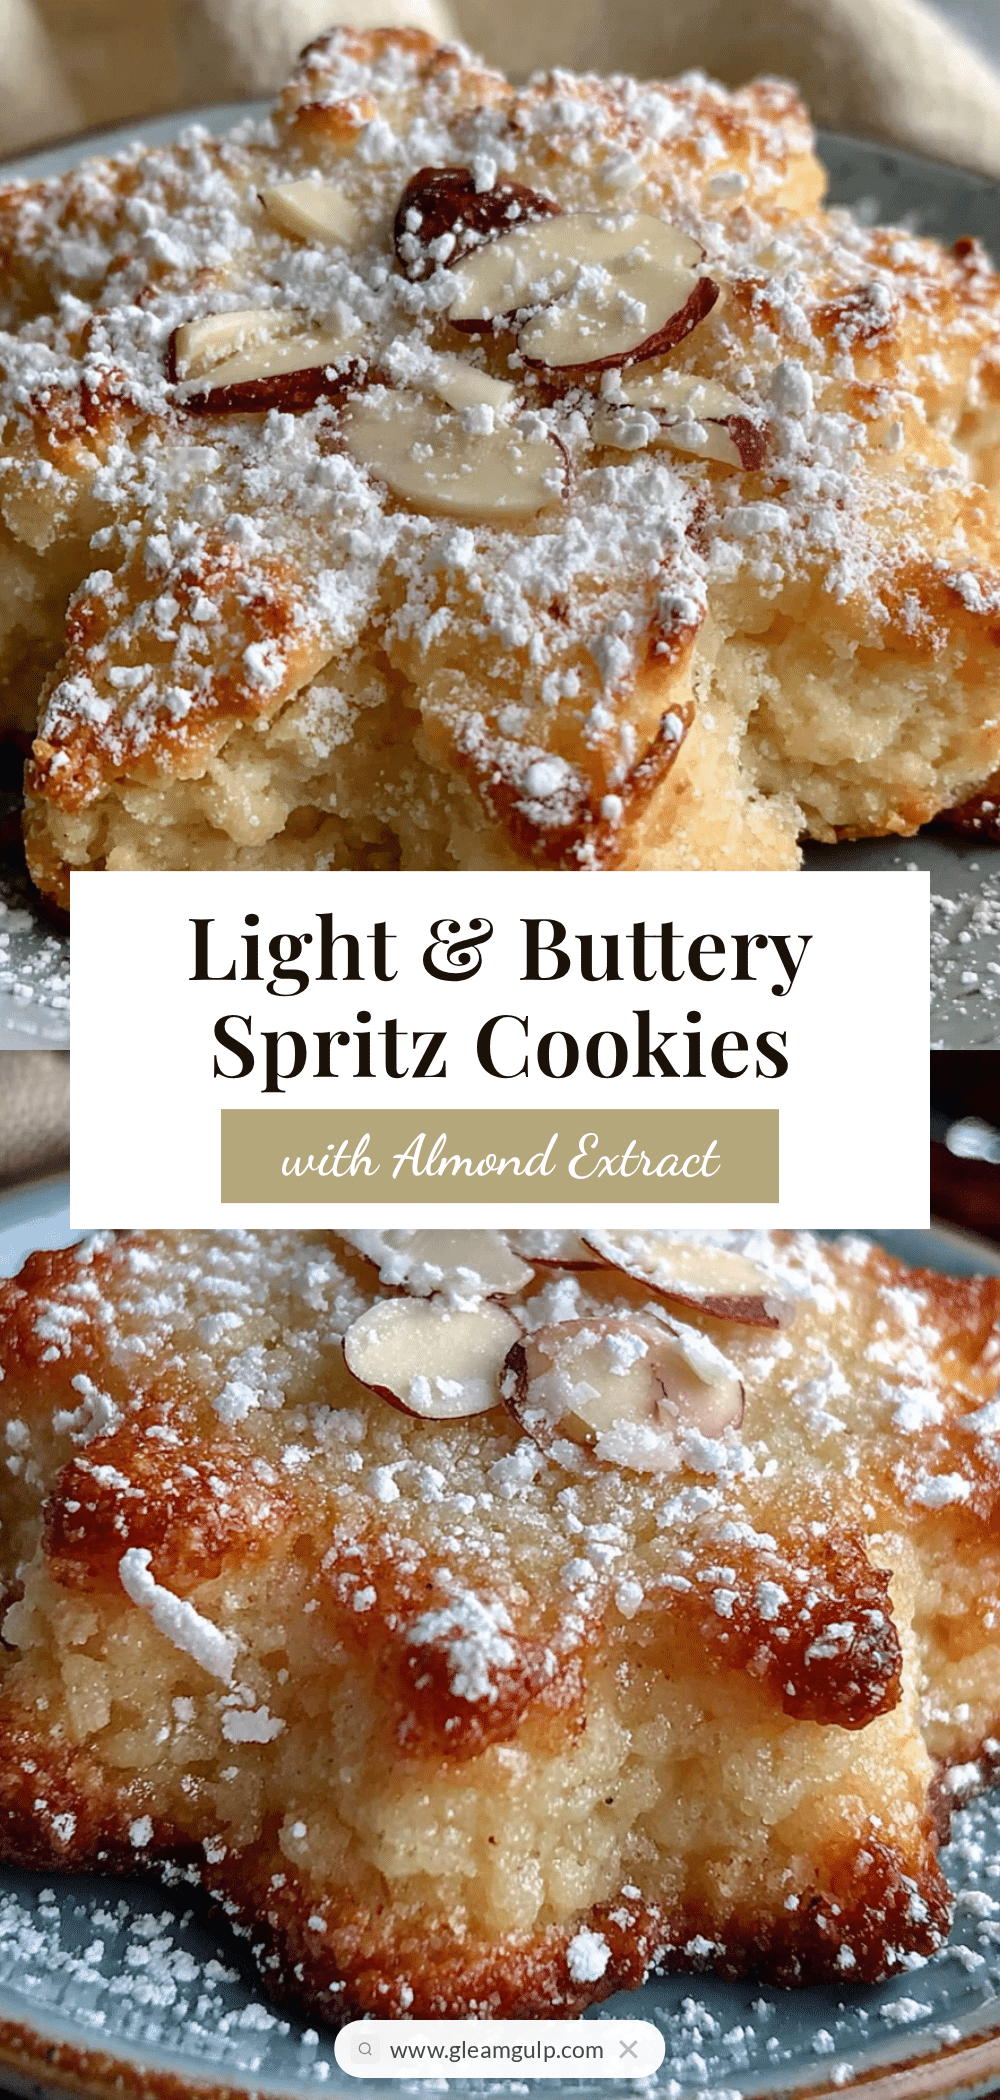
Light & Buttery Spritz Cookies with Almond Extract – Easy Christmas Recipe

These light, buttery spritz cookies with almond extract are the perfect Christmas treat. Quick and easy to make with a cookie press, they hold their shape beautifully and melt in your mouth.
- Prep Time: 15 minutes
- Cook Time: 10 minutes
- Total Time: 25 minutes
- Yield: 48 cookies 1x
- Category: Dessert
- Cuisine: American
Ingredients
- 1 cup (2 sticks) unsalted butter, softened
- 3/4 cup (150g) granulated sugar
- 1 large egg, room temperature
- 1 teaspoon almond extract
- 1/2 teaspoon vanilla extract
- 2 cups (250g) all-purpose flour
- 1/4 teaspoon salt
Instructions
- Preheat oven to 375°F (190°C). Line baking sheets with parchment paper.
- In a large bowl, cream together softened butter and sugar until light and fluffy, about 3 minutes.
- Beat in egg, almond extract, and vanilla extract until just combined.
- In a separate bowl, whisk flour and salt. Gradually add to butter mixture, mixing until just combined.
- Load cookie press with dough and press shapes onto prepared baking sheets, spacing 1 inch apart.
- Chill pressed cookies in the refrigerator for 10 minutes.
- Bake for 8-10 minutes, until edges are just barely golden. Cool on baking sheet for 2 minutes, then transfer to wire rack to cool completely.
Notes
For best results, chill the pressed cookies for 10 minutes before baking to help them hold their shape. Use room-temperature butter and egg for a smooth dough. If dough is too soft, refrigerate for 15-20 minutes.
Nutrition
- Serving Size: 1 cookie
- Calories: 65
- Sugar: 3
- Sodium: 30
- Fat: 4
- Saturated Fat: 2.5
- Carbohydrates: 7
- Protein: 1
Keywords: spritz cookies, almond extract, Christmas cookies, butter cookies, easy holiday cookies


