Love this? Save it for later!
Share the inspiration with your friends
I was standing in the dairy aisle of the grocery store last Tuesday, staring at a row of fancy coffee creamers, when a blast of artificial peppermint hit me from a bottle someone had just opened. And suddenly I was eight years old at my aunt Maggie’s tiny kitchen table, the one with the wobbly leg she always propped up with a folded napkin. She’d pour a splash of something homemade into my mug of warm milk—a secret concoction she called her “winter magic”—and the smell of chocolate and peppermint would fill the whole room. I never did get the recipe from her before she moved across the country. Honestly, I’d tried to recreate it a dozen times over the years, but it always came out wrong—too sweet, too thin, or just plain weird.
Last week, I finally cracked it. And let me tell you, it was one of those moments where you close your eyes and just breathe in. The peppermint was there, but it wasn’t screaming at you. The chocolate was rich and cozy, not cloying. And the texture? Silky, like the kind of creamer you’d pay way too much for at a fancy coffee shop. Maybe you’ve been there—trying to chase a memory through trial and error, making a mess in the kitchen, and wondering if you’ll ever get it right. This time, I did. And I’m pretty sure Aunt Maggie would approve.
Why You’ll Love This Recipe
Let’s be real—store-bought peppermint mocha creamers are a gamble. Some are way too sweet, others taste like toothpaste, and most are packed with things I can’t pronounce. This homemade version? It’s different. It’s better. And it’s honestly the easiest thing you’ll make all winter.
- Quick & Easy: Comes together in under 10 minutes. No simmering, no straining, no fuss.
- Simple Ingredients: You probably already have milk, cocoa powder, and vanilla in your kitchen. The peppermint extract is the only “special” thing, and it’s easy to find.
- Perfect for Cold Mornings: Great for those slow, snowy mornings when you just want to wrap your hands around something warm and comforting.
- Crowd-Pleaser: Everyone who’s tried it has asked for the recipe. Kids love it in hot chocolate, too.
- Unbelievably Delicious: The balance of rich chocolate and cool peppermint is next-level. It’s not just a creamer—it’s a mood.
What makes this recipe stand out is the technique. Instead of just stirring everything together, you’ll bloom the cocoa powder in a little warm milk first. This little step makes the chocolate flavor deeper and smoother, without any gritty bits. Trust me, it’s a game-changer. This isn’t just another creamer recipe—it’s the one you’ll come back to all season long. It’s comfort in a mug, the kind that makes you take a second to just enjoy the moment before the day gets busy.
What Ingredients You Will Need
This recipe uses simple, wholesome ingredients to deliver that cozy, indulgent flavor without any of the artificial stuff. Most of these are pantry staples, which makes it even better.
- Whole Milk (2 cups / 480 ml) – The base of the creamer. Whole milk gives the richest, creamiest texture. You can use 2% if that’s what you have, but it won’t be quite as luscious. (I tested it with oat milk too, and it works, but the texture is thinner.)
- Sweetened Condensed Milk (1/2 cup / 160 ml) – This is the secret to the silky sweetness. It adds body and a caramel-like richness that regular sugar just can’t match. I like the Eagle Brand for consistency.
- Unsweetened Cocoa Powder (2 tablespoons / 10 g) – Use a good-quality cocoa powder like Ghirardelli or Hershey’s Special Dark. The darker the cocoa, the richer the mocha flavor. Avoid Dutch-process for this one—natural cocoa works better here.
- Peppermint Extract (1/2 teaspoon) – This is where the magic happens. Start with 1/2 teaspoon, taste, and add more if you want a stronger mint kick. I prefer McCormick or Simply Organic for clean flavor. (Note: Do NOT use peppermint oil—it’s way too concentrated and will ruin the creamer.)
- Vanilla Extract (1 teaspoon) – Rounds out the flavors and adds warmth. Pure vanilla extract is best, but imitation works in a pinch.
- Pinch of Salt – Just a tiny pinch. It sounds weird, but salt balances the sweetness and makes the chocolate taste more chocolatey. Trust me on this one.
- Optional: Cinnamon (1/4 teaspoon) – I add this sometimes for a little extra warmth. It’s not traditional, but it’s cozy.
Ingredient Tips: If you’re dairy-free, use full-fat canned coconut milk instead of whole milk, and look for a dairy-free sweetened condensed milk (like Nature’s Charm). The texture will be slightly different, but still delicious. For a sugar-free version, swap the sweetened condensed milk for a sugar-free one, and use a sugar-free cocoa powder. Just know the texture won’t be as thick.
Equipment Needed
You don’t need anything fancy for this recipe, which is part of the beauty. Here’s what you’ll need:
- Small Saucepan – A 1-quart or 2-quart saucepan works perfectly. I use my trusty Calphalon non-stick one, but any saucepan will do.
- Whisk – A flat whisk works best for getting into the corners of the pan, but a regular balloon whisk is fine too.
- Measuring Cups and Spoons – For accuracy. I’ve learned the hard way that eyeballing peppermint extract is a bad idea.
- Glass Jar or Bottle – For storing the creamer. A 16-ounce mason jar or a repurposed glass bottle works great. I use a Weck jar because it looks pretty on the counter.
- Fine-Mesh Strainer (optional) – If your cocoa powder clumps, you can strain the creamer before storing. I don’t always bother, but it’s a nice touch.
- Funnel (optional) – Makes pouring into the jar less messy. I use a small stainless steel one.
Budget-Friendly Tip: Don’t have a saucepan? Use a microwave-safe bowl and heat the milk in 30-second bursts, whisking in between. It’s not as smooth, but it works in a pinch. And honestly, I’ve done it more times than I’d like to admit.
Preparation Method
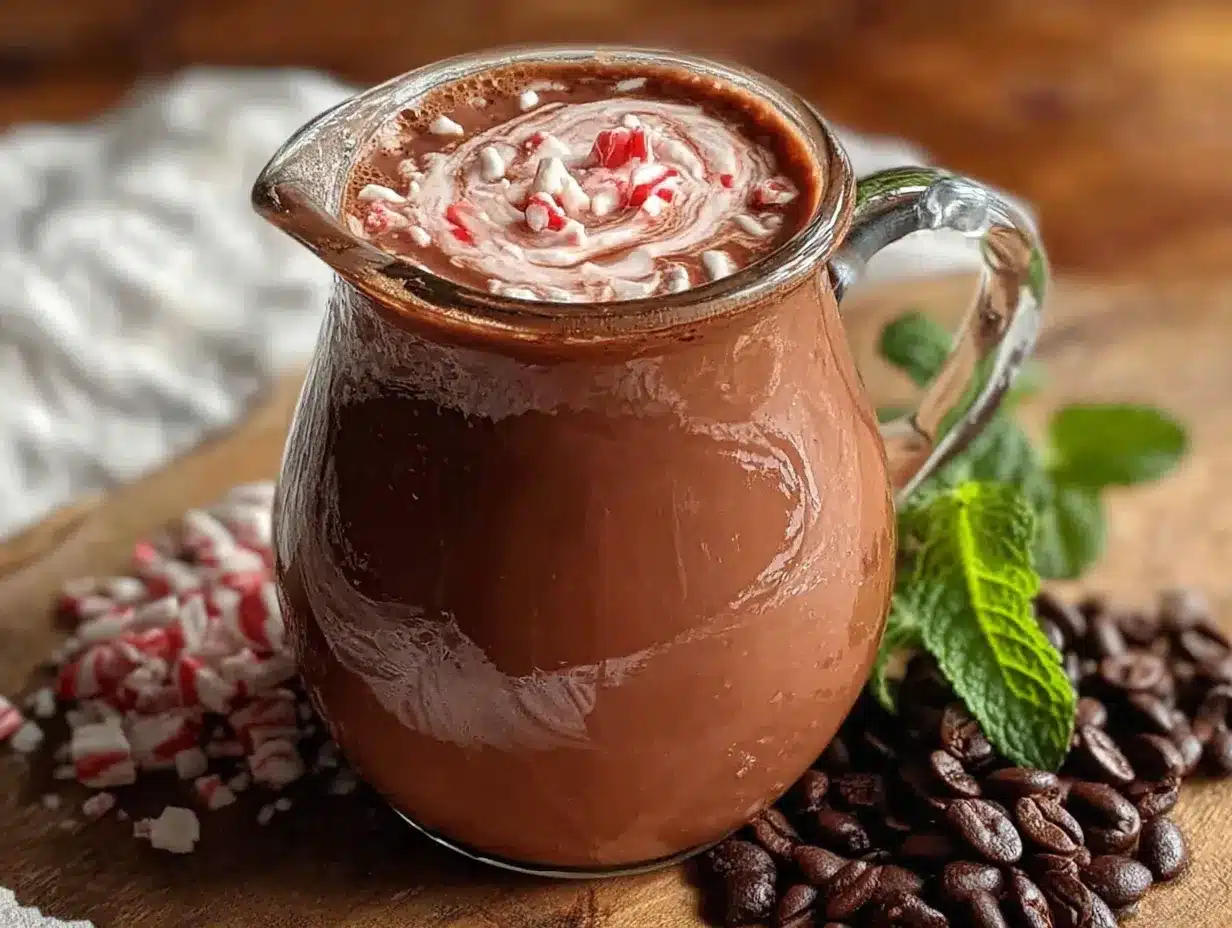
Making this creamer is almost too easy. But follow these steps closely, especially the blooming part, and you’ll be rewarded with the silkiest, most flavorful creamer you’ve ever tasted.
- Bloom the cocoa powder. In your small saucepan, whisk together the cocoa powder and about 1/4 cup (60 ml) of the whole milk. Whisk until it forms a smooth, thick paste. There should be no dry lumps. This step is crucial—it releases the cocoa’s flavor and prevents graininess. (I once skipped this step in a hurry, and the creamer was gritty. Never again.)
- Add the remaining milk. Pour in the rest of the whole milk and whisk to combine. Turn the heat to medium-low. You don’t want it to boil, just get warm. Stir occasionally for about 2-3 minutes, until the mixture is steaming and the cocoa is fully dissolved.
- Stir in the sweetened condensed milk. Add the sweetened condensed milk and whisk until it’s completely incorporated. The mixture should look smooth and slightly thickened. Keep the heat low—if it gets too hot, the condensed milk can scorch.
- Add the extracts and salt. Remove the saucepan from the heat. Stir in the peppermint extract, vanilla extract, and the pinch of salt. Give it a taste. This is where you can adjust—add a tiny bit more peppermint if you want it stronger, or a splash more vanilla if you want it mellower. (I always add an extra 1/4 teaspoon of vanilla because I like the warmth.)
- Optional: Add cinnamon. If you’re using cinnamon, whisk it in now. It’ll dissolve into the warm milk and add a subtle background note.
- Strain (if needed). If you see any tiny lumps, pour the creamer through a fine-mesh strainer into your glass jar. I only do this if I’m feeling fancy or if my cocoa powder was particularly clumpy.
- Cool and store. Let the creamer cool to room temperature before sealing the jar. It will thicken slightly as it cools. Store in the refrigerator for up to 2 weeks. (Pro tip: give it a good shake before each use, as the cocoa can settle.)
Sensory Cue: At step 4, when you add the peppermint extract, you’ll smell it immediately—that cool, fresh, wintery scent that just feels like holidays. It’s the best part of the process, honestly.
Cooking Tips & Techniques
I’ve made this creamer about fifteen times now, and I’ve learned a few things the hard way. Here’s what I wish someone had told me:
- Don’t boil the milk. I know it’s tempting to speed things up, but boiling milk can make it curdle or form a skin. Low and slow is the way to go. If you see tiny bubbles around the edges, you’re at the right temperature.
- Start with less peppermint extract. You can always add more, but you can’t take it out. I once added a full teaspoon because I thought “more is better,” and the creamer tasted like mouthwash. Stick to 1/2 teaspoon, taste, and go from there.
- Whisk constantly. When you’re heating the milk and cocoa, don’t walk away. The cocoa can settle and burn on the bottom of the pan if you’re not paying attention. I learned this while answering a text message—the smell of burnt chocolate is not cozy.
- Use a good whisk. A flimsy whisk won’t break up the cocoa paste properly. Invest in a sturdy one, or use a fork to mix the paste initially.
- Let it cool before refrigerating. Putting hot creamer straight into the fridge can create condensation and mess with the texture. Let it sit on the counter for 20-30 minutes first.
Multitasking Tip: While the milk is heating, measure out your other ingredients. This way, everything is ready to go, and you won’t be scrambling. I keep a little tray with all my measuring spoons and extracts, so I feel like a pro.
Variations & Adaptations
This recipe is a great base, but don’t be afraid to play around. Here are a few ways I’ve adapted it:
- Vegan Version: Use full-fat canned coconut milk and a dairy-free sweetened condensed milk (I like Nature’s Charm). The coconut flavor is subtle and actually pairs nicely with the peppermint. Just shake the can well before using.
- Extra Chocolatey: Add 2 ounces of chopped dark chocolate (about 60% cacao) along with the sweetened condensed milk. Stir until melted. It makes the creamer incredibly rich—almost like a dessert.
- Spiced Peppermint Mocha: Add 1/4 teaspoon of cinnamon and a tiny pinch of nutmeg along with the extracts. It gives the creamer a chai-like warmth that’s perfect for snowy afternoons.
- Mocha Mint Latte Version: For a stronger coffee flavor, brew a shot of espresso directly into your mug before adding the creamer. I do this on weekends when I want a real treat.
- White Chocolate Peppermint: Swap the cocoa powder for 2 tablespoons of white chocolate chips (melted into the milk). It’s a completely different vibe—sweeter, creamier, and very festive.
My personal favorite variation is the extra chocolatey one. I made it last Christmas morning, and my husband said it was the best cup of coffee he’d ever had. I mean, that’s a win, right?
Serving & Storage Suggestions
This creamer is best served warm, but it’s also delicious cold in iced coffee. Here’s how I like to use it:
- Serving Temperature: Pour 2-3 tablespoons into a hot cup of coffee or espresso. Stir well and enjoy immediately. For iced coffee, add the creamer to cold brew or chilled coffee over ice.
- Presentation: Top with a dollop of whipped cream and a sprinkle of crushed candy cane or cocoa powder for a truly festive look. It’s perfect for holiday brunches or just treating yourself.
- Complementary Dishes: Pairs beautifully with gingerbread cookies, chocolate croissants, or a simple slice of banana bread. Honestly, it goes with anything cozy.
- Storage: Keep the creamer in a sealed glass jar in the refrigerator for up to 2 weeks. The flavors actually meld and deepen after a day or two, so it gets even better.
- Reheating: If the creamer separates or thickens in the fridge, just give it a good shake or whisk it before using. You can also warm it gently in the microwave for 10-15 seconds.
Flavor Development Note: The peppermint flavor can intensify over time. If you’re storing it for more than a week, you might want to add a tiny splash of milk when you use it to balance it out. I’ve noticed this happens around day 5, and it’s not a bad thing—just something to be aware of.
Nutritional Information & Benefits
Let’s be honest—this is a treat, not a health drink. But it’s made with real ingredients, which counts for something. Here’s a rough estimate per 2-tablespoon serving:
- Calories: 45-55
- Fat: 1-2g
- Carbohydrates: 8-10g
- Sugar: 7-9g
- Protein: 1-2g
Health Benefits of Key Ingredients:
- Milk provides calcium and vitamin D, which are great for bone health.
- Cocoa powder is rich in antioxidants and can help improve mood (which is probably why this creamer makes me so happy).
- Peppermint is known for its digestive benefits and can help soothe an upset stomach.
Dietary Considerations: This recipe is vegetarian and can be made gluten-free (just check your extracts). It is not low-carb or sugar-free, but you can adapt it as mentioned above. Potential allergens include dairy and, depending on your extracts, gluten.
Personal Note: I don’t worry too much about the sugar content because I use this creamer sparingly—just a splash in my morning coffee. It’s a small indulgence that makes the rest of the day feel a little more special. And honestly, that’s good for the soul.
Conclusion
This cozy homemade peppermint mocha coffee creamer is more than just a recipe—it’s a little moment of winter magic you can make in your own kitchen. It’s simple, it’s delicious, and it’s the kind of thing that makes you look forward to your morning coffee, even on the coldest days. I love how it brings back that feeling of being at Aunt Maggie’s table, but with my own twist. You can customize it however you like—more chocolate, more mint, a pinch of spice—and make it your own.
I’d love to hear how it turns out for you. Did you add cinnamon? Try it with oat milk? Make a double batch? Drop a comment below and let me know—I read every single one. And if you share a photo on Pinterest, tag me so I can see your cozy creation. Until next time, stay warm, keep sipping, and don’t forget to enjoy the little things. You deserve it.
Frequently Asked Questions
Can I use this creamer in iced coffee?
Absolutely! It works great in cold brew or iced coffee. Just stir it in well, or shake it with the coffee in a sealed jar for a frothy effect.
How long does homemade creamer last?
Stored in a sealed jar in the refrigerator, it will stay fresh for up to 2 weeks. The flavors may deepen over time, so give it a taste before adding more peppermint.
Can I make this sugar-free?
Yes, you can use a sugar-free sweetened condensed milk and sugar-free cocoa powder. The texture will be slightly thinner, but the flavor will still be great.
Why did my creamer separate in the fridge?
Separation is normal, especially if you used a non-dairy milk. Just give it a good shake or whisk before each use, and it will come back together.
Can I double this recipe?
Definitely! Just double all the ingredients and use a larger saucepan. The cooking time will be about the same. Perfect for holiday gifting or keeping a big batch on hand.
Pin This Recipe!
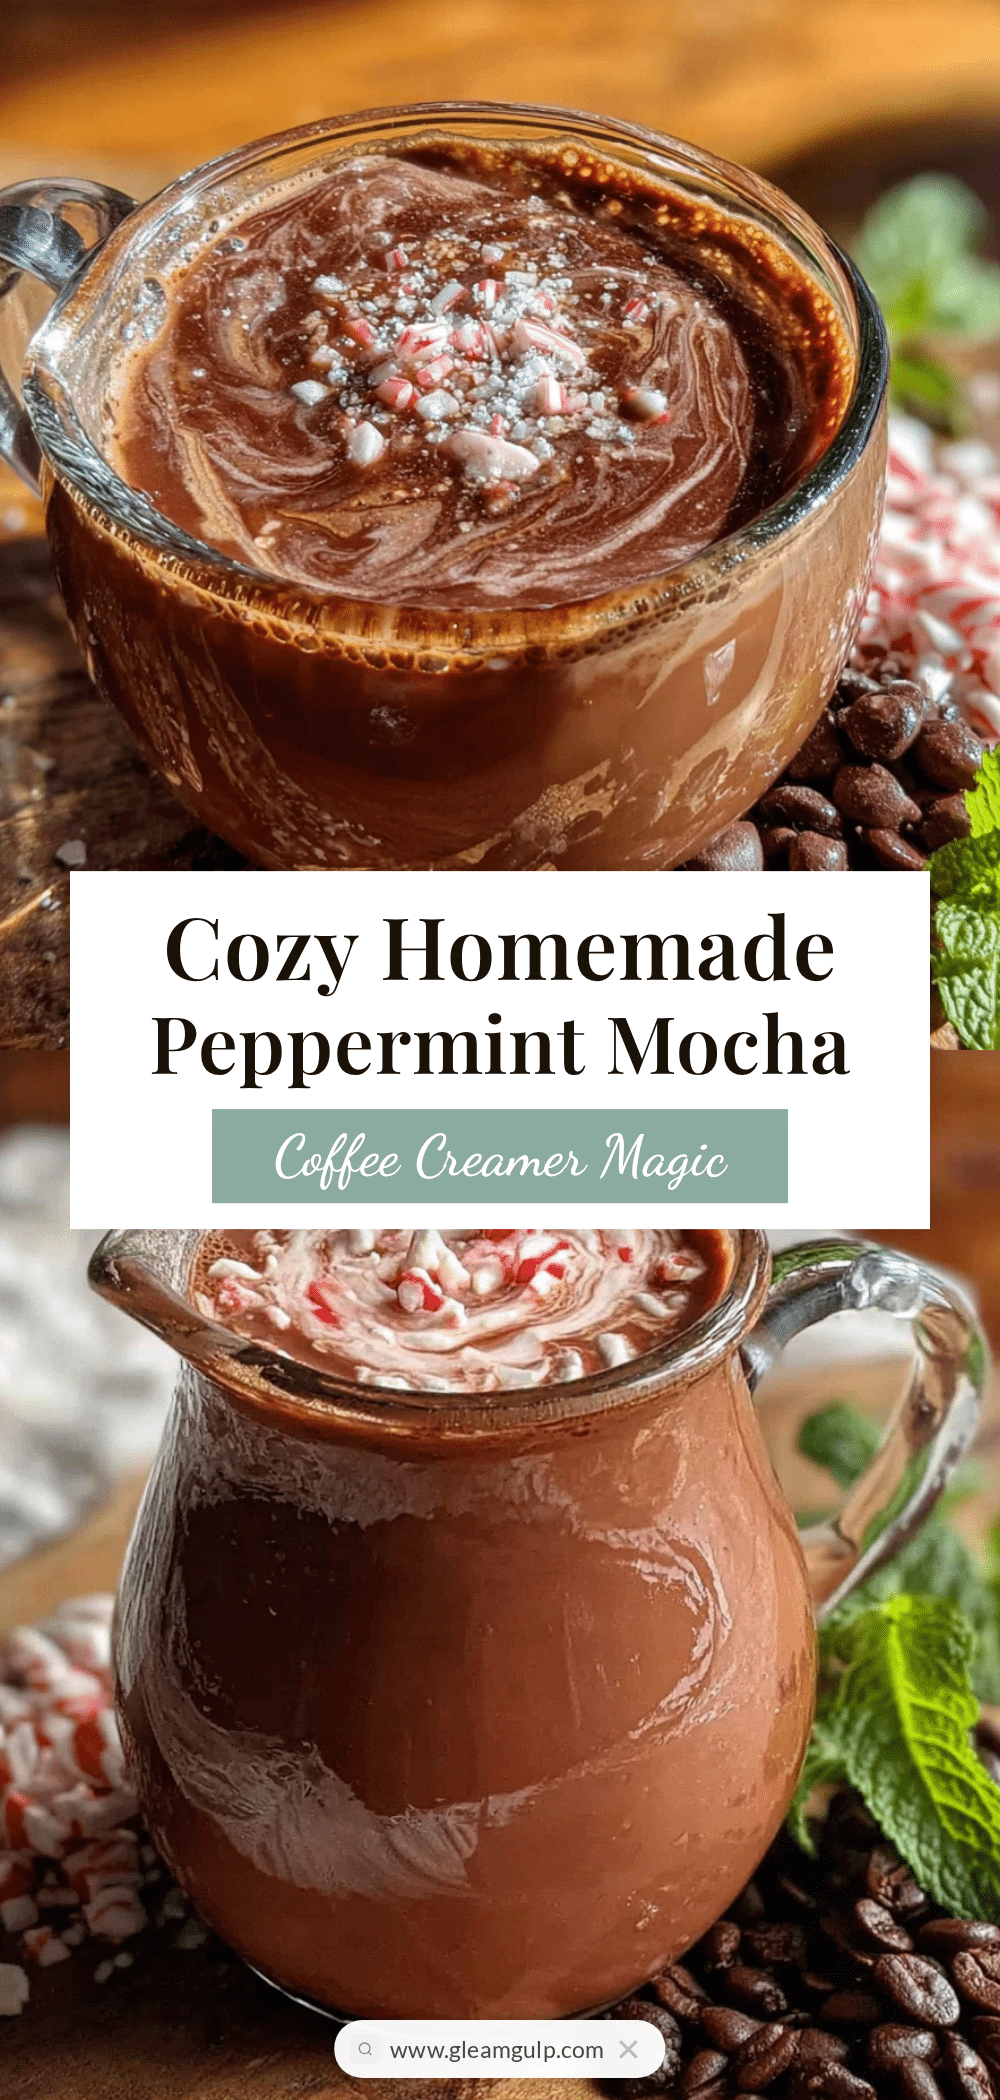
Cozy Homemade Peppermint Mocha Coffee Creamer – Best Winter Recipe
This homemade peppermint mocha creamer is quick, easy, and made with simple ingredients. It delivers a rich chocolate and cool peppermint flavor that’s perfect for cozy winter mornings.
- Prep Time: 5 minutes
- Cook Time: 5 minutes
- Total Time: 10 minutes
- Yield: 16 servings (2 tablespoons each) 1x
- Category: Beverage
- Cuisine: American
Ingredients
- 2 cups (480 ml) whole milk
- 1/2 cup (160 ml) sweetened condensed milk
- 2 tablespoons (10 g) unsweetened cocoa powder
- 1/2 teaspoon peppermint extract
- 1 teaspoon vanilla extract
- Pinch of salt
- 1/4 teaspoon cinnamon (optional)
Instructions
- In a small saucepan, whisk together the cocoa powder and about 1/4 cup (60 ml) of the whole milk until smooth and no lumps remain.
- Add the remaining whole milk and whisk to combine. Heat over medium-low, stirring occasionally, until steaming (about 2-3 minutes). Do not boil.
- Stir in the sweetened condensed milk and whisk until fully incorporated and smooth.
- Remove from heat. Stir in the peppermint extract, vanilla extract, and salt. Taste and adjust if desired.
- If using cinnamon, whisk it in now.
- If lumps remain, pour through a fine-mesh strainer into a glass jar.
- Let cool to room temperature, then seal and refrigerate for up to 2 weeks. Shake before each use.
Notes
Bloom the cocoa powder in a little warm milk first to deepen the chocolate flavor and prevent graininess. Start with 1/2 teaspoon peppermint extract and adjust to taste. Do not use peppermint oil. Store in the refrigerator for up to 2 weeks; shake before each use as cocoa may settle.
Nutrition
- Serving Size: 2 tablespoons
- Calories: 50
- Sugar: 8
- Sodium: 30
- Fat: 1.5
- Saturated Fat: 1
- Carbohydrates: 9
- Protein: 1.5
Keywords: peppermint mocha, coffee creamer, homemade creamer, winter recipe, holiday coffee, peppermint mocha creamer


