Love this? Save it for later!
Share the inspiration with your friends
The community garden coordinator watched me fumbling with a bag of slightly bruised apples I’d just rescued from the compost bin. She didn’t say anything at first, just tilted her head and smiled. Then she reached into her own canvas tote and pulled out a small jar of what looked like golden crumbs. “You’re going to need these,” she said, handing it over like it was a secret handshake. That afternoon, standing by a folding table covered in soil and seed packets, I learned that a good apple crisp doesn’t need to be complicated—or heavy. Her version used half the butter I’d always assumed was necessary, and the brown butter trick? Honestly, that was the part that made me close my eyes on the first bite.
I went home that evening with her recipe scribbled on the back of a plant label, and I’ve been tweaking it ever since. The original was good—really good—but I wanted something that felt indulgent without the post-dessert slump. You know that feeling when something tastes so rich you almost feel guilty? This isn’t that. This lightened up brown butter apple crisp gives you all the warm, nutty, caramelized flavor without the heavy butter-and-sugar overload. The oat crumble gets perfectly crispy on top while the apples turn soft and jammy underneath. I’ve made it for neighbors, book club, and even a Tuesday night when I just needed something cozy. It always works.
Let me tell you, the first time I tested this, I forgot to set a timer and the crumble got a little too dark. But honestly? That accidental toastiness just made the brown butter flavor even better. Sometimes mistakes turn into happy accidents, right? This recipe has become my go-to for fall gatherings, but honestly, I make it year-round. There’s something about the combination of warm spiced apples and that buttery oat topping that just feels like a hug in a bowl. And because it’s lightened up, you can absolutely have seconds without the food coma.
Why You’ll Love This Recipe
I’ve tested this lightened up brown butter apple crisp more times than I can count—probably a dozen batches, tweaking the brown butter time, the oat-to-apple ratio, and the sweetness level. What I landed on is the version I genuinely crave. Here’s why it stands out:
- Quick & Easy: Comes together in under an hour, with only 15 minutes of active prep. Perfect for last-minute dessert emergencies or when you need something warm and comforting fast.
- Simple Ingredients: No fancy grocery trips needed. Apples, oats, a little butter, brown sugar, and cinnamon—things you probably already have in your pantry.
- Perfect for Fall Gatherings: Great for Thanksgiving, Friendsgiving, or a cozy weekend dinner. It travels well, too, so you can bring it to potlucks without stress.
- Crowd-Pleaser: Every single time I’ve served this, someone asks for the recipe. It’s that balance of familiar and surprising that gets people talking.
- Unbelievably Delicious: The brown butter adds a nutty depth that makes this taste way more decadent than it actually is. You won’t believe it’s lightened up.
What makes this different from other apple crisps? It’s the brown butter technique. Browning the butter before mixing it into the oat crumble unlocks this incredible toasted flavor that makes the dessert feel luxurious without needing extra fat or sugar. I also use a mix of tart and sweet apples, so you get that bright, fruity contrast against the warm, nutty topping. It’s comfort food reimagined—healthier, faster, but with the same soul-soothing satisfaction.
This recipe isn’t just good—it is the kind that makes you close your eyes after the first bite. Perfect for impressing guests without stress, or turning a simple meal into something memorable. Whether you’re watching your sugar intake or just want a dessert that feels good to eat, this one delivers.
What Ingredients You Will Need
This lightened up brown butter apple crisp uses simple, wholesome ingredients to deliver bold flavor and satisfying texture without the fuss. Most of these are pantry staples, and the few special items are easy to find at any grocery store.
For the Apple Filling
- 6 medium apples, peeled, cored, and sliced (about 2 pounds or 900g) – I recommend a mix of Granny Smith and Honeycrisp for the perfect balance of tart and sweet. The Granny Smiths hold their shape well, while Honeycrisps break down slightly for a jammy texture.
- 2 tablespoons maple syrup (30ml) – Adds sweetness without refined sugar. Use pure maple syrup for best flavor, not pancake syrup.
- 1 tablespoon lemon juice (15ml) – Brightens the apples and prevents browning.
- 1 teaspoon vanilla extract (5ml) – Enhances the warm flavors.
- 1 teaspoon ground cinnamon – The classic apple crisp spice.
- ¼ teaspoon ground nutmeg – Adds warmth without overpowering.
- ¼ teaspoon salt – Balances sweetness and brings out the apple flavor.
- 1 tablespoon cornstarch (8g) – Helps thicken the juices so the filling isn’t watery.
For the Oat Crumble Topping
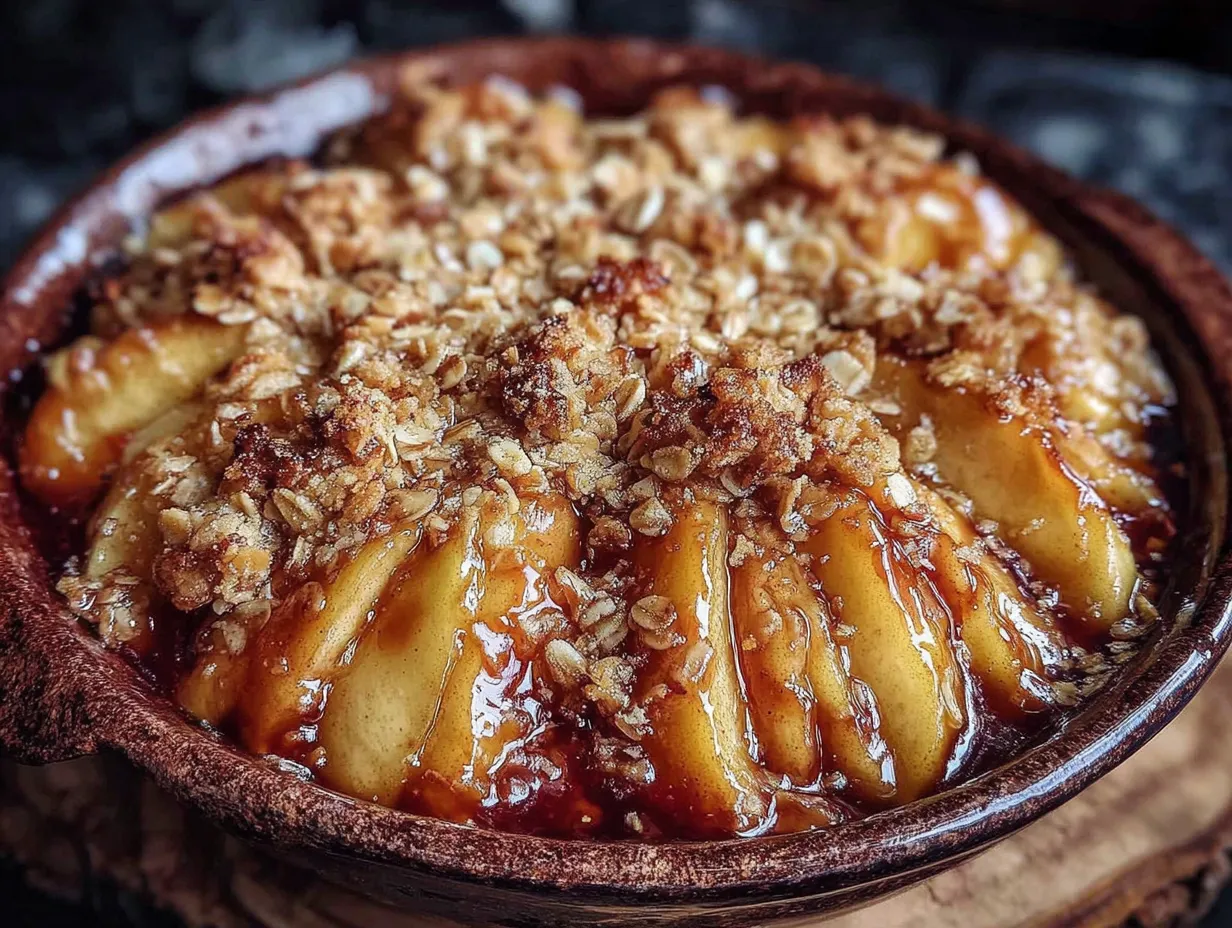
- ½ cup unsalted butter (113g) – You’ll brown this first for that nutty flavor. I prefer Kerrygold for its rich taste, but any good-quality butter works.
- 1 cup old-fashioned rolled oats (90g) – Not quick oats! Old-fashioned oats give the best texture and hold up better during baking.
- ½ cup all-purpose flour (60g) – You can substitute with whole wheat pastry flour or a gluten-free blend if needed.
- ⅓ cup packed light brown sugar (70g) – Adds moisture and that caramel-like sweetness. You can reduce to ¼ cup if you prefer less sweet.
- ¼ cup chopped pecans or walnuts (30g) – Optional but highly recommended for extra crunch and healthy fats.
- ½ teaspoon ground cinnamon – Complements the apples perfectly.
- ¼ teaspoon salt – Essential for balancing the brown butter richness.
Ingredient Tips and Substitutions
For a dairy-free version, use vegan butter or coconut oil in place of regular butter. Just note that coconut oil won’t brown the same way, so the nutty flavor will be milder. If you’re gluten-free, swap the all-purpose flour with a 1:1 gluten-free baking blend. I’ve tested this with Bob’s Red Mill, and it works beautifully.
For the apples, feel free to use whatever you have on hand. Fuji, Gala, or Braeburn all work well. In summer, try swapping in fresh peaches or nectarines for a seasonal twist. Just reduce the maple syrup slightly since stone fruits are sweeter.
Equipment Needed
You don’t need a fancy kitchen to make this lightened up brown butter apple crisp. Here’s what you’ll need:
- 8×8-inch baking dish (or similar 2-quart dish) – A 9-inch square pan works too. If using a round pie dish, just keep an eye on baking time.
- Small skillet or saucepan – For browning the butter. A light-colored pan helps you see the color change.
- Mixing bowls – One large for the apples, one medium for the crumble.
- Chef’s knife and cutting board – For prepping the apples.
- Measuring cups and spoons – Precision matters for the crumble texture.
- Wooden spoon or silicone spatula – For stirring the brown butter.
- Parchment paper (optional) – Lining the dish makes cleanup easier.
If you don’t have an 8×8 dish, you can use a 9-inch cast iron skillet for a rustic look. Just be careful—the handle gets hot! I’ve used both, and honestly, the cast iron gives a slightly crispier edge to the crumble, which I love.
Preparation Method
Let’s get baking! This lightened up brown butter apple crisp comes together in under an hour. Here’s how to do it step by step.
- Preheat your oven to 375°F (190°C). Position a rack in the center of the oven. While it heats, start on the brown butter.
- Brown the butter. Place the ½ cup butter in a small skillet or saucepan over medium heat. Let it melt completely, then continue cooking, swirling the pan occasionally. After about 4-5 minutes, the butter will start to foam and turn golden. Watch closely—it can go from perfect to burnt in seconds. When you see brown specks forming at the bottom and it smells nutty and toasty, remove it from the heat immediately. Pour it into a heatproof bowl to stop the cooking process. Set aside to cool slightly.
- Prepare the apples. While the butter cools, peel, core, and slice your apples into ¼-inch thick pieces. I like to cut them in even slices so they cook uniformly. Place them in a large mixing bowl.
- Season the apples. Add the maple syrup, lemon juice, vanilla extract, cinnamon, nutmeg, salt, and cornstarch to the sliced apples. Toss everything together until the apples are evenly coated. Let them sit for 5 minutes while you make the topping. This resting time helps the flavors meld.
- Make the oat crumble. In a medium bowl, combine the rolled oats, flour, brown sugar, chopped nuts (if using), cinnamon, and salt. Pour the slightly cooled brown butter over the dry ingredients. Use a fork or your fingers to mix until everything is moistened and clumps together. The mixture should look like wet sand with some larger clusters—those clusters create the crispy bits everyone fights over.
- Assemble the crisp. Transfer the seasoned apples to your 8×8 baking dish, spreading them into an even layer. Sprinkle the oat crumble evenly over the top. Don’t press it down—you want those clumps to stay separate for maximum crunch.
- Bake. Place the dish on a baking sheet to catch any drips (trust me on this). Bake for 35-40 minutes, or until the filling is bubbly around the edges and the topping is golden brown. If the crumble is browning too quickly, tent loosely with foil for the last 10 minutes.
- Cool and serve. Let the crisp cool on a wire rack for at least 15 minutes before serving. This allows the filling to set up so it’s not too runny. Serve warm, preferably with a scoop of vanilla ice cream or a dollop of Greek yogurt.
Sensory cues: During baking, your kitchen will smell like heaven—warm apples, cinnamon, and that nutty brown butter aroma. The filling should be bubbling gently at the edges when it’s done. If you poke the crumble with a fork, it should feel crisp, not soggy.
Cooking Tips & Techniques
After testing this lightened up brown butter apple crisp more times than I care to admit, I’ve learned a few tricks that make all the difference.
Watch the brown butter like a hawk. I’ve burnt it twice—once while answering a text, another time while helping my kid with homework. The difference between perfect and burnt is about 20 seconds. When the foam subsides and you see brown specks, pull it off the heat immediately. Pour it into a cool bowl right away so it stops cooking.
Don’t skip the cornstarch. I once thought I could get away without it, and the result was a soupy mess. The cornstarch thickens the apple juices so you get a luscious, jammy filling instead of watery syrup. If you’re gluten-free, arrowroot powder works as a substitute.
Let the crisp rest before serving. I know it’s tempting to dig in right away, but those 15 minutes of cooling are crucial. The filling sets up, the crumble stays crisp, and the flavors deepen. Plus, you won’t burn your mouth on molten apple juice.
Multitasking tip: While the butter is browning, prep your apples. By the time the butter is done and cooled slightly, your apples will be ready to go. This saves about 10 minutes of total prep time.
For extra crispy topping: Broil the crisp for the last 1-2 minutes. Watch it closely—it can go from golden to charcoal fast. This trick gives you those ultra-crunchy bits that are absolutely addictive.
Variations & Adaptations
This lightened up brown butter apple crisp is endlessly adaptable. Here are some of my favorite variations:
Dietary Variations
- Vegan: Use melted coconut oil or vegan butter instead of regular butter. The coconut oil won’t brown the same way, so add ½ teaspoon of almond extract to the crumble for extra depth.
- Gluten-Free: Swap the all-purpose flour with a 1:1 gluten-free baking blend. Oats are naturally gluten-free, but make sure they’re certified if you’re sensitive.
- Lower Sugar: Reduce the brown sugar to ¼ cup and use an extra tablespoon of maple syrup. The apples provide plenty of natural sweetness.
Seasonal Twists
- Summer Peach Crisp: Replace apples with 6 ripe peaches, sliced. Reduce maple syrup to 1 tablespoon since peaches are sweeter. Add ½ teaspoon ginger for a fresh kick.
- Winter Pear Crisp: Use 6 Bosc or Anjou pears instead of apples. Add ¼ teaspoon cardamom for a warm, exotic note.
- Berry Apple Mix: Add 1 cup fresh or frozen berries (blueberries, raspberries, or blackberries) to the apple filling. Toss gently to avoid crushing the berries.
Flavor Boosts
- Bourbon Maple: Add 1 tablespoon bourbon to the apple filling along with the vanilla. The alcohol cooks off, leaving a warm, smoky depth.
- Chai Spiced: Replace cinnamon and nutmeg with 1½ teaspoons chai spice blend. It gives the crisp a cozy, aromatic complexity.
- Salted Caramel Drizzle: After baking, drizzle with a little warmed salted caramel sauce. It takes this dessert over the top.
I’ve tried the bourbon maple version for a grown-up dinner party, and it was a huge hit. The brown butter and bourbon together create this incredible toffee-like flavor that feels super indulgent.
Serving & Storage Suggestions
This lightened up brown butter apple crisp is best served warm, straight from the oven. Here’s how to make the most of it:
Serving temperature: Warm is ideal—the filling is soft and luscious, and the crumble stays crisp. If you’re serving it later, reheat individual portions in the microwave for 30 seconds or in a 350°F oven for 10 minutes.
Toppings: A scoop of vanilla bean ice cream is the classic choice, but Greek yogurt or whipped coconut cream are lighter options that still feel special. For a brunch twist, serve it with a dollop of crème fraîche and a sprinkle of cinnamon.
Pairings: This crisp pairs beautifully with a cup of hot coffee or spiced chai. For a dessert spread, serve it alongside a slice of my cinnamon crumb cake for a double dose of comfort.
Storage: Cover the dish tightly with foil or plastic wrap and refrigerate for up to 4 days. The crumble will soften over time, but it’s still delicious. To re-crisp the topping, pop it in a 350°F oven for 10 minutes uncovered.
Freezing: You can freeze the assembled (unbaked) crisp for up to 3 months. Wrap the dish tightly in plastic wrap and foil. Bake directly from frozen, adding 15-20 minutes to the baking time. Alternatively, freeze the baked and cooled crisp for up to 3 months. Thaw overnight in the fridge and reheat in the oven.
Flavor development: Honestly, this crisp tastes even better the next day. The flavors meld together, and the apples become even more tender. If you can resist eating it all in one sitting, you’re in for a treat.
Nutritional Information & Benefits
This lightened up brown butter apple crisp is designed to be a healthier indulgence. Here’s the estimated nutrition per serving (1/8 of the recipe):
| Nutrient | Amount |
|---|---|
| Calories | 245 |
| Total Fat | 11g |
| Saturated Fat | 6g |
| Carbohydrates | 36g |
| Fiber | 4g |
| Sugar | 21g |
| Protein | 3g |
| Sodium | 180mg |
Health benefits: Apples are rich in fiber and vitamin C, which support digestion and immune health. Oats provide soluble fiber that helps lower cholesterol and keeps you full longer. The brown butter adds healthy fats that aid in nutrient absorption—just in smaller amounts than traditional crisps.
Dietary considerations: This recipe is naturally vegetarian and can be made vegan, gluten-free, and lower sugar with the substitutions mentioned above. It contains dairy and gluten in its standard form, but swaps are easy. The nuts are optional but add healthy omega-3s.
I love that I can serve this dessert without worrying about anyone’s dietary needs. It’s one of those rare recipes that feels indulgent but actually fits into a balanced eating plan. Plus, it’s a great way to use up apples that are past their prime—nothing goes to waste!
Conclusion
This lightened up brown butter apple crisp is everything I want in a dessert—warm, comforting, and full of flavor without being heavy. The brown butter adds a nutty depth that makes the oat crumble absolutely irresistible, while the apples stay tender and jammy underneath. It’s the kind of recipe that makes you feel good about having seconds.
I encourage you to make this your own. Swap in your favorite apples, add a splash of bourbon, or pile on the nuts. The beauty of a crisp is that it’s forgiving and adaptable. Whether you’re serving it for a holiday gathering or a quiet Tuesday night, it always delivers.
I’d love to hear how yours turns out! Leave a comment below with your variations or tag me in your photos. And if you’re looking for more cozy desserts, try my healthy banana bread or easy peach cobbler for more fruit-forward treats. Happy baking!
Frequently Asked Questions
Can I use quick oats instead of old-fashioned oats?
I don’t recommend it. Quick oats absorb moisture too quickly and turn mushy, while old-fashioned oats hold their shape and give you that satisfying crunch. Stick with rolled oats for the best texture.
How do I prevent the crumble from getting soggy?
Make sure your brown butter is fully incorporated into the dry ingredients so the oats are well-coated. Also, let the crisp cool for 15 minutes before serving—this allows steam to escape and keeps the topping crisp. If reheating, use the oven instead of the microwave to re-crisp the crumble.
Can I make this ahead of time?
Absolutely! You can assemble the crisp up to 24 hours in advance and refrigerate it unbaked. When ready to bake, add 5-10 minutes to the baking time since the dish is cold. You can also bake it fully and reheat individual portions in the oven.
What are the best apples for apple crisp?
I love a mix of Granny Smith and Honeycrisp. Granny Smiths hold their shape and add tartness, while Honeycrisps break down slightly for a jammy texture. Fuji, Gala, and Braeburn also work well. Avoid Red Delicious—they turn mushy and lack flavor.
Can I freeze apple crisp?
Yes! You can freeze it unbaked or baked. For unbaked, wrap the dish tightly and freeze for up to 3 months. Bake directly from frozen, adding 15-20 minutes. For baked, cool completely, wrap, and freeze. Thaw in the fridge overnight and reheat in the oven at 350°F for 10-15 minutes.
Pin This Recipe!
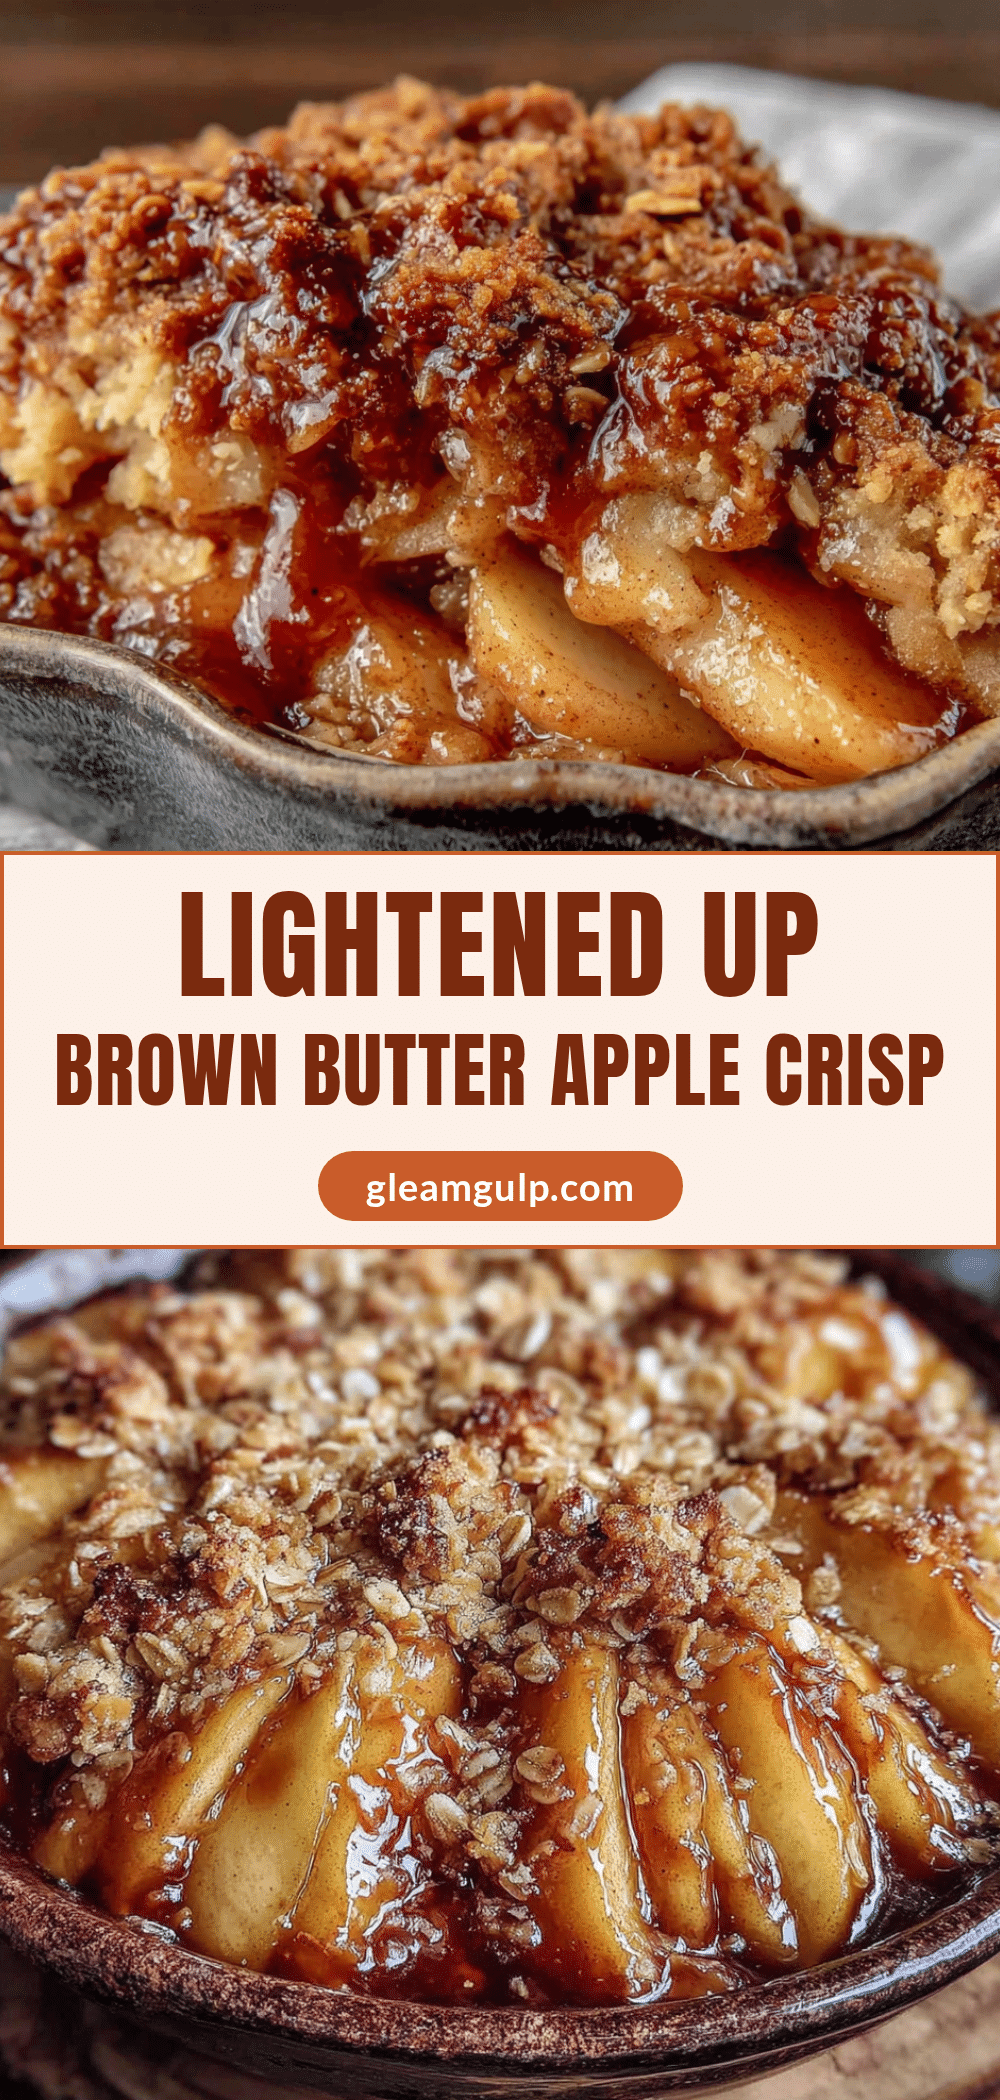
Lightened Up Brown Butter Apple Crisp – Best Easy Oat Crumble

A lightened-up version of classic apple crisp with nutty brown butter oat crumble topping. Warm, comforting, and full of flavor without being heavy—perfect for fall gatherings or a cozy weeknight dessert.
- Prep Time: 15 minutes
- Cook Time: 35-40 minutes
- Total Time: 50-55 minutes
- Yield: 8 servings 1x
- Category: Dessert
- Cuisine: American
Ingredients
- 6 medium apples, peeled, cored, and sliced (about 2 pounds or 900g) – mix of Granny Smith and Honeycrisp recommended
- 2 tablespoons maple syrup (30ml)
- 1 tablespoon lemon juice (15ml)
- 1 teaspoon vanilla extract (5ml)
- 1 teaspoon ground cinnamon
- ¼ teaspoon ground nutmeg
- ¼ teaspoon salt
- 1 tablespoon cornstarch (8g)
- ½ cup unsalted butter (113g)
- 1 cup old-fashioned rolled oats (90g)
- ½ cup all-purpose flour (60g)
- ⅓ cup packed light brown sugar (70g)
- ¼ cup chopped pecans or walnuts (30g) – optional
- ½ teaspoon ground cinnamon
- ¼ teaspoon salt
Instructions
- Preheat your oven to 375°F (190°C). Position a rack in the center of the oven.
- Brown the butter: Place ½ cup butter in a small skillet or saucepan over medium heat. Melt completely, then continue cooking, swirling occasionally. After 4-5 minutes, when butter foams and turns golden with brown specks and a nutty aroma, remove from heat immediately. Pour into a heatproof bowl to stop cooking. Set aside to cool slightly.
- Prepare the apples: Peel, core, and slice apples into ¼-inch thick pieces. Place in a large mixing bowl.
- Season the apples: Add maple syrup, lemon juice, vanilla extract, cinnamon, nutmeg, salt, and cornstarch to the apples. Toss until evenly coated. Let sit for 5 minutes.
- Make the oat crumble: In a medium bowl, combine rolled oats, flour, brown sugar, chopped nuts (if using), cinnamon, and salt. Pour slightly cooled brown butter over dry ingredients. Mix with a fork or fingers until moistened and clumpy, like wet sand with larger clusters.
- Assemble the crisp: Transfer seasoned apples to an 8×8 baking dish, spreading evenly. Sprinkle oat crumble evenly over the top. Do not press down.
- Bake: Place dish on a baking sheet. Bake for 35-40 minutes, until filling is bubbly around edges and topping is golden brown. If browning too quickly, tent loosely with foil for last 10 minutes.
- Cool and serve: Let crisp cool on a wire rack for at least 15 minutes before serving. Serve warm, preferably with vanilla ice cream or Greek yogurt.
Notes
Watch the brown butter carefully—it can go from perfect to burnt in about 20 seconds. Don’t skip the cornstarch; it thickens the apple juices. Let the crisp rest for 15 minutes before serving to allow the filling to set. For extra crispy topping, broil for the last 1-2 minutes. The crisp tastes even better the next day as flavors meld.
Nutrition
- Serving Size: 1/8 of recipe
- Calories: 245
- Sugar: 21
- Sodium: 180
- Fat: 11
- Saturated Fat: 6
- Carbohydrates: 36
- Fiber: 4
- Protein: 3
Keywords: apple crisp, brown butter, lightened up, healthy dessert, oat crumble, fall dessert, easy apple crisp


