Love this? Save it for later!
Share the inspiration with your friends
It was 11:14 PM on a Tuesday in late October, and I was staring into my fridge like it owed me answers. The craving hit me out of nowhere—not for candy, not for caramel apples, but for something ridiculous. Something that looked like it belonged at a kids’ Halloween party, even though no kids lived here. I wanted mummy hot dogs. The kind with crescent dough. The kind that’s more about the vibe than the flavor, honestly.
Here’s the thing—I didn’t have any hot dogs. I mean, I had one stray beef frank left in the back of the drawer, but that’s not enough for the vision I had. What I did have was a tube of crescent rolls (the kind that pops when you open it, which is honestly the best part), some string cheese, and a weird burst of inspiration. I figured, why not make it work with what I’ve got? So I grabbed that lone hot dog, cut it into pieces, and decided to turn my sad little fridge into a Halloween snack factory at nearly midnight.
The whole thing felt a little unhinged, I won’t lie. I was standing there in my pajamas, wrapping dough strips around tiny hot dog pieces, laughing at myself for how seriously I was taking it. The kitchen was quiet except for the hum of the oven preheating, and I had this goofy grin on my face because—let’s be real—this is the kind of cooking that only happens when no one’s watching. Maybe you’ve been there too, making something silly just because it made you happy in that moment.
When they came out of the oven, golden and wrapped up like tiny little bandaged guys, I nearly dropped the tray. They looked hilarious. They looked perfect. And honestly? They tasted way better than they had any right to. That’s the thing about late-night kitchen experiments—sometimes they turn into the recipes you actually keep making. These mummy hot dogs became my go-to Halloween thing, and I’m not even sorry about it.
Why You’ll Love This Recipe
Let me tell you why these little guys are worth every second of your time. I’ve tested this recipe about six times now—yes, six—because I kept finding ways to make them even better. First batch was too doughy. Second batch, I forgot the cheese eyes. Third batch, I finally nailed it. So trust me when I say this version is the one.
- Quick & Easy: From fridge to table in under 25 minutes. Seriously, you can make these while the kids are still arguing over costumes.
- Simple Ingredients: You probably already have hot dogs and crescent dough in your kitchen. If not, it’s a one-aisle grocery trip.
- Perfect for Halloween Parties: These are the star of any spooky spread. Kids lose their minds over them, and adults sneak extra when no one’s looking.
- Crowd-Pleaser: I’ve brought these to three different Halloween gatherings now, and every single time, someone asks for the recipe. They’re that kind of snack.
- Unbelievably Delicious: The combination of flaky, buttery crescent dough wrapped around a juicy hot dog is pure comfort food magic. Add those cheese eyes, and you’ve got a winner.
What makes this recipe different from all the other mummy hot dog recipes out there? It’s the little things. I use a specific wrapping technique that keeps the dough from getting soggy, and I add a tiny pinch of garlic powder to the dough before baking. It’s not much, but it makes a difference. Plus, I’ve figured out the exact oven temperature that gives you golden-brown mummies without burning the cheese eyes. This isn’t just another version—it’s the version I keep coming back to year after year.
And honestly? This recipe is the kind that makes you close your eyes after the first bite. It’s comfort food at its finest—silly, warm, and absolutely satisfying. Perfect for turning a regular Tuesday into something a little more fun.
What Ingredients You Will Need
This recipe uses simple, everyday ingredients that come together to create something surprisingly delightful. No fancy grocery trips needed here—just the basics, plus a little creativity.
- Hot dogs: 8 standard-sized beef or pork hot dogs (I recommend Hebrew National or Oscar Mayer for best flavor). You can also use turkey or chicken hot dogs if you prefer a lighter option.
- Crescent roll dough: 1 can (8 oz) refrigerated crescent rolls (Pillsbury is my go-to brand—they unroll perfectly every time). Look for the seamless sheets if you want less hassle.
- Cheese slices or strips: 4 slices of cheddar or American cheese, cut into small rectangles for the mummy eyes (adds that classic gooey factor).
- Mustard or ketchup: For adding the pupils on the cheese eyes (just a tiny dot per eye—use a toothpick for precision).
- Garlic powder: 1/2 teaspoon, optional but recommended (sprinkle over the dough before wrapping for extra flavor).
- Everything bagel seasoning: 1 teaspoon, optional (adds a nice crunch and flavor boost—trust me on this one).
Ingredient Tips: For the best texture, make sure your crescent dough is cold when you start working with it. If it gets too warm, the strips will stick together and become a mess. I learned this the hard way after my first batch turned into a blob of dough and hot dog. Also, if you’re using cheese slices, go for the individually wrapped ones—they hold their shape better during baking. For a fun twist, try using pepper jack cheese for a little heat, or swap in vegan cheese if you’re cooking for someone with dietary restrictions.
Substitution Guidance: No hot dogs? Use cocktail sausages or even pre-cooked chicken sausages. No crescent dough? You can use puff pastry sheets cut into strips, but the texture will be flakier and less tender. No cheese for the eyes? Use small dollops of cream cheese or even sliced olives for a more dramatic look. The beauty of this recipe is how flexible it is—you can make it work with whatever you have on hand.
Equipment Needed
You don’t need a fancy kitchen to make these mummy hot dogs. Here’s what I use every time:
- Baking sheet: A standard half-sheet pan works perfectly. Line it with parchment paper for easy cleanup—trust me, the cheese can get sticky.
- Sharp knife or pizza cutter: For cutting the crescent dough into thin strips. A pizza cutter makes this step way faster and cleaner.
- Small bowl: For mixing any seasonings you want to add to the dough.
- Pastry brush: Optional, but helpful if you want to brush the dough with butter or egg wash before baking.
- Toothpicks: For adding the mustard or ketchup pupils to the cheese eyes. Also useful for holding the dough in place if it starts to unravel.
- Cooling rack: Lets the mummies cool evenly without getting soggy on the bottom.
If you don’t have a pizza cutter, a sharp chef’s knife works just fine. I’ve also used kitchen scissors in a pinch—they’re surprisingly effective for cutting dough strips. And if you don’t have a pastry brush, just use your fingers to spread any butter or egg wash. It’s not fancy, but it works.
Preparation Method
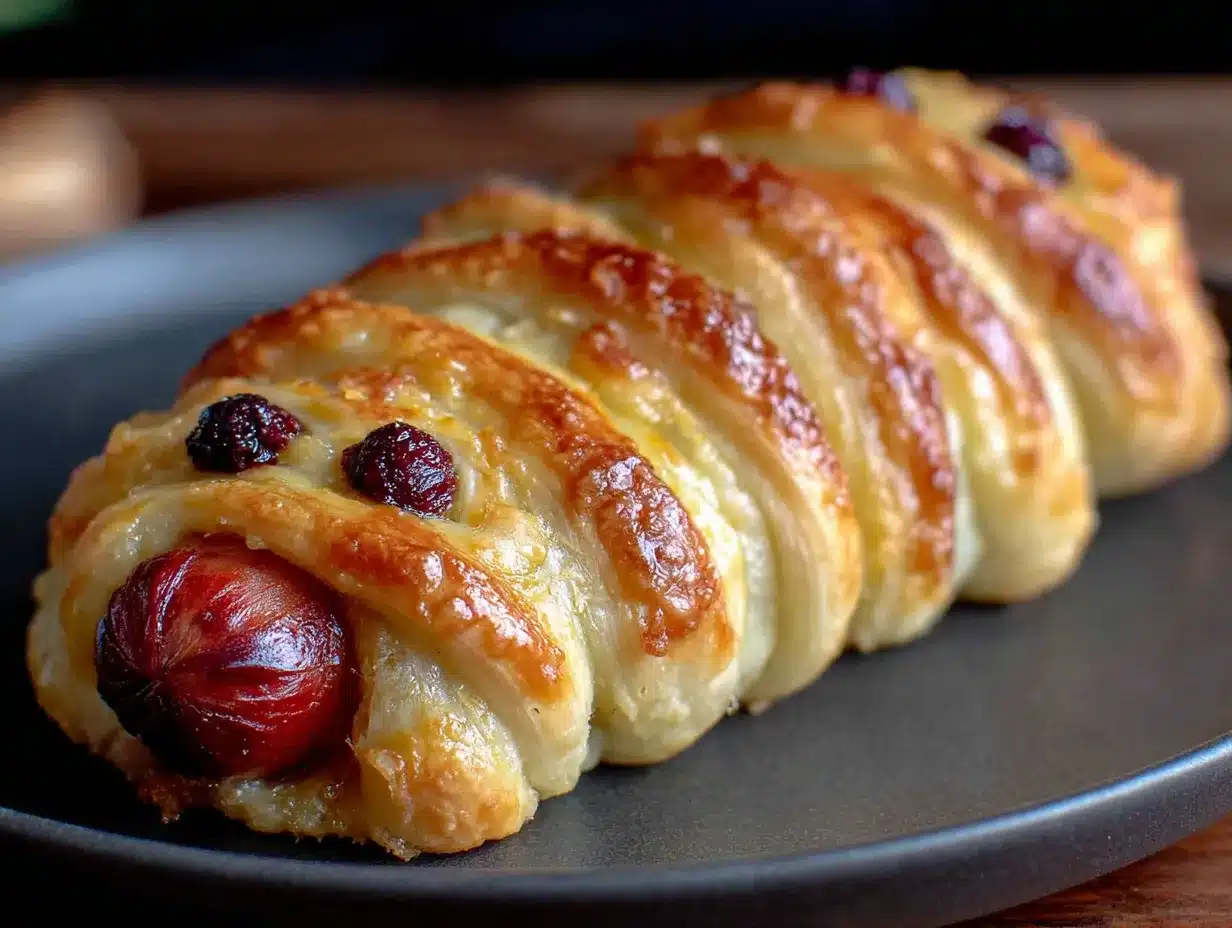
Alright, let’s get into the fun part. Here’s how I make these mummy hot dogs, step by step, with all the little tricks I’ve picked up along the way.
- Preheat your oven to 375°F (190°C). Line a baking sheet with parchment paper. This is non-negotiable—the cheese will stick to bare metal, and you’ll be scraping for days.
- Unroll the crescent dough and separate it into 8 triangles along the perforated lines. If you’re using the seamless sheets, just cut them into 8 equal rectangles.
- Cut each triangle into thin strips lengthwise, about 1/4 inch wide. You should get 4-5 strips per triangle. Don’t worry if they’re not perfect—mummies are supposed to look a little messy.
- Sprinkle a pinch of garlic powder over the dough strips if you’re using it. I like to do this before wrapping so the flavor bakes right into the dough.
- Take one hot dog and start wrapping the dough strips around it. Begin at one end and work your way to the other, leaving a small gap near the top for the face. Overlap the strips slightly so they look like bandages. Don’t wrap too tightly—the dough needs room to expand as it bakes.
- Press the ends of the dough strips gently against the hot dog to seal them. If they don’t stick, dab a little water on your finger and press again.
- Place the wrapped hot dog on the prepared baking sheet. Repeat with the remaining hot dogs and dough strips. Leave about 2 inches between each mummy so they have room to bake evenly.
- Cut small rectangles from the cheese slices for the eyes. Each mummy needs two eyes, so you’ll need 16 cheese rectangles total. Use a sharp knife to get clean edges.
- Place two cheese rectangles on each mummy’s face, in the gap you left earlier. Press them gently so they stick to the hot dog.
- Bake for 12-15 minutes, or until the dough is golden brown and the cheese is slightly melted. Keep an eye on them—ovens vary, and you don’t want burnt mummies.
- Remove from the oven and let them cool on the baking sheet for 2 minutes. Then transfer to a cooling rack.
- Add the pupils: Dip a toothpick into mustard or ketchup and dot each cheese eye. I use mustard for a more classic look, but ketchup works too. Don’t add too much—you want the pupils to be tiny.
- Serve warm and watch them disappear. Seriously, these go fast.
Troubleshooting Tip: If your dough strips are too sticky to work with, pop them in the fridge for 5 minutes. Cold dough is much easier to handle. Also, if the dough starts unraveling during baking, use a toothpick to hold it in place. Just remember to remove the toothpicks before serving—nobody wants a surprise splinter.
Cooking Tips & Techniques
After making these mummy hot dogs more times than I care to admit, I’ve learned a few things that make a real difference. Here are my best tips:
Don’t overwork the dough. Crescent dough is delicate, and if you handle it too much, it becomes tough. Gently lift the strips and wrap them loosely around the hot dogs. The dough will puff up as it bakes, filling in any gaps naturally.
Use cold hot dogs. If your hot dogs are at room temperature, they’ll cook faster than the dough, leaving you with shriveled mummies. Cold hot dogs ensure everything bakes evenly. I keep mine in the fridge until the last minute.
Space them out. I made the mistake of crowding my first batch, and the mummies ended up sticking together. Leave at least 2 inches between each one on the baking sheet. This also helps them brown evenly.
Watch the cheese eyes. Cheese can go from melted to burnt in about 30 seconds. If you notice the cheese browning too quickly, tent a piece of foil over the baking sheet for the last few minutes of baking.
Multitask like a pro. While the first batch is baking, prepare the second batch. This way, you can serve them all at once, still warm and gooey. I learned this after my guests ate the first batch before the second one was even in the oven.
My biggest failure: One time, I forgot to add the cheese eyes before baking. I tried to stick them on after, but they just slid off. Now I always double-check before the tray goes in the oven. Learn from my mistake—add those eyes before baking!
Variations & Adaptations
This recipe is incredibly versatile. Here are some ways I’ve adapted it over the years:
- Veggie Mummies: Swap the hot dogs for vegetarian sausages or even carrot sticks (parboil them first so they’re tender). The dough wrapping technique works the same way.
- Spicy Mummies: Use spicy Italian sausages instead of hot dogs, and add a sprinkle of red pepper flakes to the dough. These are perfect for adults who want a little heat.
- Breakfast Mummies: Replace the hot dogs with breakfast sausages and use pancake batter instead of crescent dough. Cook them on a griddle for a fun Halloween morning treat.
- Cheese-Stuffed Mummies: Cut a slit down the center of each hot dog and stuff it with a strip of cheddar or mozzarella before wrapping. The cheese oozes out as it bakes—so good.
- Gluten-Free Option: Use gluten-free crescent dough or puff pastry sheets. The texture will be slightly different, but the flavor is still fantastic.
I tried the cheese-stuffed version last Halloween, and let me tell you—it was a game-changer. The melted cheese inside the hot dog added this extra layer of richness that made everyone go back for seconds. Just be careful when you bite into them; the cheese inside is hot!
Serving & Storage Suggestions
These mummy hot dogs are best served warm, right out of the oven. The dough is at its flakiest, and the cheese eyes are perfectly gooey. I like to arrange them on a platter with some spooky toothpicks and a side of ketchup or mustard for dipping. They’re perfect for Halloween parties, movie nights, or just a fun dinner that makes everyone smile.
What to serve with them: I usually pair these with a simple side of potato chips or a small bowl of fruit. If I’m feeling fancy, I’ll make a batch of my creamy Halloween dip for dipping—it’s a crowd favorite. For drinks, apple cider or a dark beer (for the adults) complements the savory flavors nicely.
Storage: If you have leftovers (which is rare in my house), store them in an airtight container in the refrigerator for up to 3 days. The dough will soften slightly, but they’re still tasty.
Reheating: The best way to reheat these is in the oven at 350°F (175°C) for 5-7 minutes. The microwave works in a pinch, but the dough will be chewy instead of flaky. I don’t recommend freezing them—the texture just isn’t the same after thawing.
Flavor development: Honestly, these are best fresh. The dough loses its magic after a day or two. So make what you’ll eat, and enjoy them at their peak.
Nutritional Information & Benefits
Here’s the thing—these mummy hot dogs aren’t health food, and that’s okay. They’re a fun, occasional treat that brings joy to Halloween celebrations. But if you’re curious, here’s a rough estimate per mummy (based on standard ingredients):
- Calories: Approximately 220-250 per mummy
- Protein: 8-10 grams (from the hot dog and cheese)
- Carbohydrates: 18-20 grams (mostly from the crescent dough)
- Fat: 12-15 grams (varies based on hot dog and cheese type)
- Sodium: 500-600 mg (hot dogs are naturally high in sodium)
Health Benefits: While this isn’t a recipe I’d call nutritious, the protein from the hot dogs and cheese does provide some staying power. If you want to lighten it up, use turkey hot dogs, low-fat cheese, and whole-wheat crescent dough. You can also add a side of veggie sticks to balance things out.
Dietary Considerations: This recipe is not gluten-free unless you use gluten-free dough. It’s also not suitable for vegans, though you can adapt it with plant-based hot dogs and vegan cheese. Always check ingredient labels if you’re cooking for someone with allergies.
My take: I believe in balance. These mummy hot dogs are a fun, indulgent treat that I make once a year for Halloween. They’re not about nutrition—they’re about joy, creativity, and making memories. And sometimes, that’s exactly what food is for.
Conclusion
So there you have it—my slightly unhinged, late-night creation that turned into a Halloween tradition. These mummy hot dogs with crescent dough are silly, simple, and absolutely delicious. They’re the kind of recipe that reminds me why I love cooking: because it can be playful, imperfect, and full of joy.
I hope you give them a try, and I hope you make them your own. Add extra cheese, use different seasonings, or experiment with the wrapping technique. That’s the beauty of cooking—there’s no wrong way to do it, as long as it makes you happy.
If you make these, I’d love to hear about it. Drop a comment below and tell me how they turned out, or share your own twist on the recipe. And if you’re looking for more easy Halloween ideas, check out my spooky pumpkin bites or my ghost-shaped cookies—they’re both huge hits with my friends and family.
Thanks for stopping by, and happy Halloween cooking! Remember: the best recipes are the ones you make with a smile.
Frequently Asked Questions
Can I make these mummy hot dogs ahead of time?
Yes! You can prepare them up to the point of baking, then cover and refrigerate for up to 8 hours. When you’re ready to serve, just pop them in the oven. You may need to add a minute or two to the baking time since they’ll be cold.
Can I use puff pastry instead of crescent dough?
Absolutely. Puff pastry will give you a flakier, more buttery texture. Just cut it into thin strips and wrap the hot dogs the same way. The baking time might be slightly longer—keep an eye on them.
How do I keep the cheese eyes from sliding off?
Press the cheese rectangles firmly onto the hot dog before baking. If they still slide, use a tiny dab of mustard as “glue” to hold them in place. It works surprisingly well.
Can I freeze baked mummy hot dogs?
I don’t recommend it. The dough becomes soggy when thawed, and the texture just isn’t the same. These are best enjoyed fresh or within a day or two of baking.
What other fillings can I use besides hot dogs?
The possibilities are endless! Try cocktail sausages, cooked chicken tenders cut into strips, or even mozzarella sticks for a vegetarian option. Just adjust the baking time based on the filling you choose.
Pin This Recipe!
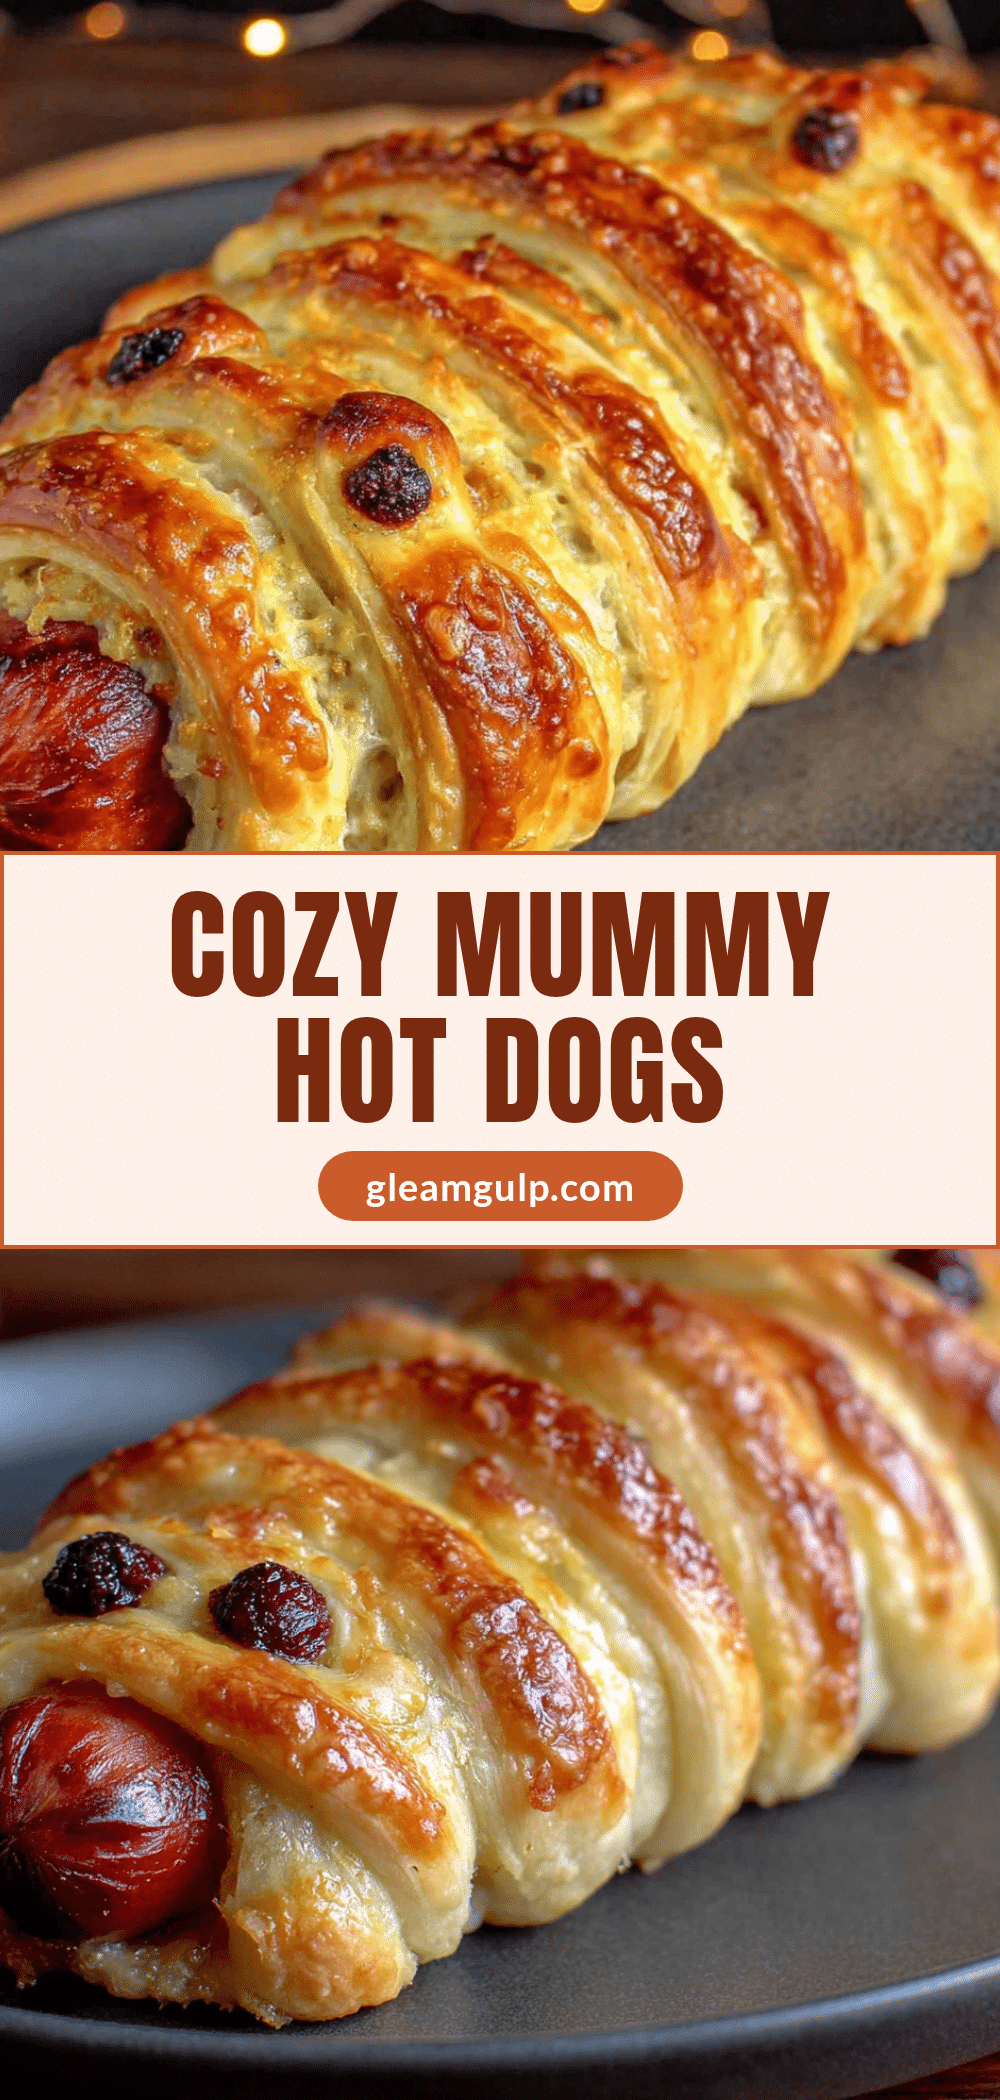
Easy Mummy Hot Dogs Recipe – Perfect Halloween Crescent Dog

These mummy hot dogs are a fun, quick, and easy Halloween snack made with crescent dough, hot dogs, and cheese eyes. Perfect for parties and guaranteed to be a crowd-pleaser.
- Prep Time: 10 minutes
- Cook Time: 15 minutes
- Total Time: 25 minutes
- Yield: 8 servings 1x
- Category: Appetizer
- Cuisine: American
Ingredients
- 8 standard-sized beef or pork hot dogs (e.g., Hebrew National or Oscar Mayer)
- 1 can (8 oz) refrigerated crescent rolls (e.g., Pillsbury)
- 4 slices cheddar or American cheese, cut into small rectangles for eyes
- Mustard or ketchup (for pupils)
- 1/2 teaspoon garlic powder (optional)
- 1 teaspoon everything bagel seasoning (optional)
Instructions
- Preheat your oven to 375°F (190°C). Line a baking sheet with parchment paper.
- Unroll the crescent dough and separate it into 8 triangles along the perforated lines. If using seamless sheets, cut into 8 equal rectangles.
- Cut each triangle into thin strips lengthwise, about 1/4 inch wide (4-5 strips per triangle).
- Sprinkle a pinch of garlic powder over the dough strips if using.
- Take one hot dog and start wrapping the dough strips around it, beginning at one end and working to the other, leaving a small gap near the top for the face. Overlap strips slightly and do not wrap too tightly.
- Press the ends of the dough strips gently against the hot dog to seal. If needed, dab a little water to help them stick.
- Place the wrapped hot dog on the prepared baking sheet. Repeat with remaining hot dogs and dough strips, leaving about 2 inches between each.
- Cut small rectangles from the cheese slices for the eyes (16 total). Place two cheese rectangles on each mummy’s face in the gap, pressing gently.
- Bake for 12-15 minutes, or until the dough is golden brown and the cheese is slightly melted.
- Remove from the oven and let cool on the baking sheet for 2 minutes, then transfer to a cooling rack.
- Dip a toothpick into mustard or ketchup and dot each cheese eye to create pupils.
- Serve warm.
Notes
For best results, keep crescent dough cold while working. If dough strips become sticky, refrigerate for 5 minutes. To prevent cheese eyes from sliding, press firmly or use a tiny dab of mustard as glue. If dough unravels during baking, use a toothpick to hold it in place (remove before serving).
Nutrition
- Serving Size: 1 mummy hot dog
- Calories: 235
- Sugar: 3
- Sodium: 550
- Fat: 13.5
- Saturated Fat: 5
- Carbohydrates: 19
- Protein: 9
Keywords: mummy hot dogs, Halloween recipe, crescent dog, easy Halloween snack, hot dog appetizer


