Love this? Save it for later!
Share the inspiration with your friends
I was standing in the checkout line at the hardware store—of all places—buying a new hose nozzle when the woman behind me, who I later learned was named Margaret and had been a kindergarten teacher for thirty-seven years, started talking about how she made snack time exciting for her students. “You have to make it fun,” she said, gesturing at my kids who were already bored and poking each other. “I used to make these little cones for my class every Halloween. Put everything in a cone and suddenly they’re eating things they’d normally push around their plate.” I almost laughed. A kindergarten teacher in the hardware store giving me the secret to getting my kids to eat something besides candy? Honestly, I was desperate enough to listen. I grabbed an old receipt from my pocket and scribbled down what she said: waffle cones, cream cheese, pumpkin puree, and a bunch of toppings I’d never think to put together. Let me tell you, I was skeptical. I mean, pumpkin in a cone? But I tried it that weekend, and my kids—who usually pick at anything green or orange—polished off the whole thing. I’ve been making these Kid-Approved Mini Pumpkin Charcuterie Cones ever since, and they’ve saved me from snack-time battles more times than I can count. Maybe you’ve been there, standing in a store aisle, just hoping someone would hand you a solution. Well, this is it.
Why You’ll Love This Recipe
These mini pumpkin charcuterie cones aren’t just another snack idea. They’re a whole experience that makes everyone at the table happy without breaking your grocery budget. Here’s why they work so well for families like yours:
- Quick & Easy: You can put these together in under 15 minutes. No baking, no complicated steps—just assembly. Perfect for those afternoons when the kids are hungry and you need something fast.
- Simple Ingredients: You probably already have most of what you need in your pantry and fridge. Cream cheese, pumpkin puree, waffle cones, and whatever small toppings you have on hand. No fancy grocery trips required.
- Perfect for Fall Gatherings: Great for Halloween parties, Thanksgiving kids’ tables, or just a fun weekend snack. They also work for school events or playdates—anything where you need a crowd-pleaser that looks impressive but takes no effort.
- Crowd-Pleaser: I’ve served these to kids as young as three and adults who swore they didn’t like pumpkin. Every single person went back for seconds. There’s something about the cone format that makes everything more fun.
- Unbelievably Delicious: The creamy pumpkin filling with the crunchy cone and all those little toppings—it’s a texture and flavor combination that just works. It’s comfort food that feels special without being complicated.
What makes this recipe different from other pumpkin snacks is the way the cream cheese and pumpkin blend together to create this silky, not-too-sweet filling. It’s not like pumpkin pie filling at all—it’s lighter, more like a dip that happens to be perfect for scooping. And the mini size means nobody gets overwhelmed, which is huge for picky eaters.
This is the kind of recipe that makes you close your eyes after the first bite. It’s fall in a cone, but without the sugar crash. Perfect for impressing other parents at a school function or just turning a regular Tuesday afternoon into something memorable.
What Ingredients You Will Need
This recipe uses simple, wholesome ingredients to deliver big flavor and that fun charcuterie experience without the fuss. Most of these are pantry staples, especially if you do any fall baking.
- Mini waffle cones (12 cones) – Look for the small ones, not the big ice cream cones. They hold just the right amount. I usually buy the Keebler brand, but any brand works fine.
- 8 oz cream cheese, softened – Full-fat gives the best texture, but reduced-fat works in a pinch. Just make sure it’s really soft so it blends smoothly.
- 1/2 cup pumpkin puree – Not pumpkin pie filling! Make sure you grab the plain puree. Libby’s is my go-to because it’s consistent and not too watery.
- 1/4 cup powdered sugar – This adds just enough sweetness without making it heavy. You can also use maple syrup if you prefer, but the texture will be slightly thinner.
- 1/2 teaspoon pumpkin pie spice – Store-bought is fine, or you can mix your own cinnamon, nutmeg, ginger, and cloves.
- 1/4 teaspoon vanilla extract – Pure vanilla is best, but imitation works too. It just rounds out the flavor.
- Assorted toppings – This is where you get creative. Some favorites: mini chocolate chips, crushed graham crackers, chopped pecans, dried cranberries, shredded coconut, mini pretzels, or even a few candy corn pieces for fun.
- Optional: Whipped cream – A small dollop on top makes it feel extra special, but it’s totally optional.
For the filling: The cream cheese and pumpkin are the stars here. I recommend using a block of cream cheese rather than the spreadable tub kind—it gives a thicker, more stable filling that stays put in the cone. If your pumpkin puree seems watery, pat it dry with a paper towel before mixing to prevent the cones from getting soggy.
Substitution guidance: If you need a dairy-free option, use a vegan cream cheese and coconut cream instead of whipped cream. For a gluten-free version, just make sure your waffle cones are certified gluten-free (some brands use wheat flour). You can also swap the pumpkin puree for sweet potato puree if that’s what you have—it works beautifully and tastes almost identical.
Equipment Needed
You don’t need anything fancy for this recipe. Here’s what you’ll need:
- Mixing bowl – Any medium-sized bowl works. I use a glass one so I can see when everything is blended.
- Hand mixer or stand mixer – You can also mix by hand with a spatula, but it takes a bit more elbow grease to get the cream cheese smooth. A hand mixer makes it effortless.
- Spatula – For scraping the bowl and filling the cones. A rubber spatula is best.
- Piping bag or zip-top bag – To fill the cones neatly. If you don’t have a piping bag, a sturdy zip-top bag with the corner snipped off works perfectly.
- Serving tray or platter – Something flat to arrange the cones on. A baking sheet lined with parchment paper also works if you’re making a big batch.
- Small bowls – For arranging the toppings. This makes it easy for kids to add their own.
If you don’t have a piping bag, honestly, don’t stress. I’ve used a spoon to fill cones before, and while it’s a little messier, it still works. The key is to not overfill them—about three-quarters full is perfect. And if you’re making these for a party, you can set up the toppings in a muffin tin to keep everything organized and cute.
Preparation Method
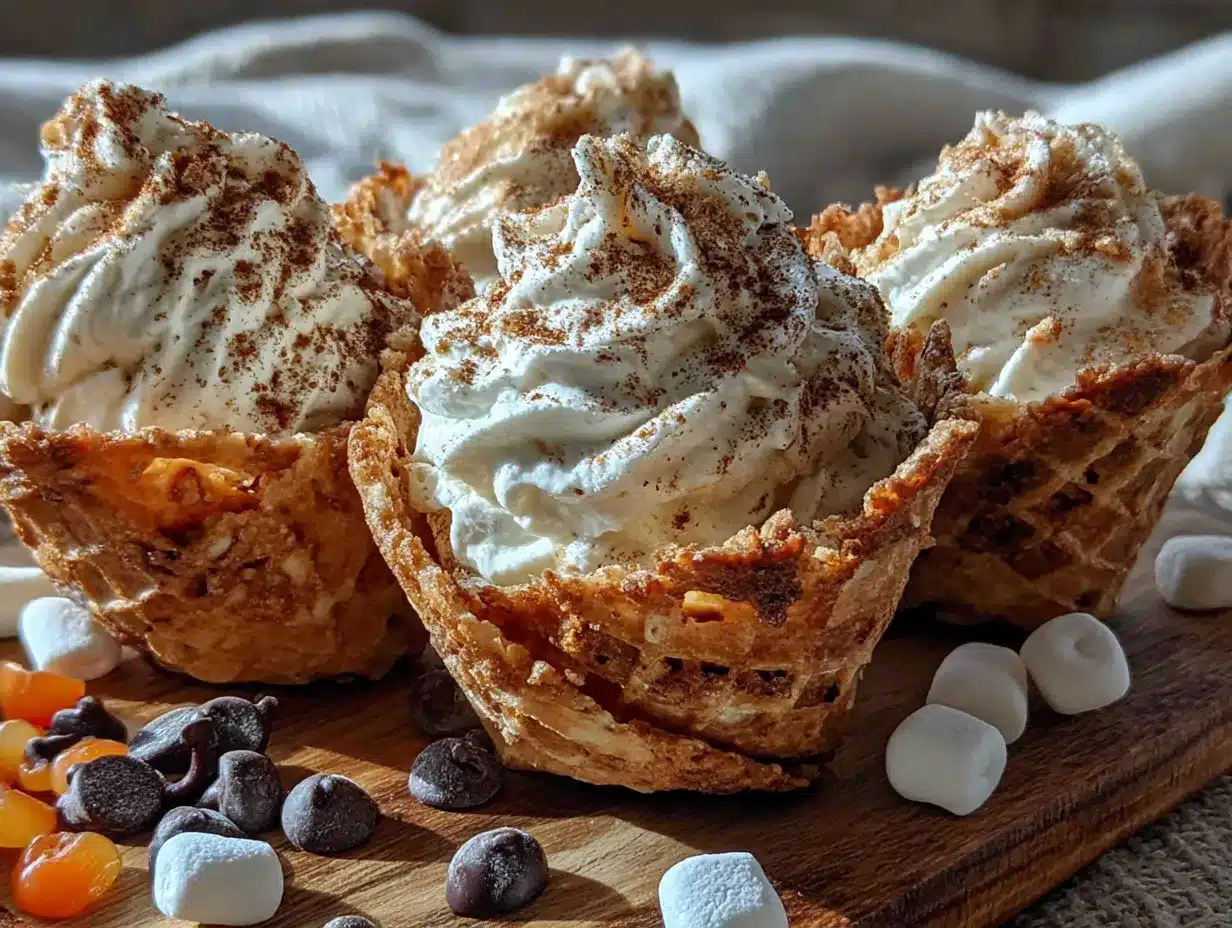
- Soften the cream cheese. Take the cream cheese out of the fridge about 30 minutes before you start. If you forget (which I do all the time), microwave it for about 10 seconds on low power. You want it soft but not melted.
- Make the pumpkin filling. In your mixing bowl, combine the softened cream cheese, pumpkin puree, powdered sugar, pumpkin pie spice, and vanilla extract. Beat with a hand mixer on medium speed until everything is smooth and creamy. This takes about 2 minutes. Scrape down the sides of the bowl with your spatula halfway through. The mixture should be thick and spreadable—think the consistency of thick frosting.
- Taste and adjust. This is the fun part. Dip a clean finger or a spoon and taste the filling. Want it sweeter? Add another tablespoon of powdered sugar. Want more spice? Add a pinch more pumpkin pie spice. I always add a little extra vanilla because I love the flavor.
- Prepare your piping setup. Spoon the pumpkin filling into a piping bag or a zip-top bag. If using a zip-top bag, squeeze the filling into one corner, then snip off about 1/2 inch from the tip. Don’t cut too much off or the filling will come out too fast.
- Fill the cones. Hold each mini cone in one hand and pipe the filling into the cone, filling it about three-quarters full. You want to leave some room at the top for toppings. If you don’t have a piping bag, use a small spoon to gently fill each cone. Work carefully so you don’t crack the cone—they can be fragile.
- Add the toppings. This is where the kids can help. Arrange your toppings in small bowls and let everyone customize their own cone. For a more organized look, you can dip the top of the filled cone into a bowl of toppings, or sprinkle them on with a spoon. I like to add a few mini chocolate chips and a sprinkle of crushed graham crackers on each one.
- Optional: Add whipped cream. If you’re using whipped cream, add a small dollop on top of the filling before adding the toppings. This makes it feel extra indulgent.
- Serve immediately. These cones are best eaten right away, while the cones are still crunchy. If you need to make them ahead, store the filling in the fridge and fill the cones just before serving.
Sensory cues: The filling should be smooth and thick, with no lumps of cream cheese. When you pipe it into the cone, it should hold its shape without running. The cones should feel firm and crunchy, not soft or stale. And the smell—oh, that pumpkin spice aroma will fill your kitchen and make everyone hungry.
Cooking Tips & Techniques
I’ve made these cones more times than I can count, and I’ve learned a few things the hard way. Here are my best tips:
Don’t overfill the cones. I made this mistake the first time. I filled them all the way to the top, and when I added the toppings, everything spilled over. Fill them about three-quarters full and you’ll have room for toppings without the mess.
Keep the cones dry. If your pumpkin puree is watery, your cones will get soggy fast. Before mixing, spread the pumpkin puree on a paper towel and pat it dry. This one step makes a huge difference in keeping the cones crunchy.
Make the filling ahead. The pumpkin cream cheese filling can be made up to two days in advance and stored in the fridge. Just let it sit at room temperature for 10 minutes before piping so it’s soft enough to work with. This is a lifesaver if you’re prepping for a party.
Use a steady hand. Cones can crack if you squeeze too hard. Hold the cone gently but firmly, and pipe the filling slowly. If a cone does crack, don’t worry—just wrap a piece of parchment paper around it and hold it together while you fill it. Nobody will know.
Timing is everything. These cones are best within an hour of assembly. After that, the cones start to soften from the filling. If you’re serving them at a party, set up a topping bar and let guests fill their own cones. That way, everyone gets a fresh, crunchy cone.
I once made these for a Halloween party and forgot to soften the cream cheese. The filling was lumpy and hard to pipe. I ended up microwaving it for 15 seconds and stirring like crazy. It worked, but it wasn’t as smooth. Lesson learned: always soften the cream cheese first.
Variations & Adaptations
One of the best things about this recipe is how flexible it is. Here are some ways to change it up:
Dietary variations: For a dairy-free version, use vegan cream cheese and coconut cream instead of whipped cream. It’s just as creamy and delicious. For a lower-sugar option, skip the powdered sugar and use a sugar substitute like monk fruit sweetener. The filling will be slightly less sweet, but still tasty.
Seasonal twists: In the fall, stick with pumpkin and pumpkin pie spice. But in the summer, swap the pumpkin for mashed strawberries or blueberries and use a little lemon zest instead of the spice. It’s a completely different flavor but just as fun. For Christmas, try a peppermint version with white chocolate chips and crushed candy canes.
Flavor variations: Add a tablespoon of cocoa powder to the filling for a chocolate pumpkin version. Or mix in a tablespoon of peanut butter for a nutty twist. My personal favorite is adding a pinch of cinnamon and a drizzle of caramel sauce on top—it tastes like a fancy coffee shop treat.
Different cooking methods: If you don’t have mini cones, you can use regular ice cream cones and just fill them less. Or use small cups or even hollowed-out mini pumpkins for a completely different presentation. The filling works in any vessel.
Allergen substitutions: For nut allergies, skip the pecans and use sunflower seeds or extra chocolate chips. For gluten allergies, make sure your cones are certified gluten-free. You can also serve the filling in small cups with gluten-free crackers for dipping.
I tried a version once with a swirl of Nutella mixed into the pumpkin filling. It was incredible. My kids called them “pumpkin chocolate dreams” and asked for them every day for a week. Sometimes the best variations come from just experimenting with what you have in the pantry.
Serving & Storage Suggestions
These mini pumpkin charcuterie cones are best served immediately, while the cones are still crunchy and the filling is cool and creamy. Arrange them on a platter or tray, standing upright if possible. A piece of parchment paper or a bed of leaves (if you’re feeling festive) makes a nice base.
What to serve with them: These cones are perfect on their own, but they also pair well with apple slices, pear slices, or a small cup of warm apple cider. For a full fall snack board, add some cheese cubes, nuts, and dried fruit. It makes a beautiful presentation for parties.
Storage instructions: If you have leftover filling, store it in an airtight container in the fridge for up to 5 days. It’s great as a dip for apple slices or graham crackers. Unfilled cones can be stored in a sealed bag at room temperature for weeks. Once filled, the cones should be eaten within an hour—they get soft quickly.
Reheating tips: You don’t really reheat these, but if the filling has been in the fridge and is too firm, let it sit at room temperature for 10 minutes before serving. You can also microwave it for 5 seconds to soften it up.
How flavors develop: The filling actually tastes better after it sits in the fridge for a few hours. The spices meld together and the pumpkin flavor becomes more pronounced. So if you’re making the filling ahead, you’re actually doing yourself a favor. Just don’t fill the cones until you’re ready to serve.
I’ve found that these cones are a hit at any gathering where kids are involved. They’re easy to grab, not too messy, and the customizable toppings make everyone feel like they’re getting exactly what they want. Plus, they look so cute on a platter that adults can’t resist them either.
Nutritional Information & Benefits
Here’s an approximate breakdown per cone (based on 12 cones with standard toppings):
- Calories: 120-150
- Fat: 7-9g
- Carbohydrates: 14-18g
- Protein: 2-3g
- Fiber: 1g
- Sugar: 8-10g
Health benefits: Pumpkin is packed with vitamin A, which is great for eye health and immune function. It’s also high in fiber and low in calories, so you’re getting some good nutrition in a fun package. The cream cheese adds calcium and protein, which helps keep everyone full longer.
Dietary considerations: This recipe can be made gluten-free with certified gluten-free cones, dairy-free with vegan cream cheese, and lower in sugar by using a sugar substitute. It’s naturally vegetarian and can be made vegan with a few swaps.
Potential allergens: This recipe contains dairy (cream cheese) and gluten (waffle cones). It may also contain nuts depending on your toppings. Always check labels if you’re serving someone with allergies.
I love that this snack feels indulgent but actually has some nutritional value. It’s not a health food, but it’s a lot better than handing out candy bars. And when my kids are eating pumpkin instead of processed snacks, I feel pretty good about it.
Conclusion
These Kid-Approved Mini Pumpkin Charcuterie Cones are more than just a recipe—they’re a way to make snack time fun without a lot of work or expense. The creamy pumpkin filling, the crunchy cone, and the endless topping possibilities make them a hit with kids and adults alike. Whether you’re making them for a Halloween party, a Thanksgiving gathering, or just a regular Tuesday afternoon, they always bring smiles.
I love that this recipe came from an unexpected source—a kindergarten teacher in a hardware store—because it reminds me that the best ideas often come from the most unlikely places. And now it’s become a tradition in our house, something my kids ask for every fall. I hope it becomes one in yours too.
Try these cones and let me know how they turn out! Leave a comment below with your favorite topping combinations, or tag me in your photos on social media. I’d love to see how you make them your own. Happy snacking!
Frequently Asked Questions
Can I make these cones ahead of time?
You can make the filling up to two days ahead and store it in the fridge. But wait to fill the cones until just before serving. Filled cones get soft after about an hour.
Can I use regular-sized waffle cones instead of mini ones?
Absolutely! Just use less filling per cone, or fill them all the way for a bigger serving. Regular cones hold more, so you might need to double the filling recipe.
What if I don’t have pumpkin pie spice?
No problem! Mix together 1/2 teaspoon cinnamon, 1/4 teaspoon nutmeg, 1/4 teaspoon ginger, and a pinch of cloves. That’s essentially pumpkin pie spice.
Can I freeze the filled cones?
I don’t recommend freezing filled cones because the cones will get soggy when they thaw. But you can freeze the filling in an airtight container for up to 3 months. Thaw in the fridge overnight and stir before using.
How do I keep the cones from getting soggy?
Pat your pumpkin puree dry with a paper towel before mixing to remove excess moisture. Also, don’t fill the cones until you’re ready to serve them. If you’re taking them to a party, transport the filling and cones separately and assemble on site.
Pin This Recipe!
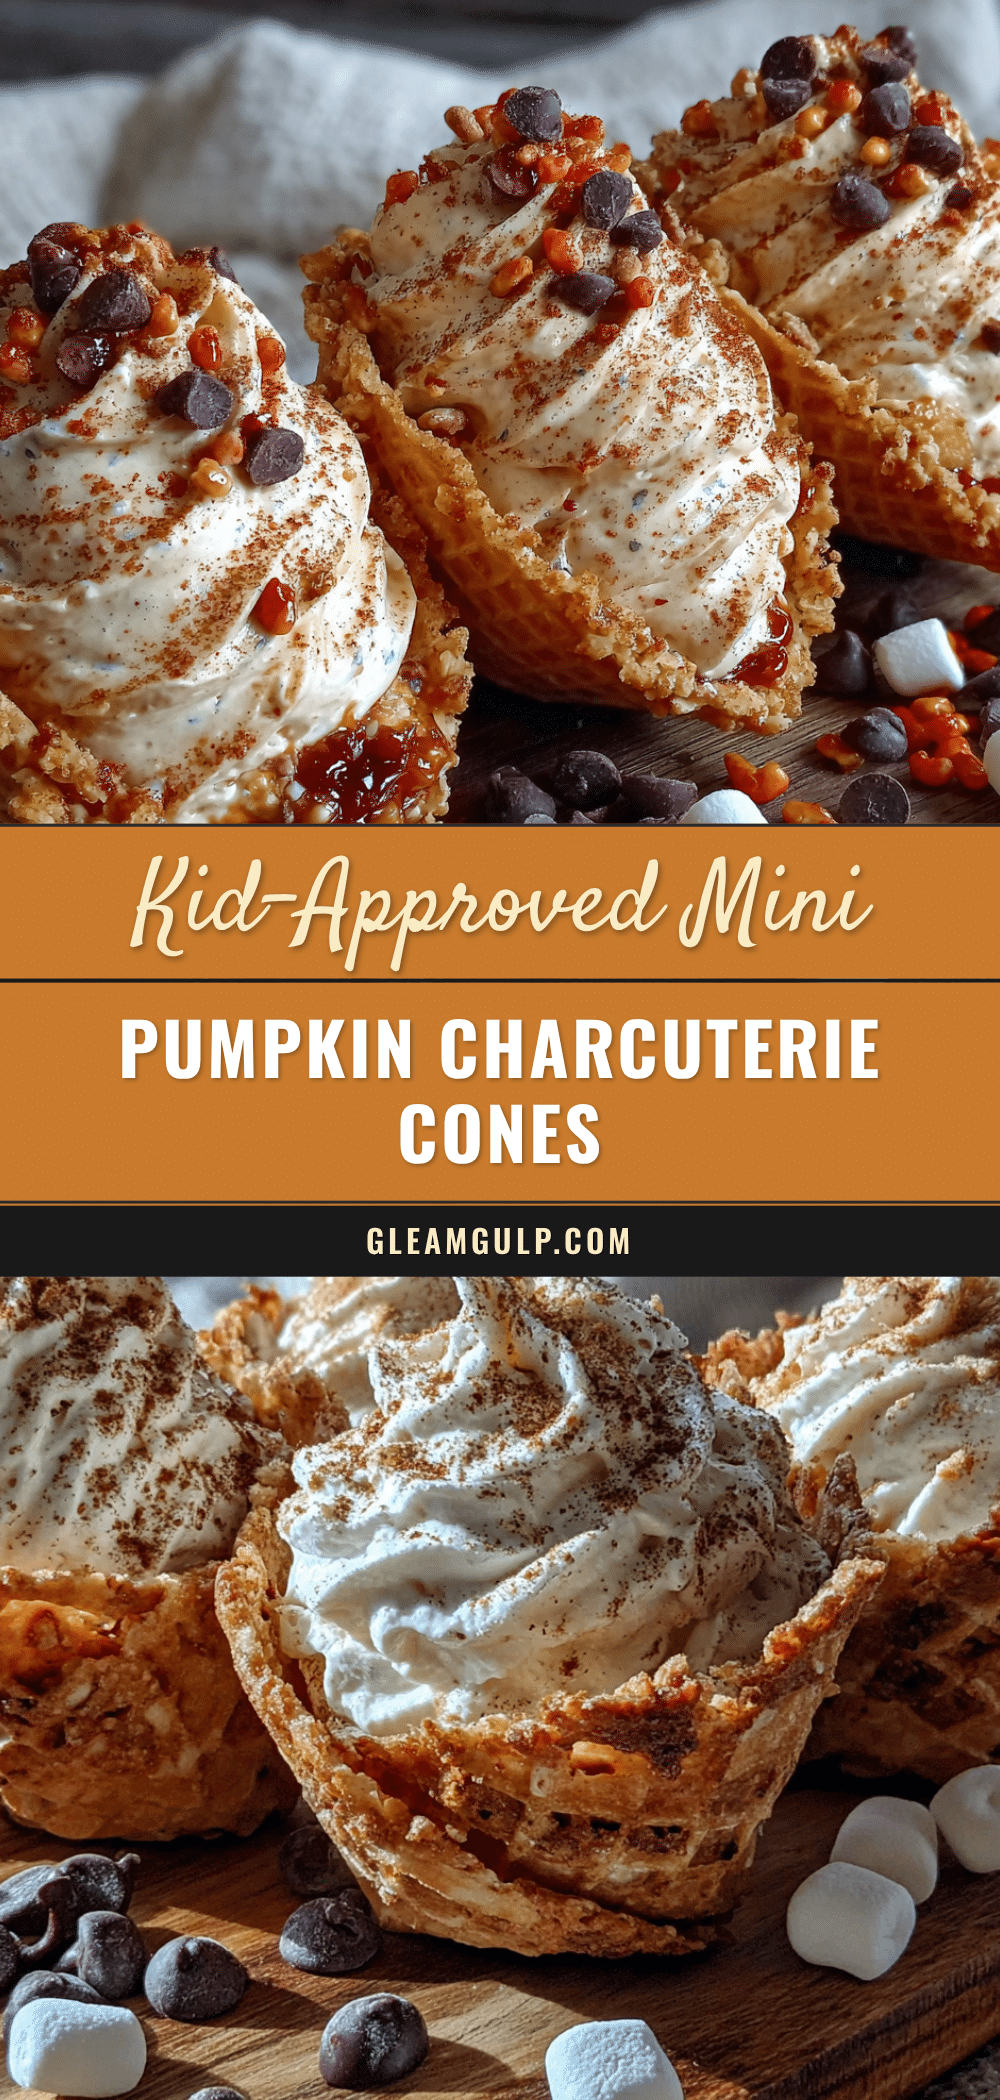
Perfect Kid-Friendly Mini Pumpkin Charcuterie Cones

These mini pumpkin charcuterie cones are a fun, no-bake snack featuring a creamy pumpkin filling in crunchy waffle cones, customizable with assorted toppings. Perfect for fall gatherings, Halloween parties, or a quick kid-friendly treat.
- Prep Time: 15 minutes
- Cook Time: 0 minutes
- Total Time: 15 minutes
- Yield: 12 servings 1x
- Category: Snack
- Cuisine: American
Ingredients
- 12 mini waffle cones
- 8 oz cream cheese, softened
- 1/2 cup pumpkin puree (not pumpkin pie filling)
- 1/4 cup powdered sugar
- 1/2 teaspoon pumpkin pie spice
- 1/4 teaspoon vanilla extract
- Assorted toppings: mini chocolate chips, crushed graham crackers, chopped pecans, dried cranberries, shredded coconut, mini pretzels, candy corn (optional)
- Optional: whipped cream
Instructions
- Soften the cream cheese by leaving it at room temperature for 30 minutes, or microwave on low for 10 seconds.
- In a mixing bowl, combine softened cream cheese, pumpkin puree, powdered sugar, pumpkin pie spice, and vanilla extract. Beat with a hand mixer on medium speed until smooth and creamy, about 2 minutes. Scrape down the sides halfway through.
- Taste the filling and adjust sweetness or spice as desired.
- Spoon the filling into a piping bag or a zip-top bag. If using a zip-top bag, squeeze filling into one corner and snip off about 1/2 inch from the tip.
- Hold each mini cone and pipe filling into the cone until about three-quarters full. Alternatively, use a small spoon to fill gently.
- Add toppings by dipping the top of the filled cone into a bowl of toppings or sprinkling them on. Let kids customize their own cones.
- Optional: Add a small dollop of whipped cream on top before adding toppings.
- Serve immediately for best crunch. If making ahead, store filling in the fridge and fill cones just before serving.
Notes
Pat pumpkin puree dry with a paper towel to prevent soggy cones. For dairy-free, use vegan cream cheese and coconut cream. For gluten-free, use certified gluten-free waffle cones. Filling can be made up to 2 days ahead; store in fridge and let sit at room temperature for 10 minutes before piping.
Nutrition
- Serving Size: 1 cone
- Calories: 135
- Sugar: 9
- Sodium: 120
- Fat: 8
- Saturated Fat: 4
- Carbohydrates: 16
- Fiber: 1
- Protein: 2.5
Keywords: pumpkin charcuterie cones, kid-friendly snack, fall snack, no-bake, Halloween treat, mini cones


