Love this? Save it for later!
Share the inspiration with your friends
I wasn’t supposed to be in that kitchen. My neighbor, an older woman named Gloria who keeps to herself mostly, had asked me to grab her mail while she was away visiting her daughter. That was the deal. But when I dropped off the pile of envelopes on her counter, I saw them—a dozen tiny heart-shaped cupcakes sitting on a cooling rack, still warm, with the most perfect swirl of cream cheese frosting on top. The red velvet color was so deep and rich it looked almost velvety (go figure), and I honest to goodness stood there staring at them like a weirdo.
“Oh, those,” Gloria said when she caught me. She waved her hand like it was nothing. “Just something I threw together.” She threw together the most gorgeous cupcakes I’d ever seen. Meanwhile, I’d been searching for the perfect red velvet heart cupcake recipe for months, and here was my quiet neighbor casually making them like it was no big deal. I asked if she’d share her secret, and she laughed—said the secret was not overthinking it. That’s stayed with me, you know? Sometimes the best recipes come from people who aren’t trying to prove anything.
So I watched her make another batch a few weeks later, and I took notes like a crazy person. She used buttermilk, a touch of cocoa powder (not too much—she was very specific about that), and a little vinegar that makes the crumb so tender it almost melts. The cream cheese frosting? She wouldn’t give me exact measurements at first. “You just know when it’s right,” she said. Eventually I pried the details out of her, and now I’m passing them along to you. Maybe you’ve been there too—chasing a recipe that feels just out of reach. Well, this one’s worth the chase.
Why You’ll Love This Recipe
Let me tell you something honestly—I’ve tested this recipe more times than I care to admit. I’ve burned batches, I’ve had frosting that was too runny, I’ve had cupcakes that stuck to the pan like they were glued down. But after all that trial and error, this version is the one I keep coming back to. It’s the one that makes people close their eyes when they take a bite, and that’s not an exaggeration.
- Quick & Easy : From start to finish, you’re looking at about 45 minutes. That includes baking and frosting. Perfect for when you need something special but don’t have all afternoon.
- Simple Ingredients : No weird extracts or hard-to-find items. You probably have most of this in your pantry right now. The only specialty item is buttermilk, and honestly, you can make that yourself.
- Perfect for Valentine’s Day : I mean, heart-shaped red velvet cupcakes with cream cheese frosting? That’s basically the official dessert of February 14th. But honestly, I make these for birthdays, anniversaries, or just because it’s Tuesday.
- Crowd-Pleaser : Kids love the color, adults love the flavor, and everyone loves cream cheese frosting. These disappear fast at parties.
- Unbelievably Delicious : The texture is what gets me every time. The crumb is so soft and tender, and the frosting is tangy and sweet in exactly the right balance. It’s comfort food that looks fancy.
What makes this different from other red velvet recipes? Two things. First, the ratio of cocoa to flour is carefully balanced—enough to give that subtle chocolate flavor, but not so much that it overpowers the tanginess. Second, the vinegar and buttermilk work together to create a reaction that makes the cupcakes incredibly moist. This isn’t just another red velvet recipe. It’s the one I’d make for my own birthday.
What Ingredients You Will Need
This recipe uses simple, everyday ingredients that come together to create something truly special. The magic is in how they interact—the acidity of the buttermilk and vinegar reacts with the baking soda to give the cupcakes their signature tender crumb and beautiful rise. Here’s what you’ll need:
For the Cupcakes
- 1 1/2 cups all-purpose flour (spooned and leveled—don’t scoop straight from the bag)
- 1 cup granulated sugar
- 1 tablespoon unsweetened cocoa powder (I prefer Hershey’s or Droste for a deeper color)
- 1/2 teaspoon baking soda
- 1/2 teaspoon salt
- 1/2 cup buttermilk, room temperature (adds tanginess and moisture)
- 1/2 cup vegetable oil (keeps the cupcakes soft for days)
- 1 large egg, room temperature
- 1 teaspoon vanilla extract
- 1 tablespoon red food coloring (gel works best—liquid is fine too)
- 1/2 teaspoon white vinegar
For the Cream Cheese Frosting
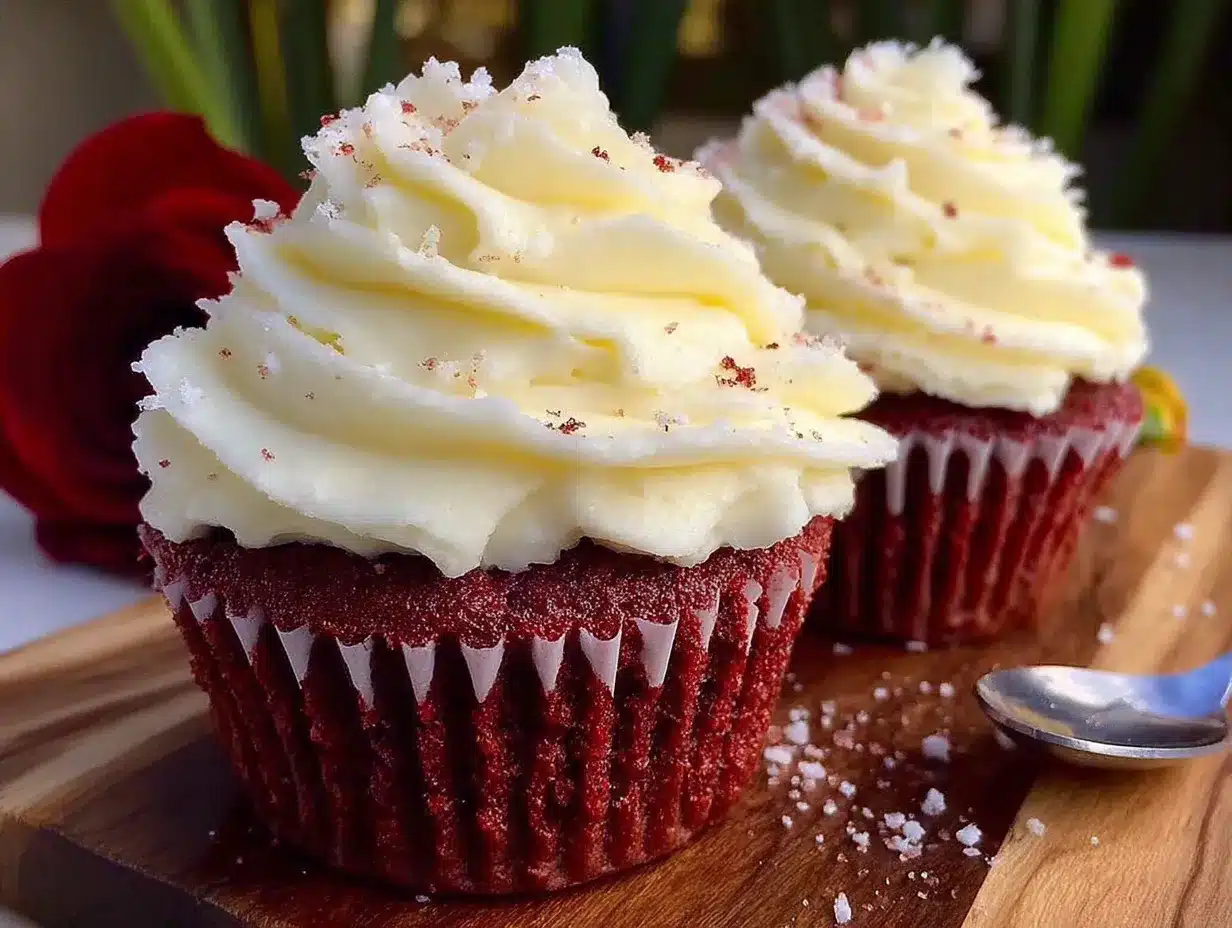
- 8 ounces cream cheese, softened (use full-fat for the best flavor and texture)
- 1/2 cup unsalted butter, softened
- 3 cups powdered sugar, sifted (prevents lumps)
- 1 teaspoon vanilla extract
- Pinch of salt
A quick note on buttermilk—if you don’t have any on hand, you can make your own by adding 1/2 tablespoon of lemon juice or white vinegar to 1/2 cup of regular milk. Let it sit for 5 minutes, and you’re good to go. I’ve done this more times than I can count, and it works perfectly.
For the food coloring, I recommend gel food coloring because it gives a more vibrant red without thinning the batter. But regular liquid coloring works fine too—just be aware you might need a little more to get that deep red color. I’ve used both, and honestly, the cupcakes turn out delicious either way.
Equipment Needed
You don’t need a fancy kitchen to make these cupcakes, which is one of the reasons I love this recipe. Here’s what you’ll need:
- Heart-shaped cupcake pan (or a regular muffin tin—I’ll explain how to adapt)
- Heart-shaped silicone baking cups (optional but highly recommended for easy release)
- Mixing bowls (one large, one medium)
- Whisk or electric hand mixer
- Measuring cups and spoons
- Rubber spatula
- Piping bag with a star tip (or a zip-top bag with the corner snipped off)
- Cooling rack
If you don’t have a heart-shaped pan, don’t worry. You can use a regular muffin tin and just arrange the cupcakes in a heart shape on a platter when serving. Or, you can bake them in heart-shaped silicone molds that sit inside a regular pan. I’ve done both, and the silicone cups make cleanup so much easier. Plus, the cupcakes pop right out without sticking.
Preparation Method
Alright, let’s get to the good part. Here’s how to make these perfect red velvet heart cupcakes with cream cheese frosting. Take your time with each step—rushing is the enemy of good baking.
- Preheat your oven to 350°F (175°C). Line your heart-shaped cupcake pan with silicone baking cups or paper liners. If you’re using a regular muffin tin, line it with paper liners. Set aside.
- In a large mixing bowl, whisk together the flour, sugar, cocoa powder, baking soda, and salt. Make sure there are no lumps in the cocoa powder—I’ve made that mistake before, and you end up with little brown specks in your batter. Not the end of the world, but not ideal.
- In a separate medium bowl, whisk together the buttermilk, vegetable oil, egg, vanilla extract, and red food coloring. Whisk until everything is well combined and the color is uniform. This should take about 30 seconds. The mixture will be a vibrant, almost alarming shade of red—that’s exactly what you want.
- Pour the wet ingredients into the dry ingredients and stir gently with a rubber spatula. Mix just until the flour disappears. A few small lumps are fine—overmixing will make the cupcakes tough. I learned this the hard way when I made a batch that came out like little red hockey pucks.
- Add the white vinegar and stir once or twice to incorporate. You’ll see the batter start to bubble slightly—that’s the reaction between the vinegar and baking soda. This is what gives the cupcakes their tender crumb, so don’t skip this step.
- Divide the batter evenly among the prepared cups. Fill each cup about 2/3 full. For heart-shaped pans, you might need slightly less batter per cup since the cavities are smaller. I use a cookie scoop for this—it makes the process so much cleaner and more consistent.
- Bake for 15 to 18 minutes, or until a toothpick inserted into the center comes out clean. The tops should spring back when lightly touched. Start checking at 15 minutes—ovens vary, and you don’t want to overbake. The cupcakes should look set but still moist.
- Let the cupcakes cool in the pan for 5 minutes. This is important—if you try to remove them immediately, they might fall apart. After 5 minutes, transfer them to a wire rack to cool completely. Do not frost them while they’re still warm, or your frosting will turn into a melty mess. Trust me on this one.
While the cupcakes are cooling, make the cream cheese frosting. In a large bowl, beat the softened cream cheese and butter together until smooth and creamy. This should take about 2 minutes. Gradually add the sifted powdered sugar, one cup at a time, beating well after each addition. Add the vanilla extract and a pinch of salt, then beat for another minute until the frosting is light and fluffy. If it’s too thick, add a teaspoon of milk. If it’s too thin, add a little more powdered sugar.
Once the cupcakes are completely cool, it’s time to frost them. Fit a piping bag with a star tip and fill it with the cream cheese frosting. Pipe a generous swirl on top of each cupcake. If you don’t have a piping bag, you can use a zip-top bag with the corner snipped off, or simply spread the frosting with a knife. I won’t judge.
Cooking Tips & Techniques
Here are some things I’ve learned from making these cupcakes more times than I’d like to admit:
- Room temperature ingredients matter. Cold eggs and cold buttermilk won’t emulsify properly, which can lead to a denser texture. Take them out of the fridge about 30 minutes before you start baking.
- Don’t overmix the batter. I know I said this already, but it bears repeating. Overmixing develops the gluten in the flour, which makes the cupcakes tough and rubbery. Stir just until the flour is incorporated, and stop.
- Use a cookie scoop for even portions. This ensures all your cupcakes are the same size and bake evenly. Plus, it’s less messy than pouring from a bowl.
- Let the cupcakes cool completely before frosting. I made the mistake of frosting slightly warm cupcakes once, and the frosting slid right off. It was a sad, melty mess.
- For the best cream cheese frosting, use full-fat cream cheese. Low-fat versions have more water content, which can make the frosting runny. Also, make sure your cream cheese is truly softened—if it’s still cold, you’ll end up with lumpy frosting.
One more thing—if your frosting seems too soft, pop it in the fridge for 15 minutes before piping. It’ll firm up nicely and hold its shape better. I do this especially when the weather is warm.
Variations & Adaptations
One of the best things about this recipe is how adaptable it is. Here are some variations I’ve tried and loved:
- Gluten-Free Version : Substitute the all-purpose flour with a 1:1 gluten-free baking flour blend. I’ve used Bob’s Red Mill and King Arthur brands with great success. The texture is slightly more delicate, but still delicious.
- Dairy-Free Version : Use a dairy-free cream cheese alternative (like Tofutti or Kite Hill) and substitute the buttermilk with a mixture of plant-based milk and lemon juice. Use vegan butter in the frosting. The flavor will be slightly different, but still lovely.
- Natural Coloring Option : If you prefer to avoid artificial food coloring, you can use beet powder or natural red food coloring. The color won’t be as vibrant, but it’ll still be a pretty pinkish-red. I’ve done this for friends who prefer natural ingredients.
- Chocolate Lover’s Twist : Add 1/4 cup of mini chocolate chips to the batter before baking. The chocolate adds a nice texture contrast and makes these even more decadent.
- Lemon Cream Cheese Frosting : Add 1 tablespoon of lemon zest and 1 teaspoon of lemon juice to the cream cheese frosting. The citrus brightens up the flavor beautifully, especially in springtime.
I once made a batch with strawberry puree swirled into the frosting for a Valentine’s Day party. It was a total experiment, and honestly, it turned out amazing. Don’t be afraid to play around with this recipe—it’s forgiving enough to handle a little creativity.
Serving & Storage Suggestions
These cupcakes are best served at room temperature, which allows the crumb to be soft and the frosting to be creamy. If you’ve stored them in the fridge, let them sit out for about 20 minutes before serving.
For presentation, I like to arrange them on a cake stand or a pretty platter. A few fresh raspberries or strawberries scattered around the plate add a nice pop of color. You can also sprinkle a little red sanding sugar or edible glitter on top of the frosting for extra sparkle—perfect for Valentine’s Day.
These pair beautifully with a cup of hot coffee, a glass of cold milk, or even a dessert wine like Moscato. I’ve also served them alongside vanilla ice cream for an extra-indulgent dessert.
For storage, keep the cupcakes in an airtight container in the refrigerator for up to 5 days. The cream cheese frosting needs to be refrigerated, but the cupcakes themselves stay moist and delicious. If you’re making them ahead of time, you can freeze the unfrosted cupcakes for up to 3 months. Wrap them individually in plastic wrap and then place them in a freezer-safe bag. When you’re ready to serve, thaw them at room temperature and frost as directed.
One thing to note—the flavors actually develop and deepen after a day or two. I honestly think these cupcakes taste even better on day two. The red velvet flavor becomes more pronounced, and the crumb gets even more tender.
Nutritional Information & Benefits
While these are definitely a treat, here’s the estimated nutritional breakdown for one cupcake (based on 12 servings):
- Calories: Approximately 380
- Fat: 22g
- Saturated Fat: 10g
- Carbohydrates: 45g
- Sugar: 35g
- Protein: 4g
- Sodium: 220mg
On the bright side, the cream cheese frosting does provide some calcium and protein, and the cocoa powder contains antioxidants. But let’s be real—these are a celebration dessert, not a health food. And that’s perfectly okay. Sometimes you need a little red velvet magic in your life.
For those with dietary restrictions, please note this recipe contains gluten, dairy, and eggs. The variations section above offers some alternatives for common allergens.
Conclusion
I still think about that day in Gloria’s kitchen, standing there with her mail in my hands, completely captivated by those tiny heart-shaped cupcakes. She made them look so effortless, like anyone could do it. And you know what? She was right. This recipe is forgiving, it’s straightforward, and it delivers results that look like you spent hours in the kitchen.
Whether you’re making these for a romantic dinner, a Galentine’s Day party, or just because you’re craving something pink and delicious, I hope you’ll give them a try. Don’t be afraid to make them your own—add a little extra vanilla, swirl in some strawberry jam, or go wild with sprinkles. The beauty of baking is that you can always tweak things to suit your taste.
I’d love to hear how these turn out for you! Drop a comment below and let me know if you tried any variations, or if you have any questions. And if you share them on social media, tag me—I want to see your beautiful creations. Happy baking, friends!
Frequently Asked Questions
Can I make these cupcakes without a heart-shaped pan?
Absolutely! You can use a regular muffin tin and simply arrange the baked cupcakes in a heart shape on a serving platter. Or, you can use heart-shaped silicone baking cups inside a regular pan. The recipe works perfectly either way.
Why did my cream cheese frosting turn out runny?
This usually happens if the cream cheese is too soft or if you used low-fat cream cheese. Make sure your cream cheese is softened but still cool to the touch, and always use full-fat cream cheese for the best results. If your frosting is too runny, pop it in the fridge for 15-20 minutes to firm up.
Can I use natural food coloring instead of artificial?
Yes! Beet powder or natural red food coloring can be used, but keep in mind the color will be more of a pinkish-red rather than the deep, vibrant red you get from artificial coloring. The flavor won’t be affected.
How do I get my cupcakes to rise evenly?
Make sure your baking soda is fresh (test it by dropping a little into vinegar—it should fizz vigorously). Also, don’t overfill your cups—fill them only 2/3 full. Using a cookie scoop helps ensure even portions, which leads to even rising.
Can I freeze these cupcakes?
Yes! Freeze the unfrosted cupcakes for up to 3 months. Wrap them individually in plastic wrap and place them in a freezer-safe bag. Thaw at room temperature before frosting. I don’t recommend freezing frosted cupcakes, as the frosting can become grainy when thawed.
Pin This Recipe!
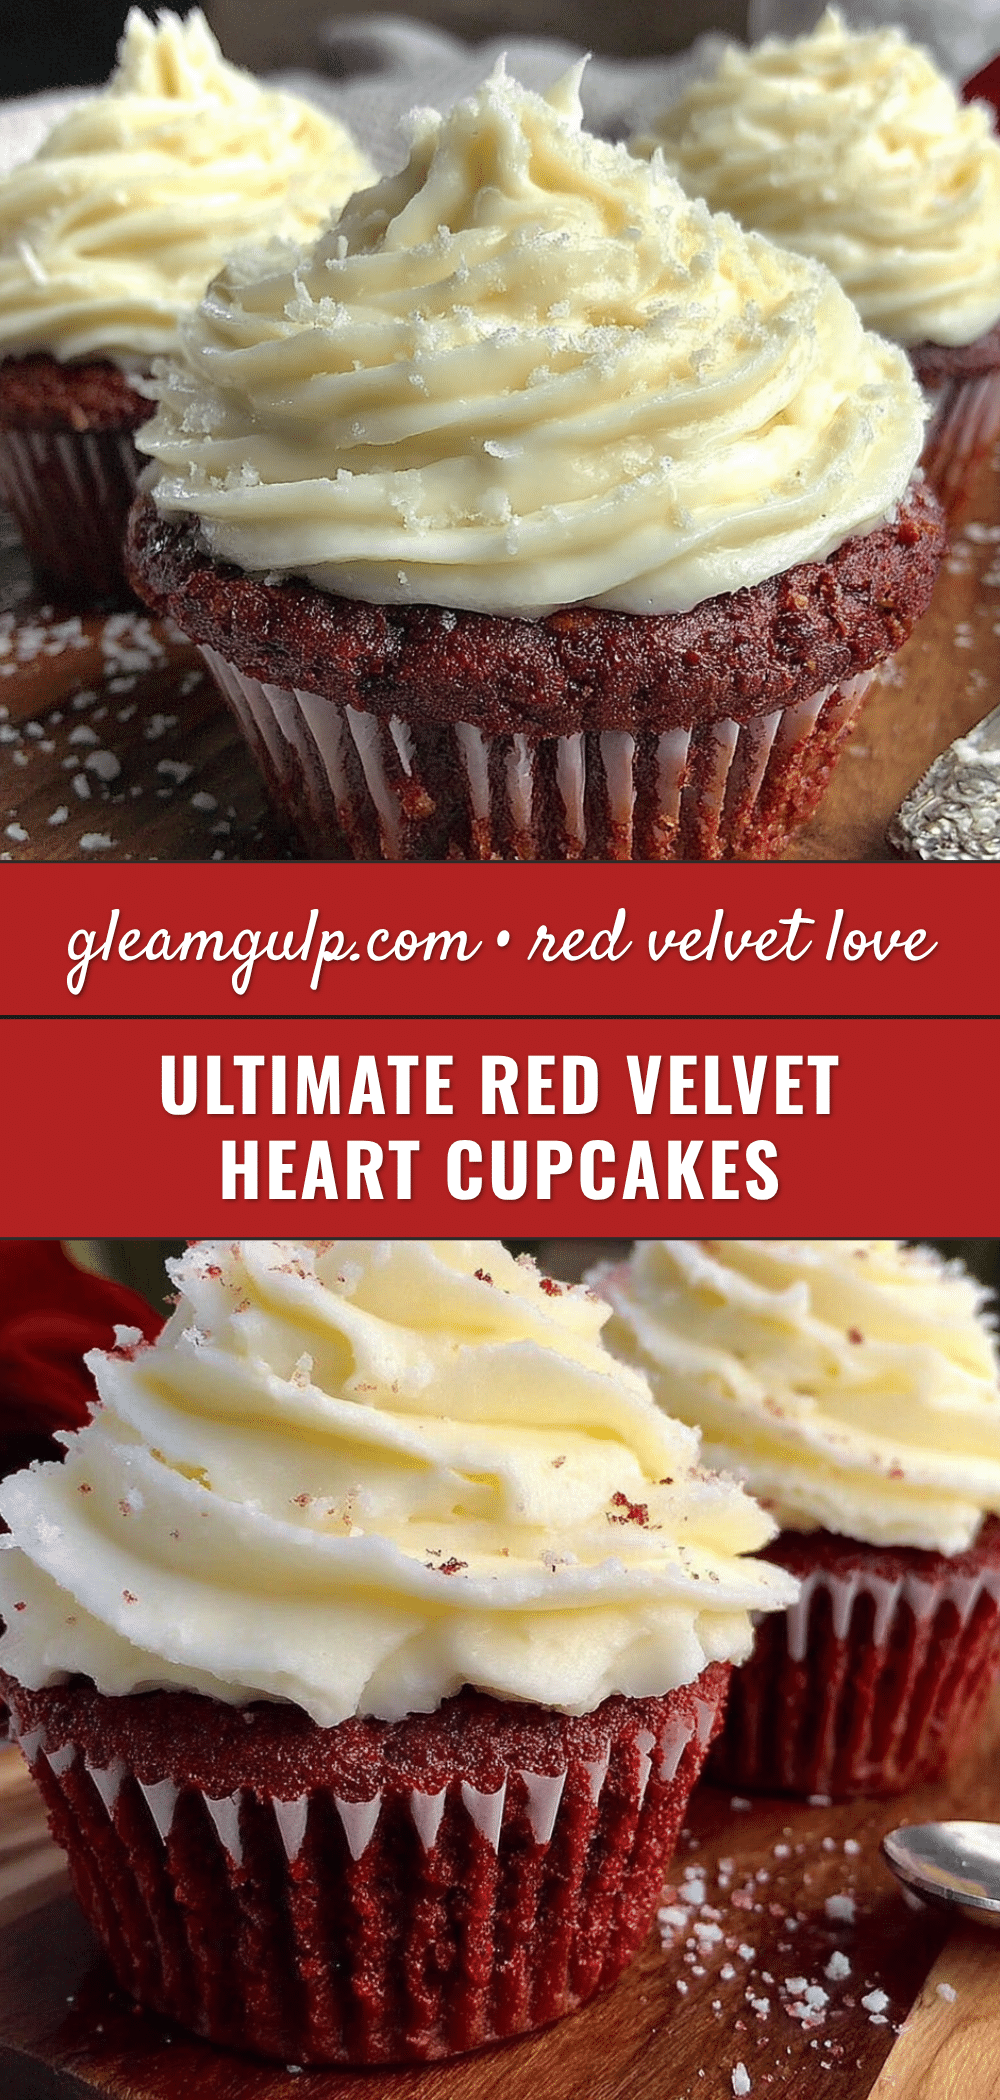
Perfect Red Velvet Heart Cupcakes: Best Cream Cheese Frosting Recipe
These red velvet heart cupcakes are incredibly moist and tender, topped with a tangy cream cheese frosting. They’re perfect for Valentine’s Day or any special occasion, and come together in just 45 minutes.
- Prep Time: 15 minutes
- Cook Time: 18 minutes
- Total Time: 45 minutes
- Yield: 12 servings 1x
- Category: Dessert
- Cuisine: American
Ingredients
- 1 1/2 cups all-purpose flour (spooned and leveled)
- 1 cup granulated sugar
- 1 tablespoon unsweetened cocoa powder
- 1/2 teaspoon baking soda
- 1/2 teaspoon salt
- 1/2 cup buttermilk, room temperature
- 1/2 cup vegetable oil
- 1 large egg, room temperature
- 1 teaspoon vanilla extract
- 1 tablespoon red food coloring (gel preferred)
- 1/2 teaspoon white vinegar
- 8 ounces cream cheese, softened (full-fat)
- 1/2 cup unsalted butter, softened
- 3 cups powdered sugar, sifted
- 1 teaspoon vanilla extract
- Pinch of salt
Instructions
- Preheat your oven to 350°F (175°C). Line your heart-shaped cupcake pan with silicone baking cups or paper liners.
- In a large mixing bowl, whisk together the flour, sugar, cocoa powder, baking soda, and salt.
- In a separate medium bowl, whisk together the buttermilk, vegetable oil, egg, vanilla extract, and red food coloring until well combined.
- Pour the wet ingredients into the dry ingredients and stir gently with a rubber spatula until just combined. A few small lumps are fine.
- Add the white vinegar and stir once or twice to incorporate. The batter will start to bubble slightly.
- Divide the batter evenly among the prepared cups, filling each about 2/3 full.
- Bake for 15 to 18 minutes, or until a toothpick inserted into the center comes out clean. The tops should spring back when lightly touched.
- Let the cupcakes cool in the pan for 5 minutes, then transfer to a wire rack to cool completely.
- While the cupcakes are cooling, make the cream cheese frosting: In a large bowl, beat the softened cream cheese and butter together until smooth and creamy, about 2 minutes.
- Gradually add the sifted powdered sugar, one cup at a time, beating well after each addition. Add the vanilla extract and a pinch of salt, then beat for another minute until light and fluffy.
- Once the cupcakes are completely cool, fit a piping bag with a star tip and fill with the cream cheese frosting. Pipe a generous swirl on top of each cupcake.
Notes
Room temperature ingredients are important for proper emulsification. Don’t overmix the batter to avoid tough cupcakes. Let cupcakes cool completely before frosting. For best results, use full-fat cream cheese. If frosting is too soft, refrigerate for 15 minutes before piping. Cupcakes can be stored in an airtight container in the refrigerator for up to 5 days. Unfrosted cupcakes can be frozen for up to 3 months.
Nutrition
- Serving Size: 1 cupcake
- Calories: 380
- Sugar: 35
- Sodium: 220
- Fat: 22
- Saturated Fat: 10
- Carbohydrates: 45
- Protein: 4
Keywords: red velvet cupcakes, heart cupcakes, cream cheese frosting, Valentine's Day, easy dessert, homemade cupcakes


