Love this? Save it for later!
Share the inspiration with your friends
The woman at the farmers’ market watched me stare at her display of butternut squash for a solid minute. I was trying to remember if I had any oil left at home—honestly, my pantry was running on fumes that week. She didn’t say anything at first. Then she reached under her table and pulled out a small, misshapen pumpkin. “You don’t need oil to bake something good,” she said, tapping its dusty skin. “You just need the right attitude.”
I laughed, bought the pumpkin, and went home with no real plan. That chance encounter stuck with me, though. It got me thinking about all the ways we default to adding oil to baked goods without questioning it. I mean, I’d been making banana bread for years with a half-cup of vegetable oil, never once wondering if it was necessary. Turns out, it’s not. Not even a little bit.
This Healthy Greek Yogurt Pumpkin Bread came out of that conversation and a whole lot of trial and error in my tiny kitchen. The first attempt was a bit dry—okay, it was dry enough to use as a doorstop. But the second time, I swapped in Greek yogurt for the oil, and something clicked. The bread came out tender, moist, and actually better than my old oil-based recipe. No joke. My husband, who claims he can “always tell” when something is healthy, ate three slices before asking what was different.
Maybe you’ve been there too—staring at a recipe that calls for oil and wishing there was a lighter way to get that same comforting texture. Or maybe you just ran out of oil mid-recipe and need a backup plan. Either way, this recipe is for you. It’s the kind of bread that makes you feel good about eating a second slice, and honestly, that’s exactly what fall baking should be about.
Why You’ll Love This Recipe
Let me be straight with you—I’ve tested this recipe six times to make sure it actually works. Not because I’m a perfectionist, but because I needed to believe that oil-free baking could taste this good. Here’s why this Healthy Greek Yogurt Pumpkin Bread stands out from every other pumpkin bread recipe you’ve seen:
- No Oil Needed: Greek yogurt replaces every drop of oil, cutting the fat significantly without sacrificing moisture. You won’t miss it, I promise.
- Simple Ingredients: Everything in this recipe is a pantry staple. No weird flours, no specialty sweeteners—just real food you probably already have.
- Perfect for Fall Mornings: This bread is ideal for breakfast with coffee, an afternoon snack, or even dessert with a drizzle of maple glaze.
- Crowd-Pleaser: I brought this to a neighborhood brunch and three people asked for the recipe. Nobody guessed it was oil-free.
- Unbelievably Moist: The Greek yogurt plus pumpkin puree create this incredibly tender crumb that stays soft for days. It’s the kind of bread that makes you close your eyes after the first bite.
What makes this recipe different is the technique. Instead of relying on oil for fat and moisture, we’re using the protein and creaminess of Greek yogurt to do the heavy lifting. It’s not just healthier—it’s actually better. The yogurt adds a subtle tang that complements the pumpkin and warm spices beautifully.
This recipe isn’t just good for being healthy—it’s good, period. It’s comfort food reimagined, lighter but with the same soul-soothing satisfaction that makes pumpkin bread a fall classic. Perfect for impressing guests without stress, or turning a simple Tuesday into something memorable.
What Ingredients You Will Need
This recipe uses simple, wholesome ingredients to deliver bold flavor and satisfying texture without the fuss. Most of these are pantry staples, which makes this bread perfect for spontaneous baking.
For the Bread
- 1 ¾ cups (210g) all-purpose flour (or whole wheat pastry flour for a heartier texture)
- 1 teaspoon baking soda (make sure it’s fresh—this is crucial for rise)
- ½ teaspoon baking powder
- 2 teaspoons pumpkin pie spice (or 1 tsp cinnamon + ½ tsp nutmeg + ½ tsp ginger + ¼ tsp cloves)
- ½ teaspoon salt (I use fine sea salt)
- 1 cup (245g) pumpkin puree (not pumpkin pie filling—make sure it’s 100% pure pumpkin)
- ¾ cup (170g) plain Greek yogurt (full-fat or 2% works best; avoid non-fat for best texture)
- ¾ cup (150g) coconut sugar or brown sugar (packed lightly)
- 2 large eggs (room temperature for better mixing)
- 1 teaspoon vanilla extract
Optional Add-Ins
- ½ cup (60g) chopped walnuts or pecans (adds nice crunch)
- ⅓ cup (50g) dark chocolate chips (because everything is better with chocolate)
- 2 tablespoons maple syrup (for extra sweetness if you prefer a sweeter loaf)
I recommend using Fage or Chobani Greek yogurt for the best texture—they’re thick and creamy, which mimics oil perfectly. For the pumpkin puree, Libby’s is my go-to brand, but any 100% pure pumpkin works. If you’re using fresh pumpkin puree, make sure to drain any excess liquid by pressing it through a fine-mesh sieve or paper towels.
For a gluten-free version, swap the all-purpose flour with a 1:1 gluten-free baking blend that contains xanthan gum. I’ve tested this with King Arthur’s Measure for Measure flour and it worked beautifully. For a dairy-free option, use a thick coconut-based yogurt—just make sure it’s unsweetened and strained.
Equipment Needed
You don’t need fancy equipment for this recipe, which is part of its charm. Here’s what you’ll need:
- 9×5-inch loaf pan (standard size; glass or metal both work)
- Parchment paper (for easy removal—trust me on this)
- Two mixing bowls (one large, one medium)
- Whisk (for dry ingredients)
- Rubber spatula (for folding the batter)
- Measuring cups and spoons
- Kitchen scale (optional but recommended for accuracy)
- Cooling rack (prevents soggy bottom)
If you don’t have a 9×5-inch pan, you can use an 8×4-inch pan—just increase the baking time by about 10 minutes and check for doneness with a toothpick. I’ve also made these as muffins (see variations below), which only need about 18-22 minutes. A standard muffin tin works perfectly.
Pro tip: line your loaf pan with parchment paper, leaving overhang on the two long sides. This creates “handles” that let you lift the bread out cleanly. I learned this after destroying a perfectly good loaf trying to flip it out of the pan.
Preparation Method
Let me walk you through this step by step. I’ve included all the little details that make the difference between good pumpkin bread and absolutely perfect pumpkin bread.
- Preheat and Prep: Preheat your oven to 350°F (175°C). Position the rack in the center of the oven. Line your 9×5-inch loaf pan with parchment paper, leaving overhang on the long sides. Lightly spray the exposed ends with non-stick spray.
- Mix Dry Ingredients: In a medium bowl, whisk together the all-purpose flour, baking soda, baking powder, pumpkin pie spice, and salt. Whisk for about 20 seconds to aerate and distribute everything evenly. Set aside.
- Combine Wet Ingredients: In a large bowl, whisk together the pumpkin puree, Greek yogurt, coconut sugar (or brown sugar), eggs, and vanilla extract. Whisk until smooth and well combined—about 30 seconds. The mixture should look thick and creamy, like a smoothie that’s a bit too thick to drink.
- Fold Dry into Wet: Add the dry ingredients to the wet ingredients. Use a rubber spatula to fold gently—I’m talking about 10-12 strokes max. Stop as soon as you don’t see any more streaks of flour. Overmixing will make the bread tough and dense, and nobody wants that.
- Add Optional Mix-Ins: If you’re using nuts or chocolate chips, fold them in at the very end with about 3-4 gentle strokes. The batter should be thick and slightly lumpy—that’s exactly right.
- Transfer to Pan: Pour the batter into your prepared loaf pan. Use the spatula to spread it evenly into the corners. Give the pan a gentle tap on the counter to release any air bubbles.
- Bake: Bake for 50-60 minutes, or until a toothpick inserted into the center comes out clean or with just a few moist crumbs. The top should be golden brown and spring back when lightly pressed. If the top is browning too quickly (around 40 minutes), tent loosely with aluminum foil.
- Cool Properly: Let the bread cool in the pan on a wire rack for 15 minutes. Then use the parchment paper handles to lift it out and transfer it directly to the rack to cool completely. Don’t slice it while it’s warm—it will crumble. I know it’s tempting, but trust me on this.
One thing I learned the hard way: check your bread at 50 minutes, but don’t open the oven door too early. The first time I made this, I peeked at 35 minutes and the bread sank in the middle. Let it be. Let it bake.
Cooking Tips & Techniques
After six rounds of testing this recipe, I’ve collected a few hard-won lessons that will save you from my mistakes.
Don’t Overmix the Batter: This is the number one mistake people make with quick breads. Mix until the flour just disappears, then stop. Overmixing develops gluten, which makes the bread tough and rubbery. You want tender, not tough. I speak from experience—I ruined my second batch by being too aggressive with the whisk.
Room Temperature Ingredients Matter: Cold eggs and cold yogurt don’t mix well with the other ingredients. They create lumps and uneven texture. Take your eggs and yogurt out of the fridge about 30 minutes before you start baking. If you forget (which I do, constantly), place the eggs in a bowl of warm water for 5 minutes and microwave the yogurt for 10 seconds.
Check Your Baking Soda: Baking soda loses its potency over time. If your baking soda is more than six months old, it might not give your bread enough rise. Quick test: drop a teaspoon of baking soda into a small bowl of vinegar. If it fizzes vigorously, you’re good. If it barely bubbles, buy a new box.
Use the Toothpick Test Correctly: Insert a toothpick into the center of the bread—not the edge. If it comes out clean or with just a few moist crumbs, it’s done. If it’s wet with batter, give it another 5 minutes and check again. Also, check that the sides have pulled away from the pan slightly.
Let It Cool Completely: I know, I know. The smell of pumpkin bread fresh from the oven is almost unbearable. But slicing it warm will give you a crumbly mess. The bread continues to set as it cools, and the texture improves dramatically. Give it at least an hour on the cooling rack before you even think about cutting it.
Variations & Adaptations
This recipe is incredibly flexible. Here are some of my favorite variations:
Gluten-Free Version
Swap the all-purpose flour with a 1:1 gluten-free baking blend that contains xanthan gum. I’ve tested this with Bob’s Red Mill 1-to-1 Baking Flour and it worked perfectly. The texture is slightly more delicate, so handle the batter gently.
Dairy-Free Version
Use a thick, unsweetened coconut-based yogurt instead of Greek yogurt. I recommend So Delicious or Coyo brand. Make sure to drain any excess liquid from the yogurt before using—coconut yogurt can be thinner than Greek yogurt.
Pumpkin Muffins
Divide the batter among a 12-cup muffin tin lined with paper liners. Bake at 350°F (175°C) for 18-22 minutes. This is my go-to for meal prep—they freeze beautifully and are perfect for grab-and-go breakfasts.
Chocolate Chip Pumpkin Bread
Fold in ½ cup of dark chocolate chips along with the dry ingredients. The slight bitterness of dark chocolate pairs beautifully with the warm pumpkin spices. I’ve also tried white chocolate chips, and honestly, that’s even better if you have a sweet tooth.
Maple Glaze Option
Mix ½ cup powdered sugar with 2 tablespoons maple syrup and a splash of milk until smooth. Drizzle over the cooled bread for a bakery-style finish. This turns it into a proper dessert, and it’s absolutely worth the extra calories.
Serving & Storage Suggestions
This Healthy Greek Yogurt Pumpkin Bread is best served at room temperature or slightly warm. Toast a slice and spread it with a little butter or cream cheese for an extra treat. It’s perfect with a hot cup of coffee or chai tea in the morning.
Storing at Room Temperature: Wrap the cooled bread tightly in plastic wrap or aluminum foil and store at room temperature for up to 3 days. I actually think it tastes better on day two—the flavors have time to meld together.
Refrigerating: For longer storage, wrap the bread and refrigerate for up to 5 days. Let it come to room temperature before serving, or microwave individual slices for 15 seconds.
Freezing: This bread freezes beautifully. Wrap the cooled loaf in plastic wrap, then in aluminum foil, and freeze for up to 3 months. You can also slice it first and freeze individual slices wrapped in parchment paper—perfect for grabbing one slice at a time. Thaw at room temperature for about 30 minutes.
Reheating: Toast slices in a toaster or toaster oven for 3-4 minutes. The edges get slightly crispy while the inside stays soft and moist. This is my favorite way to eat leftovers.
One thing I love about this bread: the flavors actually improve overnight. The spices settle in, the yogurt tang mellows out, and the texture becomes even more tender. So don’t be disappointed if you can’t eat it all on day one—it’s even better on day two.
Nutritional Information & Benefits
Here’s the approximate nutritional breakdown for one slice (assuming 10 slices per loaf):
- Calories: 175
- Protein: 6g
- Carbohydrates: 32g
- Fiber: 2g
- Sugar: 14g
- Fat: 2g
- Saturated Fat: 0.5g
- Sodium: 210mg
This bread is significantly lower in fat than traditional pumpkin bread recipes, which often call for ½ cup of oil (that’s about 100g of fat total). By using Greek yogurt, we’ve cut the fat by over 80% while adding 6g of protein per slice.
Pumpkin itself is packed with vitamin A (over 200% of your daily needs per cup), fiber, and antioxidants. Greek yogurt adds probiotics and calcium. Together, they create a bread that’s not just delicious, but genuinely good for you.
This recipe is naturally vegetarian and can be made gluten-free and dairy-free with simple substitutions. It’s also lower in sugar than most pumpkin bread recipes, thanks to the natural sweetness of the pumpkin and the option to use coconut sugar, which has a lower glycemic index than regular sugar.
Conclusion
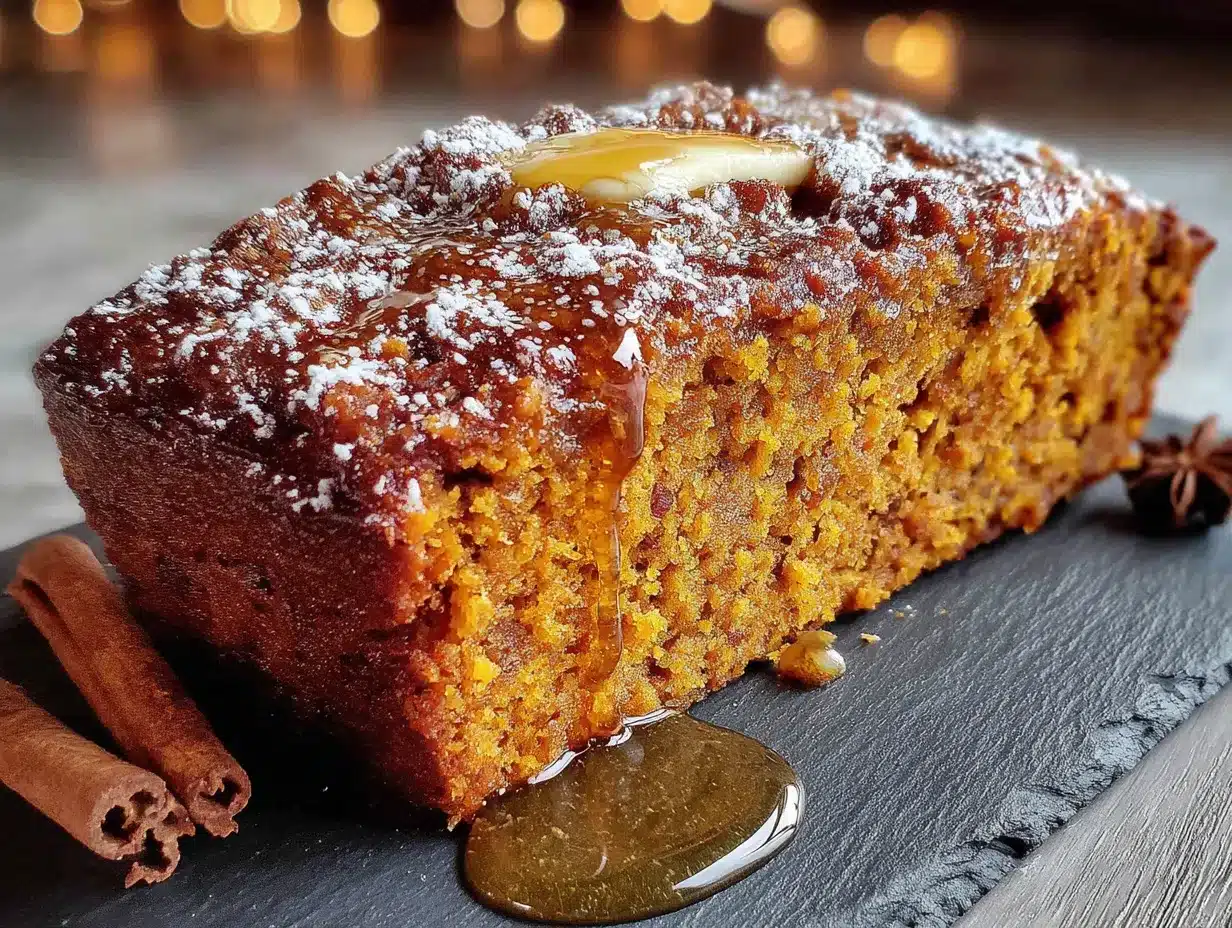
This Healthy Greek Yogurt Pumpkin Bread is proof that you don’t need oil to make something truly delicious. It’s moist, tender, packed with warm fall spices, and comes together in under an hour with ingredients you probably already have in your kitchen.
I love this recipe because it feels like a small victory every time I make it. It’s healthier than the alternative, but it doesn’t taste like a compromise. It tastes like comfort. It tastes like fall. It tastes like the kind of baking that makes your whole house smell like cinnamon and nutmeg and everything good in the world.
I’d love to hear how this turns out for you. Did you add chocolate chips? Try the gluten-free version? Make muffins instead of a loaf? Drop a comment below and let me know—I read every single one, and your feedback helps me create better recipes for you. And if you loved this, share it with a friend who needs a little fall comfort in their life.
Happy baking, friends. You’ve got this.
Frequently Asked Questions
Can I use pumpkin pie filling instead of pumpkin puree?
No, please don’t. Pumpkin pie filling is pre-sweetened and spiced, which will throw off the entire recipe. Stick with 100% pure pumpkin puree for the best results.
Why did my bread sink in the middle?
This usually happens if you open the oven door too early (before 45 minutes) or if your baking soda is old. Also, make sure your oven temperature is accurate—an oven thermometer is a cheap investment that saves a lot of heartache.
Can I make this recipe vegan?
Yes! Replace the eggs with flax eggs (1 tablespoon ground flaxseed + 3 tablespoons water per egg, let sit for 5 minutes) and use a thick dairy-free yogurt. The texture will be slightly denser but still delicious.
How do I know when the bread is done baking?
Insert a toothpick into the center—it should come out clean or with just a few moist crumbs. The top should be golden brown and spring back when lightly pressed. If the toothpick has wet batter on it, bake for another 5 minutes and check again.
Can I use whole wheat flour instead of all-purpose flour?
Yes, but the bread will be denser and slightly more crumbly. I recommend using whole wheat pastry flour if you can find it—it has a lighter texture than regular whole wheat flour. You can also use a 50/50 mix of whole wheat and all-purpose flour for a good balance.
Pin This Recipe!
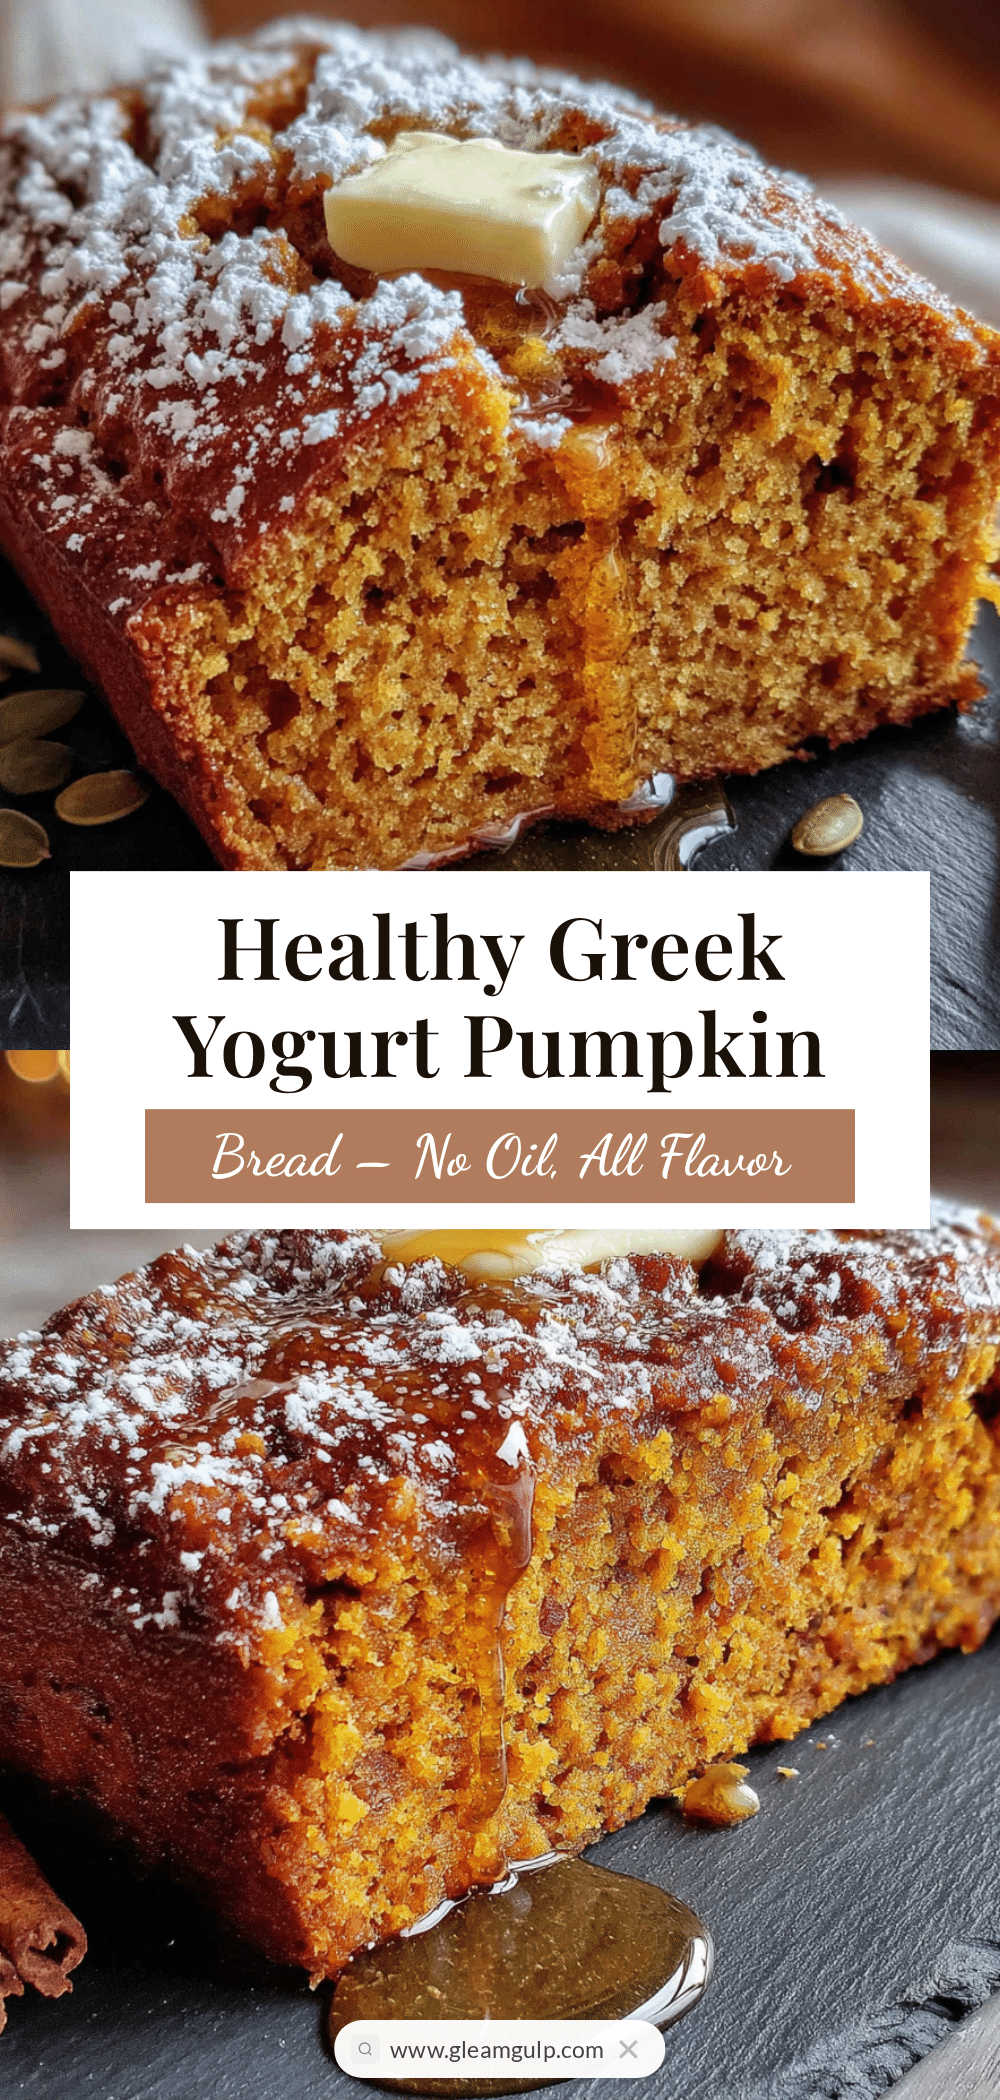
Healthy Greek Yogurt Pumpkin Bread: Easy Oil-Free Recipe
This Healthy Greek Yogurt Pumpkin Bread is proof that you don’t need oil to make something truly delicious. It’s moist, tender, packed with warm fall spices, and comes together in under an hour with ingredients you probably already have in your kitchen.
- Prep Time: 15 minutes
- Cook Time: 50-60 minutes
- Total Time: 1 hour 15 minutes
- Yield: 10 servings 1x
- Category: Bread
- Cuisine: American
Ingredients
- 1 ¾ cups (210g) all-purpose flour (or whole wheat pastry flour for a heartier texture)
- 1 teaspoon baking soda
- ½ teaspoon baking powder
- 2 teaspoons pumpkin pie spice (or 1 tsp cinnamon + ½ tsp nutmeg + ½ tsp ginger + ¼ tsp cloves)
- ½ teaspoon salt (fine sea salt)
- 1 cup (245g) pumpkin puree (100% pure pumpkin, not pumpkin pie filling)
- ¾ cup (170g) plain Greek yogurt (full-fat or 2% works best; avoid non-fat)
- ¾ cup (150g) coconut sugar or brown sugar (packed lightly)
- 2 large eggs (room temperature)
- 1 teaspoon vanilla extract
- ½ cup (60g) chopped walnuts or pecans (optional)
- ⅓ cup (50g) dark chocolate chips (optional)
- 2 tablespoons maple syrup (optional, for extra sweetness)
Instructions
- Preheat your oven to 350°F (175°C). Position the rack in the center of the oven. Line your 9×5-inch loaf pan with parchment paper, leaving overhang on the long sides. Lightly spray the exposed ends with non-stick spray.
- In a medium bowl, whisk together the all-purpose flour, baking soda, baking powder, pumpkin pie spice, and salt. Whisk for about 20 seconds to aerate and distribute everything evenly. Set aside.
- In a large bowl, whisk together the pumpkin puree, Greek yogurt, coconut sugar (or brown sugar), eggs, and vanilla extract. Whisk until smooth and well combined—about 30 seconds. The mixture should look thick and creamy.
- Add the dry ingredients to the wet ingredients. Use a rubber spatula to fold gently—about 10-12 strokes max. Stop as soon as you don’t see any more streaks of flour. Do not overmix.
- If using nuts or chocolate chips, fold them in at the very end with about 3-4 gentle strokes. The batter should be thick and slightly lumpy.
- Pour the batter into your prepared loaf pan. Use the spatula to spread it evenly into the corners. Give the pan a gentle tap on the counter to release any air bubbles.
- Bake for 50-60 minutes, or until a toothpick inserted into the center comes out clean or with just a few moist crumbs. The top should be golden brown and spring back when lightly pressed. If the top is browning too quickly (around 40 minutes), tent loosely with aluminum foil.
- Let the bread cool in the pan on a wire rack for 15 minutes. Then use the parchment paper handles to lift it out and transfer it directly to the rack to cool completely. Do not slice while warm.
Notes
Don’t overmix the batter—this is the number one mistake. Room temperature ingredients matter; take eggs and yogurt out 30 minutes before baking. Check your baking soda freshness. Let the bread cool completely before slicing to avoid crumbling. The flavors improve overnight.
Nutrition
- Serving Size: 1 slice
- Calories: 175
- Sugar: 14
- Sodium: 210
- Fat: 2
- Saturated Fat: 0.5
- Carbohydrates: 32
- Fiber: 2
- Protein: 6
Keywords: pumpkin bread, healthy pumpkin bread, oil-free pumpkin bread, Greek yogurt pumpkin bread, fall baking, easy pumpkin bread


