Love this? Save it for later!
Share the inspiration with your friends
The farmers market was closing in twenty minutes and I’d completely forgotten it was the last weekend for Roma tomatoes. Everyone else had shown up at dawn with their canvas bags and detailed shopping lists. I showed up at 5:45 PM in a panic, still wearing my gardening gloves from a completely different project that had gone sideways earlier that day. The vendors were already packing up their wooden crates, and I spotted one older farmer with a weathered face who still had a decent pile of tomatoes left. “How many you got?” I asked, probably too loudly. He laughed and said, “Enough for a small batch, maybe twenty pounds. They’re not perfect—some have blemishes.” I bought them all for half price, feeling like I’d won something I hadn’t even meant to compete for.
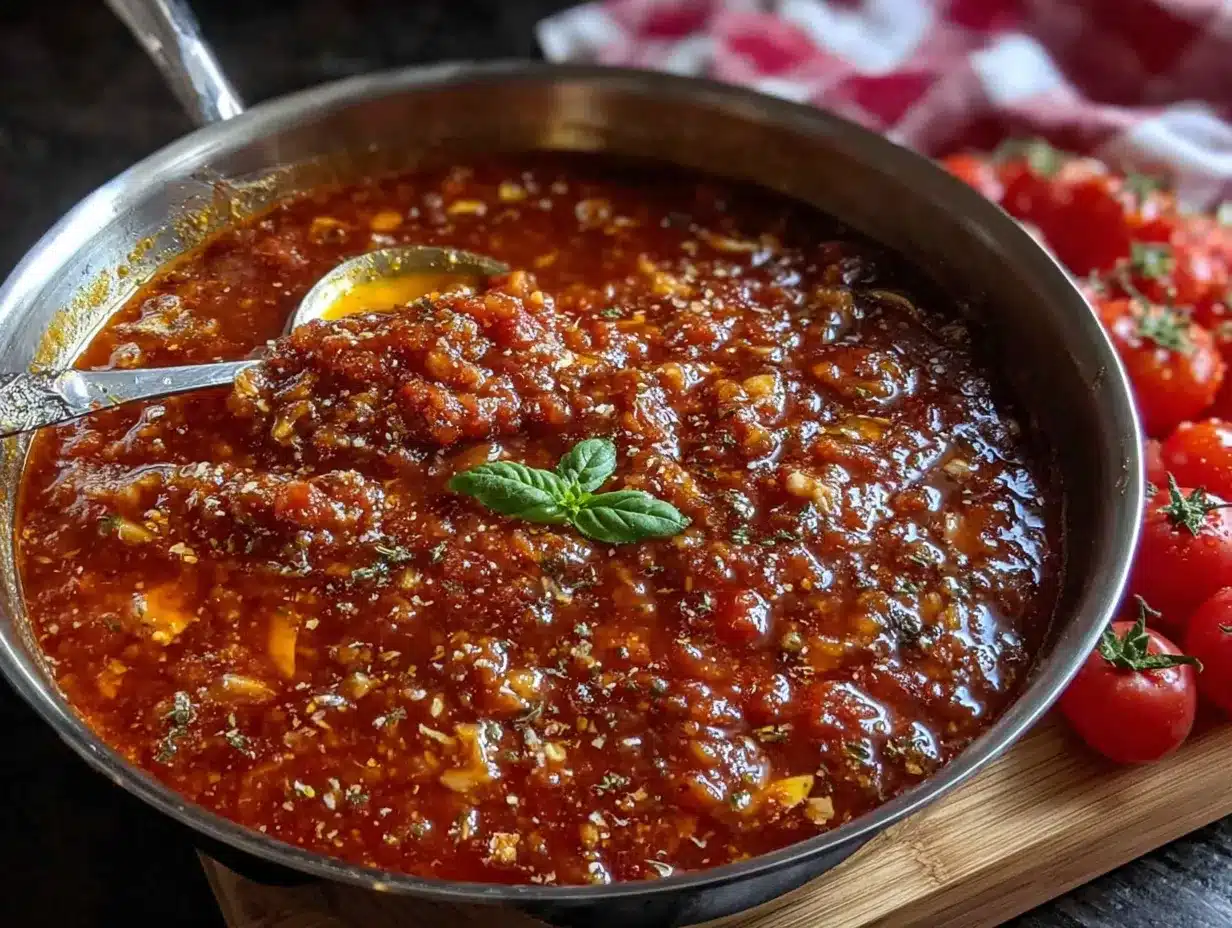
Honestly, I’d been meaning to try canning for years but kept putting it off. The whole process seemed intimidating—the water bath, the sterilization, the fear of botulism lurking in every jar. But that evening, with twenty pounds of imperfect tomatoes sitting on my counter, I had no choice. I mean, you can only eat so many tomato sandwiches. So I grabbed my largest roasting pan, cranked the oven, and figured I’d just see what happened. Let me tell you, that first batch of homemade roasted tomato sauce changed everything for me. It wasn’t complicated. It wasn’t fussy. It was just slow-roasted tomatoes with garlic and basil, reduced down to pure gold.
The sauce turned out so good that I gave jars to my neighbor Carol and she texted me three days later asking for the recipe. That’s when I knew I had something worth sharing. Maybe you’ve been there too—wanting to try canning but feeling overwhelmed by the big batches and the pressure to do it perfectly. This small batch recipe is for you. It’s forgiving, it’s flexible, and it turns out incredible every single time. I’ve been making it for three seasons now and I still get excited when tomato season rolls around.
Why You’ll Love This Recipe
This small batch homemade roasted tomato sauce for canning has become my go-to for so many reasons. I’ve tested it through multiple seasons, tweaked the roasting time, and even convinced my friend who’s a nutritionist to give it her stamp of approval. Here’s why it stands out from every other sauce recipe I’ve tried:
- Perfect for Beginners: This small batch approach means you’re not committing to forty pounds of tomatoes and a full day of work. It’s manageable, approachable, and way less intimidating than traditional canning recipes.
- Simple Ingredients: You only need tomatoes, garlic, onions, olive oil, basil, salt, and a splash of lemon juice for safe canning. No weird preservatives or hard-to-find items.
- Roasted, Not Boiled: Roasting concentrates the natural sugars and creates a depth of flavor that stovetop sauces just can’t match. The caramelization is honestly addictive.
- Small Batch = Less Stress: You’ll get about 4 to 5 pints per batch. That’s enough to stock your pantry without overwhelming your kitchen or your schedule.
- Crowd-Pleaser: I’ve given jars to neighbors, coworkers, and family members and everyone asks for more. Kids love it too—the roasting makes it naturally sweet.
What makes this recipe different from the rest is the roasting technique itself. Most canning recipes have you simmer tomatoes on the stovetop for hours, which can lead to a flat, one-dimensional flavor. Roasting at a high temperature caramelizes the natural sugars and concentrates the umami flavors in a way that feels almost luxurious. Plus, you don’t have to stand over the stove stirring for hours. The oven does the work while you go fold laundry or read a book. It’s the kind of sauce that makes you close your eyes after that first taste—rich, velvety, and full of summer sunshine.
What Ingredients You Will Need
This recipe uses simple, wholesome ingredients to deliver bold flavor and satisfying texture without the fuss. Most of these items are probably already in your kitchen, especially during tomato season. Here’s what you’ll need and why each ingredient matters:
For the Roasted Tomato Base
- Roma tomatoes, 5 pounds (about 20-25 medium tomatoes, halved lengthwise) — Roma tomatoes are ideal for sauce because they have fewer seeds and thicker flesh, which means less water and more concentrated flavor. I prefer locally grown ones when possible, but grocery store Romas work perfectly too.
- Garlic cloves, 8 to 10 (peeled, left whole) — Roasting whole garlic cloves mellows their sharpness and adds a sweet, nutty depth to the sauce. I’ve tried using pre-peeled garlic in a pinch and it works, but fresh cloves roasted in olive oil are noticeably better.
- Yellow onion, 1 large (roughly chopped into 2-inch chunks) — Onion adds natural sweetness and body to the sauce. You can use white or sweet onions if that’s what you have, but yellow onions give the best balanced flavor.
- Extra virgin olive oil, ¼ cup (plus more for drizzling) — Use a good quality olive oil here since it’s a primary flavor component. I like California Olive Ranch for everyday cooking.
- Fresh basil leaves, ½ cup (packed) — Fresh basil adds that classic Italian flavor that dried basil just can’t replicate. If you have a basil plant on your windowsill, even better.
- Kosher salt, 2 teaspoons (plus more to taste) — Salt is crucial for bringing out the natural sweetness of the tomatoes. I prefer Diamond Crystal kosher salt because it dissolves evenly.
- Black pepper, 1 teaspoon (freshly ground) — Adds a subtle warmth that complements the roasted flavors.
- Lemon juice, 2 tablespoons (bottled, not fresh) — This is important for safe canning. Bottled lemon juice has a consistent acidity level that ensures your sauce is shelf-stable. Fresh lemon juice varies too much in acidity for reliable canning.
For Canning
- Canning jars, 4 to 5 pint-sized (sterilized) — Pint jars are perfect for this small batch recipe. You’ll get about 4 to 5 jars depending on how much the sauce reduces.
- New canning lids and bands — Always use new lids for a proper seal. Bands can be reused as long as they’re not rusty.
- Water bath canner or large stockpot — A water bath canner is ideal, but any deep pot that fits your jars with at least 2 inches of water above them works.
Ingredient Selection Tip: Look for Roma tomatoes that are firm, deeply red, and heavy for their size. Avoid tomatoes with soft spots or cracks. If Roma tomatoes aren’t available, you can substitute with San Marzano tomatoes or any paste tomato variety. For a lower-acid sauce, you can reduce the lemon juice to 1 tablespoon per pint, but don’t skip it entirely—it’s essential for safe canning.
Substitution Guidance: If you’re not canning this sauce and plan to use it within a week, you can skip the lemon juice and use fresh lemon juice instead. You can also swap the basil for oregano or thyme if you prefer a different herb profile. For a smoky variation, try roasting the tomatoes with a halved chipotle pepper in adobo sauce—just remove it before blending.
Equipment Needed
You don’t need a fancy kitchen to make this recipe. Here’s what you’ll need to get started:
- Large rimmed baking sheet (half-sheet pan, 18×13 inches) — A rimmed sheet prevents tomato juices from spilling in your oven. I’ve used a cheaper aluminum pan before and it worked fine, but a heavy-duty one distributes heat more evenly.
- Parchment paper or silicone baking mat — This makes cleanup so much easier. The caramelized tomato juices can stick to the pan and create a mess without it.
- Food mill or blender — A food mill is traditional for removing tomato skins and seeds, but a regular blender works perfectly. I use my Vitamix and it gives me an ultra-smooth sauce in seconds.
- Large pot (at least 6-quart) — You’ll need this for simmering the sauce after blending and for the water bath canning process.
- Canning jars, lids, and bands — Pint-sized jars are perfect for this small batch. I buy my jars at the hardware store or online—they’re usually cheapest in multi-packs.
- Jar lifter and canning funnel — These are worth the investment. A jar lifter saves your fingers from boiling water, and a canning funnel makes filling jars mess-free.
- Clean kitchen towels — You’ll need these for drying jars and handling hot lids.
Budget-Friendly Options: If you don’t have a food mill, just use a blender and strain the sauce through a fine-mesh sieve to remove seeds and skins. You can also use a deep stockpot instead of a water bath canner—just place a folded kitchen towel at the bottom to keep jars from rattling against the pot.
Preparation Method
Let’s walk through this step by step. I’ve included time estimates and sensory cues so you know exactly what to look for at each stage.
Step 1: Prep the Tomatoes (10 minutes)
Preheat your oven to 400°F (200°C). Wash your Roma tomatoes thoroughly and pat them dry. Cut each tomato in half lengthwise—through the stem end if possible. Arrange the tomato halves cut-side up on your parchment-lined baking sheet. They should be close together but not overlapping. If you have extra tomatoes, use a second sheet or roast in batches.
Step 2: Add the Aromatics (5 minutes)
Scatter the peeled garlic cloves and chopped onion chunks around the tomatoes on the baking sheet. Drizzle everything with the ¼ cup of olive oil, then use your hands (or two spatulas) to gently toss everything together until coated. Sprinkle with 1 teaspoon of kosher salt and ½ teaspoon of black pepper. Spread everything back into an even layer.
Personal Tip: I once forgot to toss the garlic in oil and it burned while the tomatoes were still roasting. Now I make sure every clove is well-coated. Trust me on this one.
Step 3: Roast Until Caramelized (45-60 minutes)
Place the baking sheet in the preheated oven and roast for 45 to 60 minutes. You’re looking for the tomatoes to be wrinkled, slightly charred on the edges, and releasing their juices into the pan. The garlic should be golden and soft when pressed. The onions should be translucent with brown edges. Halfway through roasting, give the pan a gentle shake to redistribute everything.
Sensory Cue: Your kitchen will smell like the most incredible roasted tomato and garlic aroma. If you can smell burning, check the garlic—it might need to be moved to a cooler spot on the pan.
Step 4: Cool Slightly and Blend (10 minutes)
Remove the baking sheet from the oven and let it cool for about 10 minutes. This makes handling safer and prevents steam burns when blending. Working in batches, transfer the roasted tomatoes, garlic, onions, and all the pan juices to your blender or food mill. Add the fresh basil leaves. Blend until smooth, about 30 to 60 seconds. If you’re using a blender, leave the lid slightly ajar to let steam escape—otherwise the pressure can blow the lid off. Trust me, I learned this the messy way.
Step 5: Simmer the Sauce (20-30 minutes)
Pour the blended sauce into your large pot. Add the remaining 1 teaspoon of salt and ½ teaspoon of pepper. Bring the sauce to a gentle simmer over medium heat, then reduce the heat to low. Let it simmer uncovered for 20 to 30 minutes, stirring occasionally. The sauce will darken and thicken slightly. You’ll know it’s ready when it coats the back of a spoon and doesn’t run off immediately.
Step 6: Prepare for Canning (15 minutes)
While the sauce simmers, prepare your water bath canner. Fill it with enough water to cover your jars by at least 2 inches and bring it to a boil. Wash your jars, lids, and bands in hot soapy water, then rinse well. Keep the jars hot by placing them in the canner or in a 200°F oven. Place the lids in a small saucepan of hot water (not boiling) to soften the sealing compound.
Step 7: Fill and Process the Jars (25 minutes)
When your sauce is ready, stir in the 2 tablespoons of bottled lemon juice. Remove your hot jars from the canner using the jar lifter. Place the canning funnel on a jar and ladle the hot sauce into the jar, leaving ½ inch of headspace at the top. Use a clean chopstick or bubble remover to release any trapped air bubbles. Wipe the jar rim with a clean, damp towel to remove any sauce residue. Center a lid on the jar and screw on the band until fingertip-tight. Repeat with remaining jars.
Step 8: Process in Water Bath (35 minutes for pints)
Using your jar lifter, carefully lower the filled jars into the boiling water bath. Make sure they’re covered by at least 2 inches of water. Put the lid on the canner and process for 35 minutes (adjust for altitude if needed). When the time is up, turn off the heat and let the jars sit in the water for 5 minutes before removing them.
Step 9: Cool and Check Seals (12-24 hours)
Remove the jars from the canner and place them on a clean kitchen towel, leaving at least 1 inch of space between them. Don’t tighten the bands or move the jars. Let them cool completely for 12 to 24 hours. You’ll hear the satisfying “pop” sound as each jar seals. After cooling, press the center of each lid—if it doesn’t flex up and down, it’s sealed. Remove the bands and store the jars in a cool, dark place.
Cooking Tips & Techniques
I’ve made this sauce more times than I can count, and I’ve definitely learned a few things the hard way. Here are my best tips for success:
Don’t Skip the Roasting Step: I know it’s tempting to just dump everything in a pot and simmer it, but roasting truly transforms the flavor. The caramelization adds a sweetness and depth that you just can’t get any other way. One time I was in a hurry and skipped the roasting—the sauce was fine, but it was flat and unremarkable. Never again.
Watch the Garlic: Garlic burns faster than tomatoes. If your garlic cloves are small, check them at the 30-minute mark. Burnt garlic tastes bitter and will ruin your entire batch. I’ve had to toss a sauce before because I wasn’t paying attention. Now I place larger garlic cloves near the center of the pan where it’s slightly cooler.
Use a Food Mill If You Have One: A food mill removes the skins and seeds in one step, giving you a silky-smooth sauce without the extra work of peeling tomatoes. If you’re using a blender, the skins will be blended into the sauce, which adds fiber but can make the texture slightly grainy. Both methods work, but the food mill gives a more traditional sauce texture.
Don’t Overfill the Jars: Leaving proper headspace (½ inch) is crucial for creating a vacuum seal. Too little headspace and the sauce can bubble out during processing. Too much headspace and the jars might not seal properly. I use a ruler to measure if I’m unsure.
Altitude Matters: If you live above 1,000 feet in elevation, you need to adjust your processing time. At 1,001-3,000 feet, add 5 minutes. At 3,001-6,000 feet, add 10 minutes. Above 6,000 feet, add 15 minutes. I learned this the hard way when I moved to Colorado and my jars wouldn’t seal.
Multitasking Strategy: While the tomatoes are roasting, wash and sterilize your jars. While the sauce simmers, prepare your water bath canner. This way everything comes together at the same time and you’re not rushing at the end.
Variations & Adaptations
One of the best things about this recipe is how flexible it is. Here are some variations I’ve tried and loved:
Smoky Chipotle Tomato Sauce: Add 1 to 2 chipotle peppers in adobo sauce (minced) to the blender along with the roasted tomatoes. This gives the sauce a smoky, spicy kick that’s incredible on tacos or enchiladas. I made this version for a potluck and it disappeared in minutes.
Herb-Infused Sauce: Along with the basil, add a few sprigs of fresh oregano, thyme, or rosemary to the roasting pan. Remove the herb stems before blending. This creates a more complex, Mediterranean-inspired flavor profile that’s amazing on pasta or pizza.
Roasted Red Pepper Addition: Add 2 roasted red bell peppers (from a jar or roasted yourself) to the blender along with the tomatoes. This adds natural sweetness and a gorgeous deep red color. I love this version for a slightly sweeter sauce that kids adore.
Garlic Lovers’ Version: Double the garlic to 16 to 20 cloves. Roast them whole and blend into the sauce. The roasting mellows the garlic so it’s sweet and nutty rather than sharp. This is my personal favorite—I’m a garlic fiend.
No-Canning Option: If you’re not interested in canning, simply cool the sauce completely and store it in airtight containers in the refrigerator for up to 1 week, or freeze for up to 6 months. I often freeze sauce in silicone muffin trays for individual portions—perfect for quick weeknight dinners.
Serving & Storage Suggestions
This roasted tomato sauce is incredibly versatile. Here’s how I like to serve and store it:
Serving Temperature: Serve the sauce hot, straight from the jar after reheating. I recommend reheating it gently on the stovetop over medium-low heat, stirring occasionally. You can also microwave it in 30-second bursts, but stovetop reheating preserves the texture better.
Presentation Ideas: Toss the sauce with al dente pasta and finish with fresh basil and grated Parmesan cheese. It’s also amazing on pizza, as a dipping sauce for garlic bread, or spooned over roasted vegetables. For a simple appetizer, serve it warm with crusty bread and a drizzle of olive oil.
Complementary Dishes: This sauce pairs beautifully with spaghetti, penne, or rigatoni. It’s also fantastic on chicken Parmesan, eggplant Parmesan, or as a base for shakshuka. For a complete meal, serve with a simple green salad and a glass of Chianti.
Storage Instructions: Sealed jars can be stored in a cool, dark place (like a pantry or basement) for up to 18 months. Once opened, refrigerate and use within 1 week. If a jar doesn’t seal properly (the lid flexes up and down), store it in the refrigerator and use within 2 weeks.
Freezing Instructions: For freezer storage, pour the cooled sauce into freezer-safe containers or zip-top bags, leaving 1 inch of headspace for expansion. Frozen sauce will keep for up to 6 months. Thaw overnight in the refrigerator before using.
Flavor Development: Honestly, the sauce tastes even better after a few weeks in the jar. The flavors meld and deepen over time. I always try to save at least one jar for mid-winter when I’m craving a taste of summer.
Nutritional Information & Benefits
This homemade roasted tomato sauce is not just delicious—it’s also packed with nutritional benefits. Here’s a rough estimate per ½ cup serving:
| Nutrient | Amount |
|---|---|
| Calories | 80-100 |
| Total Fat | 5-7g |
| Saturated Fat | 0.5-1g |
| Sodium | 300-400mg |
| Total Carbohydrates | 8-10g |
| Dietary Fiber | 2-3g |
| Sugars | 5-7g |
| Protein | 2-3g |
| Vitamin C | 20-30% DV |
| Vitamin A | 15-20% DV |
| Potassium | 10-15% DV |
Health Benefits: Tomatoes are rich in lycopene, a powerful antioxidant that’s been linked to reduced risk of heart disease and certain cancers. Roasting actually increases the bioavailability of lycopene, making this sauce even more nutritious. Olive oil provides healthy monounsaturated fats, and garlic has natural anti-inflammatory properties. This sauce is naturally gluten-free, dairy-free, and vegan.
Dietary Considerations: This recipe is suitable for gluten-free, dairy-free, vegan, and paleo diets. For low-sodium diets, reduce or omit the added salt. For a lower-carb option, this sauce is naturally low in carbohydrates compared to jarred sauces that often have added sugar.
Allergen Information: This recipe is free from the top eight allergens (dairy, eggs, peanuts, tree nuts, soy, wheat, fish, and shellfish). However, always check your ingredient labels for potential cross-contamination if you have severe allergies.
Conclusion
This small batch homemade roasted tomato sauce for canning has become a staple in my kitchen, and I honestly think it will become one in yours too. It’s the kind of recipe that makes you feel accomplished without feeling overwhelmed—a rare combination in the world of home canning. The roasting technique does all the heavy lifting, turning simple ingredients into something that tastes like it came from a fancy Italian restaurant.
I love that this recipe is forgiving enough for beginners but delicious enough to impress experienced cooks. Whether you’re stocking your pantry for winter, looking for a homemade gift idea, or just want the best tomato sauce you’ve ever tasted, this recipe delivers every single time. And the best part? You can tweak it to make it your own—more garlic, less salt, extra herbs, a smoky kick. The possibilities are endless.
I’d love to hear how your batch turns out! Drop a comment below and let me know if you tried any variations or if this was your first time canning. Share a photo of your jars on Pinterest and tag me—I always love seeing your creations. Happy canning, and here’s to a pantry full of summer sunshine all year long!
Frequently Asked Questions
Can I use other types of tomatoes besides Roma?
Absolutely. Roma tomatoes are ideal because they’re meaty and have fewer seeds, but you can use any paste tomato variety like San Marzano or Amish Paste. If you use beefsteak or heirloom tomatoes, the sauce will be more watery and may need longer simmering time to thicken. Just be prepared for a slightly different texture.
How long does the canned sauce last?
Properly sealed jars of this roasted tomato sauce can be stored in a cool, dark place for up to 18 months. I always label my jars with the date so I know which ones to use first. After opening, refrigerate and use within 1 week. If you notice any signs of spoilage like mold, off-odors, or a broken seal, discard the sauce immediately.
Do I really need to use bottled lemon juice?
Yes, for safe canning, always use bottled lemon juice. Bottled lemon juice has a standardized acidity level (around 5% acidity) that ensures your sauce is acidic enough to prevent botulism growth. Fresh lemon juice varies too much in acidity to be reliable for canning. If you’re not canning and just making sauce for immediate use, fresh lemon juice is fine.
Can I double this recipe?
You can definitely double or triple this recipe, but you’ll need to adjust your roasting setup. Use multiple baking sheets and rotate them halfway through roasting. You may also need to increase the simmering time slightly to thicken the larger volume of sauce. Just make sure you have enough jars and a large enough water bath canner to process everything.
What if my jars don’t seal?
Don’t panic! If a jar doesn’t seal within 24 hours (the lid flexes up and down when pressed), simply store it in the refrigerator and use within 2 weeks. You can also reprocess the sauce with a new lid within 24 hours. Just empty the jar, reheat the sauce to boiling, sterilize a new jar and lid, and repeat the canning process. I’ve had to do this a few times and it works perfectly.
Pin This Recipe!
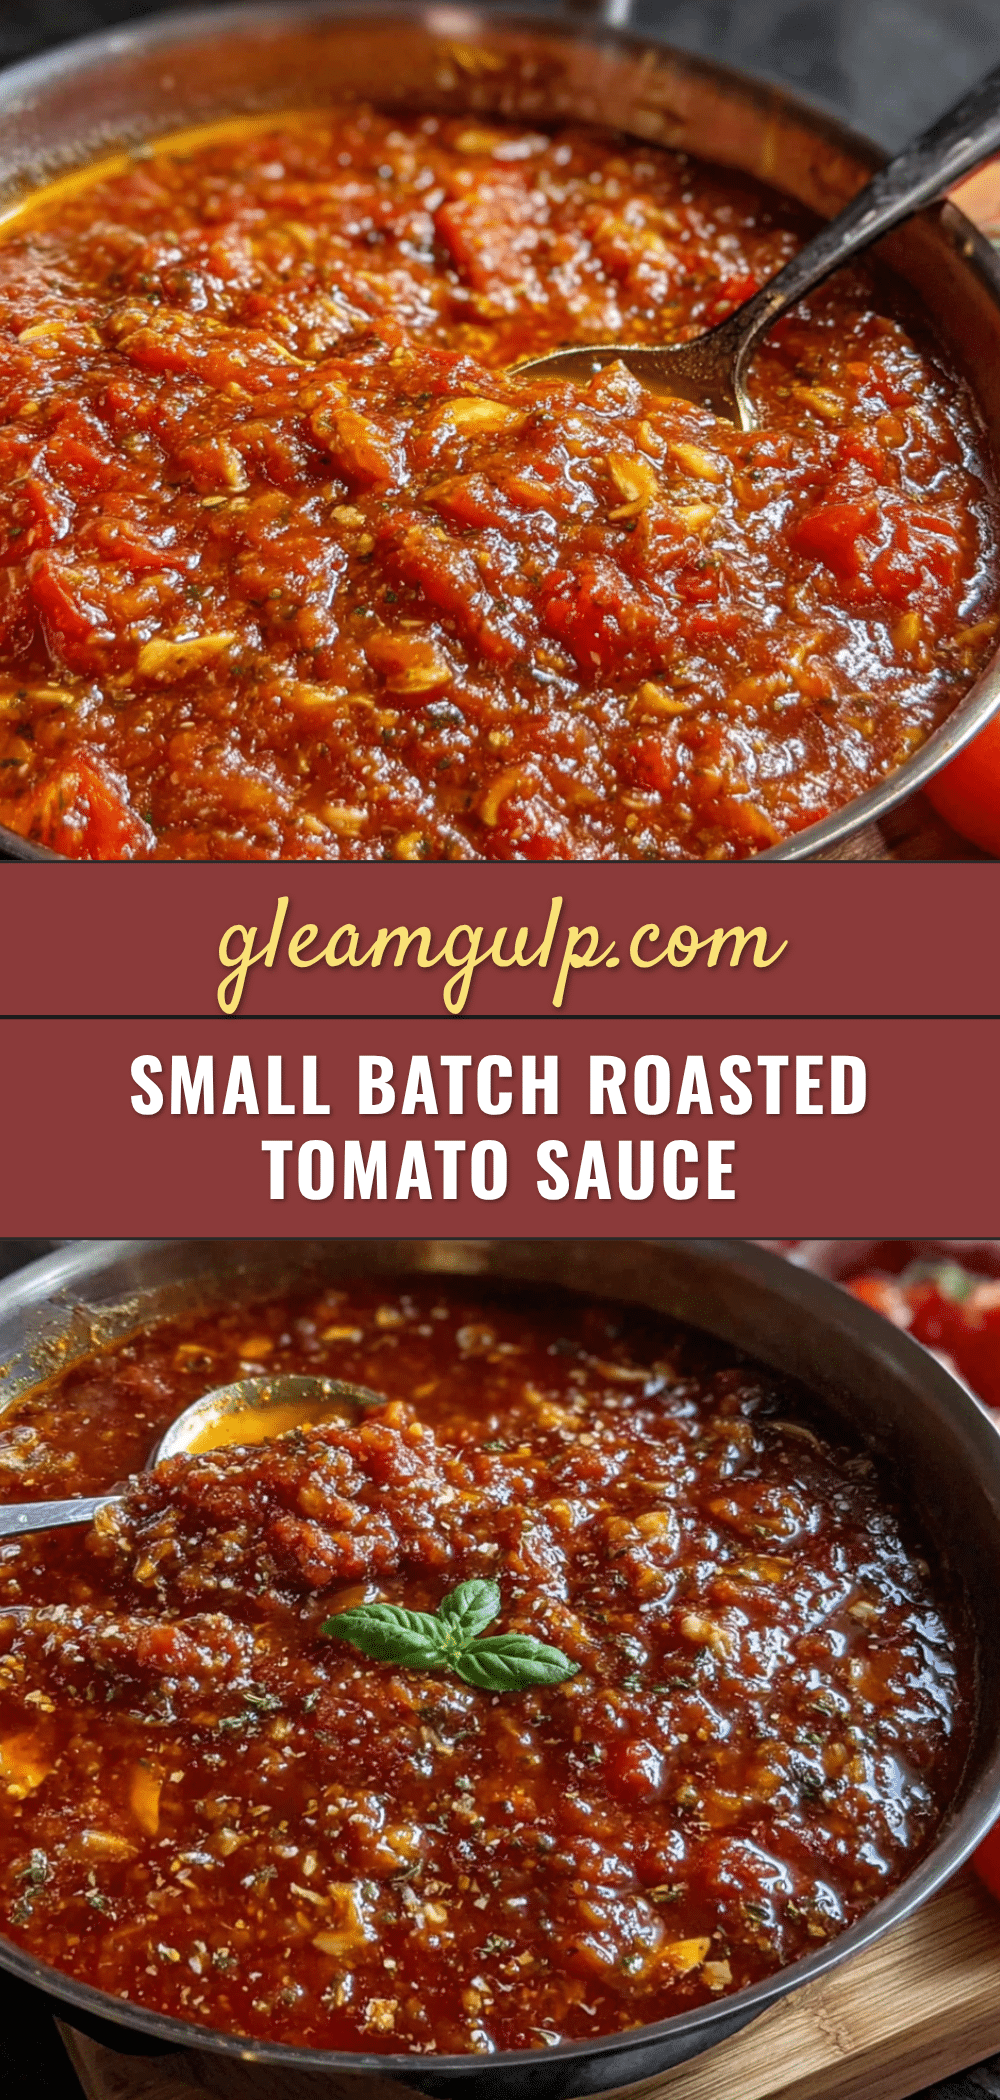
Easy Small Batch Homemade Roasted Tomato Sauce for Canning
This small batch roasted tomato sauce is perfect for beginners, using simple ingredients and a forgiving roasting technique to create a rich, caramelized sauce that’s ideal for canning. It yields about 4 to 5 pints and is packed with summer flavor.
- Prep Time: 15 minutes
- Cook Time: 1 hour 30 minutes
- Total Time: 2 hours 45 minutes
- Yield: 4 to 5 pints 1x
- Category: Sauce
- Cuisine: Italian-American
Ingredients
- 5 pounds Roma tomatoes (about 20–25 medium, halved lengthwise)
- 8 to 10 garlic cloves (peeled, left whole)
- 1 large yellow onion (roughly chopped into 2-inch chunks)
- ¼ cup extra virgin olive oil (plus more for drizzling)
- ½ cup fresh basil leaves (packed)
- 2 teaspoons kosher salt (divided)
- 1 teaspoon black pepper (freshly ground, divided)
- 2 tablespoons bottled lemon juice
- 4 to 5 pint-sized canning jars (sterilized)
- New canning lids and bands
Instructions
- Preheat oven to 400°F (200°C). Wash and dry Roma tomatoes, then cut each in half lengthwise. Arrange cut-side up on a parchment-lined baking sheet without overlapping.
- Scatter peeled garlic cloves and chopped onion around the tomatoes. Drizzle with ¼ cup olive oil, toss gently to coat, and spread into an even layer. Sprinkle with 1 teaspoon salt and ½ teaspoon pepper.
- Roast for 45 to 60 minutes until tomatoes are wrinkled, slightly charred on edges, and releasing juices. Garlic should be golden and soft, onions translucent with brown edges. Shake pan halfway through.
- Remove from oven and cool for 10 minutes. Working in batches, transfer roasted tomatoes, garlic, onions, pan juices, and fresh basil to a blender or food mill. Blend until smooth (30-60 seconds), leaving lid slightly ajar to release steam.
- Pour blended sauce into a large pot. Add remaining 1 teaspoon salt and ½ teaspoon pepper. Bring to a gentle simmer over medium heat, then reduce to low. Simmer uncovered for 20-30 minutes, stirring occasionally, until sauce coats the back of a spoon.
- While sauce simmers, prepare water bath canner with enough water to cover jars by 2 inches. Bring to a boil. Wash jars, lids, and bands in hot soapy water; keep jars hot in canner or 200°F oven. Place lids in hot water to soften sealing compound.
- Stir 2 tablespoons bottled lemon juice into the sauce. Using a jar lifter, remove hot jars from canner. Place canning funnel on a jar and ladle hot sauce into jar, leaving ½ inch headspace. Remove air bubbles with a chopstick. Wipe jar rim clean, center lid, and screw on band until fingertip-tight. Repeat with remaining jars.
- Lower filled jars into boiling water bath using jar lifter. Ensure jars are covered by at least 2 inches of water. Cover canner and process pints for 35 minutes (adjust for altitude if needed). Turn off heat and let jars sit in water for 5 minutes.
- Remove jars and place on a clean kitchen towel with 1 inch space between them. Do not tighten bands or move jars. Cool completely for 12-24 hours. Listen for ‘pop’ sounds as jars seal. After cooling, press center of each lid—if it doesn’t flex, it’s sealed. Remove bands and store in a cool, dark place.
Notes
For safe canning, always use bottled lemon juice (standardized acidity). If not canning, fresh lemon juice is fine. For altitude adjustments: at 1,001-3,000 feet add 5 minutes processing time; at 3,001-6,000 feet add 10 minutes; above 6,000 feet add 15 minutes. If jars don’t seal, refrigerate and use within 2 weeks or reprocess with new lids within 24 hours. The sauce tastes even better after a few weeks in the jar.
Nutrition
- Serving Size: ½ cup
- Calories: 80100
- Sugar: 57
- Sodium: 300400
- Fat: 57
- Saturated Fat: 0.51
- Carbohydrates: 810
- Fiber: 23
- Protein: 23
Keywords: roasted tomato sauce, small batch canning, homemade tomato sauce, Roma tomatoes, canning recipe, beginner canning, roasted sauce


