Love this? Save it for later!
Share the inspiration with your friends
This was supposed to be my famous homemade Lunchables—the one I’d perfected after a dozen tries. I had the crackers laid out, the cheese sliced just right, and the ham ready to go. But somewhere between answering my phone and tripping over the dog’s toy, I grabbed the wrong block of cheese. Instead of the mild cheddar I always use, I ended up with this sharp, crumbly aged stuff that I’d bought on a whim. I was already running late for a playdate, and honestly, I almost just threw the whole thing in the trash. But I didn’t. I assembled it anyway, grumbling the whole time.
That first bite? Let me tell you—I actually stopped mid-chew and stared at the box. The sharp cheese cut through the salty ham in a way that made the whole thing taste, well, intentional. My kid, who usually picks around anything “different,” polished off the entire box without a single complaint. I mean, I’d spent months trying to make the perfect copycat version, and it turned out I just needed to mess up the cheese selection. So this recipe isn’t about following rules—it’s about the happy accident that taught me to stop panicking when things go wrong in the kitchen. Maybe you’ve been there, staring at a mistake that ends up being the best thing you’ve ever made. That’s this Easy Copycat Lunchables Snack Box: Ham, Cheese & Crackers. It’s the lunchbox hero you didn’t know you needed.
Why You’ll Love This Recipe
Let’s be honest—store-bought Lunchables are convenient, but they’re also kind of a letdown. The cheese is plasticky, the crackers are often stale, and you’re paying a premium for a tiny portion. This Easy Copycat Lunchables Snack Box changes everything. I’ve tested this recipe about seven times now (yes, including the “wrong cheese” version), and I can confidently say it beats the original every single time.
- Quick & Easy: Comes together in under 10 minutes. Seriously—faster than driving to the store.
- Simple Ingredients: No fancy grocery trips needed. You likely already have everything in your kitchen right now.
- Perfect for Lunchboxes: Great for school lunches, road trips, picnics, or even a lazy afternoon snack at home.
- Crowd-Pleaser: Kids devour it, and adults secretly love it too. I’ve caught my husband stealing these from the fridge more than once.
- Unbelievably Delicious: The combination of quality ham, real cheese, and crunchy crackers is next-level comfort food. No weird aftertaste here.
What makes this version different from the rest? It’s the little things—like using a sharp cheddar that actually tastes like cheese, or adding a tiny smear of Dijon mustard inside the ham roll-ups for a grown-up twist. I’ve also figured out the perfect cracker-to-cheese ratio so you’re not left with a sad pile of crumbs at the end. This isn’t just another copycat recipe—it’s your best version. And honestly, it’s the kind of snack that makes you close your eyes after the first bite. Comfort food reimagined—simpler, fresher, and with the same soul-soothing satisfaction.
What Ingredients You Will Need
This recipe uses simple, wholesome ingredients to deliver bold flavor and satisfying texture without the fuss. Most of these are pantry staples, so you’re probably already halfway there.
- Ham: 8 ounces thinly sliced deli ham (I prefer Black Forest or honey ham for a slightly sweet-savory balance)
- Cheese: 6 ounces sharp cheddar cheese, sliced into 1-inch squares (or use your favorite—Swiss, provolone, or Gouda all work beautifully)
- Crackers: 1 cup mini round crackers (like Ritz or Club crackers—the buttery kind that hold up well)
- Dijon Mustard (optional): 1 tablespoon, for spreading (adds a tangy kick that cuts through the richness)
- Butter Lettuce Leaves (optional): 4-6 small leaves, for adding a fresh crunch
- Cherry Tomatoes (optional): 1/2 cup, halved, for a pop of color and acidity
Ingredient Selection Tips: I recommend using Boar’s Head or Applegate ham for best texture—they’re less watery than some store brands. For the cheese, look for a block of sharp cheddar and slice it yourself; pre-shredded or pre-sliced cheese often has anti-caking agents that affect the melt and texture. If you’re using butter lettuce, pick the smaller inner leaves—they’re more tender and hold up better in a lunchbox.
Substitution Guidance: Use turkey or roast beef instead of ham for a different protein. For a dairy-free option, swap the cheese with your favorite plant-based cheddar slices. Gluten-free? Choose gluten-free crackers (I like Simple Mills almond flour crackers). And if you’re not a mustard fan, skip it—or try a tiny smear of honey for a sweet-savory combo.
Equipment Needed
You don’t need much for this recipe, which is part of the beauty. Here’s what I use:
- Cutting Board: A medium-sized wooden or plastic board for slicing cheese and prepping ham
- Chef’s Knife: A sharp 8-inch knife makes clean slices through cheese and ham
- Small Mixing Bowl: If you’re making the mustard spread or washing lettuce
- Lunchbox or Airtight Container: I love the bento-style boxes with separate compartments—they keep everything from getting soggy. A simple glass meal prep container works too.
- Parchment Paper or Silicone Baking Mat: Optional, but helpful if you’re prepping multiple boxes at once and want to keep things organized
Budget-Friendly Options: You don’t need a fancy lunchbox. I’ve used old takeout containers (washed, of course) in a pinch. Just make sure the lid seals tightly so the crackers stay crunchy. And honestly, a butter knife works fine for slicing cheese if you don’t have a chef’s knife—just be patient with the cuts.
Personal Tip: I learned the hard way that prepping everything on a damp cutting board makes the cheese stick. Keep your board dry, and if you’re slicing multiple cheeses, wipe it down between types to avoid flavor mixing.
Preparation Method
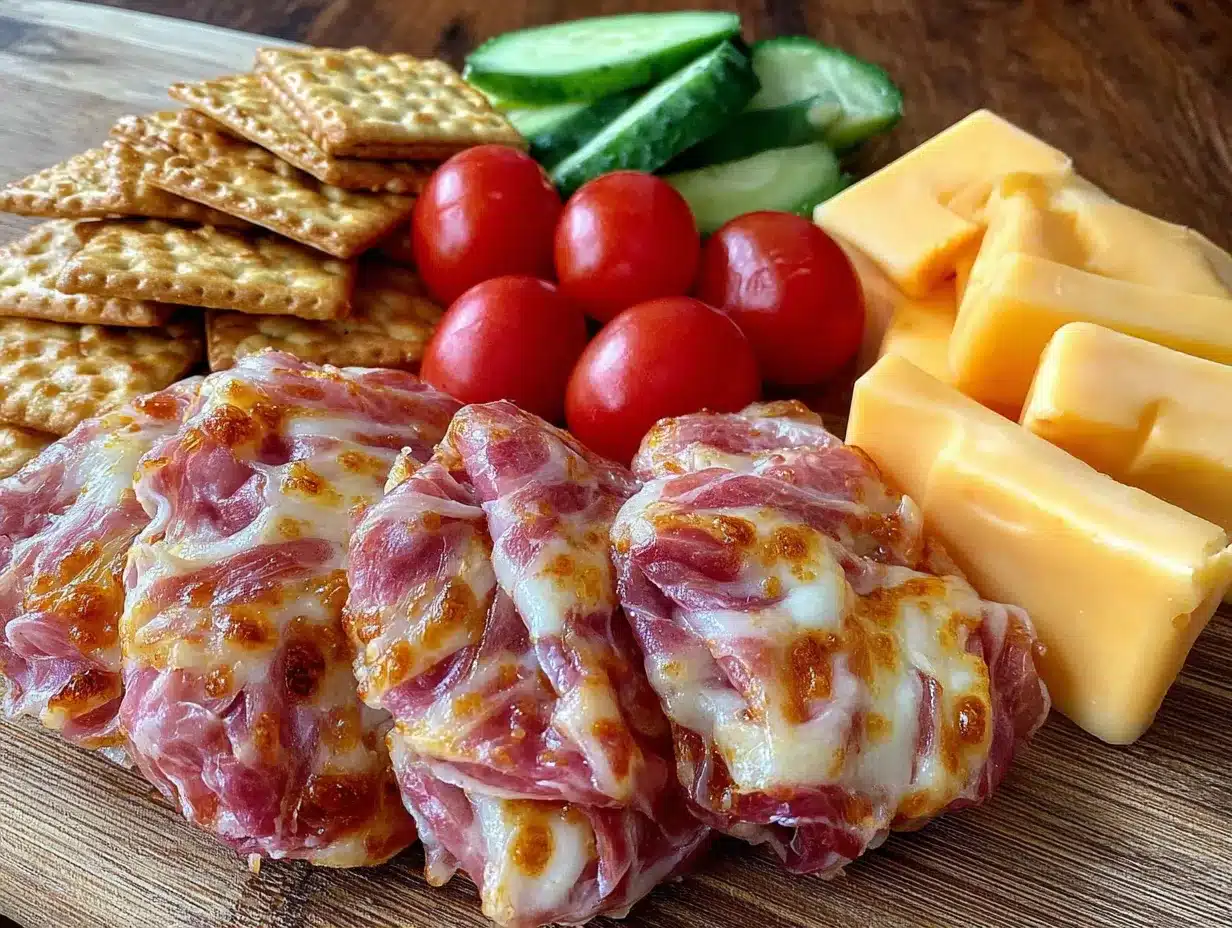
- Prepare the Ham: Lay the 8 ounces of thinly sliced deli ham flat on your cutting board. If you’re using the mustard, spread a very thin layer (about 1/4 teaspoon per slice) on each piece. Roll each slice loosely into a cylinder, then cut into 1-inch bite-sized pieces. You should get about 4-5 pieces per slice. Set aside.
- Slice the Cheese: Take your 6 ounces of sharp cheddar cheese and cut it into 1-inch squares, about 1/4-inch thick. Aim for uniform pieces so they stack neatly on crackers. If the cheese starts to crumble (like my accidental sharp cheddar did), let it sit at room temperature for 5 minutes before slicing—it’ll be less brittle.
- Prepare the Crackers: Open your 1 cup of mini round crackers and arrange them in a single layer on a plate or parchment paper. If you’re adding lettuce or tomatoes, wash and pat them completely dry—moisture is the enemy of crunchy crackers.
- Assemble the Snack Box: Grab your lunchbox or container. If using a bento box, place the ham roll-ups in one compartment, cheese squares in another, and crackers in a third. If using a single container, layer the crackers at the bottom (they’re sturdy enough to handle a bit of weight), then add the cheese and ham on top. Add optional lettuce leaves and cherry tomato halves in any remaining space.
- Chill Before Serving (Optional but Recommended): Pop the assembled box in the fridge for 10-15 minutes. This firms up the cheese and lets the flavors meld slightly. If you’re packing for lunch, do this step the night before—it saves you morning chaos.
- Garnish and Serve: If you’re feeling fancy, sprinkle a tiny pinch of flaky sea salt over the cheese or add a small dollop of honey for dipping. Serve cold or at room temperature—both work beautifully.
Sensory Cues: When you roll the ham, you should feel it yield slightly without tearing. The cheese should cut cleanly—if it smears, your knife is too dull. And the crackers? They should make that satisfying crunch sound when you bite into them, even after being packed.
Cooking Tips & Techniques
Here’s the thing about copycat recipes—they’re forgiving, but a few tricks make the difference between “meh” and “wow.” First, always pat your ham dry with a paper towel before rolling. Excess moisture makes the crackers soggy within an hour, and nobody wants that. I learned this the hard way when I packed a box for my kid’s field trip, and by lunchtime, the crackers were basically mush. Never again.
Second, don’t overthink the cheese-to-cracker ratio. I like to cut my cheese slightly smaller than the cracker so there’s a visible border of buttery cracker around the edge. It looks prettier and gives you that perfect crunch-to-creaminess in every bite. If you’re using a very sharp cheese, pair it with a mild cracker (like plain Ritz) to avoid overwhelming your taste buds.
Third, timing matters. Assemble these boxes no more than 24 hours in advance—any longer, and the crackers start to lose their snap. If you’re meal-prepping for the week, store the components separately and assemble each morning. It takes 2 minutes, tops.
Finally, here’s a pro move I picked up from a deli counter guy: freeze the ham slices for 5 minutes before rolling. They become slightly firmer and easier to handle, especially if you’re making a big batch. Just don’t freeze them solid—you want them pliable, not brittle.
Variations & Adaptations
This Easy Copycat Lunchables Snack Box is endlessly customizable. Here are a few of my favorite twists:
- Italian-Inspired Version: Swap the ham for salami or prosciutto, use provolone cheese, and add a few marinated artichoke hearts or roasted red peppers. Pair with rosemary crackers or breadsticks.
- Low-Carb/Keto Adaptation: Replace the crackers with cucumber rounds or cheese crisps. Use full-fat cheese and ham, and add a few olives for healthy fats. My keto friends swear by this version for lunch.
- Sweet & Savory Combo: Use honey ham, brie cheese, and fig or apricot preserves on the side. Add a few toasted walnuts for crunch. It sounds fancy, but it comes together in the same 10 minutes.
- Vegetarian Option: Skip the ham entirely and use roasted chickpeas or marinated tofu slices. Pair with a sharp white cheddar and everything bagel crackers for a savory punch.
Personal Variation: I once made a batch using smoked Gouda and apple slices instead of crackers. It was an accident—I ran out of crackers and had apples on the counter. The smoky-sweet combo was incredible, and now I make it on purpose at least once a month. Don’t be afraid to experiment; that’s how the best recipes are born.
Serving & Storage Suggestions
Serve these snack boxes cold or at room temperature—both are delicious. If you’re packing for a lunchbox, add a small ice pack to keep things fresh, especially if you’re including lettuce or tomatoes. For presentation, I like to arrange the ham roll-ups in a little row, cheese squares in a stack, and crackers in a neat pile. It looks like something from a fancy deli, but it’s just good organization.
Storage is simple: keep the assembled boxes in an airtight container in the refrigerator for up to 24 hours. After that, the crackers start to soften. If you’re prepping components separately, ham and cheese last 3-4 days in the fridge, crackers stay fresh in a sealed bag at room temperature, and lettuce should be washed and dried just before assembling. Freezing isn’t recommended—the texture of the ham and cheese changes when thawed.
Flavors actually develop nicely after a few hours in the fridge. The cheese absorbs a hint of ham’s smokiness, and the mustard (if you used it) mellows out and becomes more integrated. I actually prefer these boxes after they’ve rested for an hour or two—the components settle into each other without getting soggy.
Nutritional Information & Benefits
Here’s an estimated breakdown per serving (one box, about 1/4 of the recipe):
- Calories: 320-350
- Protein: 22g
- Fat: 18g
- Carbohydrates: 18g
- Fiber: 1g
- Sugar: 3g
- Sodium: 780mg
Health Benefits: Ham provides high-quality protein and essential B vitamins, while cheese offers calcium and phosphorus for bone health. Crackers give you quick energy from carbohydrates—perfect for active kids or busy adults. If you add lettuce and tomatoes, you’re getting a dose of vitamins A and C, plus antioxidants.
Dietary Considerations: This recipe is naturally low-carb if you swap crackers for veggies. It’s also gluten-free with the right cracker choice. Watch the sodium if you’re on a low-salt diet—opt for low-sodium ham and cheese. And yes, this is a kid-friendly, nut-free option for school lunches (assuming your crackers are nut-free).
I personally love that this snack box feels indulgent but is actually balanced. It’s not a health food, but it’s a whole lot better than the processed version from the store—and you control the quality of every ingredient.
Conclusion
If there’s one thing I want you to take away from this post, it’s that you don’t need a perfect plan to make something great. This Easy Copycat Lunchables Snack Box started as a mistake—a wrong cheese, a rushed morning, a moment of frustration—and it turned into a staple in our kitchen. It’s proof that the best recipes often come from the messiest moments. So grab whatever ham and cheese you have, don’t stress about the crackers, and make it your own. Add a smear of mustard, throw in some grapes, or keep it classic—you really can’t go wrong.
I’d love to hear how yours turns out. Did you try a crazy variation? Did your kids actually eat the lettuce? Drop a comment below and tell me about your happy accident. And if you found this helpful, share it with a friend who’s tired of overpriced lunchbox snacks. Happy snacking!
Frequently Asked Questions
Can I use different types of ham?
Absolutely. Black Forest, honey ham, smoked ham, or even turkey all work great. Just make sure it’s thinly sliced for easy rolling.
How do I keep the crackers from getting soggy?
Dry your ham with a paper towel before rolling, and pat any veggies completely dry. Assemble no more than 24 hours ahead, or store components separately.
Can I make these ahead for the whole week?
You can prep the ham and cheese up to 3 days ahead, but assemble the boxes the night before or morning of for the crunchiest crackers.
What if I don’t have a bento box?
No problem! Any airtight container works. Just layer crackers at the bottom, then cheese and ham on top to minimize moisture contact.
Is this recipe safe for school nut-free policies?
Yes, as long as you choose nut-free crackers and check your ham and cheese labels. Most deli meats and block cheeses are nut-free, but always verify with your specific brands.
Pin This Recipe!
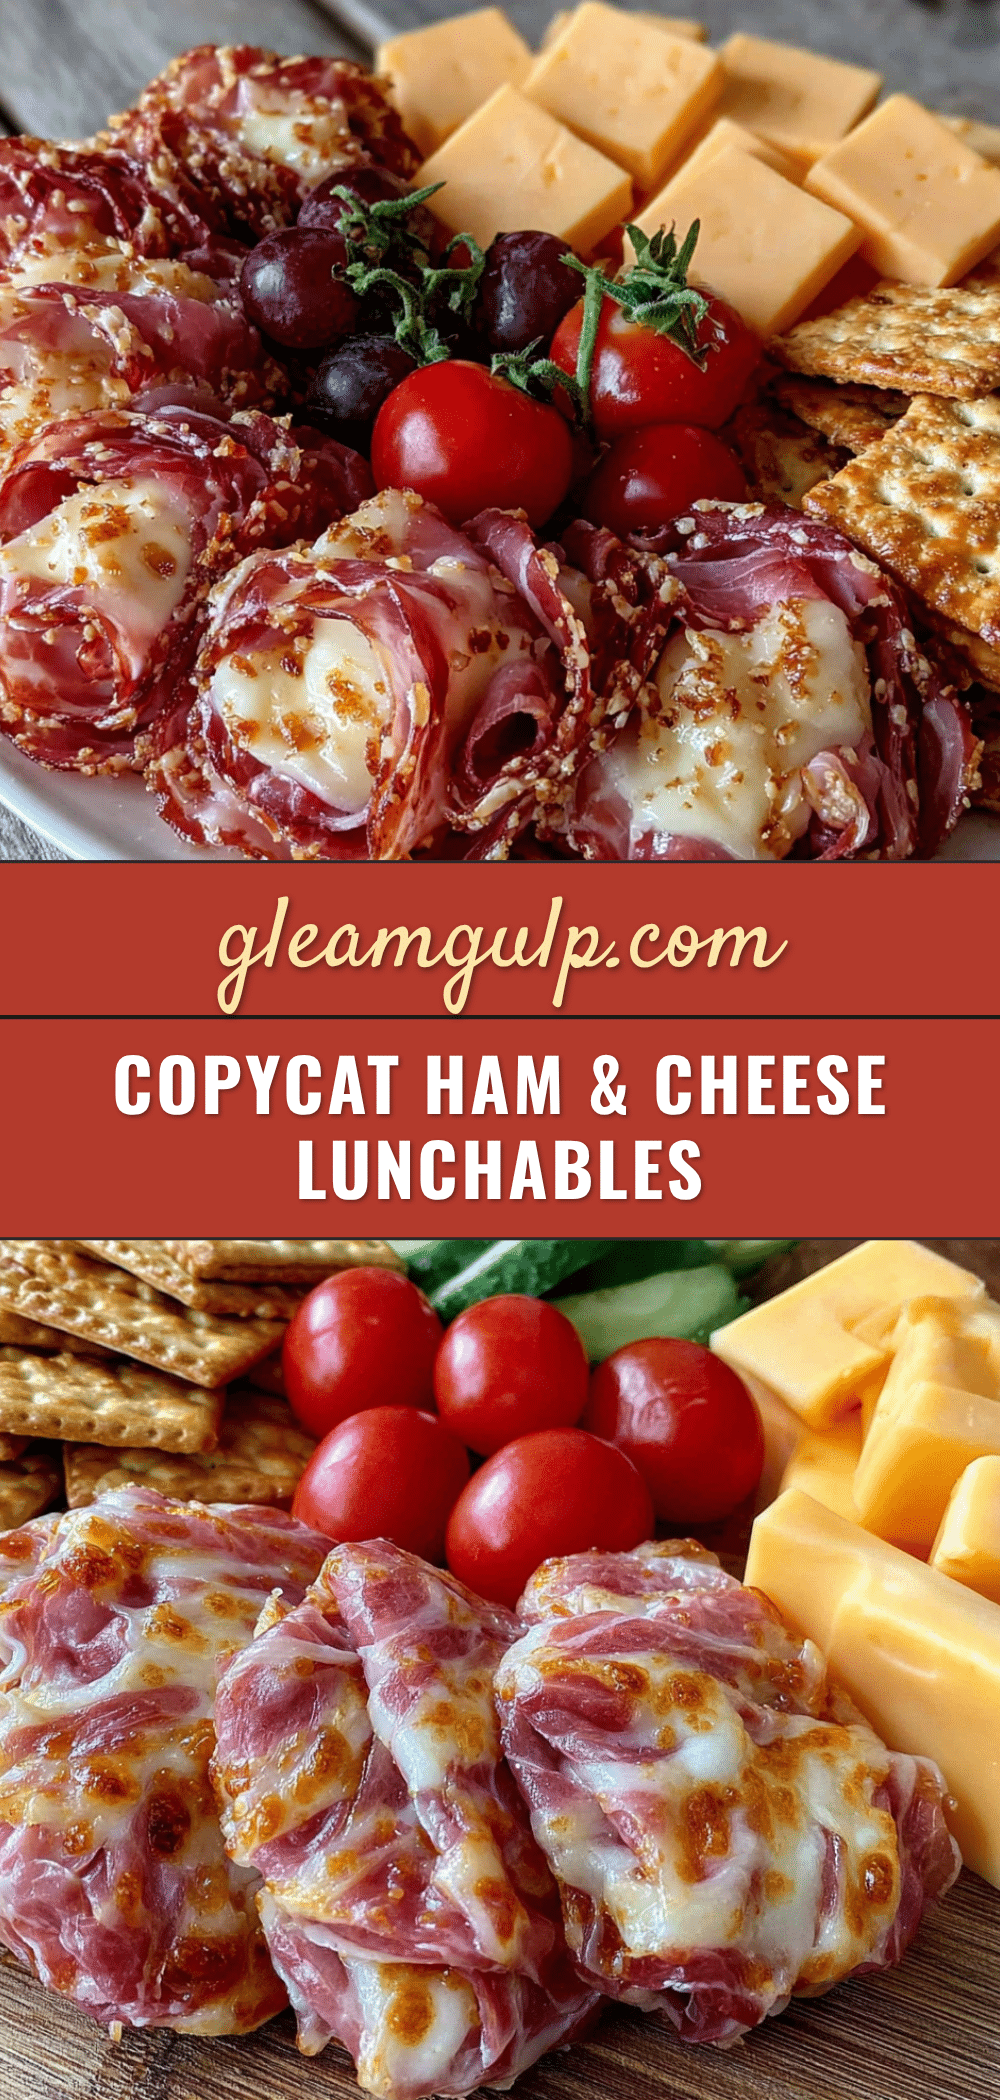
Easy Copycat Lunchables Snack Box: Ham, Cheese & Crackers

A quick and easy homemade version of the classic lunchbox snack, featuring quality ham, real cheese, and crunchy crackers. Perfect for school lunches, road trips, or a lazy afternoon snack.
- Prep Time: 10 minutes
- Cook Time: 0 minutes
- Total Time: 10 minutes
- Yield: 4 servings 1x
- Category: Snack
- Cuisine: American
Ingredients
- 8 ounces thinly sliced deli ham (Black Forest or honey ham recommended)
- 6 ounces sharp cheddar cheese, sliced into 1-inch squares
- 1 cup mini round crackers (like Ritz or Club crackers)
- 1 tablespoon Dijon mustard (optional)
- 4–6 small butter lettuce leaves (optional)
- 1/2 cup cherry tomatoes, halved (optional)
Instructions
- Prepare the Ham: Lay the 8 ounces of thinly sliced deli ham flat on your cutting board. If using mustard, spread a very thin layer (about 1/4 teaspoon per slice) on each piece. Roll each slice loosely into a cylinder, then cut into 1-inch bite-sized pieces. You should get about 4-5 pieces per slice. Set aside.
- Slice the Cheese: Take your 6 ounces of sharp cheddar cheese and cut it into 1-inch squares, about 1/4-inch thick. Aim for uniform pieces so they stack neatly on crackers. If the cheese starts to crumble, let it sit at room temperature for 5 minutes before slicing.
- Prepare the Crackers: Open your 1 cup of mini round crackers and arrange them in a single layer on a plate or parchment paper. If adding lettuce or tomatoes, wash and pat them completely dry.
- Assemble the Snack Box: Grab your lunchbox or container. If using a bento box, place the ham roll-ups in one compartment, cheese squares in another, and crackers in a third. If using a single container, layer the crackers at the bottom, then add the cheese and ham on top. Add optional lettuce leaves and cherry tomato halves in any remaining space.
- Chill Before Serving (Optional but Recommended): Pop the assembled box in the fridge for 10-15 minutes. This firms up the cheese and lets the flavors meld slightly. If packing for lunch, do this step the night before.
- Garnish and Serve: If desired, sprinkle a tiny pinch of flaky sea salt over the cheese or add a small dollop of honey for dipping. Serve cold or at room temperature.
Notes
Pat ham dry with a paper towel before rolling to prevent soggy crackers. Assemble no more than 24 hours in advance for best crunch. For meal prep, store components separately and assemble each morning. Freeze ham slices for 5 minutes before rolling for easier handling.
Nutrition
- Serving Size: 1 box (1/4 of recipe
- Calories: 335
- Sugar: 3
- Sodium: 780
- Fat: 18
- Saturated Fat: 9
- Carbohydrates: 18
- Fiber: 1
- Protein: 22
Keywords: copycat lunchables, ham and cheese snack, lunchbox ideas, easy snack, homemade lunchables, kid-friendly snack


