Love this? Save it for later!
Share the inspiration with your friends
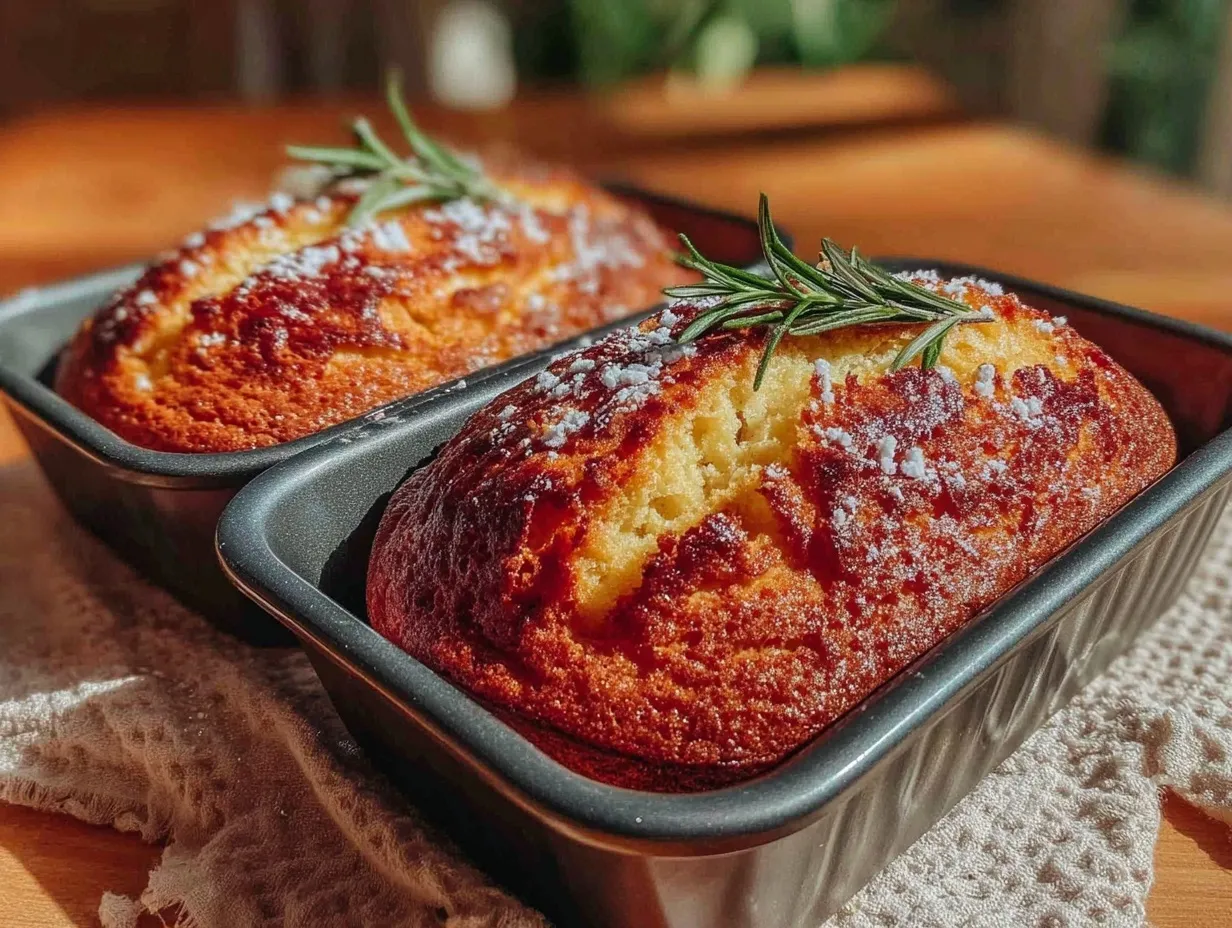
“I wasn’t planning to become a baking scientist,” I confessed to my friend the other day while fumbling with my oven mitts. It all started one chilly Saturday morning when I decided to bake a batch of brownies. The recipe was simple enough, but for some reason, my pan came out either too dark on the edges or barely golden in the middle. I remember standing there, staring at the oven window, wondering if my baking sheet had a secret life of its own. You know that feeling when you follow everything to the letter, but the results just won’t cooperate? That was me.
Turns out, the secret to perfect pan baking isn’t just in the ingredients or oven timer—it’s all about the temperature and the pan color. Dark pans versus light pans really bake differently, and understanding this little quirk changed everything for me. Honestly, I had no idea that the color of my baking pan could impact the final texture and doneness of my treats so much. Maybe you’ve been there too, pulling out a cake that looks flawless on top but feels undercooked inside—or the opposite, burnt before it’s fully set.
After a lot of trial, error, and a few smoke alarms later, I finally nailed down a reliable guide that helps me bake consistently, whether I’m using my trusty dark non-stick or my shiny aluminum pans. Let me tell you, this isn’t just some cookbook advice that sounds good on paper—it’s the kind of insight that saves your baking from disaster and makes your kitchen feel like a pro’s. So, if you’ve ever wrestled with uneven baking or wondered why your cookie sheet ruins your batch, this Perfect Dark vs Light Pan Baking Temperature Guide is here to save the day. Trust me, once you get this down, baking feels like second nature.
Why You’ll Love This Recipe
Having baked countless batches of everything from brownies to sheet cakes, I can confidently say that knowing the difference between dark and light pan baking temperatures transformed my kitchen game. Here’s why you’ll appreciate this guide as much as I do:
- Quick & Easy: Adjusting your oven by a few degrees based on pan color takes no extra time but makes a huge difference.
- Simple Ingredients & Tools: No fancy gadgets or special pans needed—just what you already have in your kitchen.
- Perfect for Any Baking Occasion: Whether you’re prepping for a casual get-together, holiday baking frenzy, or midnight cravings, this guide has your back.
- Crowd-Pleaser: From crispy edges to perfectly moist centers, your baked goods will impress both kids and adults effortlessly.
- Unbelievably Delicious: The right temperature means your brownies won’t be dry or undercooked but just right every time.
What sets this guide apart is the practical experience baked right in. I’m talking about the nuanced difference that a dark pan absorbs heat faster, leading to quicker browning, versus a light pan that reflects heat and bakes more gently. This isn’t just theory—it’s based on countless batches where I tweaked temperatures to avoid burnt bottoms or pale, underdone tops. Plus, I’ve included tips for common pan types you probably have, along with easy temperature swaps so you don’t have to guess.
Ultimately, this guide is about giving you the confidence to bake without second-guessing and the joy of seeing your treats come out perfectly every time. Because let’s face it, who wants to waste good ingredients on uneven baking? Whether you’re a beginner or a seasoned baker, these easy-to-follow tips will help you master that perfect bake—no stress, just sweet success.
What Ingredients You Will Need
Before diving into temperature tweaks, let’s quickly touch on the typical ingredients involved in pan baking. This guide works for most recipes involving cakes, brownies, bars, and other baked treats where pan color affects the outcome. The ingredients themselves don’t change, but knowing what you’re working with helps understand the temperature adjustments better.
- Flour: All-purpose is most common, but whole wheat or gluten-free blends work too.
- Sugar: Granulated, brown, or a mix depending on the recipe’s moisture needs.
- Fat: Butter (unsalted, softened) or oil—both interact differently with heat but temperature guides cover both.
- Eggs: Large eggs at room temperature help with binding and texture.
- Leavening Agents: Baking powder or baking soda to give your baked goods rise and lightness.
- Liquid: Milk, buttermilk, or water to balance batter consistency.
- Add-ins: Chocolate chips, nuts, fruit, or spices depending on your recipe.
Most of these are pantry staples, so there’s no need for special shopping runs. If you’re experimenting with gluten-free or vegan versions, the temperature adjustments for pan color still apply exactly the same. For instance, a dark pan will always cook faster on the edges than a light pan, regardless of batter type.
Equipment Needed
- Baking Pans: Dark non-stick pans (like heavy-duty aluminum with a dark coating) and light-colored pans (such as shiny aluminum or stainless steel).
- Oven Thermometer: Because ovens can vary, this helps ensure your temperature settings are accurate.
- Oven Mitts: Always important for safety when handling hot pans.
- Mixing Bowls and Measuring Tools: Standard kitchen essentials for preparing your batter.
If you don’t have both pan types, don’t worry—knowing the principle helps you adjust baking time and temperature for any pan. Dark pans tend to absorb more heat and can cause over-browning, so lowering oven temperature by 25°F (about 15°C) usually keeps things on point. Light pans reflect heat, sometimes requiring a slight increase in baking time.
For those on a budget, inexpensive aluminum pans from the grocery store can serve as your light pan option. I’ve found that investing in a good-quality dark non-stick pan makes a difference in even baking but isn’t necessary for beginners. Just remember to adjust your oven temps as you go.
Preparation Method
- Preheat the Oven: Set your oven according to your recipe’s original temperature. For dark pans, reduce the temperature by 25°F (about 15°C). For light pans, use the temperature as stated or increase time slightly if needed.
- Prepare Your Pan: Grease your pan lightly or line with parchment paper to prevent sticking. Dark pans often require a little extra greasing since they can cook batter faster.
- Mix Your Batter: Follow your recipe’s instructions carefully. Note that batter consistency can affect heat transfer—thicker batters may need longer baking times.
- Pour Batter into Pan: Spread evenly to ensure uniform baking. Uneven thickness can cause some parts to burn while others stay undercooked.
- Place Pan in Oven: Position your pan in the center rack. Dark pans conduct heat faster, so avoid the very bottom rack which may cause burning.
- Monitor Baking Time: Start checking for doneness about 5-10 minutes before the recipe’s minimum baking time, especially with dark pans. Use a toothpick test—insert it in the center, and if it comes out clean or with a few moist crumbs, it’s ready.
- Remove and Cool: Once baked, take your pan out carefully. Let it cool on a wire rack for 10-15 minutes before removing the baked good to avoid breaking or sticking.
Some personal tips: I once forgot to lower the temp for my dark pan brownies and ended up with crispy edges and gooey centers—not my favorite! Also, rotating the pan halfway through baking can help even out heat distribution, especially if your oven has hot spots. If you notice the edges browning too quickly, tent a piece of foil loosely over your pan.
Cooking Tips & Techniques
One of the trickiest parts of baking with different pan colors is timing. Dark pans absorb heat quicker, so your baked goods can brown faster on the outside while remaining uncooked inside. To avoid this, lowering your oven temperature by 25°F (about 15°C) is a good rule of thumb. Light pans, on the other hand, reflect heat and might need a bit more time at the original temperature.
Another tip is to always use an oven thermometer. Ovens notoriously run hotter or cooler than the dial indicates, and this can throw off your baking. I rely on mine for every batch. Also, avoid opening the oven door frequently, as this drops the temperature and can cause uneven baking.
When it comes to pan materials, non-stick dark pans can brown faster but sometimes don’t give the best crust texture compared to shiny metal pans. If you want a crisper edge, a dark pan can help with that, but if you prefer a more gentle bake, opt for a light pan.
Personally, I learned the hard way that switching pans mid-recipe without adjusting temperature is a recipe for disaster (literally). So, if you move from a dark to a light pan, don’t forget to recalibrate your oven settings!
Variations & Adaptations
Here are some ways to adapt this guide for different needs and preferences:
- Gluten-Free Baking: The temperature adjustments for dark and light pans remain the same. Just watch your baking times closely as gluten-free flours can behave differently.
- Seasonal Flavors: When adding fruits or nuts, remember that extra moisture can affect baking time. Consider extending baking by 5–10 minutes and check doneness carefully.
- Using Silicone Pans: Silicone pans bake more gently and often need a slightly higher temperature or longer baking time compared to metal pans. Combine this with pan color tips for best results.
- High Altitude Adjustments: Bakers at high altitudes might need to lower baking temperature even more when using dark pans to prevent over-browning.
- Personal Variation: I once swapped a dark pan for a glass baking dish and reduced the oven temp by 30°F (about 17°C). The results were surprisingly moist brownies with a tender crust—definitely worth trying!
Serving & Storage Suggestions
For serving, most baked goods from either dark or light pans taste best at room temperature. Dark pans often yield crispier edges, which you may want to highlight on the plate for texture contrast. Pair brownies or cakes with a scoop of ice cream or fresh fruit to complement the flavors.
Store leftovers in an airtight container at room temperature for up to 3 days. For longer storage, wrap tightly and freeze for up to 2 months. When reheating, warm gently in a low oven or microwave in short bursts to maintain moisture and avoid drying out.
Interestingly, flavors often deepen after a day or two in storage, especially with spiced or fruit-filled recipes. This is true regardless of pan color but keep in mind that darker pans might produce a slightly more caramelized flavor which develops over time.
Nutritional Information & Benefits
While the pan color itself doesn’t change nutrition, knowing how to bake at the right temperature helps avoid overcooked or burnt edges, which can impact flavor and digestibility. Using the correct temperature means you’re less likely to burn sugars or fats, preserving the intended nutritional profile of your recipe.
Most pan-baked goods provide energy mainly from carbohydrates and fats. Choosing whole grain flours or adding nuts and seeds can boost fiber and healthy fats. For those with dietary restrictions, adjusting baking temperatures remains consistent regardless of ingredient swaps like almond flour or dairy-free options.
In my experience, mastering pan temperature not only improves taste but also makes homemade treats feel healthier—because they’re less likely to be overbaked or unevenly cooked, which can sometimes cause unwanted bitterness or dryness.
Conclusion
Understanding the difference between dark and light pan baking temperatures might sound like a small detail, but it truly changes everything about your baking experience. It’s the difference between a perfectly golden brownie and one that’s burnt on the edges or pale in the middle. I love this guide because it’s practical, easy to remember, and it saved me from countless baking mishaps.
Feel free to tweak these temperature tips based on your oven’s quirks and your preferred textures. Baking is part science, part art, and a little bit of luck—and with this guide, you’re stacking the odds way in your favor.
So next time you pull out that dark or light pan, you’ll know exactly what to do to get those perfect results every time. I’d love to hear how it goes for you—drop a comment or share your own pan baking stories. Happy baking and may your pans always be perfectly heated!
FAQs
Why do dark pans bake faster than light pans?
Dark pans absorb and retain heat more efficiently, causing the batter to cook and brown faster on the edges compared to light pans that reflect heat.
Should I always lower the oven temperature when using a dark pan?
Generally, lowering the temperature by about 25°F (15°C) helps prevent over-browning and uneven baking with dark pans.
Can I use this temperature guide for all types of baked goods?
Yes, it works well for cakes, brownies, bars, and similar pan-baked treats, though always monitor baking times and test doneness accordingly.
What if I only have one type of pan—how do I adjust?
Know your pan’s behavior and adjust oven temperature and baking time accordingly: lower temperature for dark pans, possibly longer baking time for light pans.
Does the material of the pan (metal vs. glass vs. silicone) affect baking temperature?
Yes, different materials conduct heat differently. For example, glass and silicone often require lower temperatures or longer baking times compared to metal pans, so combine this knowledge with pan color tips for best results.
Pin This Recipe!
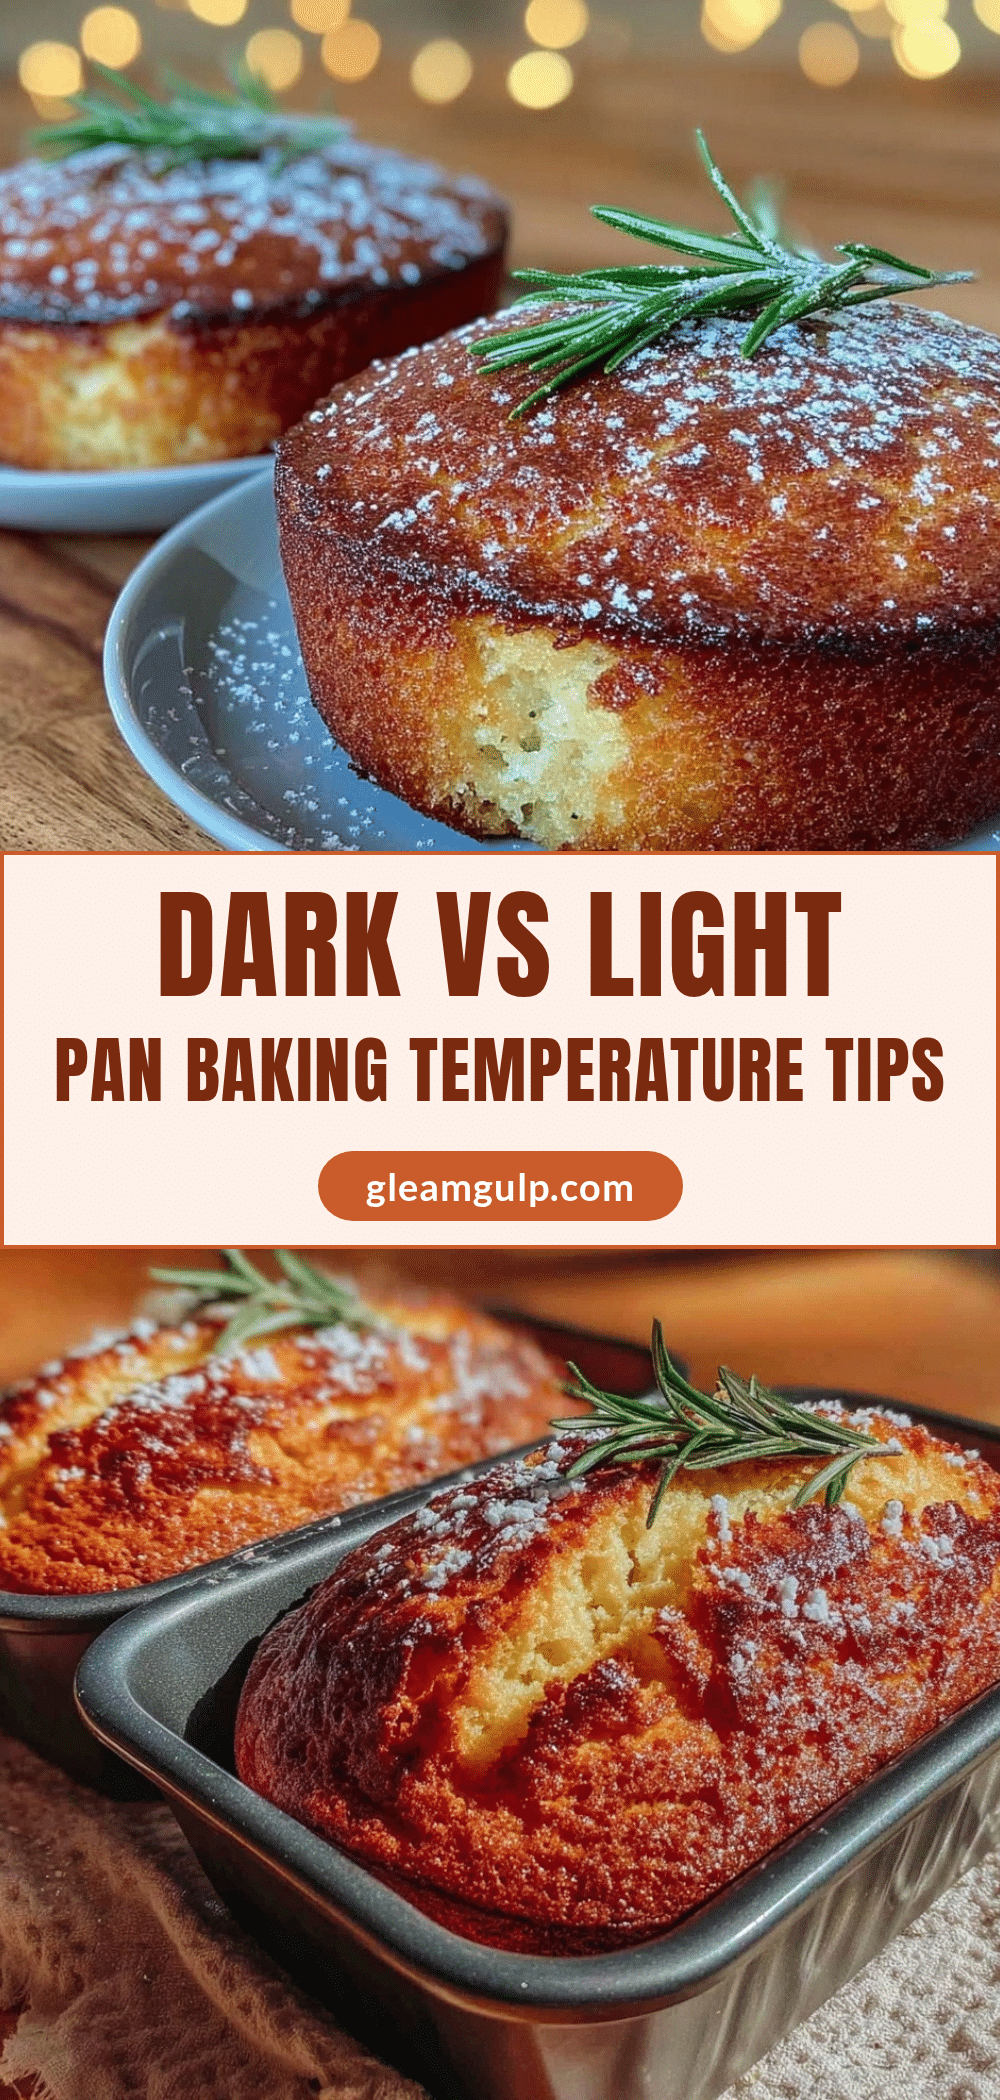
Perfect Dark vs Light Pan Baking Temperature Guide
A practical guide to adjusting baking temperatures based on pan color to achieve perfect results every time, whether using dark non-stick or light aluminum pans.
- Prep Time: 15 minutes
- Cook Time: 30 minutes
- Total Time: 45 minutes
- Yield: Varies depending on recipe
- Category: Baking Guide
- Cuisine: General / All
Ingredients
- Flour (all-purpose, whole wheat, or gluten-free blends)
- Sugar (granulated, brown, or a mix)
- Fat (butter unsalted and softened or oil)
- Eggs (large, room temperature)
- Leavening agents (baking powder or baking soda)
- Liquid (milk, buttermilk, or water)
- Add-ins (chocolate chips, nuts, fruit, or spices depending on recipe)
Instructions
- Preheat the oven according to your recipe’s original temperature. For dark pans, reduce the temperature by 25°F (about 15°C). For light pans, use the temperature as stated or increase time slightly if needed.
- Grease your pan lightly or line with parchment paper to prevent sticking. Dark pans often require a little extra greasing.
- Mix your batter following your recipe’s instructions carefully.
- Pour batter evenly into the prepared pan to ensure uniform baking.
- Place the pan on the center rack of the oven. Avoid the very bottom rack with dark pans to prevent burning.
- Start checking for doneness 5-10 minutes before the recipe’s minimum baking time, especially with dark pans. Use a toothpick test to check.
- Remove the pan from the oven carefully and let cool on a wire rack for 10-15 minutes before removing the baked good.
Notes
Lower oven temperature by 25°F (15°C) when using dark pans to prevent over-browning. Light pans may require slightly longer baking times. Use an oven thermometer for accuracy. Rotate pans halfway through baking if your oven has hot spots. Tent with foil if edges brown too quickly. Silicone and glass pans may require additional temperature/time adjustments.
Nutrition
- Serving Size: Depends on baked goo
Keywords: dark pan baking, light pan baking, baking temperature guide, pan color baking tips, perfect brownies, even baking, baking temperature adjustment


