Love this? Save it for later!
Share the inspiration with your friends
Someone asked me the other day why I couldn’t just skip marinating the beef for my Korean beef bulgogi bowl and toss everything together at once. I started to explain why that wouldn’t work — then stopped. The truth is, I had always been stubborn about the “right” way to make bulgogi, insisting on hours of marination and precise thin slicing. But when my friend Jin, who grew up in Seoul, suggested a quick 30-minute marinade and a shortcut on the slicing, I figured, why not try it? Honestly, it turned out so flavorful and tender that I felt a little sheepish about my old habits.
That evening, while the beef sizzled on the stovetop, I noticed the spicy kimchi bubbling gently on the side, filling the kitchen with that unmistakable fermented tang. I forgot to grab the sesame seeds until halfway through the cook, which made me laugh — you know that feeling when you’re halfway through a recipe and realize you missed a step? But it all came together, and the bowl was incredible. The sweet-savory beef paired with the spicy, crunchy kimchi was a revelation.
Since then, I keep coming back to this Korean beef bulgogi bowl with spicy kimchi. It’s quick, packed with flavor, and I love how the different textures keep every bite interesting. Maybe you’ve been there too — wanting that authentic taste without the fuss. This recipe is the answer, and honestly, it’s now one of my go-to easy homemade meals that never disappoints.
Why You’ll Love This Recipe
This Korean beef bulgogi bowl recipe isn’t just another take on a classic. It’s built from lots of kitchen experiments and feedback from friends who know their Korean food. I’ve tested and tweaked it until it hits that sweet spot of rich, spicy, and fresh flavors, all while being something you can whip up on a busy weeknight.
- Quick & Easy: Ready in under 30 minutes, perfect for last-minute dinners or when you want a satisfying meal fast.
- Simple Ingredients: No need for obscure sauces or hard-to-find spices — mostly pantry staples and easy-to-get fresh produce.
- Perfect for Weeknight Dinners: This bowl feels special but doesn’t require hours of prep or cooking.
- Crowd-Pleaser: Everyone from kids to adults loves this one — the balance of sweet beef and spicy kimchi is a hit every time.
- Unbelievably Delicious: The marinade’s combination of soy, garlic, and sesame creates a depth that feels rich but not heavy.
What makes this recipe stand out is the quick marinade that still manages to tenderize and flavor the beef deeply. Plus, pairing it with spicy kimchi adds a lively kick that’s both traditional and exciting. It’s a bowl that’s comforting yet fresh, with that perfect mix of heat and sweetness. Honestly, it’s one of those dishes that makes you close your eyes and just savor each bite.
What Ingredients You Will Need
This recipe uses simple, wholesome ingredients to deliver bold flavor and satisfying texture without the fuss. Most of these items are pantry staples, and the fresh elements bring the dish to life. If you’re looking for a quick, authentic bite of Korea, these are the essentials.
- For the Bulgogi Beef Marinade:
- 1 lb (450 g) thinly sliced beef ribeye or sirloin (look for well-marbled meat for tenderness)
- 1/4 cup (60 ml) soy sauce (I prefer Kikkoman for balanced saltiness)
- 2 tbsp brown sugar (adds caramelized sweetness)
- 2 tbsp sesame oil (toasty flavor is key)
- 3 garlic cloves, minced (fresh, not powdered)
- 1 tsp freshly grated ginger (brightens the marinade)
- 1/2 tsp black pepper
- 1/4 cup (60 ml) grated Asian pear or apple (optional but helps tenderize)
- 2 green onions, sliced thinly (for freshness)
- For the Bowl:
- 2 cups cooked white or brown rice (warm and fluffy)
- 1 cup kimchi, spicy and fermented (store-bought or homemade works)
- 1 tbsp toasted sesame seeds (for garnish)
- 1 small cucumber, thinly sliced (optional, adds cool crunch)
- Fresh cilantro or sliced green onions (for garnish)
If you’d like a gluten-free option, swap soy sauce for tamari. You can also use coconut sugar instead of brown sugar for a different sweetness profile. For the kimchi, if you want to dial down the heat, try milder varieties or rinse it lightly before serving.
Equipment Needed
- Large mixing bowl (for marinating the beef)
- Sharp knife and cutting board (to slice beef thinly or prep veggies)
- Heavy skillet or cast iron pan (for best sear on the beef)
- Measuring spoons and cups
- Grater or microplane (for ginger and Asian pear)
- Rice cooker or pot (to cook the rice perfectly)
If you don’t have a cast iron pan, a non-stick skillet works fine—just make sure it’s hot before adding the beef. For slicing beef thinly, it helps if the meat is slightly frozen; less slippery and easier to cut straight. I keep a set of inexpensive kitchen shears handy for trimming green onions quickly. Nothing fancy required here.
Preparation Method
- Prepare the Beef: If your beef isn’t pre-sliced, place it in the freezer for 30 minutes to firm up, then slice it as thinly as possible—about 1/8 inch (3 mm) thick. This helps it cook quickly and absorb the marinade better. (10 minutes)
- Make the Marinade: In a large bowl, combine soy sauce (60 ml), brown sugar, sesame oil, minced garlic, grated ginger, black pepper, and grated Asian pear or apple if using. Whisk until sugar dissolves. (5 minutes)
- Marinate the Beef: Add sliced beef and green onions to the marinade. Toss everything to coat evenly. Cover and let it sit for at least 30 minutes at room temperature or up to 2 hours in the fridge for deeper flavor. (30 minutes)
- Cook the Rice: While the beef marinates, cook your rice according to package instructions or in a rice cooker. Keep warm. (20 minutes)
- Sear the Beef: Heat a large skillet or cast iron pan over medium-high heat until very hot. Add the marinated beef in batches—don’t overcrowd the pan—to get a nice sear. Cook for 2-3 minutes per side until caramelized and cooked through. The marinade will thicken and glaze the beef. (10 minutes)
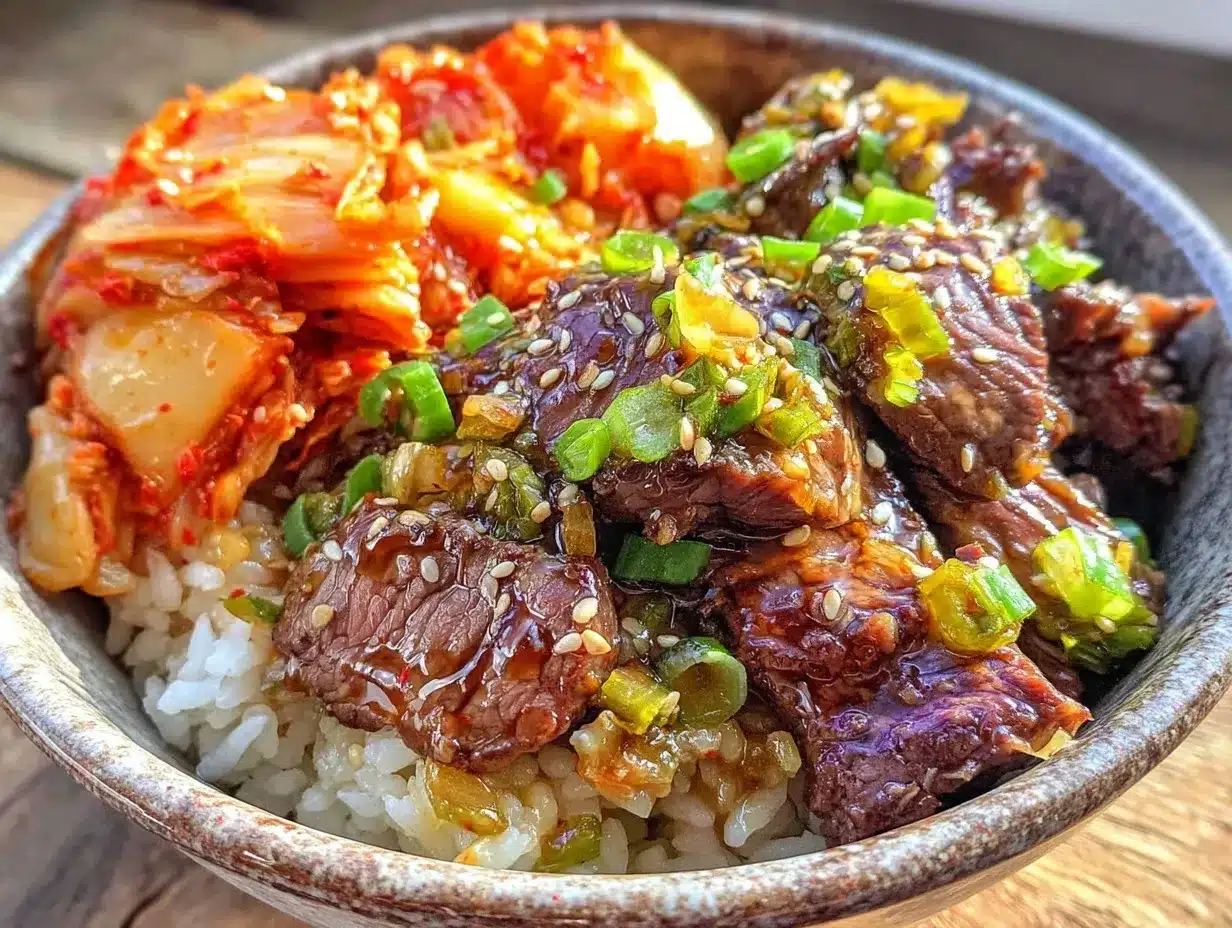
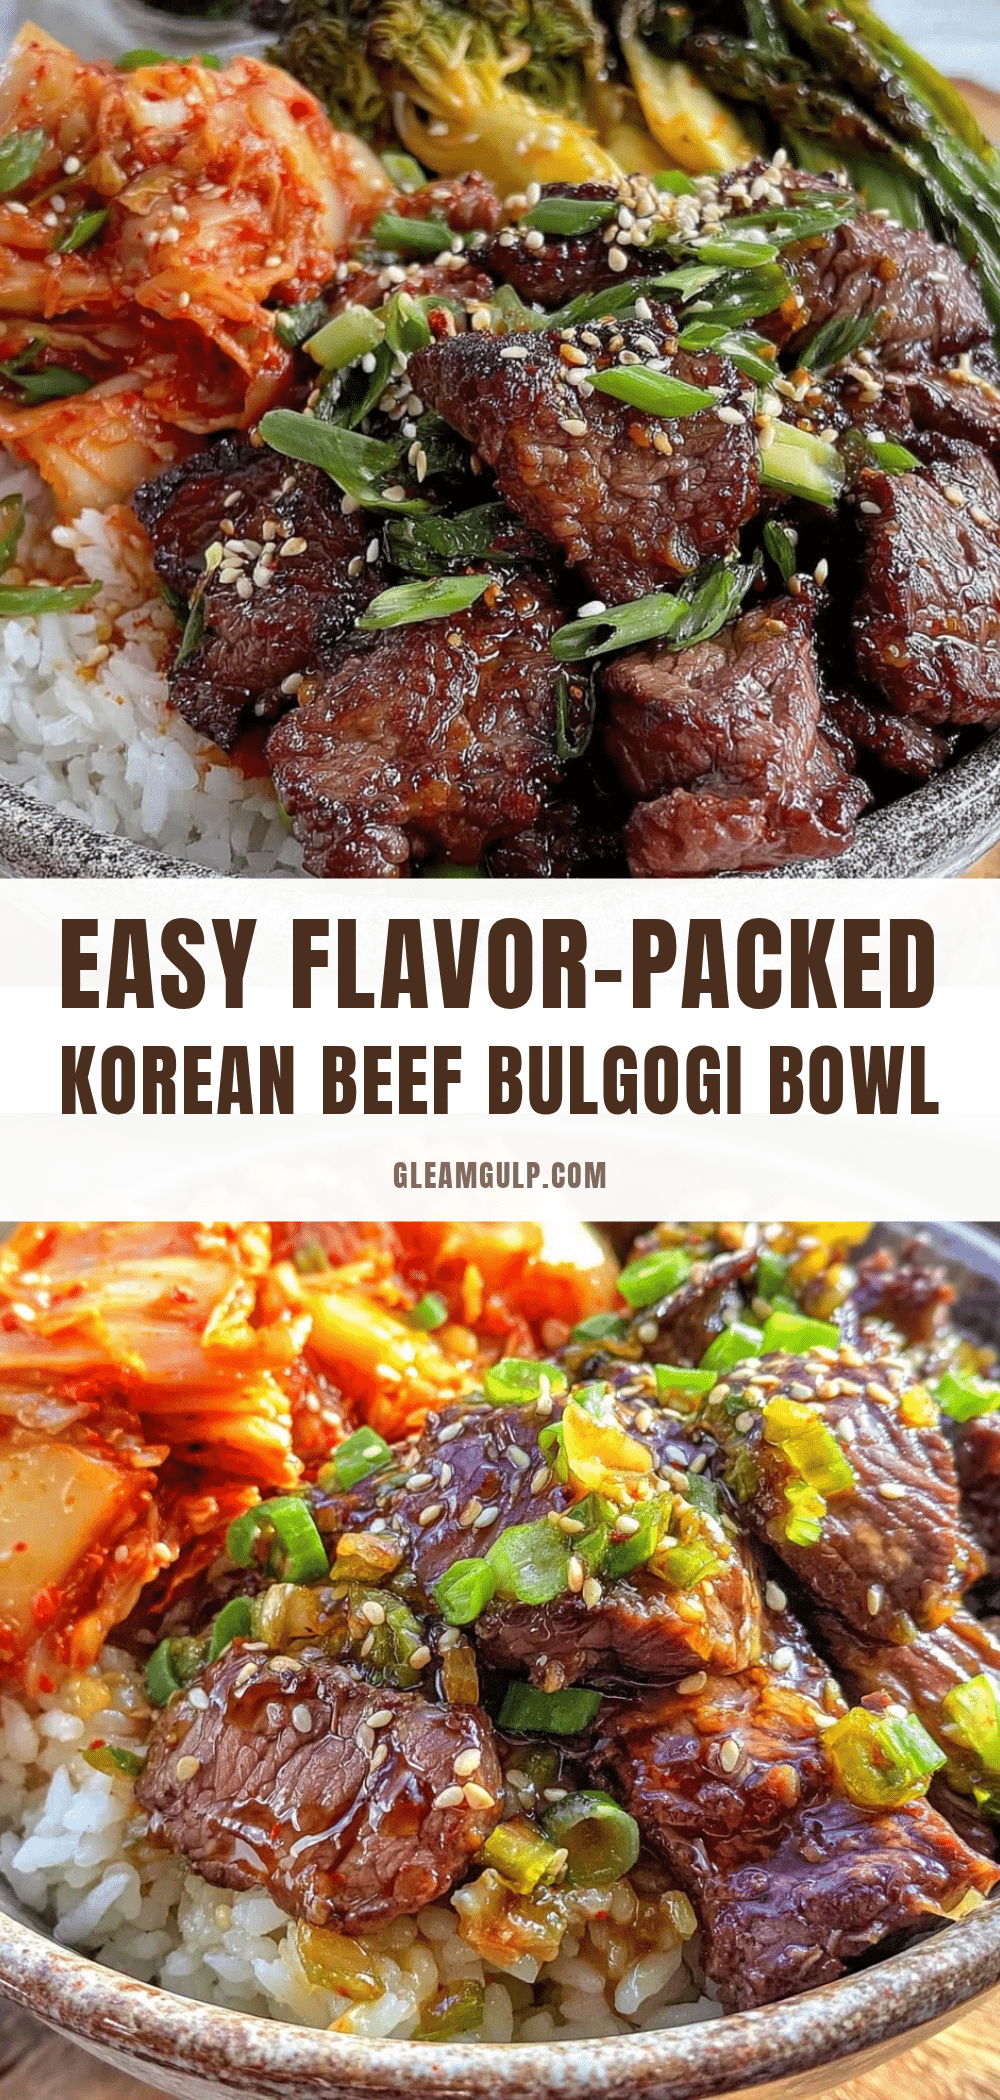
- Assemble the Bowl: Spoon warm rice into bowls, top with the cooked bulgogi beef, a generous scoop of spicy kimchi, sliced cucumber if using, and sprinkle with toasted sesame seeds and fresh cilantro or green onions. (5 minutes)
- Serve Immediately: Enjoy your flavorful Korean beef bulgogi bowl with spicy kimchi fresh for the best contrast in textures and flavors.
Note: If the beef sticks to the pan, it usually means the pan wasn’t hot enough or the beef was too crowded. Let the pan heat longer before adding the next batch. Also, stirring too much can prevent caramelization—let the beef sit undisturbed for a minute or two on each side.
Cooking Tips & Techniques
The key to fantastic bulgogi lies in the marinade and cooking temperature. Use fresh garlic and ginger because their sharpness really cuts through the richness. Don’t skimp on the sesame oil—it adds a nutty aroma that makes the dish sing.
One mistake I made early on was overcooking the beef. Thin slices cook fast—just a few minutes per side is enough. Overcooked beef turns rubbery and loses that tender bite. Another tip: Pat the beef dry slightly before cooking if it’s too wet from the marinade—that helps it sear properly instead of steaming.
I also learned that tossing the beef gently rather than vigorously in the marinade keeps the slices intact and helps even flavor coating. Timing your rice prep so it’s hot and ready when the beef is done makes a big difference — no one likes cold rice under hot bulgogi!
Variations & Adaptations
- Spicy Bulgogi: Add 1-2 tablespoons of gochujang (Korean chili paste) to the marinade for a fiery kick that complements the kimchi perfectly.
- Vegetarian Option: Swap beef for thinly sliced king oyster mushrooms or tofu marinated the same way. Sear until golden and serve with kimchi and rice.
- Low-Carb Version: Serve the bulgogi and kimchi over cauliflower rice or a bed of sautéed greens to cut down on carbs.
- Seasonal Veggies: Add quick-pickled radishes or fresh shredded carrots for crunch and color.
- Personal Twist: I once tried topping the bowl with a soft-poached egg, and that runny yolk made the whole thing even more luscious and comforting.
Serving & Storage Suggestions
Serve this bulgogi bowl warm to appreciate the contrast between the hot beef, cool cucumber slices, and spicy kimchi. A drizzle of extra sesame oil or a sprinkle of toasted sesame seeds right before eating adds a nice touch.
This dish pairs wonderfully with simple sides like steamed broccoli or a fresh Asian slaw. For drinks, try a cold barley tea or a light lager to balance the rich flavors.
You can store leftovers in an airtight container in the fridge for up to 3 days. Keep the kimchi separate if possible to avoid overpowering the beef. When reheating, warm the beef gently in a skillet to maintain texture, and add fresh sesame seeds after heating.
The flavors deepen over time, so leftovers can be just as delicious the next day — perfect for a quick lunch.
Nutritional Information & Benefits
Each serving of this bulgogi bowl provides approximately 450 calories, with 30 grams of protein from the beef and moderate carbs from the rice. The sesame oil contributes healthy fats, while garlic and ginger offer anti-inflammatory benefits.
Kimchi is a probiotic powerhouse, supporting gut health and digestion. Plus, this recipe is gluten-free if you use tamari instead of soy sauce, making it suitable for many dietary needs.
It’s a balanced meal that satisfies hunger and nourishes your body, all while treating your taste buds to authentic Korean flavors.
Conclusion
This Korean beef bulgogi bowl with spicy kimchi is a recipe I keep coming back to because it’s easy, flavorful, and hits all the right notes. It’s proof that quick doesn’t mean compromising on taste. You can customize it your way — add more heat, swap proteins, or pile on fresh veggies.
I love how it brings a little Korean comfort into my busy weeknight routine without a hitch. If you try it, I’d love to hear what variations you come up with or how it fits into your kitchen rhythm. Don’t hesitate to share your thoughts and tweaks — cooking is always better together!
Happy cooking, and here’s to many delicious bowls ahead!
FAQs
Can I use other cuts of beef for bulgogi?
Yes! Ribeye or sirloin are best for tenderness and flavor, but flank steak or skirt steak can work if sliced thinly against the grain.
How long can I marinate the beef?
Ideally, 30 minutes to 2 hours. Longer than that can make the meat mushy because of the fruit enzymes.
Is kimchi necessary for the bowl?
It’s traditional and adds a spicy, fermented tang, but you can substitute with pickled vegetables or even a quick cucumber salad.
Can I prepare the bowl ahead of time?
You can marinate the beef the night before and cook fresh when ready. Assemble the bowl just before eating for best texture.
What if I don’t have Asian pear or apple?
No worries! The grated fruit is optional and mainly helps tenderize. You can skip it or replace with a small splash of pineapple juice for a similar effect.
Pin This Recipe!
Korean Beef Bulgogi Bowl Recipe Easy Homemade with Spicy Kimchi

A quick and flavorful Korean beef bulgogi bowl paired with spicy kimchi, perfect for an easy weeknight meal that balances sweet, savory, and spicy flavors.
- Prep Time: 15 minutes
- Cook Time: 20 minutes
- Total Time: 35 minutes
- Yield: 4 servings 1x
- Category: Main Course
- Cuisine: Korean
Ingredients
- 1 lb (450 g) thinly sliced beef ribeye or sirloin
- 1/4 cup (60 ml) soy sauce
- 2 tbsp brown sugar
- 2 tbsp sesame oil
- 3 garlic cloves, minced
- 1 tsp freshly grated ginger
- 1/2 tsp black pepper
- 1/4 cup (60 ml) grated Asian pear or apple (optional)
- 2 green onions, sliced thinly
- 2 cups cooked white or brown rice
- 1 cup kimchi, spicy and fermented
- 1 tbsp toasted sesame seeds
- 1 small cucumber, thinly sliced (optional)
- Fresh cilantro or sliced green onions (for garnish)
Instructions
- If your beef isn’t pre-sliced, place it in the freezer for 30 minutes to firm up, then slice it as thinly as possible—about 1/8 inch (3 mm) thick.
- In a large bowl, combine soy sauce, brown sugar, sesame oil, minced garlic, grated ginger, black pepper, and grated Asian pear or apple if using. Whisk until sugar dissolves.
- Add sliced beef and green onions to the marinade. Toss everything to coat evenly. Cover and let it sit for at least 30 minutes at room temperature or up to 2 hours in the fridge.
- While the beef marinates, cook your rice according to package instructions or in a rice cooker. Keep warm.
- Heat a large skillet or cast iron pan over medium-high heat until very hot. Add the marinated beef in batches—don’t overcrowd the pan—to get a nice sear. Cook for 2-3 minutes per side until caramelized and cooked through.
- Spoon warm rice into bowls, top with the cooked bulgogi beef, a generous scoop of spicy kimchi, sliced cucumber if using, and sprinkle with toasted sesame seeds and fresh cilantro or green onions.
- Serve immediately and enjoy your flavorful Korean beef bulgogi bowl with spicy kimchi.
Notes
If the beef sticks to the pan, ensure the pan is hot enough and avoid overcrowding. Let the beef sit undisturbed to caramelize properly. For gluten-free, substitute soy sauce with tamari. Use fresh garlic and ginger for best flavor. Pat beef dry before cooking if too wet from marinade. Marinate beef for 30 minutes to 2 hours for best results.
Nutrition
- Serving Size: 1 bowl (approximatel
- Calories: 450
- Sugar: 8
- Sodium: 900
- Fat: 20
- Saturated Fat: 4
- Carbohydrates: 30
- Fiber: 2
- Protein: 30
Keywords: Korean beef bulgogi, bulgogi bowl, spicy kimchi, easy Korean recipe, weeknight dinner, quick marinade, Korean comfort food


