Love this? Save it for later!
Share the inspiration with your friends
“Do I really need to sift flour every single time I bake?” That’s a question I asked myself more times than I’d like to admit. One rainy Saturday afternoon, I was halfway through making a cake when I realized I’d forgotten to sift the flour. Honestly, I was already running late to pick up my niece from soccer practice, and the thought of sifting felt like an extra chore I just couldn’t handle. So, I improvised — grabbed a fork and gave the flour a quick fluff right in the bowl. The cake turned out surprisingly light and tender, and that moment stuck with me.
Maybe you’ve been there too—wondering if sifting is truly necessary or just a baking myth handed down for no good reason. I mean, flour can get lumpy or packed, sure, but does sifting always have to be part of the process? Over the years, I’ve tested this question thoroughly, tried different hacks, and learned some neat tricks to make homemade baking easier without sacrificing that perfect crumb. Let me tell you, this isn’t just about saving time—it’s about baking smarter.
So, if you’ve ever hesitated before starting your mixing bowl because of flour-sifting debates, this post is for you. I’ll share my easy “Do I Need to Sift Flour” baking hack and five handy tips that help me get perfect homemade cakes every time—without the fuss or extra mess. You might just find yourself skipping the sifter altogether (but still getting professional results) after reading this. Ready? Let’s get baking!
Why You’ll Love This Recipe
After many attempts and a few kitchen messes, I’ve finally landed on a simple hack that makes dealing with flour a breeze—no sifter required. Here’s why this approach is a keeper:
- Quick & Easy: Forget fiddling with extra tools; this method comes together in under five minutes, perfect for busy weeknights or last-minute baking sessions.
- Simple Ingredients: Uses your everyday pantry staples—no specialty flours or gadgets needed.
- Perfect for Every Occasion: Whether it’s a casual family dinner or a cozy weekend treat, this hack fits right in.
- Crowd-Pleaser: Even my notoriously picky neighbors have complimented the texture and fluffiness of my cakes using this method.
- Unbelievably Delicious: The crumb stays tender and moist, with no lumps or dense patches—just like that bakery-style cake you crave.
This hack isn’t just about skipping a step—it’s about how you handle your flour to keep it airy and light without the mess of sifting. By gently fluffing the flour and measuring it correctly, you get consistent results every time. Honestly, it’s changed how I bake and saved me from ruining more than one batch.
Plus, I love that this method respects the tradition of careful baking while making it accessible for anyone who might be intimidated by the “fussy” steps. It’s comforting food made easy, with that same soul-soothing satisfaction you expect from homemade cakes.
What Ingredients You Will Need
This baking hack works best with basic, wholesome ingredients that you likely have chilling in your pantry and fridge. Each plays its part in creating the perfect cake texture and flavor without relying on complicated processes.
- All-Purpose Flour: Use a trusted brand like King Arthur or Bob’s Red Mill for consistent texture. No need to sift if you fluff it first.
- Baking Powder: Acts as your rising agent. Make sure it’s fresh for the best lift.
- Sugar: Granulated white sugar is standard, but you can try superfine sugar for quicker dissolving.
- Eggs: Large and at room temperature, they help the cake bind perfectly.
- Butter: Unsalted and softened, gives richness and moisture.
- Milk: Whole milk or buttermilk adds tenderness (buttermilk adds a subtle tang).
- Vanilla Extract: Pure vanilla for that warm, inviting aroma.
- Optional: A pinch of salt to balance sweetness and bring out flavors.
You can swap whole milk for a dairy-free alternative like almond or oat milk if you prefer. Also, if you’re gluten-sensitive, using a gluten-free blend that behaves similarly to all-purpose flour works well with the fluffing hack.
One pro tip: always measure your flour by spooning it into your cup and leveling it off rather than scooping directly from the bag. This keeps the flour light and prevents dense cakes—an easy step that pairs perfectly with the sifting hack.
Equipment Needed
- Mixing Bowls: At least one large bowl for dry ingredients and one for wet.
- Measuring Cups and Spoons: Precise measurement is key. I prefer glass measuring cups with clear markings.
- Whisk or Fork: A fork works great for fluffing the flour before measuring and mixing.
- Electric Mixer or Hand Mixer: Helpful but not essential—hand mixing works fine with a little elbow grease.
- Baking Pan: Depending on your cake, a 9-inch round or square pan works well. Non-stick pans make cleanup easier.
- Spatula: For folding ingredients gently, especially after adding flour.
If you don’t have a sifter, no worries! This hack replaces it. For budget-friendly alternatives, a fine-mesh sieve can mimic sifting if you want to be traditional sometimes. Just remember to clean your tools well to avoid flour buildup.
Preparation Method
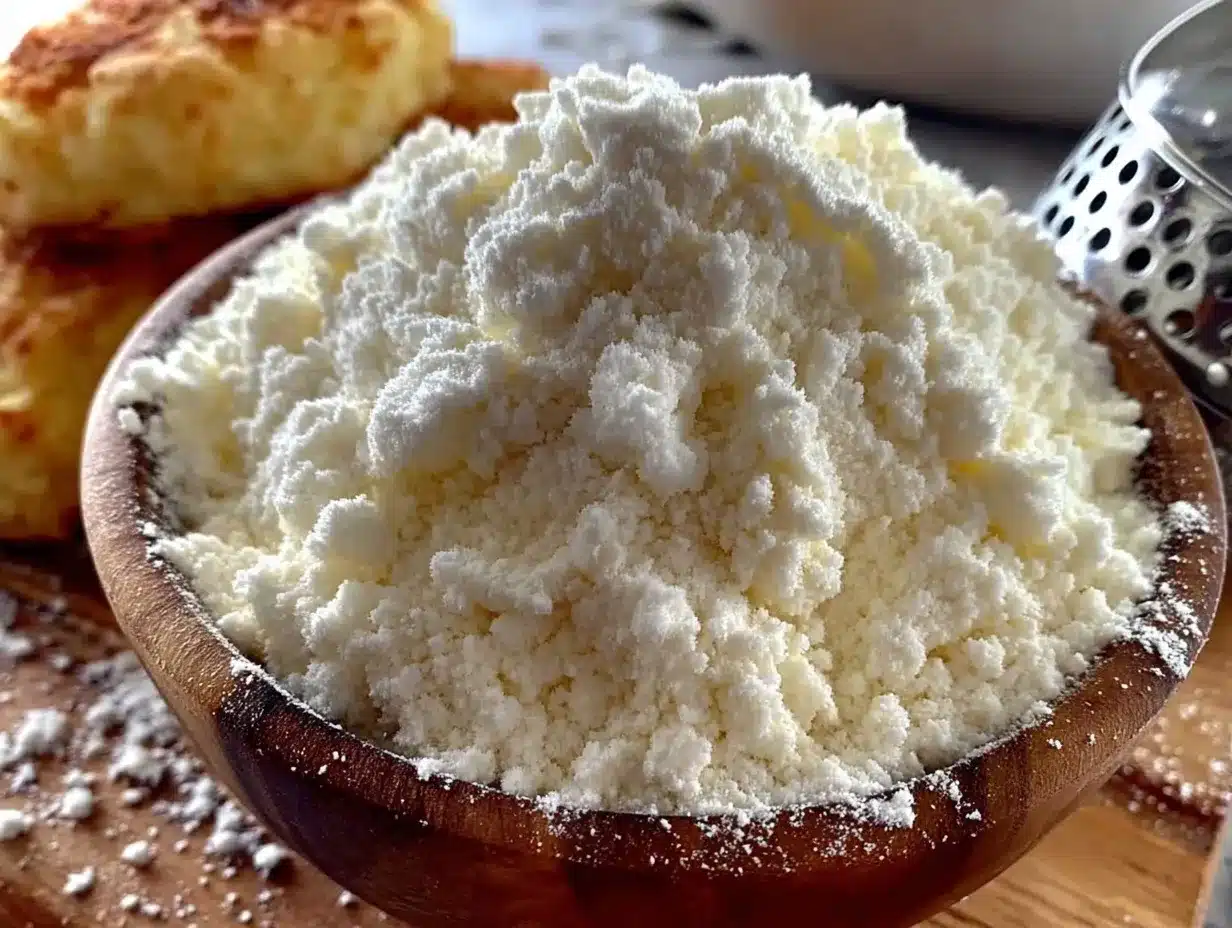
- Fluff Your Flour: Instead of sifting, use a fork or whisk to gently stir the flour in its container or bag. This aerates it and breaks up clumps without the mess. It usually takes about 1-2 minutes.
- Measure Correctly: Spoon the fluffed flour lightly into your measuring cup until slightly overfilled, then level off with a straight edge. This prevents packing down and keeps measurements accurate.
- Combine Dry Ingredients: In a large bowl, whisk together the fluffed flour, baking powder, and salt. This ensures an even distribution of leavening and seasoning.
- Mix Wet Ingredients: In another bowl, cream softened butter and sugar with an electric mixer on medium speed until light and fluffy (about 3-4 minutes). Then, add eggs one at a time, beating well after each addition. Stir in vanilla extract.
- Alternate Adding Dry and Wet: Add the dry ingredients to the butter mixture in three parts, alternating with milk in two additions. Start and end with dry ingredients. Gently fold using a spatula or mix on low speed. This keeps the batter light and prevents overmixing.
- Check Consistency: The batter should be smooth and pourable but not runny. If it looks too thick, add a tablespoon of milk at a time. Too thin? Add a teaspoon of flour.
- Pour and Smooth: Transfer the batter to your prepared baking pan and smooth the surface with a spatula.
- Bake: Place in a preheated oven at 350°F (175°C) and bake for 25-30 minutes. Test doneness by inserting a toothpick in the center; it should come out clean.
- Cool: Let the cake cool in the pan for 10 minutes before transferring to a wire rack to cool completely.
Pro tip: If you find lumps during mixing, pause and gently fold to break them up—vigorous stirring can toughen the cake. Also, avoid opening the oven door too early to prevent sinking.
Cooking Tips & Techniques
One trick I learned the hard way is that flour texture matters more than you think. Fluffing flour before measuring keeps it light—no dense bricks here! Also, measuring by weight (about 120g or 1 cup) improves consistency, especially when trying different brands.
Another tip: creaming butter and sugar until pale and fluffy traps air, which helps the cake rise beautifully. Don’t rush this step. I once skimmed over it and ended up with a sad, heavy cake—lesson learned!
Keep an eye on mixing times. Overmixing after adding flour develops gluten, making your cake chewy rather than tender. Fold gently with a spatula when combining wet and dry ingredients.
Timing matters too. Measure and prepare all ingredients before starting (mise en place), so you can move smoothly and keep your batter fresh and airy.
If you want an extra moist crumb, swap half the milk for sour cream or yogurt. But remember, that changes baking times slightly, so watch closely.
Variations & Adaptations
- Gluten-Free Option: Use a gluten-free flour blend with xanthan gum and follow the same fluffing method. The texture will be slightly different but still delightful.
- Flavor Twists: Add citrus zest, cinnamon, or cocoa powder to the dry mix for a flavor boost.
- Healthier Swap: Replace half the butter with unsweetened applesauce for a lower-fat cake that stays moist.
- Different Cooking Method: Try cupcakes instead of a cake pan; reduce bake time to around 18-22 minutes.
- Personal Favorite: I once folded in fresh blueberries and a splash of lemon juice—no sifting needed—and it was a hit at brunch.
Serving & Storage Suggestions
This cake tastes best at room temperature, with a light dusting of powdered sugar or a simple glaze. Pair it with fresh berries or a cup of tea for a cozy treat. For a party, frosting with cream cheese or chocolate ganache works wonders.
Store leftovers in an airtight container at room temperature for up to 3 days or in the fridge for a week. To freeze, wrap tightly and place in a freezer bag; it keeps well for up to 3 months.
When reheating, a quick zap in the microwave (10-15 seconds) revives that fresh-baked softness. Flavors often deepen after a day, so leftovers get better with time—if you can resist!
Nutritional Information & Benefits
An average serving (about 1/12th of a 9-inch cake) contains roughly 250 calories, 10g fat, 35g carbohydrates, and 3g protein. Using quality ingredients like unsalted butter and fresh eggs adds wholesome nutrition beyond just empty calories.
The all-purpose flour provides energy and some B vitamins, while eggs contribute essential amino acids. If you swap in yogurt or applesauce, you get added moisture and fewer fats.
This recipe is naturally gluten-containing unless you use a gluten-free blend. It contains dairy and eggs, so it’s not suitable for vegan or dairy-free diets unless adapted accordingly.
From a wellness perspective, baking at home with simple ingredients means you avoid preservatives and excess sugars often found in store-bought cakes. It’s a comforting, mindful treat you can feel good about sharing.
Conclusion
So, do you really need to sift flour every time? My easy baking hack shows you don’t have to, as long as you fluff your flour and measure carefully. It’s a small change that makes a big difference in your cake’s texture and saves time and cleanup.
Feel free to tweak the ingredients and flavors to suit your mood or dietary needs. Honestly, this approach has become my go-to for hassle-free, reliable homemade cakes that impress without stress.
Give this hack a try next time you bake, and let me know how it turns out! I’d love to hear if it saves you from the sifting dilemma and if you come up with your own twists. Happy baking, friends—may all your cakes be tender and your kitchen mess-free!
FAQs
Do I always have to sift flour for baking?
Not necessarily. Fluffing the flour with a fork or whisk before measuring can replace sifting in most recipes, especially cakes. The key is to break up lumps and aerate the flour for lighter texture.
What happens if I skip sifting and don’t fluff the flour?
Your baked goods might turn out denser or uneven because packed flour adds more weight than expected. Clumps can also cause texture issues. Fluffing helps avoid these problems without the mess of sifting.
Can I use this baking hack for bread or pastry dough?
This hack works best with cakes and quick breads. For delicate pastries or recipes requiring very fine flour distribution, traditional sifting might still be preferable.
How do I measure flour correctly without sifting?
Fluff the flour first, then spoon it lightly into your measuring cup and level off with a flat edge. Avoid scooping directly from the bag as that packs the flour and leads to inaccurate measurements.
Is this method suitable for gluten-free flours?
Yes, as long as your gluten-free flour blend behaves similarly to all-purpose flour. Fluffing helps keep the flour light and prevents clumping, which is important for gluten-free baking consistency.
Pin This Recipe!
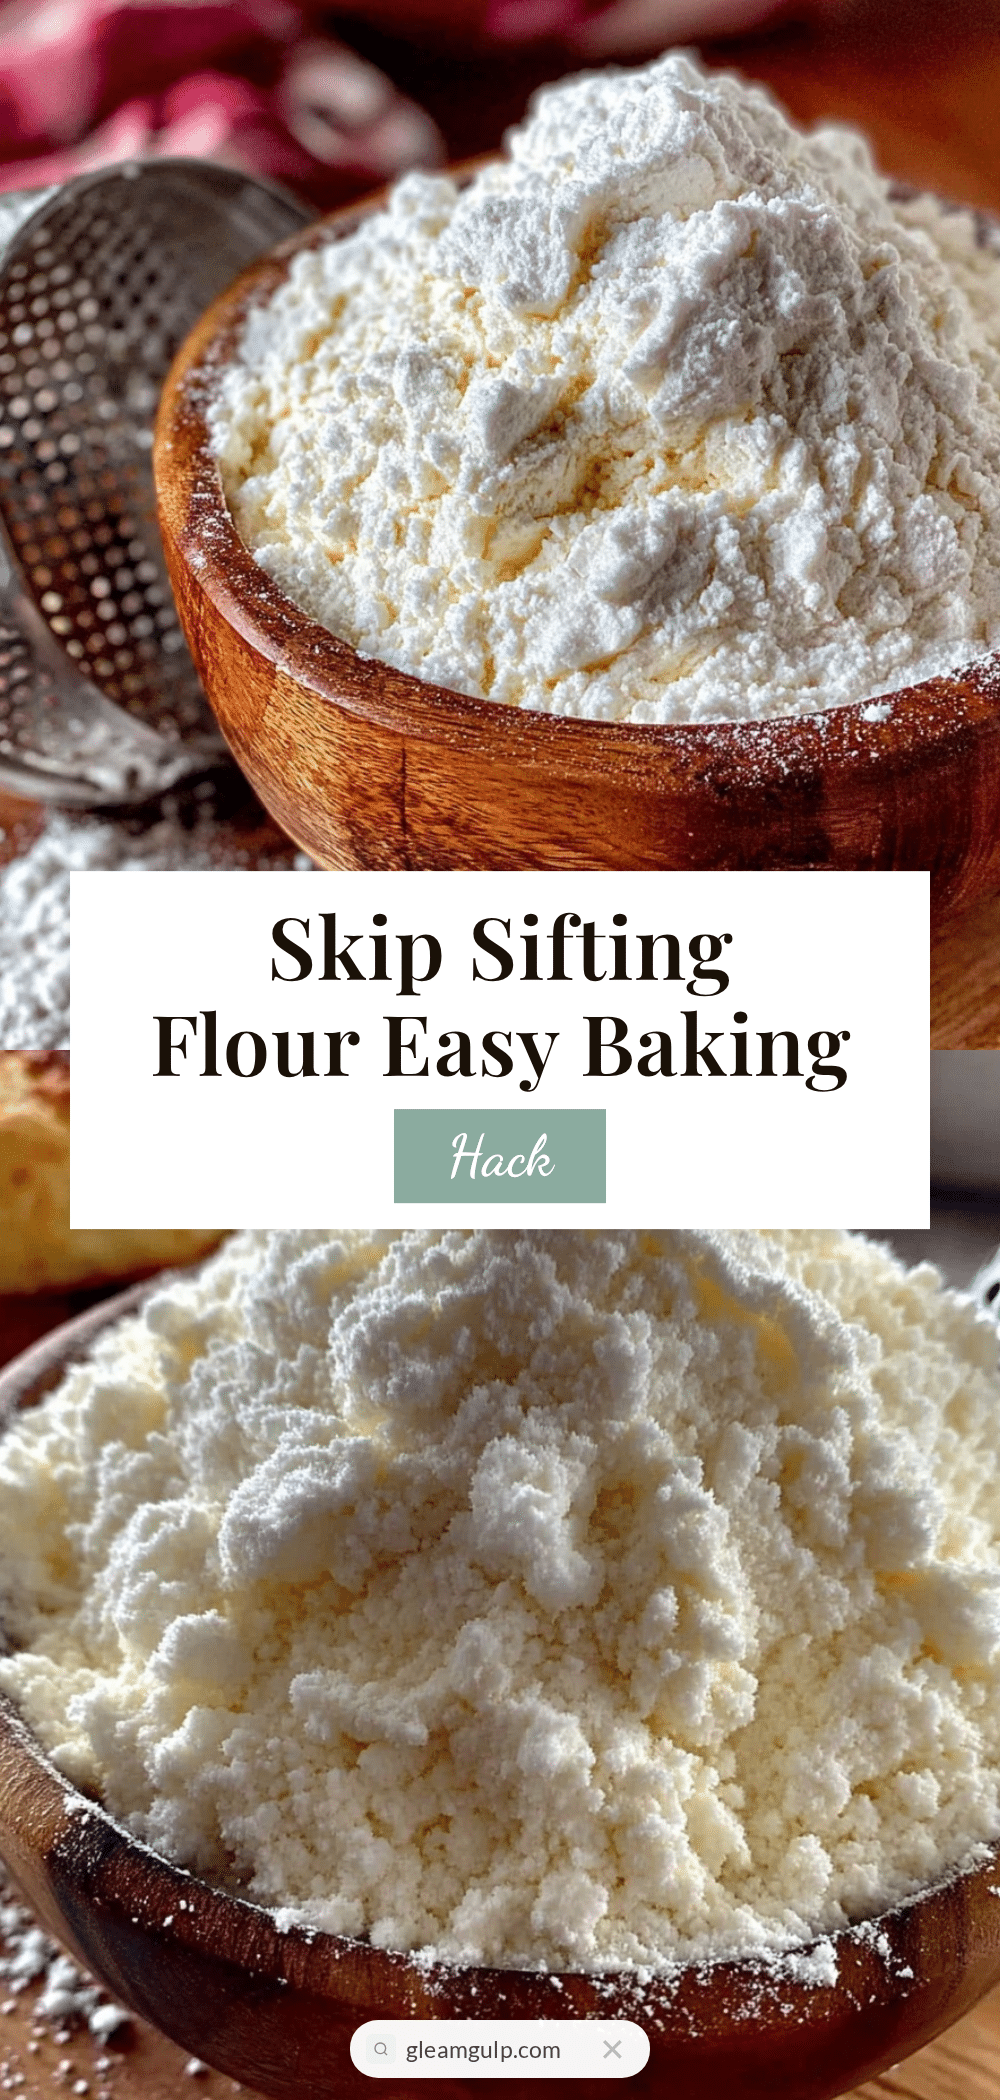
Easy Do I Need to Sift Flour Baking Hack 5 Tips for Perfect Homemade Cakes
A simple baking hack that replaces sifting flour by fluffing it with a fork or whisk, ensuring light, tender, and moist cakes without extra mess or tools.
- Prep Time: 10 minutes
- Cook Time: 25-30 minutes
- Total Time: 35-40 minutes
- Yield: 12 servings
- Category: Dessert
- Cuisine: American
Ingredients
- All-Purpose Flour (fluffed, no need to sift)
- Baking Powder (fresh)
- Granulated White Sugar (or superfine sugar)
- Large Eggs (room temperature)
- Unsalted Butter (softened)
- Milk (whole milk or buttermilk; dairy-free alternatives like almond or oat milk optional)
- Vanilla Extract (pure)
- Pinch of Salt (optional)
Instructions
- Fluff your flour by gently stirring it with a fork or whisk in its container or bag for 1-2 minutes to aerate and break up clumps.
- Spoon the fluffed flour lightly into your measuring cup until slightly overfilled, then level off with a straight edge to prevent packing.
- In a large bowl, whisk together the fluffed flour, baking powder, and salt for even distribution.
- In another bowl, cream softened butter and sugar with an electric mixer on medium speed until light and fluffy (about 3-4 minutes).
- Add eggs one at a time to the butter mixture, beating well after each addition, then stir in vanilla extract.
- Add the dry ingredients to the butter mixture in three parts, alternating with milk in two additions, starting and ending with dry ingredients. Fold gently or mix on low speed.
- Check batter consistency; it should be smooth and pourable but not runny. Adjust with milk or flour if needed.
- Pour batter into a prepared 9-inch baking pan and smooth the surface with a spatula.
- Bake in a preheated oven at 350°F (175°C) for 25-30 minutes. Test doneness with a toothpick; it should come out clean.
- Let the cake cool in the pan for 10 minutes, then transfer to a wire rack to cool completely.
Notes
Fluff flour before measuring to keep it light and prevent dense cakes. Cream butter and sugar until pale and fluffy for better rise. Avoid overmixing after adding flour to prevent toughness. Measure flour by spooning into cup and leveling off, not scooping directly. For extra moist crumb, substitute half the milk with sour cream or yogurt and watch baking time closely. Gluten-free flour blends can be used with the same fluffing method. Avoid opening oven door early to prevent sinking.
Nutrition
- Serving Size: 1 slice (1/12th of 9
- Calories: 250
- Fat: 10
- Carbohydrates: 35
- Protein: 3
Keywords: flour fluffing, no sift flour, baking hack, homemade cake, easy cake recipe, cake tips, baking tips, quick cake, moist cake


