Love this? Save it for later!
Share the inspiration with your friends
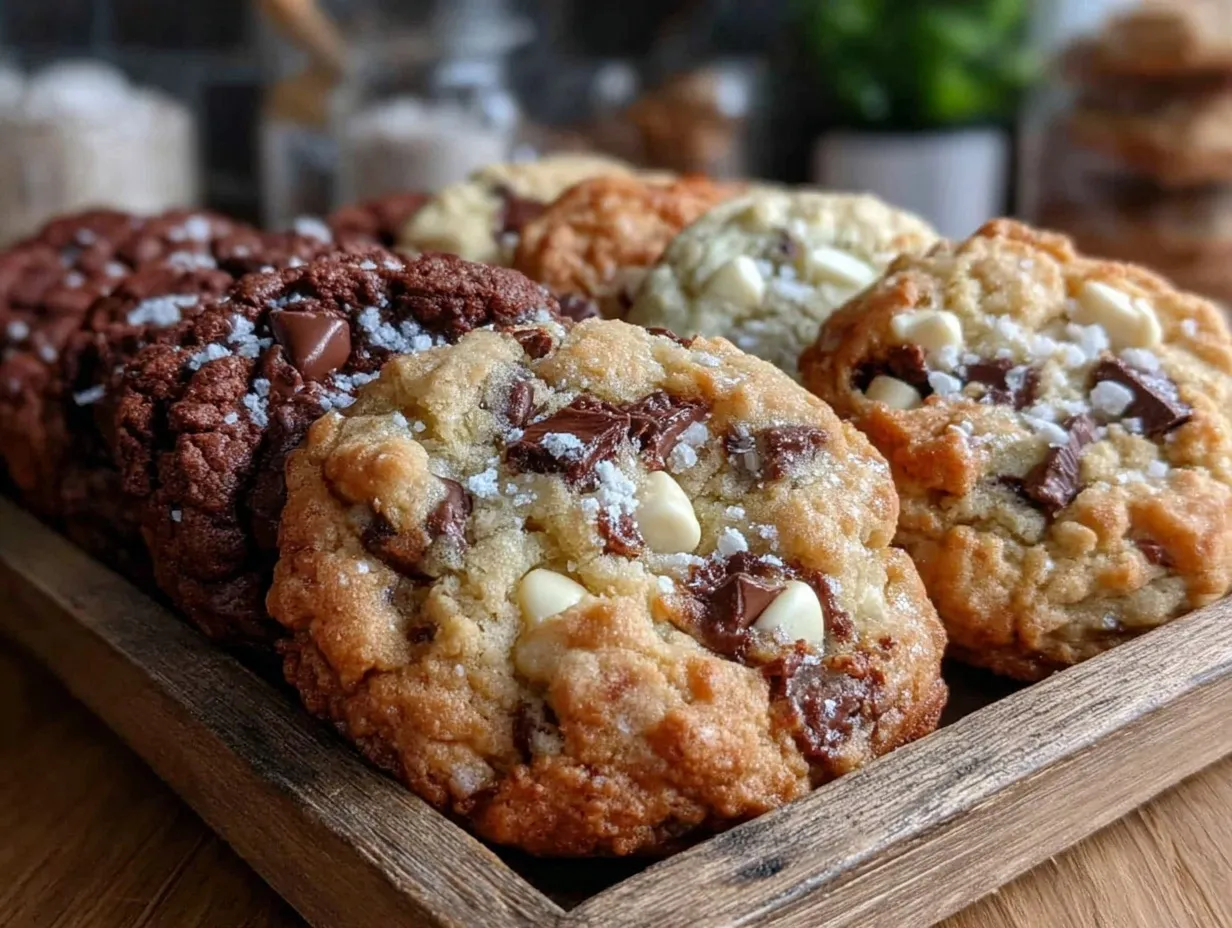
“You know that moment when you’re halfway through mixing cookie dough and realize you forgot to let the butter soften?” That happened to me one Saturday morning while trying to bake a batch of chocolate chip cookies for a friend’s brunch. Honestly, I thought it was doomed—cold butter and all. But, let me tell you, that kitchen mishap turned into a lightbulb moment about the difference between room temperature and cold ingredients in baking.
It’s funny how something as simple as ingredient temperature can change the entire texture and flavor of a baked good. I wasn’t always aware of this. Back in culinary school, we were taught to bring ingredients to room temp unless otherwise stated. Yet, I kept seeing recipes that called for ice-cold butter or chilled eggs, and I wondered, why? So, I started experimenting—sometimes mixing room temp butter for fluffier cakes, other times using cold butter for flaky pastries.
This recipe isn’t just a how-to; it’s a collection of flavorful baking secrets I’ve gathered over the years. These insights will help you master the subtle but powerful effects of ingredient temperature—whether you want tender cakes, crispy cookies, or flaky pie crusts. Maybe you’ve been there too, standing in your kitchen, confused about why your baked goods didn’t turn out quite right. Well, this guide is the next best thing to having a pastry chef whispering in your ear.
And honestly, between you and me, learning when to use room temperature versus cold ingredients has saved me from many baking disasters (and a few kitchen messes). So, let’s get into why these secrets matter and how you can put them to work for your most flavorful baking yet.
Why You’ll Love This Recipe
This guide to flavorful baking secrets about room temperature versus cold ingredients is drawn from countless trial-and-error sessions and a few happy accidents in my kitchen. Here’s why you’ll find it handy:
- Quick & Easy: Understanding these simple temperature tricks can speed up your baking process and reduce guesswork.
- Simple Ingredients: No special items needed—just your everyday staples, but used at the perfect temperature for best results.
- Perfect for Any Occasion: Whether you’re baking for holiday gatherings, casual dinners, or sweet treats on a rainy day, these tips adapt to any recipe.
- Crowd-Pleaser: Once you master these secrets, your cookies will have that perfect chew, cakes will rise beautifully, and crusts will flake like a pro’s.
- Unbelievably Delicious: The texture and flavor differences you can achieve just by tweaking ingredient temperature are truly next-level.
What sets this guide apart is the focus on practical, everyday baking—no complicated science jargon or fancy ingredients. For example, letting your eggs sit out just long enough to blend smoothly or chilling your butter to create those dreamy pie crust layers. These aren’t just rules; they’re techniques tested in my own kitchen and trusted by home bakers who’ve seen their treats transform.
This isn’t about perfect precision but about understanding your ingredients so you can bake with confidence. After all, baking is part science, part art, and a good bit of fun. And if you’re anything like me, you’ll start seeing these little temperature details as your secret weapon for consistently flavorful results.
What Ingredients You Will Need
This recipe guide focuses on the role and temperature of typical baking ingredients that shape texture and taste without extra fuss. Most of these you already have in your pantry or fridge.
- Butter: Unsalted, either softened to room temperature for creaming or cold for cutting into dough. I recommend brands like Plugrá for a rich flavor and reliable texture.
- Eggs: Large eggs, either cold or brought to room temperature (about 70°F/21°C). Room temp eggs mix better for fluffier batters.
- Flour: All-purpose flour is standard, sifted or unsifted based on recipe. For gluten-free options, almond flour works well but behaves differently.
- Sugar: Granulated sugar for sweetness and texture; brown sugar for moisture and depth. Both work best at room temperature.
- Leavening agents: Baking powder and baking soda, always kept dry and at room temp for best rise.
- Dairy: Milk or cream, ideally at room temperature for smooth batter incorporation. For dairy-free, coconut or almond milk at room temp works great.
- Flavorings: Vanilla extract or citrus zest, added at room temperature to distribute flavor evenly.
Some ingredients require special attention to their temperature:
- Cold Ingredients: Cold butter or shortening for flaky pie crusts and biscuits. Chilling dough after mixing ensures proper texture.
- Room Temperature Ingredients: Butter and eggs at room temperature for cakes and cookies that need to be light and airy.
Seasonal variations are fun too! For instance, in summer, swapping room temp milk with chilled fresh fruit purees adds moisture and natural sweetness. If you need to swap ingredients for dietary reasons, almond flour or coconut yogurt are excellent alternatives without sacrificing taste.
Equipment Needed
To get the most from your baking ingredients, having the right tools helps, but don’t worry if your kitchen is basic—you can make do with alternatives.
- Mixing Bowls: A set of medium to large bowls, preferably glass or metal to keep ingredients cool when needed.
- Electric Mixer or Stand Mixer: For creaming softened butter and sugar thoroughly. A hand whisk works but takes more elbow grease.
- Measuring Cups and Spoons: Accurate measuring is key, especially for dry vs liquid ingredients.
- Pastry Cutter or Fork: Handy for cutting cold butter into flour for flaky doughs.
- Spatula: For folding and scraping batter efficiently.
- Refrigerator and Freezer: Chilling dough or keeping ingredients cold between steps.
Personally, I like a good silicone spatula for scraping every last bit from the bowl—trust me, there’s no need to waste tasty batter! For pastry cutters, if you don’t have one, use two knives crossed in a scissor motion to cut in the butter. And if you don’t own a stand mixer, a sturdy hand mixer does the job just fine.
Preparation Method
- Bring Ingredients to the Desired Temperature: Plan ahead by removing butter and eggs from the fridge about 30-60 minutes before baking. Room temperature butter should feel soft but cool to the touch (around 65-70°F or 18-21°C). Eggs should feel neither cold nor warm.
- Prepare Cold Ingredients When Needed: For flaky pastries, keep butter chilled. Cut it into small cubes and return to the fridge until ready to mix. This cold butter creates steam pockets that give that perfect flakiness.
- Cream Butter and Sugar: For cakes or cookies requiring room temp butter, beat gently until pale and fluffy. This usually takes 3-5 minutes with an electric mixer on medium speed. If the butter is too cold, it won’t blend well, resulting in dense texture.
- Incorporate Eggs: Add eggs one at a time, mixing well after each addition. Room temperature eggs emulsify better, giving a smooth, airy batter. Cold eggs can cause the mixture to curdle or seize.
- Add Dry Ingredients: Sift flour, baking powder, and salt together. Fold gently into the wet mixture with a spatula to avoid overmixing, which can make baked goods tough.
- Chill Dough When Required: For cookies or pie crusts, wrap dough tightly and chill for at least 30 minutes. This step firms the fat and reduces spread, resulting in better shape and texture.
- Preheat Oven: Always preheat to the exact temperature before baking. This ensures even cooking and proper rise.
- Bake and Monitor: Follow baking times carefully, but watch for visual cues like golden edges or a firm top. Oven temperatures vary, so keep an eye near the end.
- Cool Properly: Let baked goods cool on racks to finish setting and avoid sogginess from trapped steam.
One time, I rushed and skipped chilling cookie dough—big mistake. The cookies spread like pancakes. Lesson learned: the cold-to-hot contrast is key for texture. Also, don’t be afraid to adjust timing based on ingredient temps; colder dough might take a minute or two longer in the oven.
Cooking Tips & Techniques
Understanding how temperature affects baking is like having a secret map to tastier treats.
- Cream Butter Properly: Room temp butter traps air, giving cakes volume. If it’s too warm, it’ll be greasy. Too cold, and it won’t mix evenly.
- Cold Butter for Flakiness: When making pie crust or biscuits, keep butter cold to create steam pockets during baking. Use a pastry cutter or pulse in a food processor for best results.
- Don’t Overmix: Once flour is added, mix just until combined. Overworking develops gluten and toughens the texture.
- Timing Matters: If you forget to bring eggs or butter to room temp, you can warm eggs by placing them in a bowl of warm water for 5-10 minutes. Softening butter can be tricky—avoid microwaving unless in very short bursts to prevent melting.
- Use Chilling as a Tool: Chilling dough isn’t just for convenience—it improves flavor by letting ingredients meld and controls spread during baking.
Honestly, I’ve made every mistake in the book—from melted butter disasters to eggs that just wouldn’t mix. What helped was learning to sense the texture and feel of ingredients, not just following a timer. For example, dough with cold butter will feel crumbly, while one with softened butter is smooth and pliable. This sensory awareness is a game-changer in baking.
Variations & Adaptations
These baking secrets work across a variety of recipes and dietary needs. Here are some tasty twists to consider:
- Gluten-Free: Use almond or oat flour and keep butter cold for flaky textures. Room temp eggs still help with binding.
- Dairy-Free: Substitute butter with coconut oil or vegan margarine; keep solid (cold) for pastry flakiness or softened for cakes.
- Flavor Twists: Add zest, spices, or extracts at room temperature to maximize aroma. For example, cinnamon or lemon zest in chilled dough lifts flavor beautifully.
- Seasonal Adaptations: Use cold, fresh fruit purees instead of milk to add moisture and subtle sweetness to batters.
- Cooking Method Adjustments: For skillet baking or griddles, room temperature batter ensures even cooking; cold dough may cook unevenly.
I personally love trying a version of pie crust with a mix of cold butter and cream cheese at room temp for extra tenderness. It’s a fun way to switch things up without complicating the process.
Serving & Storage Suggestions
Serving your baked goods at the right temperature really enhances flavor and texture. Here’s what I recommend:
- Serving Temperature: Cakes and cookies usually taste best slightly warm or at room temperature. Warmth brings out aromas and softens textures.
- Presentation: A dusting of powdered sugar or a drizzle of glaze adds visual appeal and flavor contrast.
- Storage: Store cookies in airtight containers at room temperature for up to a week. Cakes with frosting are best refrigerated but should come to room temp before serving.
- Freezing: Doughs with cold butter freeze well—wrap tightly and freeze up to 3 months. Thaw overnight in the fridge before baking.
- Reheating: Gently warm cookies or slices in a low oven (300°F/150°C) for 5-7 minutes to regain softness.
- Flavor Development: Some doughs like biscotti improve in flavor after resting a day or two, as the ingredients meld.
Nutritional Information & Benefits
While this guide focuses on technique, here’s a snapshot of the nutritional impact based on typical baking ingredients:
- Calories vary based on recipe but expect around 150-250 calories per serving for cakes or cookies.
- Butter provides rich flavor and essential fats but can be moderated with substitutions like applesauce or yogurt for lighter options.
- Eggs add protein and structure; using room temperature eggs helps maximize their functional benefits.
- Flour contributes carbs; swapping for whole grain or almond flour can add fiber or healthy fats.
- Using natural flavorings like vanilla and citrus zest adds aroma without added sugar or calories.
From a wellness perspective, baking with attention to ingredient temperature means less waste and better results, encouraging home baking over packaged treats. It’s a small step towards mindful cooking that tastes good and feels good.
Conclusion
Understanding the secrets of room temperature versus cold ingredients has been a game-changer in my baking journey. It’s not just about following rules but about tuning into your ingredients and how they interact. Whether you’re making cookies, cakes, or crusts, these simple adjustments make your baked goods consistently flavorful and textured just right.
Feel free to experiment and customize based on your kitchen rhythm and taste preferences. Maybe you’ll find your own twist, like I did with that slightly chilled butter trick. I’d love to hear about your experiences—don’t hesitate to leave a comment or share how these tips worked for you.
Now, roll up your sleeves and enjoy baking with these flavorful secrets in mind. Remember, the best recipes are the ones you make your own!
FAQs
Why does room temperature butter matter in baking?
Room temperature butter traps air when creamed with sugar, helping cakes and cookies rise with a light, fluffy texture. Cold butter doesn’t mix as well and can lead to denser results.
When should I use cold ingredients instead of room temperature?
Cold ingredients, especially butter, are best for recipes needing flaky textures, like pie crusts and biscuits. Cold butter creates steam pockets that make layers flaky.
Can I warm cold eggs quickly if I forgot to take them out?
Yes, place eggs in a bowl of warm (not hot) water for 5-10 minutes to gently bring them to room temperature without cooking them.
Does ingredient temperature affect baking time?
Sometimes. Cold dough can take a bit longer to bake through, while room temperature batters tend to bake more evenly and predictably.
What happens if I overmix batter after adding flour?
Overmixing develops gluten, which can make baked goods tough and chewy instead of tender and soft. Mix just until ingredients are combined for best texture.
For more insights on baking techniques, you might find this crispy garlic chicken recipe interesting for its tips on ingredient prep and cooking timing. Also, if you enjoy experimenting with textures and flavors, the homemade lemon bars recipe offers a great balance of buttery crust and tangy filling that complements these baking secrets beautifully.
Pin This Recipe!
Flavorful Baking Secrets Room Temperature vs Cold Ingredients Explained

This guide reveals the impact of ingredient temperature on baking, explaining when to use room temperature versus cold ingredients to achieve perfect texture and flavor in cakes, cookies, and pastries.
- Prep Time: 30 minutes
- Cook Time: 15-30 minutes
- Total Time: 45-60 minutes
- Yield: Varies by recipe, typically 12-24 servings
- Category: Baking Guide
- Cuisine: General / American
Ingredients
- Unsalted butter (softened to room temperature or cold)
- Large eggs (room temperature or cold)
- All-purpose flour (sifted or unsifted)
- Granulated sugar
- Brown sugar
- Baking powder
- Baking soda
- Milk or cream (room temperature)
- Vanilla extract or citrus zest
Instructions
- Bring butter and eggs to the desired temperature about 30-60 minutes before baking. Room temperature butter should feel soft but cool (65-70°F).
- For flaky pastries, keep butter cold and cut into small cubes; chill until ready to mix.
- Cream room temperature butter and sugar gently until pale and fluffy, about 3-5 minutes with an electric mixer on medium speed.
- Add eggs one at a time, mixing well after each addition.
- Sift flour, baking powder, and salt together; fold gently into the wet mixture to avoid overmixing.
- Wrap dough tightly and chill for at least 30 minutes when required (e.g., cookies or pie crusts).
- Preheat oven to the exact temperature before baking.
- Bake according to recipe times, watching for visual cues like golden edges or a firm top.
- Cool baked goods on racks to finish setting and avoid sogginess.
Notes
Bring eggs and butter to room temperature for fluffier cakes and cookies. Use cold butter for flaky pastries and pie crusts. Avoid overmixing after adding flour to prevent tough texture. Chilling dough improves flavor and controls spread. Warm eggs gently in warm water if needed. Avoid microwaving butter to soften.
Nutrition
- Serving Size: One serving typicall
- Calories: 150250
- Sugar: 1218
- Sodium: 100200
- Fat: 812
- Saturated Fat: 47
- Carbohydrates: 2030
- Fiber: 0.52
- Protein: 24
Keywords: baking secrets, room temperature ingredients, cold ingredients, baking tips, cookie baking, cake baking, flaky pastry, ingredient temperature