Love this? Save it for later!
Share the inspiration with your friends
“I never thought mixing cake batter could spark such a debate,” I confessed to my friend Mark one rainy Saturday afternoon. We were standing in my cramped kitchen, surrounded by bowls and utensils—one hand whisk in my grasp, the gleaming stand mixer silently waiting on the counter. Mark, a self-proclaimed kitchen gadget enthusiast, swore by his stand mixer for every baking task. Meanwhile, I insisted that the humble hand mix method brought something special to the table.
It all started a few weeks ago when I attempted to bake a simple vanilla cake for a neighborhood potluck. My old-fashioned hand mixing went a bit slower than usual, and halfway through, Mark popped by unexpectedly. Watching me struggle with the whisk, he declared, “Let me show you how the stand mixer does its magic.” I handed over the bowl, curious but skeptical.
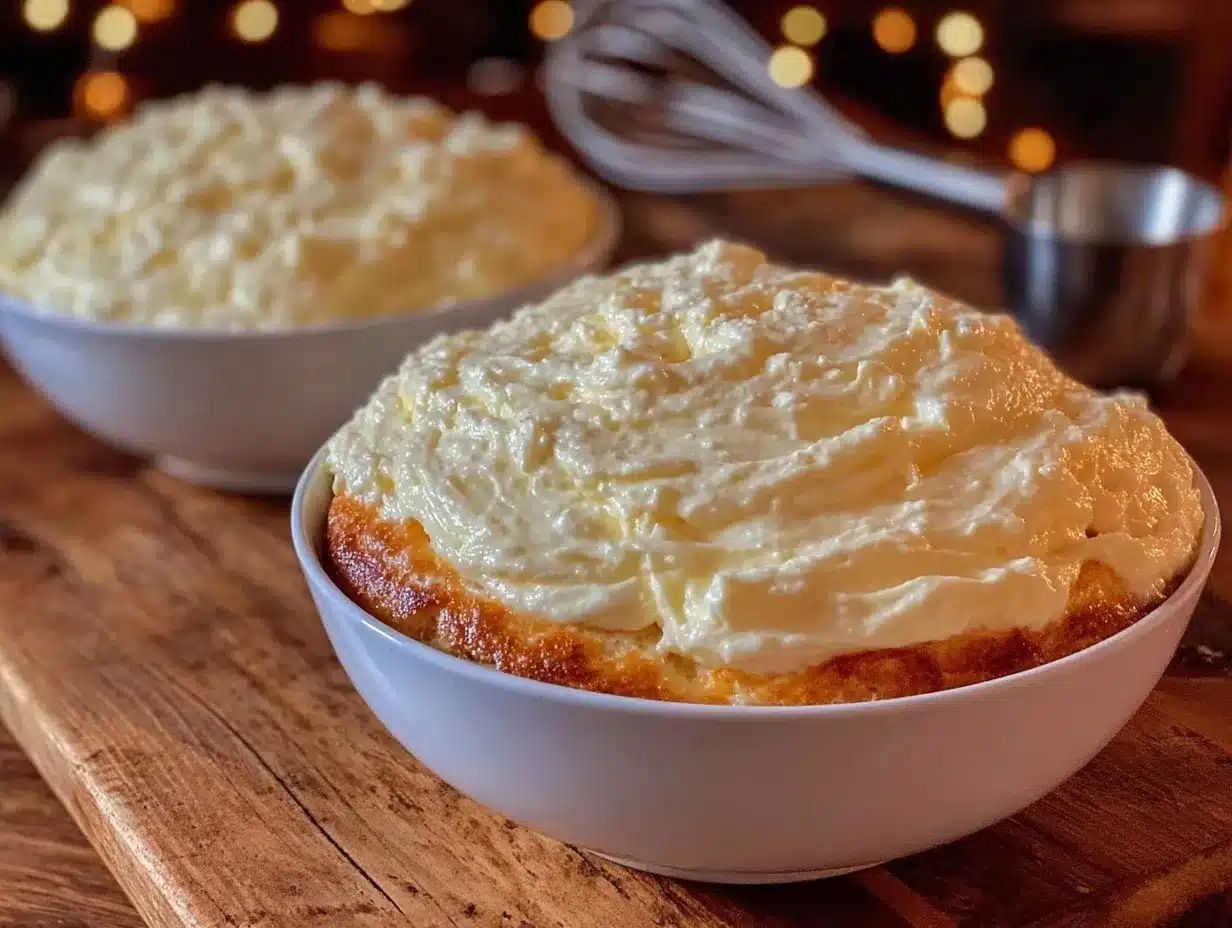
The result? Both cakes looked similar, but the taste test told a different story. The hand-mixed cake had a certain rustic charm, with a texture that somehow felt more tender and flavorful. The stand mixer cake was flawlessly smooth and airy but lacked a bit of that homemade warmth. You know that feeling when you bite into something and it just hits differently? Yeah, that was the hand mix cake for me.
Maybe you’ve been there—caught between convenience and tradition, wondering if the gadget is worth the hype. Honestly, this little showdown got me thinking about how the method of mixing can shape the very soul of a cake. So, let me tell you why this recipe and the battle between hand mix vs stand mixer cake batter became one of my favorite kitchen experiments—and why it might just inspire your next bake, too.
Why You’ll Love This Recipe
After testing this recipe multiple times using both hand mixing and a stand mixer, I’ve gathered some useful insights that make this cake a total winner in any kitchen.
- Quick & Easy: Whether you’re hand mixing or using a stand mixer, this cake comes together in under 30 minutes—perfect for last-minute celebrations or casual weekend treats.
- Simple Ingredients: No need for fancy or hard-to-find items. You probably have everything in your pantry already.
- Perfect for Any Occasion: From birthdays to afternoon tea, this cake fits right in. It’s a crowd-pleaser that works equally well for cozy family dinners or casual potlucks.
- Texture That Speaks Volumes: The hand mix method lends a slightly denser, more tender crumb that feels like a warm hug. The stand mixer method creates a fluffier, lighter cake that’s almost cloud-like in its softness.
- Flavorful and Balanced: Unlike some recipes that rely on overpowering flavors, this one uses a perfectly balanced vanilla and buttery profile that lets the cake shine on its own.
What makes this recipe stand out is not just the ingredients but how you mix them. Hand mixing encourages you to slow down and really feel the batter’s texture, which brings out a natural richness. Meanwhile, the stand mixer offers precision and consistency that’s hard to beat when you’re in a hurry. Honestly, I find that both methods have their place, and this recipe is designed to highlight their unique strengths. It’s like having two delicious options in one recipe—because who says you can’t have the best of both worlds?
What Ingredients You Will Need
This recipe uses simple, wholesome ingredients to deliver bold flavor and satisfying texture without the fuss. Whether you choose to hand mix or use the stand mixer, these pantry staples will have you covered.
- All-purpose flour (2 ½ cups / 310g) – Provides structure; sifted for a lighter crumb.
- Granulated sugar (1 ½ cups / 300g) – Sweetens and helps tenderize the cake.
- Unsalted butter (1 cup / 227g), softened – Adds richness and moisture; I recommend Plugrá for best creaminess.
- Large eggs (4), room temperature – Bind ingredients and add lift.
- Whole milk (1 cup / 240ml), room temperature – Keeps the batter moist; swap with almond milk for a dairy-free twist.
- Pure vanilla extract (2 teaspoons) – For that classic warm flavor; Nielsen-Massey is my go-to.
- Baking powder (2 ½ teaspoons) – Leavens the cake, making it light and fluffy.
- Salt (½ teaspoon) – Balances sweetness and enhances flavor.
Optional add-ins:
- Fresh berries (1 cup) – Perfect in summer; gently fold in after mixing.
- Lemon zest (1 teaspoon) – Adds a refreshing twist.
If you’re looking for a gluten-free option, try substituting the all-purpose flour with a 1:1 gluten-free baking flour blend. Just be mindful that texture may vary slightly. For a lower-fat version, swap half the butter with unsweetened applesauce, though this will change the crumb slightly.
Equipment Needed
- Mixing bowls: At least two medium-sized bowls for dry and wet ingredients.
- Hand whisk: Essential if you’re going the classic hand mix route. I prefer a balloon whisk that feels sturdy but flexible.
- Stand mixer: Useful for the alternative, quicker mixing method. A basic model with a paddle attachment works well—no need for fancy features.
- Measuring cups and spoons: For accuracy, especially with baking powder and salt.
- Sifter: Optional but recommended to aerate the flour and baking powder.
- Spatula: For folding and scraping the bowl clean.
- 9×13 inch (23×33 cm) cake pan: Or two 8-inch (20 cm) round pans for a layered effect.
For budget-friendly alternatives, a sturdy fork can replace the whisk in a pinch, though it takes longer and requires more elbow grease. I learned the hard way that some cheap whisks tend to bend or unravel, so investing in a decent one pays off. Also, if you don’t have a stand mixer, a hand-held electric mixer can stand in, but keep an eye on mixing times to avoid over-beating.
Preparation Method
- Preheat your oven to 350°F (175°C). Grease your cake pan(s) with butter and lightly dust with flour or line with parchment paper. This prevents sticking and ensures an even bake. (Time: 10 minutes)
- Combine dry ingredients: In a medium bowl, sift together 2 ½ cups (310g) all-purpose flour, 2 ½ teaspoons baking powder, and ½ teaspoon salt. This step is key for a light texture. Set aside.
- Cream butter and sugar: Hand mix: In a large bowl, beat 1 cup (227g) softened unsalted butter and 1 ½ cups (300g) granulated sugar using a balloon whisk until pale and fluffy—this can take about 5-7 minutes and requires some patience. Stand mixer: Use the paddle attachment on medium speed for 3-4 minutes until creamy and light. The mixture should look almost white and have a soft, spreadable texture.
- Add eggs: One at a time, beat in 4 large room temperature eggs. Tip: Adding eggs slowly prevents the batter from curdling. If it looks a bit separated, keep mixing—it will come together. (Time: 3 minutes)
- Mix in vanilla: Stir in 2 teaspoons of pure vanilla extract for that warm, comforting aroma.
- Alternate adding dry ingredients and milk: Add the dry mixture in three parts, alternating with 1 cup (240ml) whole milk, beginning and ending with dry ingredients. Hand mix: Gently fold with a spatula or whisk just until combined—overmixing can toughen the cake. Stand mixer: Mix on low speed, stopping as soon as the batter is smooth.
- Fold in optional add-ins: Gently incorporate berries or lemon zest if using.
- Pour batter into the prepared pan(s): Use a spatula to scrape down the sides and smooth the surface.
- Bake: Place in the preheated oven and bake for 35-40 minutes, or until a toothpick inserted in the center comes out clean. Check at 30 minutes to avoid over-baking. (Time: 35-40 minutes)
- Cool: Allow the cake to cool in the pan for 10 minutes, then transfer to a wire rack to cool completely before frosting or serving.
Note: A common mistake is over-beating, especially with the stand mixer, which can lead to a dry, dense cake. Pay attention to texture cues—the batter should be smooth but not runny.
Cooking Tips & Techniques
One thing I’ve learned is that the way you mix cake batter affects both texture and flavor in subtle but important ways. Here are some tips from my kitchen trials:
- Don’t rush the creaming step: When hand mixing butter and sugar, take your time. It’s the secret to a tender crumb and great rise.
- Room temperature ingredients: This is a must. Cold eggs or milk can cause the batter to curdle and affect the final texture.
- Use a gentle folding motion: Whether you’re hand mixing or using the stand mixer on low, avoid overmixing. Overworked gluten means a tough cake, which nobody wants.
- Watch your baking time: Ovens vary, so start checking your cake a few minutes before the timer goes off. A toothpick test is your best friend here.
- Stand mixer speed settings: Too high a speed can incorporate too much air, causing the cake to rise rapidly and then collapse. Keep it on low to medium.
- Use quality vanilla: Don’t underestimate the power of good vanilla extract—it makes a huge flavor difference.
I once baked a batch using cold eggs because I was distracted by a phone call. The batter separated and the cake turned out denser than usual. Lesson learned: multitasking in the kitchen is fun, but some steps deserve your full attention!
Variations & Adaptations
This recipe is wonderfully flexible and welcomes a few tasty tweaks:
- Gluten-Free: Swap all-purpose flour with a 1:1 gluten-free baking blend. Add a teaspoon of xanthan gum if your blend doesn’t include it to help with structure.
- Dairy-Free: Use coconut oil or vegan butter in place of butter, and substitute whole milk with almond or oat milk. This keeps the cake moist and flavorful.
- Flavor Twists: Add a teaspoon of almond extract alongside vanilla for an extra nutty aroma. Or swirl in a few tablespoons of cocoa powder for a marbled effect.
- Seasonal: Fold in chopped apples and cinnamon in fall, or use fresh berries and a hint of lemon zest in spring and summer.
- Personal Tried Variation: Once, I replaced half the butter with Greek yogurt to cut fat without losing moisture. The result was surprisingly tender, with a slight tang that paired beautifully with a lemon glaze.
Adjust your baking time slightly if you add moist ingredients like fruit to prevent sogginess. Remember, small changes can make a big difference, so experiment and see what you love!
Serving & Storage Suggestions
This cake tastes best at room temperature after it’s had a chance to rest and let the flavors meld. Serve it plain or with a simple dusting of powdered sugar for an elegant yet effortless presentation.
For a special touch, pair it with fresh whipped cream, a drizzle of honey, or a scoop of vanilla ice cream. I’ve found that a cup of Earl Grey tea complements the vanilla notes beautifully.
To store, wrap the cooled cake tightly in plastic wrap and keep it at room temperature for up to 2 days. For longer storage, refrigerate for up to a week or freeze for up to 3 months. When freezing, slice the cake first for easy thawing of portions.
Reheat gently in the microwave for 15-20 seconds or warm in a low oven (300°F / 150°C) wrapped in foil for 10 minutes. Flavors deepen after a day or two, so if you can wait, it’s worth it!
Nutritional Information & Benefits
Each serving of this cake (assuming 12 slices) contains approximately:
- Calories: 320
- Total Fat: 15g
- Saturated Fat: 9g
- Carbohydrates: 40g
- Sugar: 25g
- Protein: 4g
The key ingredients provide some nutritional benefits: eggs contribute high-quality protein and essential vitamins, while butter supplies fat-soluble vitamins like A and E. Using whole milk adds calcium and contributes to the creamy texture.
This cake isn’t low-calorie, but it’s a wholesome treat made with real ingredients—no artificial preservatives or additives. For those with dietary restrictions, the recipe’s adaptable nature means it can be modified to fit gluten-free or dairy-free needs.
Conclusion
So, which method wins the Flavorful Hand Mix vs Stand Mixer Cake Batter showdown? Honestly, it depends on your mood and kitchen vibe. Hand mixing connects you with the process and creates a tender, comforting crumb, while the stand mixer offers speed and consistency for busy days.
This recipe brings you both options, so you can switch it up depending on how much time and energy you have. I love it because it’s forgiving, delicious, and just plain fun to bake. Plus, it reminds me that sometimes, the best results come from a little patience and care—whether by hand or machine.
Give it a try, tweak it your way, and let me know how your cake turns out. I’m excited to hear which method becomes your favorite. Happy baking!
FAQs
Can I use a hand-held electric mixer instead of a stand mixer?
Yes! A hand-held mixer works well for this recipe. Just mix on medium speed and be careful not to over-beat the batter.
Why is it important to use room temperature ingredients?
Room temperature eggs and milk blend more easily with butter, helping create a smooth batter and preventing curdling.
How do I know when the cake is done baking?
Insert a toothpick or skewer into the center. If it comes out clean or with a few moist crumbs, the cake is ready.
Can I prepare the batter ahead of time?
It’s best to bake the batter right after mixing for optimal rise and texture, but you can refrigerate it for up to 2 hours before baking.
What’s the best way to prevent the cake from sticking to the pan?
Grease your pan with butter and lightly dust with flour, or line it with parchment paper to ensure easy removal.
Pin This Recipe!
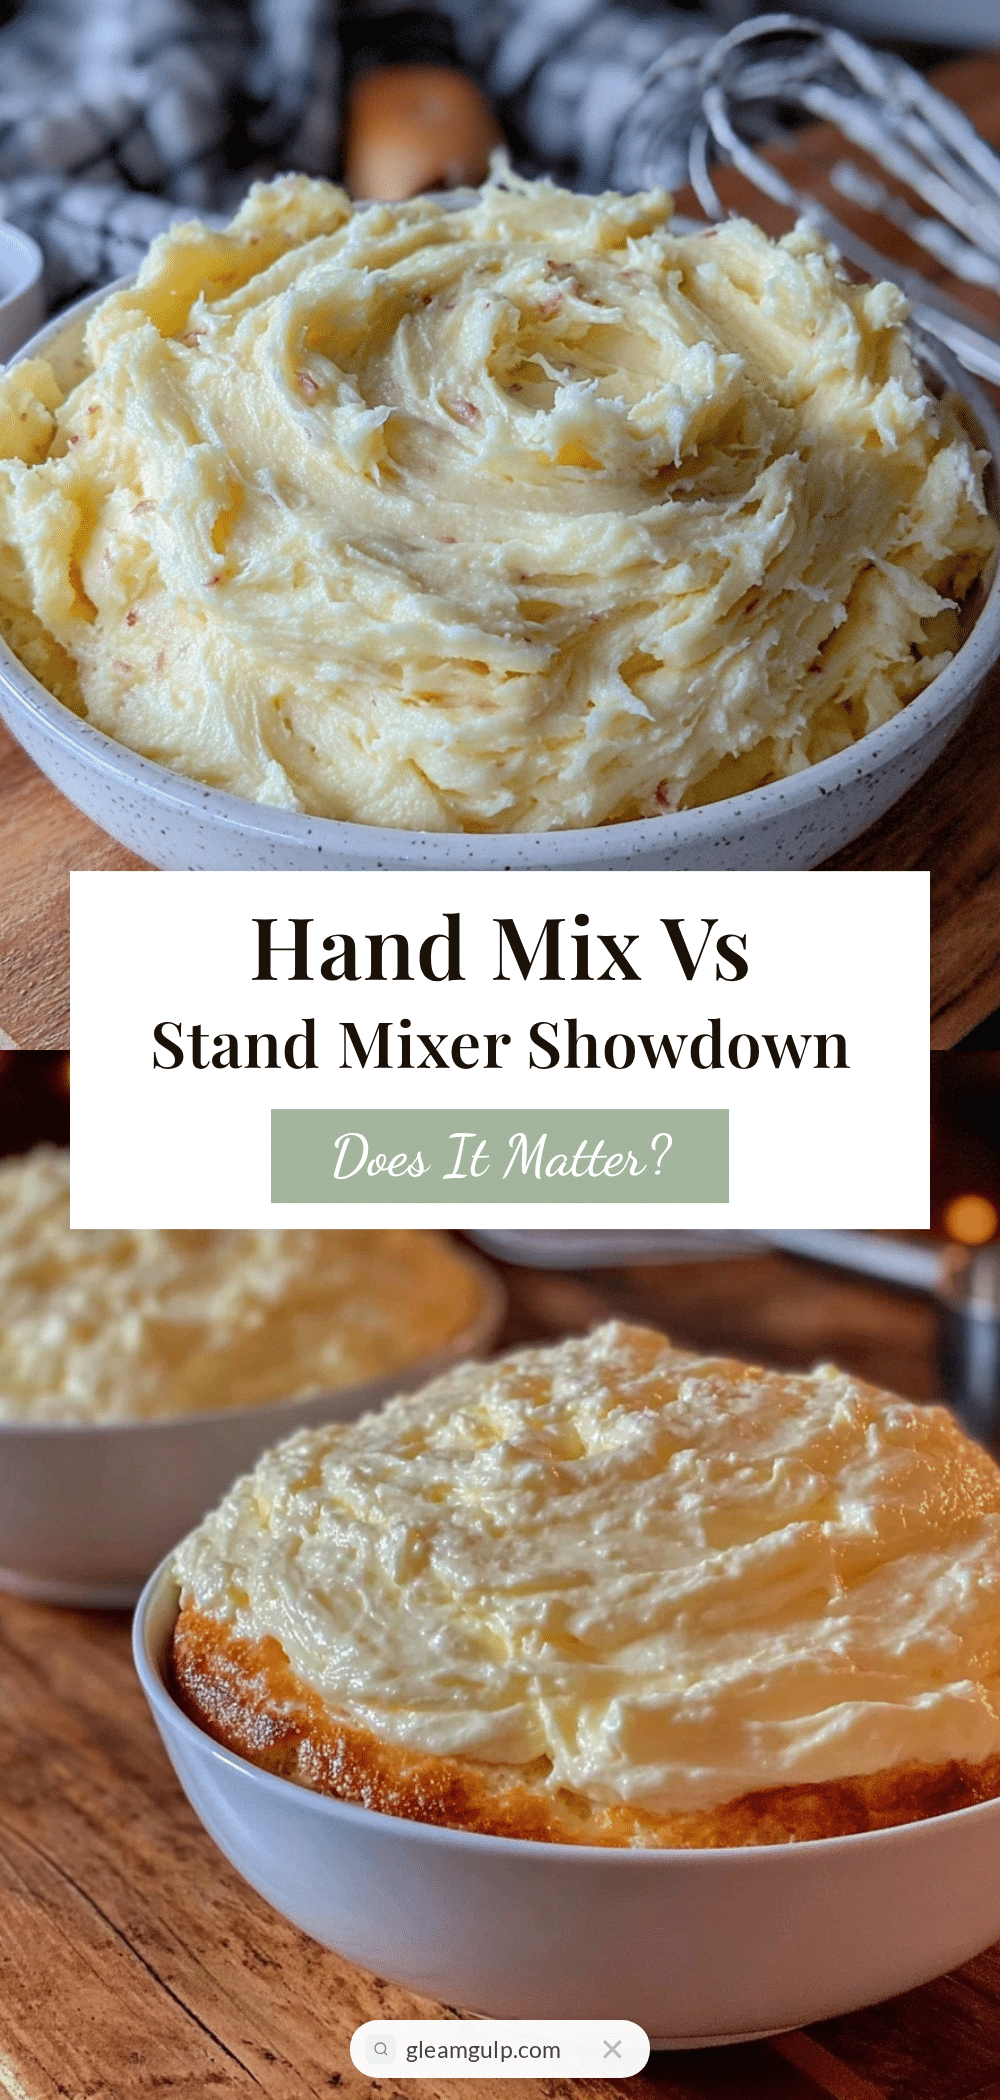
Flavorful Hand Mix Cake Batter vs Stand Mixer Best Method Showdown
A versatile vanilla cake recipe that can be mixed by hand or with a stand mixer, offering two distinct textures and flavors. Perfect for any occasion, this cake balances simplicity with delicious results.
- Prep Time: 15 minutes
- Cook Time: 35-40 minutes
- Total Time: 50-55 minutes
- Yield: 12 servings 1x
- Category: Dessert
- Cuisine: American
Ingredients
- 2 ½ cups (310g) all-purpose flour, sifted
- 1 ½ cups (300g) granulated sugar
- 1 cup (227g) unsalted butter, softened
- 4 large eggs, room temperature
- 1 cup (240ml) whole milk, room temperature
- 2 teaspoons pure vanilla extract
- 2 ½ teaspoons baking powder
- ½ teaspoon salt
- Optional: 1 cup fresh berries
- Optional: 1 teaspoon lemon zest
Instructions
- Preheat your oven to 350°F (175°C). Grease your cake pan(s) with butter and lightly dust with flour or line with parchment paper.
- In a medium bowl, sift together the all-purpose flour, baking powder, and salt. Set aside.
- Cream butter and sugar: For hand mixing, beat softened butter and sugar with a balloon whisk until pale and fluffy (5-7 minutes). For stand mixer, use paddle attachment on medium speed for 3-4 minutes until creamy and light.
- Add eggs one at a time, beating well after each addition. If batter looks separated, continue mixing until smooth.
- Stir in vanilla extract.
- Alternate adding dry ingredients and milk in three parts, beginning and ending with dry ingredients. For hand mixing, gently fold with a spatula or whisk just until combined. For stand mixer, mix on low speed until smooth.
- Fold in optional berries or lemon zest if using.
- Pour batter into prepared pan(s) and smooth the surface.
- Bake for 35-40 minutes or until a toothpick inserted in the center comes out clean. Check at 30 minutes to avoid over-baking.
- Allow cake to cool in the pan for 10 minutes, then transfer to a wire rack to cool completely before frosting or serving.
Notes
Do not over-beat the batter to avoid a dry, dense cake. Use room temperature ingredients for best results. When hand mixing, take your time creaming butter and sugar for a tender crumb. Check cake early to prevent over-baking. Optional add-ins like berries or lemon zest add seasonal flavor. For gluten-free, substitute flour with a 1:1 gluten-free blend and add xanthan gum if needed. For dairy-free, use coconut oil or vegan butter and almond or oat milk.
Nutrition
- Serving Size: 1 slice (1/12 of cak
- Calories: 320
- Sugar: 25
- Fat: 15
- Saturated Fat: 9
- Carbohydrates: 40
- Protein: 4
Keywords: vanilla cake, hand mix cake, stand mixer cake, easy cake recipe, simple ingredients, baking showdown, homemade cake


