Love this? Save it for later!
Share the inspiration with your friends
“I wasn’t expecting to get baking tips from my local librarian, but there I was, clutching a stack of borrowed cookbooks while she casually mentioned how she turned her round cake pan batter into a perfect square cake without wasting a crumb.” It was a rainy Thursday afternoon, and I had just realized I only owned a square pan for the birthday cake I’d promised to bake that weekend. You know that feeling when you’re all set, but the one piece of equipment you need is missing? That was me.
Honestly, the idea of converting batter between pans felt like math I’d rather skip, but this librarian’s no-nonsense hacks made it surprisingly straightforward. I scribbled down her tips on a scrap piece of paper—between reshelving books—and decided to give them a whirl. The result? A moist, evenly baked cake that looked as good as it tasted, with none of the usual guesswork or overflow mess. I mean, who knew that a little geometry could save your cake and your sanity?
Maybe you’ve been there—staring at your baking pantry, wondering how to swap pans without sabotaging your recipe. This guide on easy round to square pan baking conversion hacks is exactly what you need. I’ll share the simple tricks I learned, the little mistakes I made (because, yes, there were a few), and why these techniques have become my go-to whenever I have to improvise. Let’s face it, perfect cakes every time, no matter the pan shape, are something we all want. So, grab your pans, and let me walk you through making the switch without breaking a sweat.
Why You’ll Love This Recipe
After testing these easy round to square pan baking conversion hacks countless times, I can confidently say they’re a game-changer for home bakers. Whether you’re swapping pans last minute or just want to make sure your cake turns out flawless, these tips have your back.
- Quick & Easy: No complicated calculations—just straightforward ratios and simple tricks to get it right every time.
- Simple Ingredients: Since the conversion focuses on pan sizes and batter amounts, you don’t need to alter your trusted recipes.
- Perfect for Any Occasion: From birthday parties to casual gatherings, these hacks help you bake with whatever pan you have on hand.
- Crowd-Pleaser: Consistent baking results mean your friends and family will always get a beautifully baked cake.
- Unbelievably Reliable: The batter spreads evenly, cooks thoroughly, and you avoid the dreaded undercooked center or burnt edges.
What makes this approach different? It’s not about just eyeballing it—it’s about understanding the volume and area differences between pans, then adjusting your batter and baking time accordingly. Plus, I’ll share practical tips like how to line your pans perfectly and what to watch for during baking. This recipe is less a recipe and more a baking life hack that saves you from kitchen headaches. Honestly, once you try these conversion hacks, you’ll wonder how you ever baked cakes any other way.
What Ingredients You Will Need
Now, since this is all about pan conversion hacks, the ingredients list depends largely on the original recipe you’re using. Still, to practice and test these hacks, it helps to have a simple cake batter on hand. Here’s what I often keep ready to experiment with:
- For the Basic Cake Batter:
- 1 ¾ cups (220g) all-purpose flour (I recommend King Arthur Flour for consistency)
- 1 cup (200g) granulated sugar
- 2 teaspoons baking powder
- ½ teaspoon salt
- ¾ cup (170g) unsalted butter, softened
- 3 large eggs, room temperature
- ¾ cup (180ml) whole milk
- 2 teaspoons vanilla extract
- For Optional Flavor Variations:
- 1 teaspoon ground cinnamon or cocoa powder (adds warmth or chocolate depth)
- ½ cup chopped nuts or chocolate chips
- Round Cake Pan: Usually 8 or 9 inches in diameter. A non-stick pan is handy, but if you only have metal pans, no worries.
- Square Cake Pan: Typically 8×8 or 9×9 inches. It’s great to have both sizes to swap between.
- Measuring Cups and Spoons: Precision matters when adjusting batter volumes.
- Kitchen Scale (Optional but Helpful): For weighing batter to ensure even distribution across pans.
- Mixing Bowls and Whisks: Basic but essential.
- Rubber Spatula: To scrape batter out completely and evenly spread it.
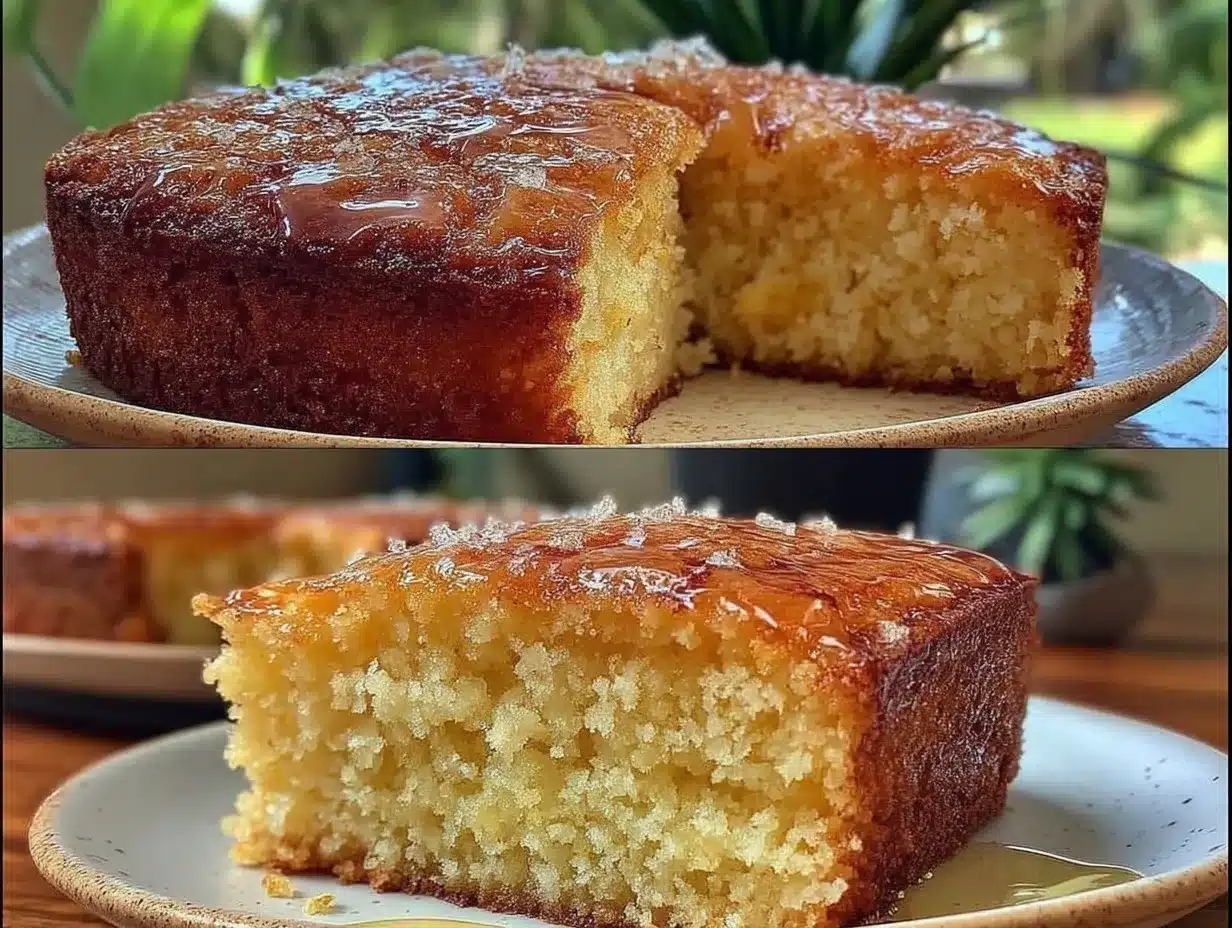
- Calculate the area of your pans: For a round pan, use the formula πr² (pi times the radius squared). For example, a 9-inch round pan has a radius of 4.5 inches, so the area is about 63.6 square inches. For a square pan, multiply the length by the width (e.g., 8×8 inches equals 64 square inches). Knowing these numbers helps you adjust batter amounts precisely.
- Adjust your batter volume: If your recipe is for a 9-inch round pan but you only have an 8×8 square pan, note that their areas are roughly equal, so you can use the full recipe amount. However, if your square pan is 9×9 (81 square inches), it holds more batter, so increase the batter volume by about 27% or carefully fill the pan to avoid overflow.
- Prepare your pan: Grease and flour your round or square pan, or line it with parchment paper. For square pans, cut parchment into a square shape with flaps for easy removal. This step prevents sticking and makes cleanup easier.
- Pour the batter evenly: Use a kitchen scale if you have one to weigh batter portions for even layers. If not, pour carefully and spread with a spatula to level the surface. This helps avoid uneven baking.
- Adjust baking time and temperature: Square pans often bake faster because batter spreads thinner in the corners. Start checking your cake about 5-10 minutes earlier than your recipe suggests. Insert a toothpick into the center; if it comes out clean or with moist crumbs, your cake is done.
- Watch for visual cues: Edges will start to pull away slightly from the pan, and the top will look set but spring back gently when pressed.
- Cool your cake properly: Let it rest in the pan for 10-15 minutes before turning out onto a wire rack. This prevents breakage, especially with square pans that tend to have sharper edges.
- Measure batter, don’t guess: Using a kitchen scale to portion batter between pans helps prevent overflow and uneven baking.
- Mind the pan material: Dark or non-stick pans bake faster due to heat absorption. If switching pan types, lower oven temperature by 25°F (about 15°C) to avoid over-browning.
- Don’t overfill pans: Fill pans no more than 2/3 full to leave room for rising.
- Rotate pans halfway: For even baking, rotate your pans 180 degrees halfway through baking, especially if your oven has hot spots.
- Test doneness early: Start checking 5 minutes before the recipe’s suggested time to avoid drying out your cake.
- Use parchment for easy release: This is especially helpful for square pans that can sometimes trap cakes in the corners.
- Gluten-Free Cakes: Same pan conversion rules apply. Just ensure you use a gluten-free flour blend that behaves similarly to all-purpose flour.
- Larger or Smaller Pans: For pans bigger or smaller than your recipe calls for, calculate the area difference and adjust batter volume proportionally.
- Other Shapes: These hacks work for rectangle or loaf pans too—just calculate the area and adjust batter and baking times accordingly.
- Flavor Customization: Whether you add citrus zest, nuts, or chocolate chips, the pan conversion remains the same—the key is batter volume and baking time adjustment.
- Personal Variation: I once swapped a round pan for a square bundt pan. It took extra care to grease every nook, but by weighing the batter and adjusting bake time, the cake turned out beautifully.
- Serving Temperature: Cakes generally taste best at room temperature. Remove from the fridge 30 minutes before serving to soften.
- Presentation Tips: Square cakes lend themselves well to layering and decorative toppings because of their neat edges—try fresh berries, whipped cream, or a simple glaze.
- Storage: Wrap leftover cake tightly in plastic wrap or store in an airtight container. It keeps well in the fridge for up to 3 days.
- Freezing: You can freeze baked cake layers for up to 3 months. Wrap well in plastic and foil to prevent freezer burn.
- Reheating: Warm frozen or refrigerated cake slices in the microwave for 15-20 seconds to bring back softness.
- Flavor Development: Sometimes, cakes taste even better the next day as flavors meld, so don’t rush to finish it immediately!
- Calories per slice (1/12 of cake): Approximately 320 kcal
- Fat: 15g (mostly from butter)
- Carbohydrates: 40g
- Protein: 4g
- Contains gluten, dairy, and eggs (common allergens)
These ingredients are staples in many kitchens, so you probably have most of them already. If you prefer gluten-free, swapping the flour for a 1:1 gluten-free blend works well with these pan conversions. When testing, I always suggest making just the basic batter first. This way, you can focus on how your pan size affects the bake without extra variables.
Equipment Needed
To get the most from these easy round to square pan baking conversion hacks, having the right tools is a must. Here’s what I use and recommend:
If you don’t have a kitchen scale, no sweat—you can eyeball volume adjustments with the area formulas I’ll share. Also, if you’re worried about sticking, parchment paper is your best friend. You can cut it to fit square pans easily, and it helps release cakes without a hitch. Personally, I started with basic pans and upgraded to heavy-duty aluminum ones that spread heat more evenly, but honestly, these hacks work on any pan you have.
Preparation Method
One time, I forgot to adjust the baking time for an 8×8 pan and ended up with a slightly undercooked center. Lesson learned: keep an eye on your cake, and trust those visual cues over the timer.
Cooking Tips & Techniques
Here are some pro tips I gathered from trial and error that make these pan conversion hacks foolproof:
Honestly, I once rushed and neglected the pan size difference, resulting in a cake that was both burnt on the edges and raw inside. It was a mess, but that mistake taught me to respect baking times and pan dimensions. These little hacks save me from repeating that disaster.
Variations & Adaptations
Converting pans works great across different cake types and dietary needs. Here are some ways to adapt:
Serving & Storage Suggestions
Once your cake is baked, here’s how to serve and store it for the best experience:
Nutritional Information & Benefits
Nutrition varies depending on your cake recipe, but here’s an estimate for a basic 9-inch cake made with the ingredients listed earlier:
Using quality ingredients like real butter and fresh eggs gives you a wholesome treat. You can swap in lower-fat milk or dairy-free alternatives if needed. The flexibility of pan conversions also allows you to try healthier batter options, like almond flour or mashed bananas, without worrying about pan size messing up your bake.
Conclusion
This easy round to square pan baking conversion guide is your secret weapon for perfect cakes—no matter what pans you have cluttering your kitchen shelves. I love how these simple tricks take the stress out of last-minute baking changes and help me turn out consistent, delicious cakes every single time.
Feel free to tweak the batter, experiment with flavors, and adjust pans as you like; the math stays the same, but the creative freedom is all yours. Let me know how your baking adventures go, and don’t hesitate to share your own pan conversion stories or questions. Here’s to less stress, more cake, and lots of happy baking memories!
FAQs
Can I use these conversion hacks for other baked goods like brownies or bars?
Absolutely! The key is calculating the pan area and adjusting batter volume and baking time. Brownies and bars often work well with these same principles.
What if I only have one pan size—can I still use this method?
Yes. Knowing your pan’s area helps you scale recipes up or down. You might need to halve or double your batter depending on the pan size.
How do I prevent cakes from sticking when switching pan shapes?
Greasing well and lining pans with parchment paper, especially for square pans with sharp corners, helps ensure easy release.
Will the texture change when switching from round to square pans?
The texture stays consistent if you adjust baking time and monitor doneness closely, but watch for thinner edges in square pans, which can cook faster.
Is it better to reduce oven temperature when baking in a different pan shape?
If your pan material or color changes (like dark vs. light pans), lowering the temperature by 25°F (15°C) can prevent over-browning. Otherwise, keep the same temperature but watch the baking time.
Pin This Recipe!
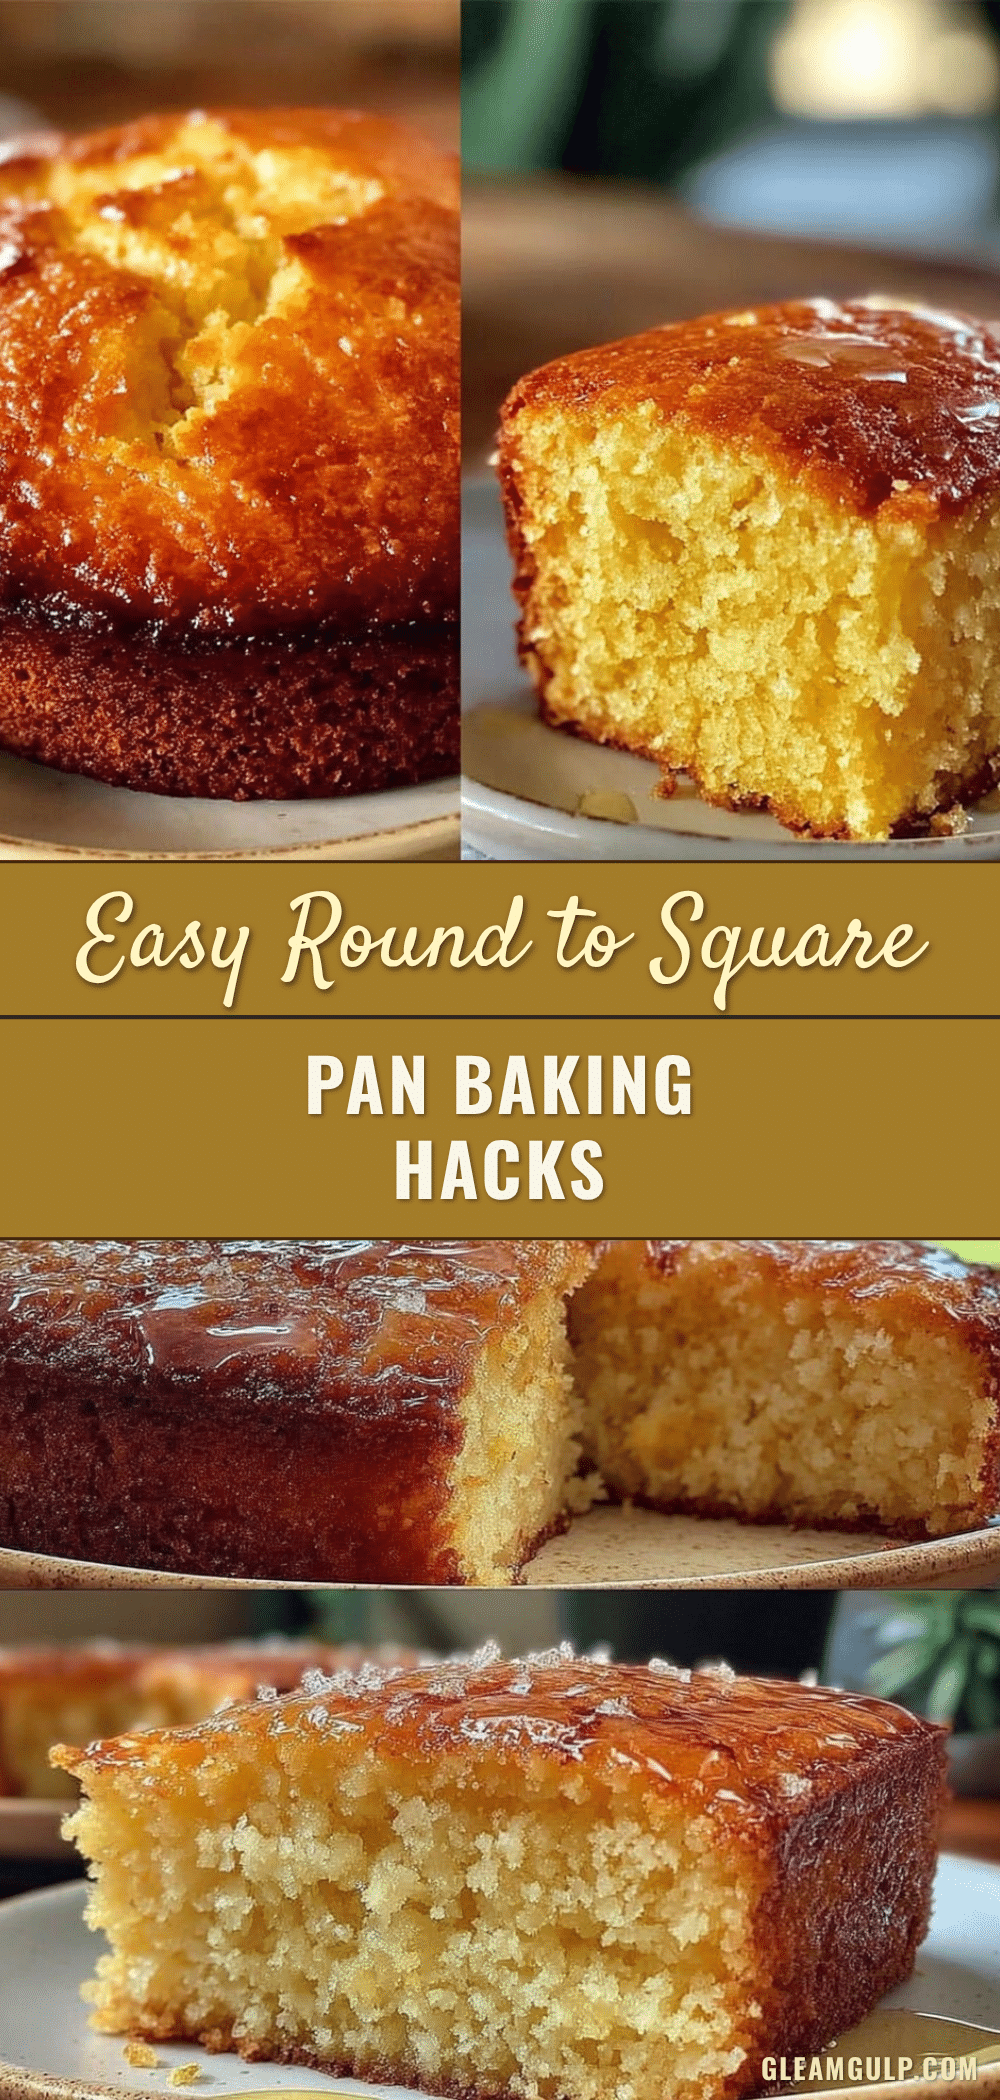
Easy Round to Square Pan Baking Conversion Hacks for Perfect Cakes Every Time
A practical guide to converting cake batter and baking times between round and square pans to achieve perfect cakes without guesswork or mess.
- Prep Time: 15 minutes
- Cook Time: 30 minutes
- Total Time: 45 minutes
- Yield: 12 servings 1x
- Category: Dessert
- Cuisine: American
Ingredients
- 1 ¾ cups (220g) all-purpose flour
- 1 cup (200g) granulated sugar
- 2 teaspoons baking powder
- ½ teaspoon salt
- ¾ cup (170g) unsalted butter, softened
- 3 large eggs, room temperature
- ¾ cup (180ml) whole milk
- 2 teaspoons vanilla extract
- Optional: 1 teaspoon ground cinnamon or cocoa powder
- Optional: ½ cup chopped nuts or chocolate chips
Instructions
- Calculate the area of your pans: For a round pan, use the formula πr² (pi times the radius squared). For example, a 9-inch round pan has a radius of 4.5 inches, so the area is about 63.6 square inches. For a square pan, multiply the length by the width (e.g., 8×8 inches equals 64 square inches).
- Adjust your batter volume according to the pan area. Use the full recipe amount if areas are roughly equal. Increase batter volume proportionally if the square pan is larger (e.g., 9×9 inches is about 27% larger than 8×8).
- Prepare your pan by greasing and flouring it or lining it with parchment paper. For square pans, cut parchment into a square shape with flaps for easy removal.
- Pour the batter evenly into the pan. Use a kitchen scale if available to weigh batter portions for even layers, or spread batter evenly with a rubber spatula.
- Adjust baking time and temperature: start checking your cake 5-10 minutes earlier than the original recipe suggests, as square pans often bake faster.
- Watch for visual cues such as edges pulling away from the pan and the top looking set but springing back gently when pressed.
- Cool the cake in the pan for 10-15 minutes before turning out onto a wire rack to prevent breakage.
Notes
Use a kitchen scale to portion batter evenly and prevent overflow. Dark or non-stick pans bake faster; reduce oven temperature by 25°F if switching pan types. Fill pans no more than 2/3 full. Rotate pans halfway through baking for even cooking. Start checking doneness 5 minutes early. Use parchment paper for easy cake release, especially in square pans.
Nutrition
- Serving Size: 1 slice (1/12 of cak
- Calories: 320
- Fat: 15
- Carbohydrates: 40
- Protein: 4
Keywords: cake baking, pan conversion, round to square pan, baking hacks, cake tips, baking time adjustment, cake batter volume


