Love this? Save it for later!
Share the inspiration with your friends
Introduction
“I used to think humidity was just a pesky weather quirk, but let me tell you, it’s a full-on baking game-changer,” my friend Maya confessed one muggy July afternoon. She was stirring a batch of cupcakes that looked perfect on the outside but crumbled the moment you touched them. That day, her kitchen turned into a little science lab, and honestly, I was right there with her, notebook in hand and flour on my sleeve.
The challenge? Baking moist, tender treats when the air feels like a thick blanket of moisture. Maybe you’ve been there—your carefully tested recipe suddenly behaves like a moody teenager, refusing to rise or turning soggy before you blink. I remember that exact frustration standing in my own kitchen, windows fogged up, oven humming, wondering why my favorite chocolate cake just didn’t hold up.
The funny thing is, it wasn’t about changing the recipe completely but tweaking it just enough to work with the humidity rather than fight it. After some trial, error, and a few kitchen messes (I won’t lie, there was flour everywhere), I found a method that keeps baking moist in humid climates not just doable but downright enjoyable. So, if you’re tired of your baked goods falling flat or turning out too wet, stick around because this is the moisture adjustment method you didn’t know you needed.
Why You’ll Love This Recipe
Honestly, baking in a humid climate can feel like you’re battling the weather itself. But this moisture adjustment method takes the guesswork out of it, making your baking reliable and delicious every time. I’ve tested these tweaks across dozens of recipes, from quick muffins to rich cakes, and the results speak for themselves.
- Quick & Easy: The moisture adjustment only adds a few simple steps, so your baking time stays manageable even on busy days.
- Simple Ingredients: No need for fancy additives or special products—just smart tweaks to what you already have in your pantry.
- Perfect for Any Occasion: From cozy weekend breakfasts to last-minute celebrations, this method keeps your treats moist and crave-worthy.
- Crowd-Pleaser: Friends and family will notice the difference—the perfect crumb and moisture balance make your baked goods stand out.
- Unbelievably Delicious: Moisture isn’t just about texture; it locks in flavors and makes every bite more satisfying.
This isn’t just another baking hack; it’s a subtle art of balancing moisture that respects your recipe’s original soul. Whether it’s reducing liquid slightly or adjusting baking times, these tips help your baked goods hold up beautifully in humidity without losing their charm. I mean, who wants a cake that turns into a soggy mess five minutes after cooling? Not me.
So, for anyone who’s ever battled summer baking or lives where the air feels like a steam room, this method is your new secret weapon.
What Ingredients You Will Need
This moisture adjustment method works with your typical baking ingredients, but knowing how each reacts in humid air helps you make smart swaps or tweaks. Think of it as understanding your baking cast—every character plays a role in the final performance.
- Flour: Use all-purpose flour or cake flour depending on your recipe. I prefer King Arthur for consistent results. In humid weather, flour can absorb moisture from the air, so measuring by weight is best.
- Sugar: Granulated or brown sugar both work, but brown sugar adds extra moisture. If your recipe already has brown sugar, consider reducing liquid slightly.
- Butter or Oil: Butter adds flavor and structure, but oils keep baked goods moist longer. If you’re in a very humid place, swapping half the butter for oil can improve texture.
- Eggs: Large eggs, room temperature. Eggs provide structure and help trap moisture. Don’t skip warming them up a bit—it makes mixing smoother.
- Milk or Liquid: Whole milk is standard, but I sometimes switch to buttermilk for tang and tenderness. In humid climates, reduce liquid by 10-15% depending on your recipe’s original moisture level.
- Baking Powder/Soda: Freshness matters here. Old leavening agents won’t react properly, especially with moisture changes.
- Flavorings: Vanilla extract, spices, or citrus zest add personality. These don’t affect moisture but boost overall enjoyment.
- Additional Moisture Adjusters: Consider adding a tablespoon of sour cream or yogurt for extra tenderness without sogginess.
If you want gluten-free options, almond flour works well but watch liquid amounts carefully—it soaks up moisture differently. And for dairy-free swaps, coconut oil and almond milk are my go-tos.
Equipment Needed
- Kitchen Scale: Measuring flour by weight is a must in humid climates to avoid soggy doughs or batters. I use a simple digital scale that’s easy to clean.
- Mixing Bowls: Use medium to large bowls for easy mixing. Glass or stainless steel work best as plastic can hold moisture.
- Measuring Cups and Spoons: Essential for liquids and small ingredients. Keep them dry and separate from mixing bowls.
- Oven Thermometer: Ovens can run hot or cold, especially with weather changes. A thermometer helps keep baking consistent.
- Baking Pans: Use metal pans for even heat distribution. Non-stick coating is handy but line pans with parchment paper to prevent sticking.
- Cooling Rack: Allows air to circulate around baked goods preventing sogginess as they cool.
For budget-friendly options, old-fashioned kitchen scales work well, and you don’t need fancy bakeware—just well-maintained tools and a little patience.
Preparation Method
- Preheat your oven: Set it to the temperature your original recipe calls for, usually between 325°F (163°C) and 375°F (190°C). Use an oven thermometer to double-check—humidity can affect oven performance.
- Measure ingredients precisely: Weigh your flour (for example, 240g or 2 cups all-purpose flour) to avoid adding too much moisture. If your recipe calls for 1 cup (240ml) of milk, reduce by about 10-15%—try 210ml first.
- Mix dry ingredients first: Combine flour, baking powder (1 ½ tsp or 6g), and salt (½ tsp or 3g) in a bowl. This ensures even leavening and salt distribution.
- Cream butter and sugar: Beat 115g (½ cup) unsalted butter with 150g (¾ cup) granulated sugar until light and fluffy. This process traps air, helping your baked goods rise nicely despite humidity.
- Add eggs one at a time: Incorporate 2 large eggs, mixing after each addition. This step adds structure to hold moisture in check.
- Alternate adding dry ingredients and liquid: Start with a third of the dry mix, then half the liquid (say 210ml or 7 fl oz milk substitute), repeating until all is combined. Don’t overmix—stop when ingredients are just incorporated to avoid dense texture.
- Modify moisture enhancers: If your recipe includes sour cream or yogurt, add about 2 tablespoons (30g). This extra fat and acid help balance moisture without sogginess.
- Pour batter into prepared pans: Use parchment paper or grease pans lightly. Avoid overfilling—about two-thirds full is ideal to prevent undercooked centers.
- Bake and monitor: Bake for the original time minus 3-5 minutes (e.g., if recipe says 30 mins, check at 25 mins). Use a toothpick inserted in the center as a test—it should come out clean or with moist crumbs.
- Cool on wire rack: After removing from oven, let your baked goods cool in the pan for 10 minutes, then transfer to a rack to avoid steam buildup that leads to soggy bottoms.
One time, I forgot to reduce the milk in a blueberry muffin recipe in my humid kitchen—result? A batter that was too loose and muffins that resembled wet sponges. Lesson learned: the little moisture tweak makes all the difference!
Cooking Tips & Techniques
Humidity means extra water in the air, so your baked goods soak it up if you’re not careful. Here’s what I’ve learned to keep moisture balanced:
- Weigh your flour: Measuring by volume is unreliable in humid places because flour clumps with moisture. A kitchen scale saves baking every time.
- Reduce liquids slightly: Start by cutting 10% of liquids. It’s easier to add a splash more if batter feels too thick than fix a sloppy one.
- Use room temperature ingredients: They mix better and produce a smoother batter, which rises uniformly.
- Don’t overmix: Overworking batter develops gluten and traps excess moisture, leading to dense or gummy results.
- Adjust baking time carefully: Bake a few minutes less and watch for doneness. Overbaking in humidity dries out treats fast.
- Cool properly: Use a wire rack to prevent condensation underneath baked goods, keeping crusts crisp.
One mistake I made early on was ignoring oven temperature fluctuations. I thought my oven was reliable until I used an external thermometer and found it running 20 degrees hotter on humid days. That explained a lot about why my cakes browned too fast outside and stayed uncooked inside.
Variations & Adaptations
This moisture method is flexible across recipes. Here are some ways I’ve adapted it:
- Gluten-Free: Swap all-purpose flour for a blend of almond and oat flour. Reduce liquids slightly more since these flours absorb moisture differently.
- Vegan: Use flax eggs (1 tbsp ground flax + 3 tbsp water per egg) and coconut oil instead of butter. Add a touch more oil for moisture.
- Seasonal Fruits: Incorporate fresh peaches or apples in summer and fall. Reduce added liquid to compensate for fruit moisture.
- Alternative Sweeteners: Maple syrup or honey can replace sugar but reduce liquid by about 2 tablespoons per ¼ cup swap.
- Personal Favorite: I once tried adding a splash of espresso to chocolate cake batter to deepen flavor. The slight extra liquid was balanced by cutting milk a bit more, and the result was unforgettable.
Serving & Storage Suggestions
Serve your baked goods at room temperature for the best texture and flavor. If you want a fresh-out-of-the-oven feel, a quick 10-second zap in the microwave revives softness nicely.
Pair these moist treats with complementary drinks like coffee, tea, or a glass of cold milk. For fruity cakes or muffins, a dollop of whipped cream or a scoop of vanilla ice cream adds indulgence.
Store leftovers in an airtight container at room temperature for 1-2 days. In humid climates, refrigeration helps extend freshness but can dry baked goods quickly—wrap tightly with plastic wrap before refrigerating.
You can freeze most baked goods for up to 3 months. Thaw overnight in the fridge or at room temperature, then warm gently before serving.
Interestingly, flavors often deepen after a day or two as ingredients meld, so don’t hesitate to prepare ahead for gatherings.
Nutritional Information & Benefits
While specifics vary by recipe, this moisture adjustment method doesn’t add extra calories but helps maintain ideal texture and flavor. Using simple ingredients like whole milk, butter, and eggs provides protein and fat that support satiety.
Reducing excess liquid can help prevent overly dense carbs from feeling heavy, making baked goods more enjoyable and easier to digest in hot, humid weather.
For those with dietary restrictions, swapping ingredients as noted keeps the recipe inclusive without compromising taste or moisture.
From a wellness perspective, baking at home with mindful ingredient adjustments lets you control sugar and fat levels, making treats that satisfy without guilt.
Conclusion
So, there you have it—the moisture adjustment method that turns frustrating humid baking into a rewarding, hands-on experience. It’s about knowing your ingredients, trusting your senses, and tweaking just enough to keep your baked goods perfectly moist and flavorful.
Whether you’re making a simple banana bread or an elaborate layer cake, these tips can be customized to your kitchen and preferences. I keep coming back to this approach because it feels like a small secret that makes a big difference, and honestly, it’s saved many of my baking days from disaster.
If you try these tips, I’d love to hear how your baking turns out or any tweaks you discover. Leave a comment below, share your experiences, and let’s keep the conversation bubbling. Happy baking, especially when the air is thick and the oven’s hot—this method’s got your back!
FAQs
How much should I reduce liquid when baking in humid climates?
Start by cutting 10-15% of the recipe’s liquid ingredients. Adjust further based on batter consistency—thicker batters usually mean less excess moisture.
Can I use this moisture adjustment method for bread baking too?
Yes, but bread dough hydration is more sensitive. Reduce liquid slightly and watch dough feel; it should be tacky but not overly sticky.
Does humidity affect baking powder and baking soda?
Humidity can reduce their effectiveness if they’re old or stored improperly. Always use fresh leavening agents and store them in airtight containers.
What’s the best way to measure flour in humid weather?
Use a kitchen scale to weigh flour instead of measuring cups. This prevents over- or under-measuring due to moisture absorption.
Can I add extra ingredients like fruits or nuts when adjusting moisture?
Yes, but remember that fresh fruits add moisture, so reduce other liquids accordingly. Nuts typically don’t affect moisture much but can add texture.
Also, if you adore baking but want to experiment with other crowd-pleasing dishes, you might enjoy trying my crispy garlic chicken recipe or this creamy mushroom pasta that balances rich flavors with simple cooking techniques.
Pin This Recipe!
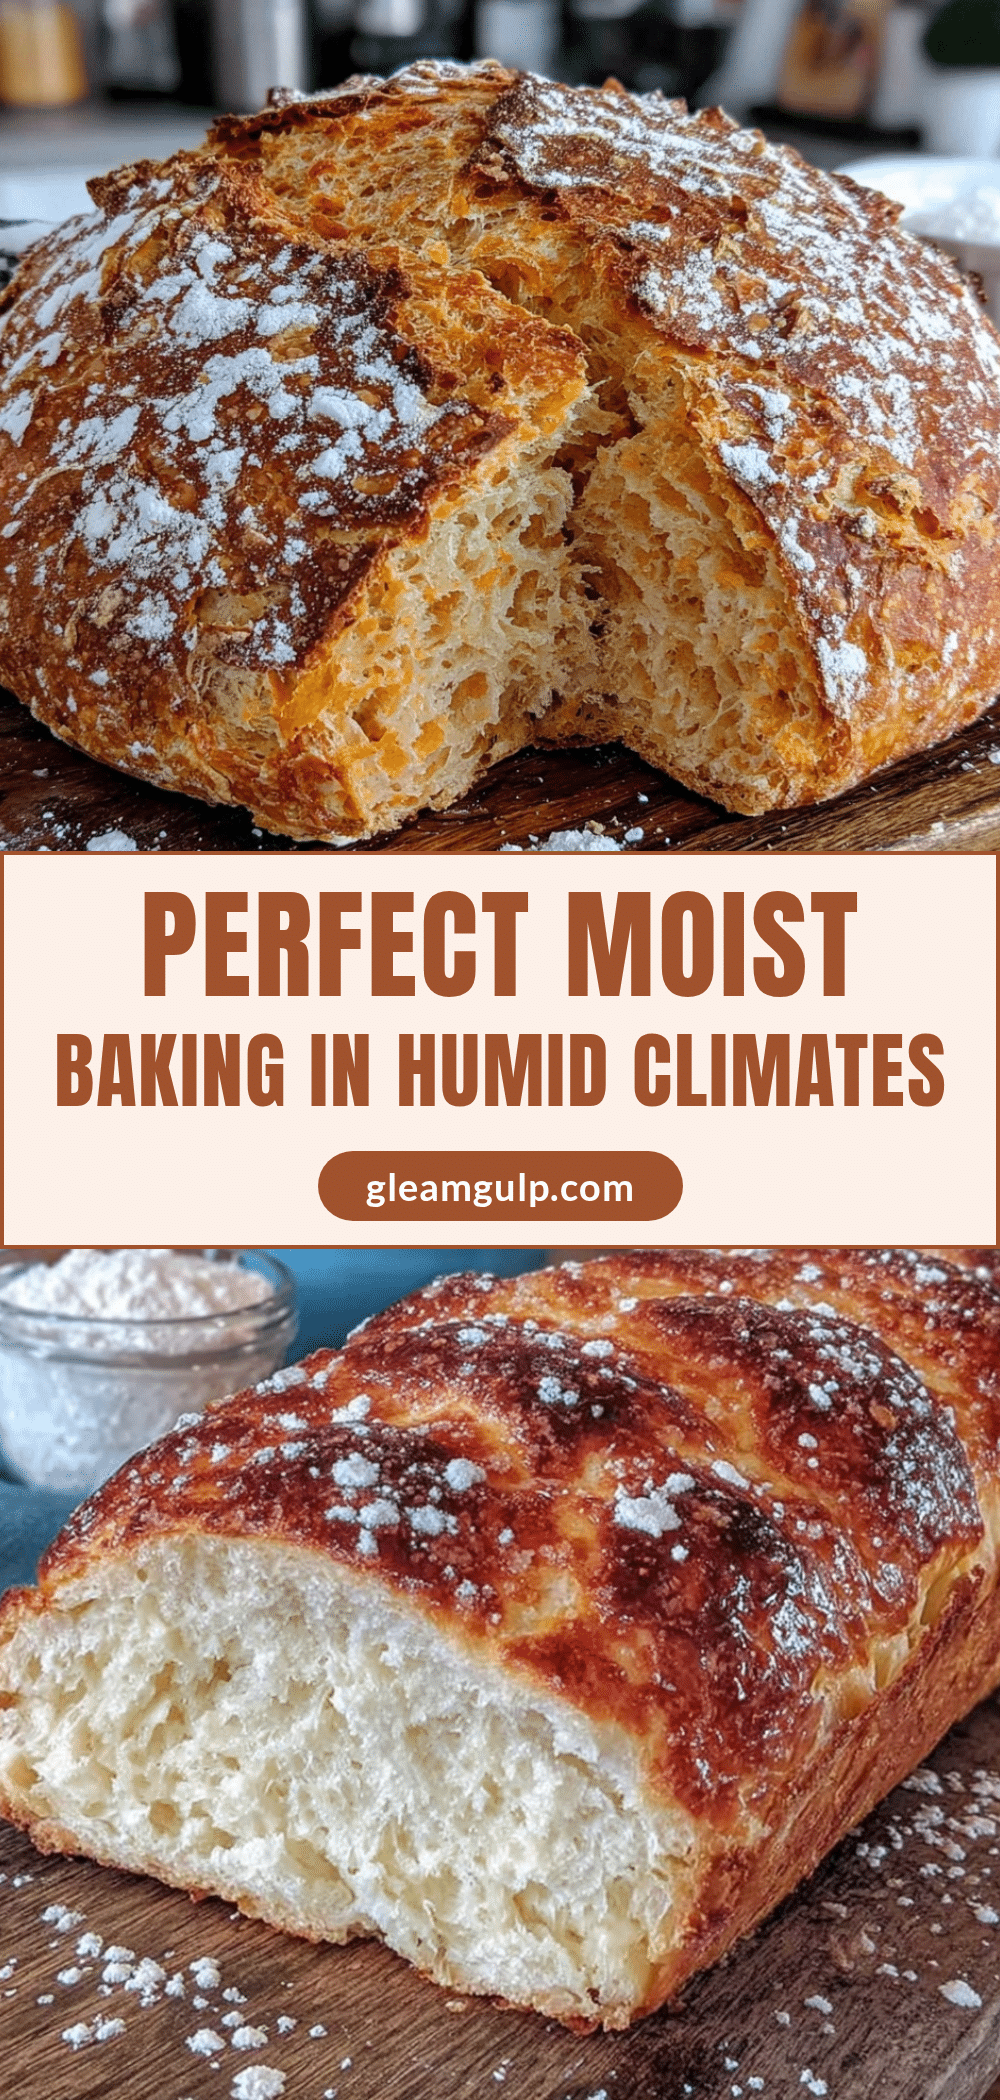
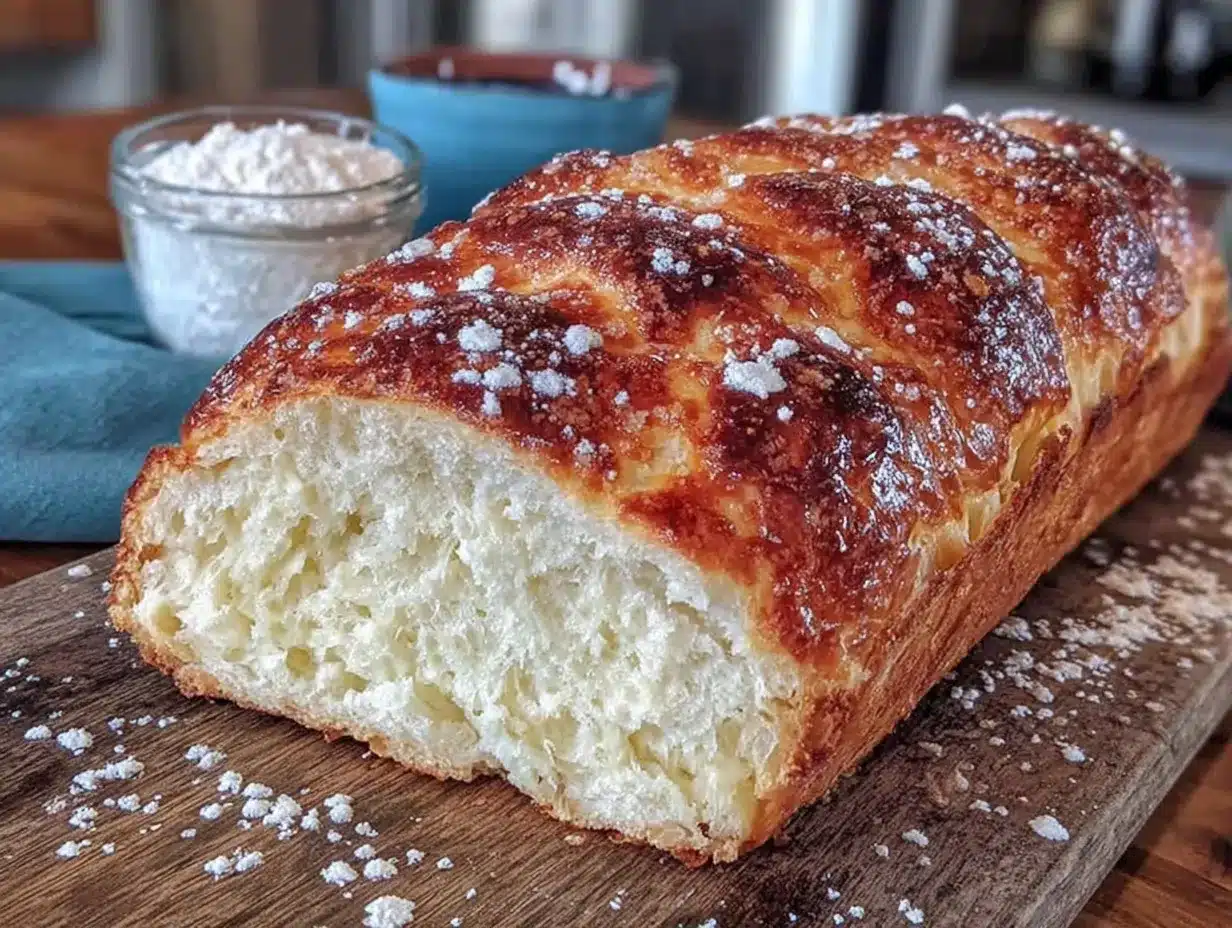
Perfect Moist Baking in Humid Climates
A moisture adjustment method to help you bake moist, tender treats in humid climates by tweaking liquid amounts and baking techniques without changing your original recipe.
- Prep Time: 15 minutes
- Cook Time: 25-30 minutes
- Total Time: 40-45 minutes
- Yield: 8 servings 1x
- Category: Dessert
- Cuisine: American
Ingredients
- All-purpose flour or cake flour (preferably King Arthur), measured by weight
- Granulated sugar or brown sugar (reduce liquid slightly if using brown sugar)
- Butter or oil (swap half butter for oil in very humid climates)
- 2 large eggs, room temperature
- Whole milk or buttermilk (reduce liquid by 10-15%)
- Baking powder or baking soda (fresh)
- Vanilla extract, spices, or citrus zest (optional)
- Optional: 1 tablespoon sour cream or yogurt for extra tenderness
Instructions
- Preheat your oven to the temperature your original recipe calls for, usually between 325°F and 375°F. Use an oven thermometer to ensure accuracy.
- Weigh your flour precisely (e.g., 8.5 oz or 240g for 2 cups all-purpose flour). Reduce liquid by about 10-15% (e.g., use 7 fl oz or 210 ml if original calls for 8 fl oz or 240 ml).
- Mix dry ingredients first: combine flour, baking powder (1 ½ tsp or 6g), and salt (½ tsp or 3g) in a bowl.
- Cream ½ cup (4 oz or 115g) unsalted butter with ¾ cup (5.3 oz or 150g) granulated sugar until light and fluffy.
- Add eggs one at a time, mixing after each addition.
- Alternate adding dry ingredients and liquid: start with a third of the dry mix, then half the liquid, repeating until combined. Avoid overmixing.
- If using sour cream or yogurt, add about 2 tablespoons (1 oz or 30g) now.
- Pour batter into prepared pans lined with parchment paper or lightly greased, filling about two-thirds full.
- Bake for the original time minus 3-5 minutes (e.g., if recipe says 30 minutes, check at 25 minutes). Test doneness with a toothpick; it should come out clean or with moist crumbs.
- Cool baked goods in the pan for 10 minutes, then transfer to a wire rack to cool completely.
Notes
Weigh flour to avoid moisture absorption errors. Reduce liquids by 10-15% to compensate for humidity. Use room temperature ingredients and avoid overmixing. Bake a few minutes less than usual and cool on a wire rack to prevent sogginess. Fresh leavening agents are essential. For gluten-free, use almond and oat flour and reduce liquids further. For vegan, use flax eggs and coconut oil with extra oil for moisture.
Nutrition
- Serving Size: 1 slice or cupcake
- Calories: 220
- Sugar: 15
- Sodium: 150
- Fat: 10
- Saturated Fat: 6
- Carbohydrates: 28
- Fiber: 1
- Protein: 3
Keywords: humid baking, moisture adjustment, baking tips, moist cake, baking in humid climates, baking hacks, cupcake moisture, baking science