Love this? Save it for later!
Share the inspiration with your friends
“You know that moment when your bread looks like a puffy cloud one minute and then deflates into a sad pancake the next? Yeah, that was me last summer, standing in my tiny mountain kitchen at 7,500 feet, wondering why every loaf was a flop. Honestly, I never thought altitude could mess with my baking so much—until my neighbor, a retired baker from Denver, casually dropped some high altitude baking wisdom while we were fixing her leaky faucet (of all things!).
She handed me a scribbled note with tweaks for yeast, flour, and baking times, and I figured, why not? I mean, I was desperate after three failed loaves that week. At first, I was skeptical. Adjust flour? Cut down water? It felt like baking math I didn’t sign up for. But after applying those changes, my bread came out golden, airy, and perfectly crusty. It was like a little miracle in my mountain kitchen.
Maybe you’ve been there too—frustrated, staring at dough that just won’t rise right or burns on the edges while still doughy inside. This recipe for Perfect High Altitude Baking Adjustments for Flawless Bread isn’t just theory; it’s the result of trial, error, and a few kitchen messes (including one dough explosion that had flour everywhere). Let me tell you, once you get these tweaks down, you’ll never dread baking at altitude again. It’s about working with your environment, not fighting it—and trust me, your bread will thank you.
Why You’ll Love This Recipe
Baking bread at high altitude can feel like a puzzle, but this recipe breaks it down into manageable, practical adjustments that really work. Based on my many experiments and advice from seasoned bakers, here’s why this approach stands out:
- Quick & Easy Adjustments: Once you know the tweaks, you’re ready to bake flawless bread in no time—perfect for busy mornings or spontaneous baking urges.
- Simple Pantry Ingredients: No need for specialty flours or rare ingredients—just your usual bread basics with slight tweaks.
- Great for Mountain Living: Whether you’re in Colorado, New Mexico, or anywhere high up, these tips work with your altitude’s challenges.
- Crowd-Pleaser: The crumb texture and crust are just right—soft inside, crisp outside—always a hit at family breakfasts or potlucks.
- Tested & Proven: This is the version I rely on after many failures and successes, updated with the best advice from baking pros who get altitude baking.
What sets this apart is the balance it strikes—adjusting water, yeast, and rising times so everything comes together perfectly without feeling like you’re following a complicated science experiment. Honestly, it changed my baking game, and I’m confident it can do the same for you.
What Ingredients You Will Need
This recipe uses straightforward, wholesome ingredients that you probably already have in your kitchen. Each plays a key role in handling the quirks of high altitude baking, ensuring your bread rises well and tastes delicious.
- All-purpose flour: 3 ½ cups (420g) – I recommend King Arthur for consistent results.
- Warm water: 1 ¼ cups (300ml), about 110°F (43°C) – adjust slightly if dough feels too dry or sticky.
- Active dry yeast: 2 ¼ teaspoons (one packet) – you can substitute instant yeast but reduce water by 2 tablespoons.
- Granulated sugar: 1 tablespoon – helps feed the yeast and browns the crust nicely.
- Salt: 1 ½ teaspoons – balances flavor and strengthens gluten.
- Olive oil or softened butter: 2 tablespoons – adds moisture and tenderness.
- Optional: Vital wheat gluten: 1 tablespoon – helps improve bread structure at high altitude, especially if using lower-protein flour.
If you want a gluten-free option, consider swapping the flour with a blend like Bob’s Red Mill gluten-free flour and adjusting water accordingly. For a dairy-free version, olive oil works perfectly instead of butter. And if you’re baking during colder days, slightly warmer water helps activate the yeast better.
Equipment Needed
- Mixing bowl: Large and sturdy, ideally glass or stainless steel.
- Measuring cups and spoons: Accurate measurements are key, especially for yeast and flour.
- Stand mixer with dough hook (optional): Makes kneading easier but you can knead by hand.
- Kitchen thermometer: Useful for checking water temperature to activate yeast without killing it.
- Baking sheet or loaf pan: Depending on your bread shape preference.
- Clean kitchen towel or plastic wrap: For covering dough during rising.
I’ve tried everything from hand-kneading on my granite countertop to using a stand mixer, and honestly, both work well. If you’re on a budget, a simple wooden spoon and elbow grease will get you there. Just keep your equipment clean and dry to avoid any dough sticking or yeast issues.
Preparation Method
- Activate the yeast (10 minutes): In your mixing bowl, combine the warm water (110°F/43°C) and sugar. Sprinkle the yeast over the surface and let it sit until foamy—about 5 to 10 minutes. If it doesn’t foam, your yeast might be expired or water too hot/cold.
- Mix dry ingredients (5 minutes): In a separate bowl, whisk together the flour, salt, and optional vital wheat gluten to ensure even distribution.
- Combine wet and dry (5 minutes): Add olive oil or softened butter to the yeast mixture, then gradually stir in the flour mixture. Use a wooden spoon or stand mixer with a dough hook on low speed until a shaggy dough forms.
- Knead the dough (10 minutes): Turn the dough onto a floured surface and knead by hand—press, fold, turn—until smooth and elastic. If using a mixer, knead for about 8 minutes. The dough should be slightly tacky but not sticky.
- First rise (60-75 minutes): Lightly oil a large bowl, place the dough inside, and cover it with a damp towel or plastic wrap. High altitude means dough rises faster, so check it at 45 minutes. It should double in size but not overproof.
- Shape the loaf (5 minutes): Gently punch down the dough to release air. Shape into a round boule or place in a loaf pan, depending on your preference.
- Second rise (30-45 minutes): Cover again and let it rise until slightly puffy. Don’t wait until it doubles this time or it might collapse during baking.
- Preheat oven and bake (30-35 minutes): Preheat your oven to 400°F (204°C). Slash the top of your loaf with a sharp knife to allow steam to escape. Bake for 30-35 minutes until crust is golden brown and sounds hollow when tapped.
- Cool completely before slicing (30 minutes): Let your bread cool on a wire rack to finish setting the crumb. This step is crucial—cutting too soon will make it gummy.
Pro tip: If your dough feels too dry during kneading, add water a teaspoon at a time. If too sticky, dust with a little more flour but be cautious—too much flour makes the bread dense. At high altitude, dough tends to dry out faster, so keeping an eye on texture is key.
Cooking Tips & Techniques
Baking at high altitude is tricky because lower air pressure affects how dough rises and bakes. Here’s what I learned the hard way:
- Yeast behaves differently: It works faster, so reduce the amount slightly or shorten rising times to avoid overproofing.
- Flour needs a little boost: Adding a tablespoon of vital wheat gluten helps develop stronger gluten networks for better structure.
- Watch the water: Less water is often needed since evaporation happens quicker at altitude.
- Oven temperature: Increase baking temperature by 15-25°F (about 10-15°C) to set the crust faster and trap steam inside.
- Keep humidity in mind: Use a pan of water in the oven to add moisture if your kitchen air is dry—this improves crust texture.
- Don’t rush the cooling: Bread continues to cook and set after coming out of the oven, especially at altitude.
I once skipped the second rise because I was in a hurry, and the loaf collapsed spectacularly. Lesson learned: patience is part of perfect bread. Also, my first few loaves were so dry I thought I’d accidentally made bricks—turns out I was over-flouring. If you’re unsure, err on the side of less flour and adjust based on dough feel.
Variations & Adaptations
This bread recipe is a great base for customization depending on taste, dietary needs, or seasons:
- Herbed Bread: Add 1 tablespoon each of dried rosemary and thyme to the dry ingredients for a fragrant twist.
- Whole Wheat Version: Substitute half the all-purpose flour with whole wheat flour for a nuttier flavor and denser crumb. Increase water by 2 tablespoons to compensate.
- Gluten-Free Adaptation: Use a gluten-free flour blend designed for bread and add xanthan gum if not included. Reduce rising times slightly as gluten-free dough behaves differently.
- Sweet Cinnamon Swirl: Roll dough out, sprinkle with cinnamon and brown sugar before shaping, then proceed with second rise and bake.
- My Personal Favorite: I like adding a tablespoon of ground flaxseed to the dough for extra nutrition and a subtle earthy flavor. Just remember to adjust water accordingly.
For baking methods, if you have a Dutch oven, try baking the loaf covered for the first 20 minutes to trap steam—this gives a great crust even at altitude. Or, if you want sandwich bread, shape into a loaf pan size and bake slightly longer for a soft, consistent crumb.
Serving & Storage Suggestions
Serve this bread fresh and warm, slathered with butter or your favorite jam for breakfast. The crust is crisp, and the inside stays soft for hours. It pairs wonderfully with hearty soups or a simple olive oil dip flavored with herbs.
For storage, wrap cooled bread tightly in plastic wrap or place in a bread box to keep it from drying out. It stays fresh at room temperature for about 2 days. For longer storage, slice and freeze in an airtight bag—toast slices straight from the freezer for best results.
Reheating in a 350°F (175°C) oven for 5-7 minutes revives the crust nicely. Over time, flavors deepen, especially if you add herbs or seeds, so leftovers can taste even better the next day.
Nutritional Information & Benefits
One slice (about 60g) of this bread typically contains:
| Calories | 160 |
|---|---|
| Carbohydrates | 30g |
| Protein | 5g |
| Fat | 3g |
| Fiber | 1.5g |
Using simple ingredients like all-purpose flour and olive oil keeps it wholesome. Adding vital wheat gluten not only improves texture but also boosts protein content. If you go with whole wheat variations, you’ll gain extra fiber and nutrients. This recipe is naturally free from nuts and dairy (if you use olive oil), making it suitable for many diets. Just watch out if you’re sensitive to gluten or yeast.
From a wellness perspective, baking your own bread lets you control salt and sugar levels, avoiding preservatives common in store-bought loaves. Plus, there’s something comforting about the aroma and the act of baking itself that feeds the soul.
Conclusion
If you’ve struggled with baking bread at high altitude, these adjustments will feel like a breath of fresh air. The key is balancing ingredients and timing to work with the thinner air and faster rising times. I love this recipe because it’s approachable, forgiving, and the results are genuinely satisfying—crispy crusts and soft, airy crumbs every time.
Feel free to tweak it based on your taste or altitude (because every mountain kitchen has its quirks). Honestly, once you get the hang of these adjustments, baking bread becomes less of a challenge and more of a joy. I can’t wait to hear about your baking wins and any creative spins you put on this classic recipe!
Let me know how your first loaf turns out, or share your altitude baking tips—I’m all ears!
Frequently Asked Questions
Why does bread rise differently at high altitude?
Lower air pressure causes gases in the dough to expand more quickly, making bread rise faster but also risking overproofing and collapse.
How can I tell if my dough is overproofed?
It will look very puffy and may collapse when gently poked. The dough might also feel overly soft and sticky.
Can I use instant yeast instead of active dry yeast?
Yes, but reduce the water by about 2 tablespoons and mix yeast directly with dry ingredients.
What’s the best way to check oven temperature accuracy?
Use an oven thermometer because built-in oven dials can be inaccurate, especially important at high altitude.
How do I keep my bread from drying out during baking?
Try placing a pan of water in the oven to add humidity or brush the crust lightly with olive oil or butter immediately after baking.
Pin This Recipe!
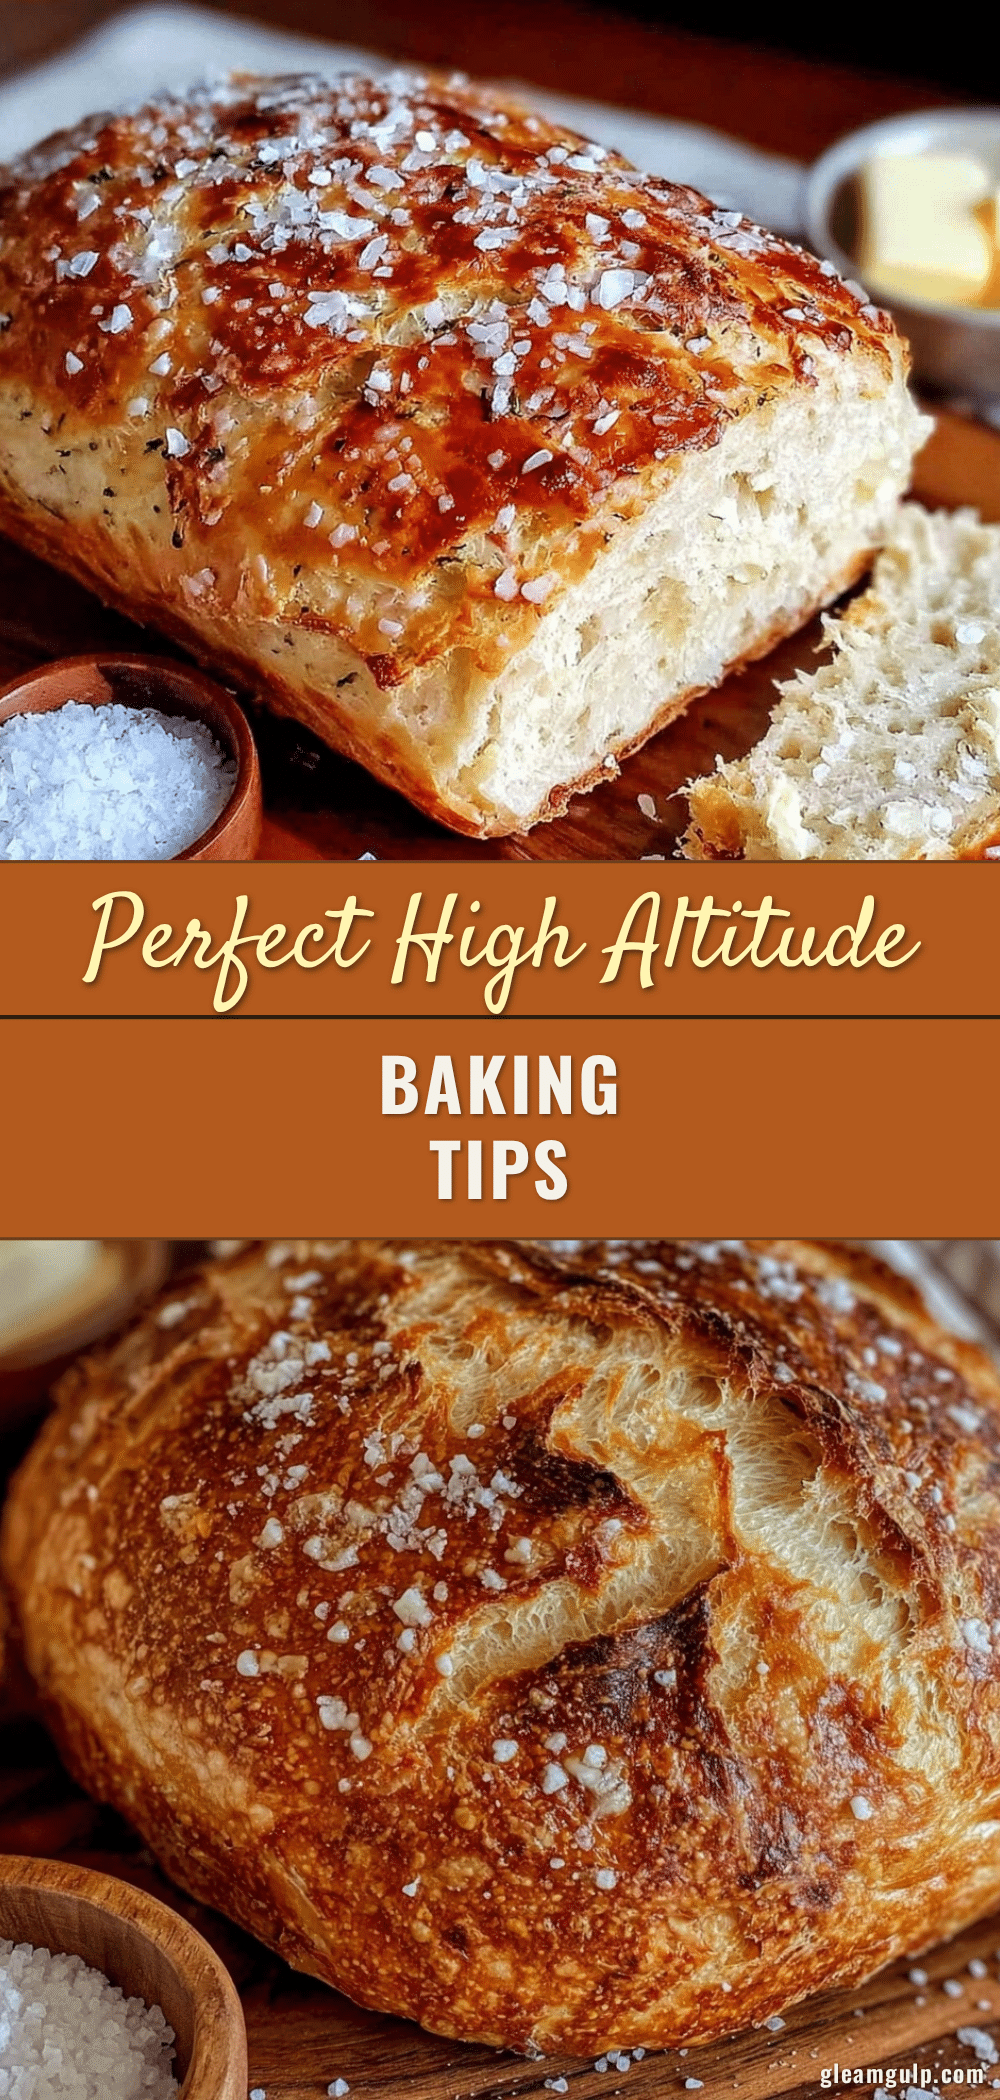
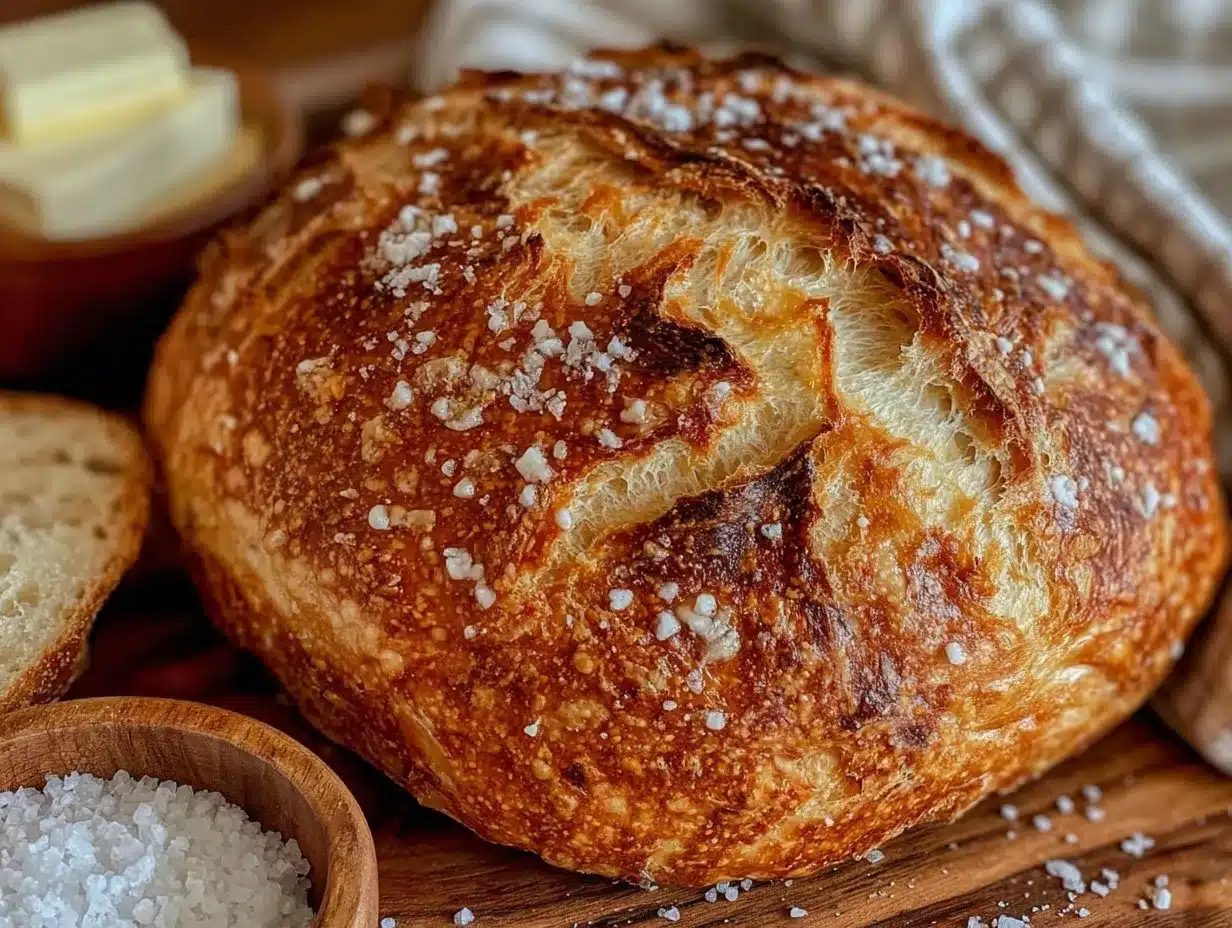
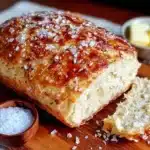
Perfect High Altitude Baking Adjustments for Flawless Bread Every Time
This recipe provides practical adjustments for baking bread at high altitudes, ensuring a golden, airy, and perfectly crusty loaf every time. It balances ingredient tweaks and timing to work with thinner air and faster rising times.
- Prep Time: 25 minutes
- Cook Time: 30-35 minutes
- Total Time: 2 hours 30 minutes
- Yield: 1 loaf (about 12 slices) 1x
- Category: Bread
- Cuisine: American
Ingredients
- 3 ½ cups (420g) all-purpose flour (King Arthur recommended)
- 1 ¼ cups (300ml) warm water, about 110°F (43°C), adjust if dough feels too dry or sticky
- 2 ¼ teaspoons (one packet) active dry yeast (or instant yeast with 2 tablespoons less water)
- 1 tablespoon granulated sugar
- 1 ½ teaspoons salt
- 2 tablespoons olive oil or softened butter
- Optional: 1 tablespoon vital wheat gluten (for improved bread structure at high altitude)
Instructions
- Activate the yeast (10 minutes): In a mixing bowl, combine warm water (110°F/43°C) and sugar. Sprinkle yeast over the surface and let sit until foamy, about 5 to 10 minutes.
- Mix dry ingredients (5 minutes): In a separate bowl, whisk together flour, salt, and optional vital wheat gluten.
- Combine wet and dry (5 minutes): Add olive oil or softened butter to yeast mixture, then gradually stir in flour mixture until a shaggy dough forms.
- Knead the dough (10 minutes): Knead by hand on floured surface until smooth and elastic, or knead with mixer for about 8 minutes. Dough should be slightly tacky but not sticky.
- First rise (60-75 minutes): Lightly oil a large bowl, place dough inside, cover with damp towel or plastic wrap. Check at 45 minutes; dough should double in size but not overproof.
- Shape the loaf (5 minutes): Punch down dough to release air and shape into boule or place in loaf pan.
- Second rise (30-45 minutes): Cover and let rise until slightly puffy but not doubled.
- Preheat oven and bake (30-35 minutes): Preheat oven to 400°F (204°C). Slash top of loaf to allow steam to escape. Bake until crust is golden brown and sounds hollow when tapped.
- Cool completely before slicing (30 minutes): Let bread cool on wire rack to set crumb before slicing.
Notes
If dough feels too dry during kneading, add water a teaspoon at a time. If too sticky, dust with a little more flour but avoid over-flouring to prevent dense bread. Use a pan of water in the oven to add humidity if kitchen air is dry. Do not rush cooling; bread continues to cook and set after baking. Adjust yeast and rising times to avoid overproofing at altitude.
Nutrition
- Serving Size: 1 slice (about 60g)
- Calories: 160
- Fat: 3
- Carbohydrates: 30
- Fiber: 1.5
- Protein: 5
Keywords: high altitude baking, bread recipe, yeast bread, baking adjustments, mountain baking, homemade bread, bread crust, bread crumb